

Does your office chair drop like a stone the moment you settle in? You’re hardly alone. Anyone logging long hours at a desk has probably been greeted by that slow, steady sinking feeling. It can border on comical after a while or, let’s be honest, just plain infuriating. The reflexive solution—dump the chair and shell out for a new one—isn’t always necessary.
Believe it or not, you can usually nurse that chair back to health by swapping out just the troublesome part: the pneumatic cylinder. No need to call a handyman or toss what was, until recently, a perfectly comfortable seat. With a little patience, the correct replacement cylinder, and basic household tools, most people can do this themselves—though I’d advise reading all the way through before diving in. In this guide on how to replace cylinder in office chair, we’ll go over everything you need to know in order to successfully complete this task.

What Is an Office Chair Cylinder?
Stripped of its fancy name, an office chair cylinder is simply the column of metal running from the base with the wheels to the undercarriage of your seat. Some folks call it a gas lift. Inside, you’ll find a chamber pumped full of nitrogen gas, which allows you to adjust the seat height with a gentle tug of a lever. It’s clever—until it isn’t.
The interior seals wear down; little by little, the gas weeps away. Eventually, without warning, you find yourself gently but insistently inching toward the floor each time you shift your weight.
Tools and Materials You’ll Need
Luckily, this isn’t a job that presumes a garage full of tools. You’ll want:
- The right replacement cylinder (double-check your measurements).
- A rubber mallet, or if that’s nowhere to be found, a regular hammer paired with a scrap of wood.
- Pipe wrench or sturdy locking pliers—Vise-Grips work if you have them.
- Penetrating oil; WD-40 does nicely.
- Floor protection: old newspapers, a towel, or a rag to keep things tidy.
7 Simple Step-by-step Guidelines on How to Replace Cylinder in Office Chair
Step 1: Prepare Your Workspace
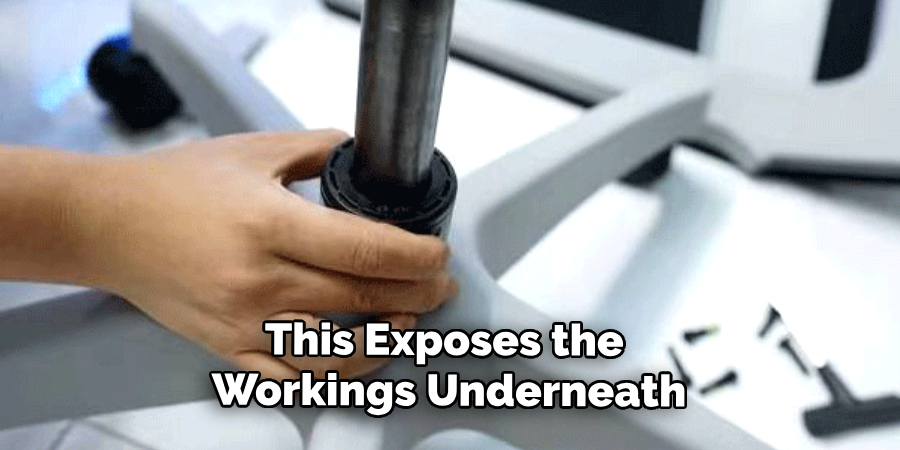
This step sounds obvious, but you’d be amazed at how many repairs go sideways because of a cluttered floor. Clear out a flat section in your living room, workshop, garage, or whatever you have. If you have hardwood or tile, slip something underneath to protect against scratches and oil stains—old T-shirts or a shower curtain liner do the job. Then, turn the chair over onto its side or flip it completely upside down. This exposes the workings underneath. If your chair weighs the better part of a small child, you might want to recruit help; your back will thank you.
Step 2: Remove the Chair Base
With your chair inverted, your immediate target is the star-shaped wheelbase. Using a rubber mallet (or the hammer/wood combo), tap around the metal base, closer to the column’s center than the edge. Plastic wheels tend to crack under a misplaced blow, so guard them if you can.
Some bases come off peacefully; others act as if they’ve never left home. If years of dust, rust, and spilled coffee have glued things together, spray a generous shot of WD-40 where metal meets metal. Step away for ten minutes—no need to hurry—then try tapping again. Persistence usually pays off.
Step 3: Remove the Cylinder from the Seat
Now, the real wrestling begins. Grip the cylinder, right beneath the seat mechanism, with your pipe wrench or pliers. Tighten your hold—a slipping tool does more harm than good here. Give it a strong twist. The aim is to break the friction and nudge the tapered end free of the seat plate.
Sometimes you meet stubborn resistance, especially if grease or corrosion has turned that joint into a minor geological formation. Spraying more oil and waiting before trying again tends to help. Don’t be shy about pulling outward while twisting. Eventually, it will pop loose, usually quite suddenly.
Step 4: Clean the Chair Mechanism
You’ll now be greeted by gunk that has accumulated in places you never usually see. Take a rag or sturdy towel and scrub out the seat mount and the base hole. If you notice WD-40 residue clinging around the opening, some rubbing alcohol or light degreaser comes in handy. This isn’t just tidiness for its own sake—a clean fit prevents wobbles and future noise, and you’ll appreciate it the first time you sit back down.
Step 5: Insert the New Cylinder
Time to meet your new best friend: the replacement cylinder. Double-check—there’s usually a button at one end; that’s the top, and it faces up toward the seat. The wider section slots into the wheelbase. This isn’t a jigsaw—gravity does a lot of the work for you. No screws required, no adhesives. Slide the bottom end confidently into the hole; it should feel snug.
Step 6: Reattach the Seat
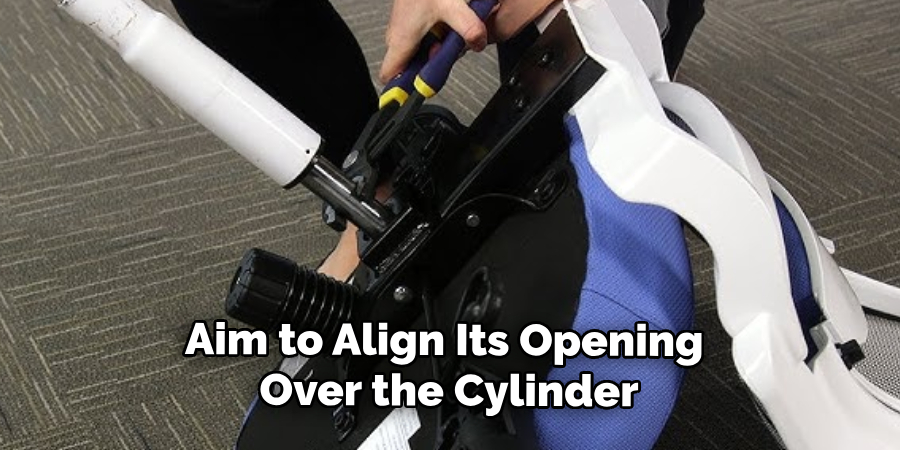
Raise the detached seat and aim to align its opening over the cylinder. Gently lower it in a straight line. An awkward angle can damage the activation button or leave you perched unevenly, so don’t force it. When you’re fairly satisfied, flip the whole assembly upright and let the seat rest naturally on the cylinder. Things might feel a tad loose for now, but the final lock happens with your weight.
Step 7: Test the Chair Height
Here’s the satisfaction part: sit squarely in the chair. The force of your body weight will help wedge the metal to metal, locking the fittings in place. You might hear a faint click or feel a tiny dip. Reach for the adjustment lever. With a new cylinder, you should be able to glide smoothly between positions—no sinking, no sticking. Try shifting your weight or even bouncing lightly to check stability. If everything feels right and the chair responds, you’re done.
Following these steps on how to replace cylinder in office chair, you should now have a fully functional and comfortable chair once again. However, it’s important to note that regular maintenance and proper usage of your office chair can help prevent the need for frequent cylinder replacements.
Common Problems During Replacement
Of course, not all cylinders cooperate. Sometimes, no matter how much muscle or oil you muster, the thing won’t budge. Years of pressure and the slow march of rust can weld parts together in ways WD-40 simply can’t solve.
For those especially stubborn cases, hardware stores sell cylinder removal tools that apply even, controlled force to pop things apart with minimal drama.
Mistakes to Avoid
Perhaps the biggest error you can make is impatience with a metal hammer. Avoid smacking chair parts with naked metal; you’ll dent, crack, or destroy plastic and metal alike. Use a mallet—always—or insulate with wood when using a standard hammer.
Never, under any circumstances, drill or puncture a spent cylinder. The high-pressure gas can escape violently, and serious injury is very real.
How to Choose the Right Replacement Cylinder
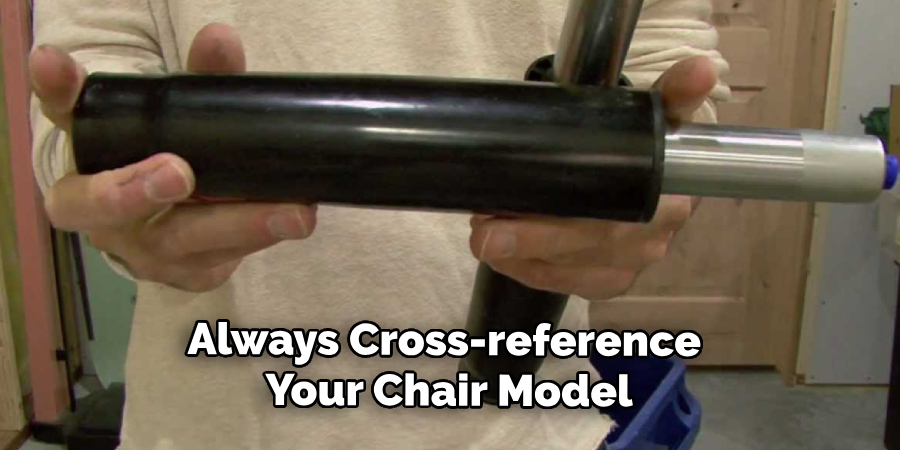
Not all cylinders are created equal. Before you shop, measure both the diameter and length of your existing cylinder. Most office models use a 2-inch (50mm) diameter, although not all. The length and piston stroke dictate your possible seat height range—important if you’re tall, short, or particularly picky.
Always cross-reference your chair model and, if aiming for higher or lower seating, look for a stroke length suited to your preference. Don’t ignore weight ratings; a cylinder’s class (look for Class 4 for heavy use) tells you how sturdy it truly is.
When to Replace the Entire Chair Instead?
There’s a point where fixing is false economy. If you notice the cushioning is flattened beyond rescue, fabric splitting, or structural cracks on the arms and back, then it may be time to part ways.
Pouring money into a new cylinder won’t revive a chair that can’t provide support or comfort.
Frequently Asked Questions
Q1: Can I Refill The Gas In An Office Chair Cylinder?
Not safely. These cylinders are manufactured under loads of pressure, in controlled settings. Attempts to pry them open or refill them at home can turn dangerous fast. Replacements are the only sensible solution.
Q2: Are All Office Chair Cylinders A Universal Size?
Most aren’t truly universal, but many fit a typical 2-inch diameter base and 1.1-inch seat connection. That covers the majority of standard and task chairs. Always measure; if you have a specialty model—a drafting stool or oversized executive chair—double-check before ordering.
Q3: How Long Does A Replacement Cylinder Typically Last?
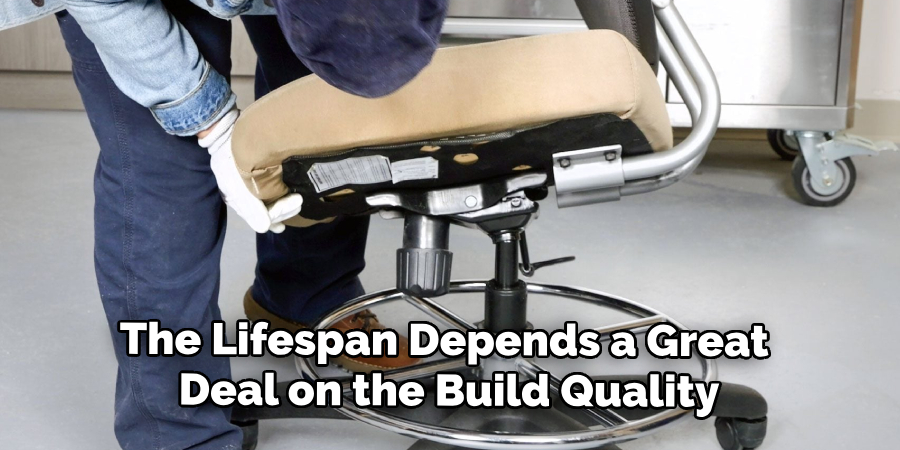
The lifespan depends a great deal on the build quality and how hard you use the chair. Marketers often claim five to ten years for reputable, class 4-rated cylinders. Adjustments made multiple times daily will wear things out a bit faster. For most, though, a solid replacement should last years without fuss.
Extend the Life of Your Office Setup
A sinking chair doesn’t mean replacing your entire setup—just a small, stubborn part. Anyone with modest DIY confidence and a few tools can tackle this repair and reclaim hours of comfort.
Take time measuring, keep safety in mind, and give yourself credit when you’re done. Next time the seat won’t stay up, you’ll know exactly what to do. Thanks for reading this guide on how to replace cylinder in office chair.
