

You spend over 40 hours a week sitting at your desk, making your office armchair one of the most frequently used pieces of furniture in your life. Over time, that chair absorbs sweat, collects dust, traps food crumbs, and develops subtle odors.
Many professionals overlook this crucial piece of equipment during their regular cleaning routines. Knowing how to maintain your seating ensures a hygienic workspace and extends the lifespan of your expensive furniture.
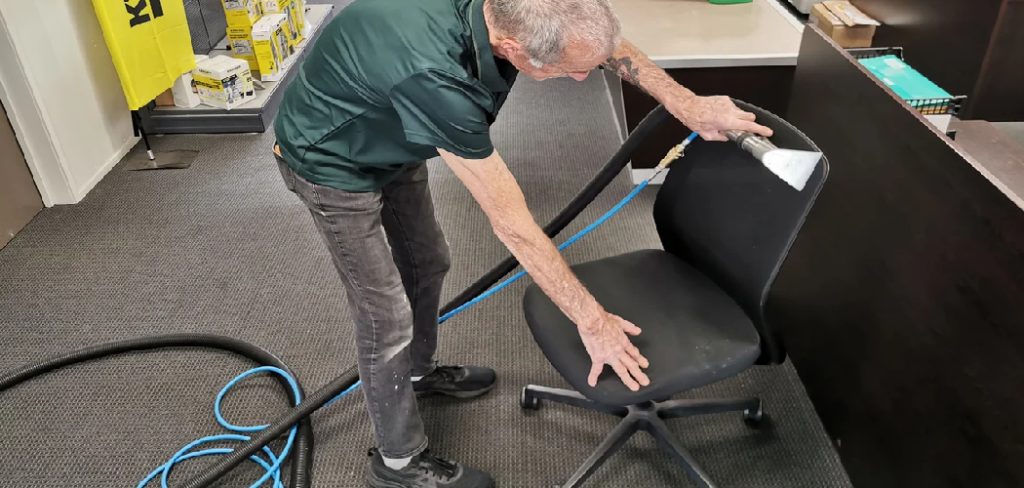
This guide on how to clean office arm chair provides everything you need to know about restoring your chair to its original condition. We outline the clear benefits of regular maintenance, provide a detailed supply checklist, and walk you through a comprehensive 10-step cleaning process.
What Will You Need?
Before you begin the cleaning process, gather all necessary supplies. Having everything within reach prevents you from stopping halfway through the job. You will need:
- A vacuum cleaner
- Microfiber cloths
- A soft-bristled brush
- Mild dish soap
- Rubbing alcohol
- Upholstery cleaner
- Two small buckets
- A can of compressed air
10 Easy Steps on How to Clean Office ARM Chair
Cleaning your office armchair requires a methodical approach. Follow these ten distinct steps to achieve a deep, thorough clean without damaging the materials.
Step 1: Check the Manufacturer’s Care Tag
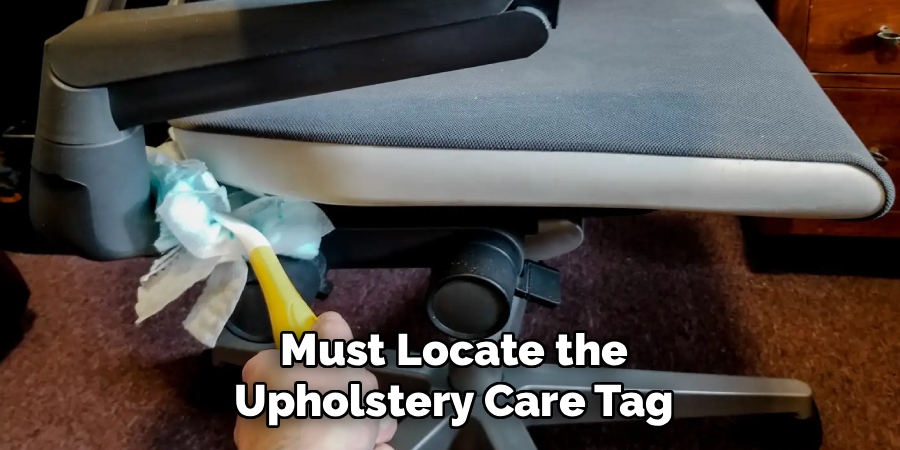
Before applying any liquid, you must locate the upholstery care tag. Manufacturers typically attach this tag underneath the seat cushion or along the bottom frame. This label features specific letter codes that dictate exactly which cleaning agents you can safely use. An “W” means you can use water-based cleaners. An “S” indicates you must use dry-cleaning solvents only, as water will damage the fabric. An “SW” or “WS” means you can safely use both water-based and solvent-based products. Finally, an “X” means you should only vacuum or brush the chair, leaving liquid cleaning to professionals. Ignoring these codes guarantees ruined upholstery. Always read the tag first to determine your exact cleaning strategy.
Step 2: Remove Loose Dust and Debris
Start the physical cleaning process by removing all loose debris from the chair. Take your soft-bristled brush and gently sweep the entire surface of the seat, backrest, and armrests. Use short, flicking motions to lift dirt, skin cells, and hair out of the fabric fibers. If your chair features a mesh back, brush gently to avoid snagging the woven material. Pay special attention to the seams where the seat cushion meets the backrest, as crumb accumulation peaks in these hidden valleys. Brushing the chair before introducing any liquids prevents loose dirt from turning into deep-set mud. Take your time to knock out as much dry dust as possible.
Step 3: Vacuum Every Crevice
Once you loosen the debris, power up your vacuum cleaner. Attach the upholstery tool, which features a wide, flat nozzle ideal for fabrics. Run the attachment over the seat base and backrest using slow, overlapping strokes to extract the deeply embedded dust. Next, switch to the crevice tool. Push this narrow attachment deep into the seams, corners, and folds of the chair. Vacuuming pulls out the allergens and dust mites that brushing simply moves around. Make sure to vacuum the underside of the chair and the top of the armrests. A thorough vacuuming session removes roughly eighty percent of the visible dirt, making the subsequent washing steps much easier and far more effective.
Step 4: Spot-Test Your Cleaning Solution
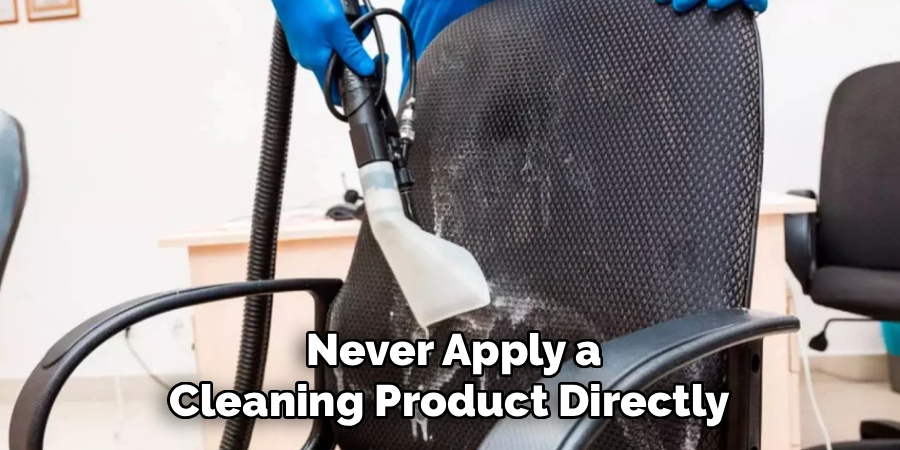
Never apply a cleaning product directly to the center of your seat cushion without testing it first. You must verify that your chosen solution will not bleach the color or degrade the fabric. Find an inconspicuous area of the chair, such as the bottom edge of the backrest or underneath the seat. Apply a tiny dab of your cleaning solution to this hidden spot. Wait approximately ten minutes to see how the fabric reacts. Press a clean white paper towel against the damp spot; if color transfers to the towel, the cleaner is too harsh. If the fabric looks unchanged and retains its original color, you can proceed safely. Spot-testing prevents catastrophic damage to your expensive office furniture.
Step 5: Treat Stubborn Stains
Address individual stains before washing the entire chair. Different stains require different treatments. For coffee or food spills, mix a few drops of mild dish soap into a cup of warm water. Dip a microfiber cloth into the suds and gently blot the stain. Never rub aggressively, as friction pushes the stain deeper into the foam padding. For ink marks, dab a cotton swab in rubbing alcohol and gently press it against the ink. The alcohol breaks down the oils in the ink instantly. Lift the stain away with a clean cloth. Continue blotting until the stain disappears completely. Taking care of targeted spots ensures the fabric looks uniform once you finish the full cleaning process.
Step 6: Wipe Down the Armrests and Base
Your hands touch the armrests constantly, leaving behind a thick layer of natural skin oils and sweat. Mix a simple solution of warm water and a few drops of dish soap. Dampen a microfiber cloth in the mixture and wring it out completely. Wipe down the armrests vigorously to cut through the greasy buildup. Move down to the pneumatic cylinder, the base cover, and the legs of the chair. These hard plastic or metal components attract a surprising amount of dust. For stubborn scuff marks on the chair legs, a damp melamine sponge works perfectly. Wipe all the hard surfaces with a separate dry cloth to prevent water spots from forming.
Step 7: Shampoo or Deep Clean the Fabric
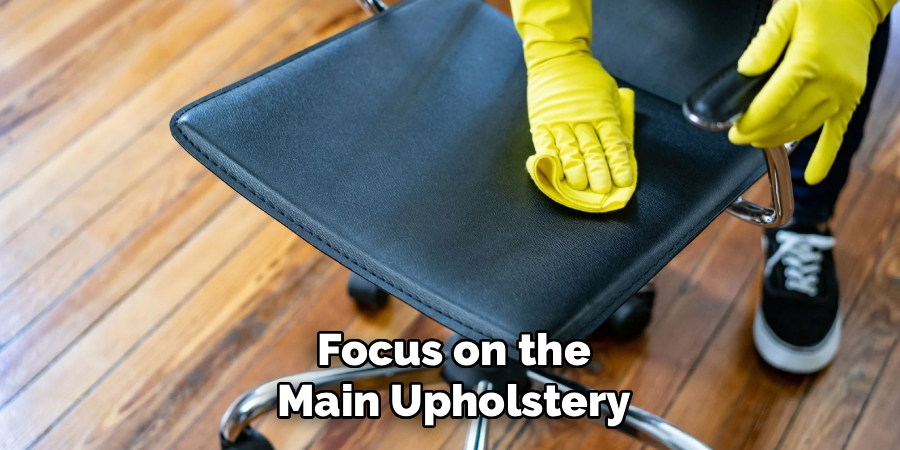
With the stains removed and the hard parts cleaned, focus on the main upholstery. If your tag allows water-based cleaners (W or SW), lightly mist your commercial upholstery cleaner over the seat and backrest. Do not saturate the cushion; the internal foam takes days to dry if completely soaked. Use a clean, damp microfiber cloth to gently scrub the fabric in a circular motion. Work in small sections, moving from the top of the backrest down to the front edge of the seat. If you use a soap mixture instead of commercial spray, use only the suds to clean the surface. This method lifts the overall layer of grime, restoring the original vibrant color of your chair.
Step 8: Clean the Casters (Wheels)
The wheels of your office chair require dedicated attention. Turn the chair upside down or lay it carefully on its side. You will likely find hair, carpet fibers, and dust tightly wrapped around the wheel axles. Pull out the larger clumps using your fingers or a pair of tweezers. If the hair remains tightly wound, use a pair of small scissors to carefully cut through the tangle, taking care not to scratch the plastic wheel. Once you remove the debris, wipe the exterior of the casters with your soapy microfiber cloth to remove sticky floor residue. Finally, spray a tiny amount of compressed air into the wheel housing to blow out any remaining dust and ensure smooth rolling.
Step 9: Extract Excess Moisture
After shampooing the fabric, you must remove as much moisture as possible to prevent mold and mildew growth. Take several dry, clean microfiber cloths and press them firmly into the damp upholstery. Use your body weight to push the cloth down into the cushion, absorbing the liquid trapped in the upper layers of the foam. Rotate the cloth to a dry section as soon as it becomes damp. Continue this pressing technique across the entire surface of the seat and backrest until the cloths no longer pull any moisture from the chair. Removing this excess water is a critical step that drastically reduces drying time and protects the structural integrity of the internal padding.
Step 10: Allow for Proper Air Drying
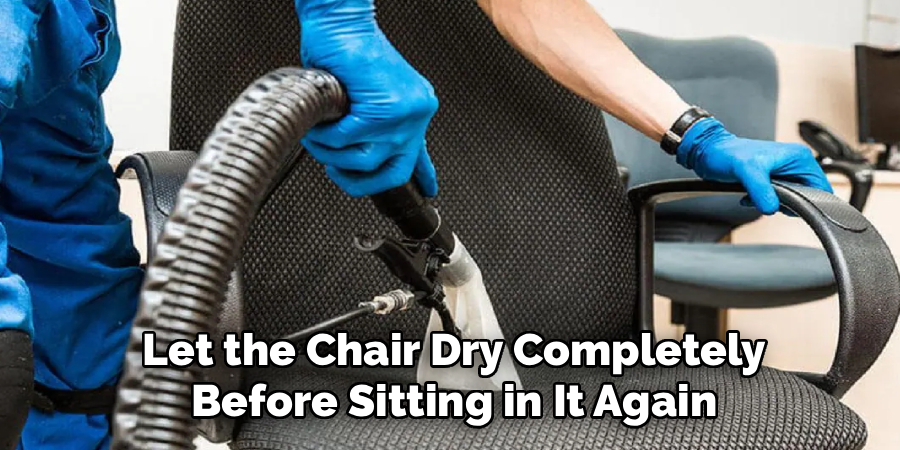
The final step requires patience. You must let the chair dry completely before sitting in it again. Sitting on damp upholstery forces moisture deeper into the foam and stretches the wet fabric, causing permanent sagging. Place the chair in a well-ventilated area. Open a nearby window to promote fresh air circulation. To accelerate the process, position a portable fan so it blows directly across the surface of the chair. Depending on how much moisture you applied, the chair may take anywhere from four to twelve hours to dry entirely. Once dry, run your vacuum over the fabric one last time to fluff the fibers and leave your office chair looking brand new.
5 Things You Should Avoid
When cleaning your office armchair, certain actions can cause irreversible damage. Keep these five crucial warnings in mind to protect your furniture.
First, avoid using bleach or harsh chemical solvents unless explicitly recommended by the manufacturer. Strong chemicals strip the color from fabrics, melt synthetic mesh, and degrade the foam padding beneath the upholstery. Stick to mild dish soap or specialized upholstery cleaners.
Second, avoid soaking the seat cushion. Applying too much water saturates the internal foam. Deep foam takes days to dry out, creating a perfect dark, damp environment for mold and mildew to thrive. Always use minimal liquid and clean only the surface layer of the fabric.
Third, avoid using heat to dry the chair. Never point a hair dryer at your upholstery or place the chair directly against a space heater. High heat causes synthetic fabrics to warp, shrink, or even melt. Always rely on natural air circulation or a standard cooling fan to dry the material.
Fourth, avoid aggressive scrubbing. When dealing with a tough stain, your instinct might be to scrub hard with a stiff brush. This friction destroys the fabric fibers, leaving a permanently fuzzy, worn-out patch. Always blot stains gently to lift them out safely.
Fifth, avoid ignoring the care tag. The manufacturer knows exactly what materials they used to build the chair. Bypassing their instructions often ruins the upholstery and voids any existing warranties. If the tag says “dry clean only,” respect that limitation.
Conclusion
How to clean office arm chair requires minimal effort but yields massive rewards for your daily comfort and workplace hygiene.
By following the correct steps, testing your cleaning solutions, and respecting the manufacturer’s care tag, you can eliminate odors, remove stubborn stains, and significantly extend the life of your furniture. Maintain a regular cleaning schedule going forward to ensure your chair remains a comfortable, fresh, and supportive part of your daily professional life.
Take thirty minutes this week to vacuum and wipe down your chair—you will instantly feel the difference during your next workday.

About
Alexis Kerr is a distinguished figure in the world of professional workspace optimization, with a decade of expertise creating innovative and ergonomic office environments. Her professional focus lies in merging organizational psychology with modern spatial design, fostering office setups that are both high-performing and employee-centric. As the lead author for Deskvity, Alexis Kerr delves into the art and science of corporate aesthetics and functionality, inspiring office managers and remote professionals alike.
Education Cornell University
(Ithaca, New York) Bachelor of Science in Design and Environmental Analysis Focus on human factors, workplace strategy, and sustainable interior environments. Gained extensive experience in how physical space influences productivity and mental clarity.
Savannah College of Art and Design (SCAD)
(Savannah, Georgia) Master of Fine Arts in Interior Design Specialized in commercial workspace solutions with a focus on blending digital integration with physical comfort. Participated in high-level industry projects to refine the balance between corporate branding and architectural utility.
Publications and Impact
In Deskvity, Alexis Kerr shares her insights on modern workspace trends, acoustic management, and strategies for efficient layout planning. Her writing bridges the gap between high-level architectural theory and practical day-to-day office needs, making it a must-read for both facility directors and individual professionals looking to elevate their work environment.