

If you find yourself perpetually fiddling with your office chair’s height lever—only to watch, now somewhat helplessly, as you descend inch by inch toward the floor—you’re not alone. This slow sink doesn’t just wear on your patience; it’s likely nudging your posture into shapes your back will protest later. And, let’s face it, fiddling with an unreliable seat throughout the day is distracting and, over time, counterproductive.
But before you consider hauling your chair to the curb or shelling out for a new one, there’s a far less expensive route. Don’t let a failed gas lift cylinder convince you to give up on that otherwise perfectly fine seat. With a handful of common tools and a bit of attention, you can prop your chair back up—possibly better than it was before—with minimal cost and time commitment. In this guide on how to fix office chair sinking, we’ll walk you through the process step by step.
Tools and Materials You’ll Need
You don’t need any fancy tools to fix your sinking office chair. In fact, you probably already have most of these items lying around.
- A flathead screwdriver
- An adjustable wrench
- A hammer
- WD-40 or similar lubricant
- Duct tape (optional)
- A new gas lift cylinder (if needed)
7 Simple Step-by-step Guidelines on How to Fix Office Chair Sinking
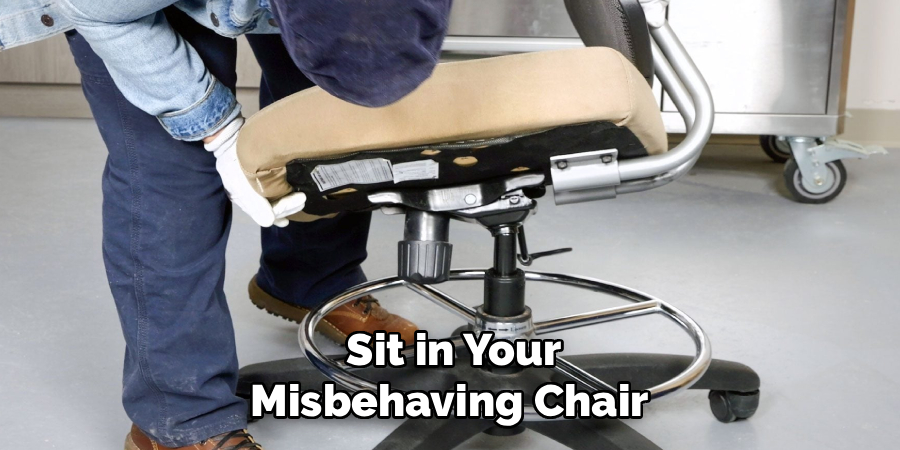
Step 1: Measure Your Ideal Chair Height
Not all “comfortable” is created equal. Sit in your misbehaving chair and adjust it to a position that feels decent: your feet planted, knees close to a right angle. That’s the sweet spot for most people—supposedly ideal for back health, though, as ever, that appears to be up for debate among ergonomists. Either way, measure the distance from the floor (or more precisely, from the chair’s base) to the seat’s undercarriage. Record it somewhere safe; you’ll rely on this measurement if you take the DIY PVC pipe route. If this step gets botched, nothing else in this guide will make the chair feel right.
Step 2: Remove the Plastic Cylinder Skirt
Nearly all office chairs cover the gas lift with an opaque plastic sleeve—not exactly there for beauty, but it keeps grit and hair out. Carefully nudge this cover downward, toward the wheelbase. If it’s gummed up (pet hair is the usual suspect, but sometimes crumbs or dust do it), you might need to coax it with the screwdriver. Take care—these covers can crack or split, and although the chair works without them, exposed hardware is hardly an aesthetic improvement. Lay the plastic aside, in a spot where it won’t become a trip hazard.
Step 3: Prepare Your PVC Pipe
Assuming you’re trying the PVC trick, grab that pipe and reference your earlier measurement. Mark the correct length with something visible—a heavy pencil or marker does the job. If you’re a perfectionist, take your time with the saw or pipe cutter. Cleaner cuts make for easier assembly. When you reach the other side, sand the edge; rough plastic edges are unpleasant, if not dangerous, and have a tendency to scratch whatever they touch. This is one of those small extra steps that pays off later.
Step 4: Cut a Slit in the Pipe
A seemingly minor point, but quite important—if you want to snap the pipe onto the cylinder without fully disassembling the chair, you need to cut a slit lengthwise along the pipe. Sharp utility knife or saw, your call (and your risk). Entry-level DIYers might want to clamp the pipe in a vise to keep it steady. Always cut away from your body—seriously, don’t ignore this advice in an attempt to breeze through. Pry the pipe just enough to open the gap a bit, not so much that you risk snapping it. The goal is a flexible “C” shape, not two halves.
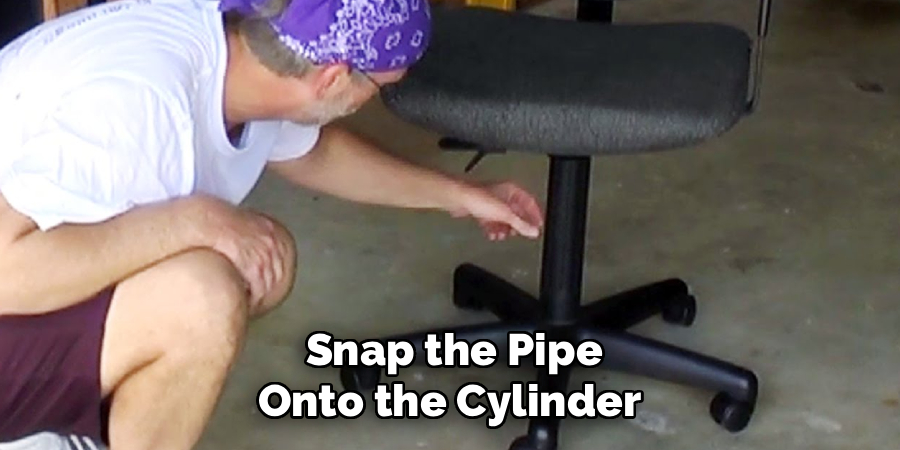
Step 5: Attach the Pipe to the Cylinder
Bring the chair up to your newly-measured height; ensure the cylinder is fully exposed. Open the slit in the PVC pipe and press it, gently but firmly, onto the cylinder, allowing the pipe to grasp the metal shaft. Sometimes the pipe won’t budge—if so, try warming the plastic with a hairdryer for a minute or two. These tiny improvisations tend to matter more than the official instructions ever let on. If it clicks in place and feels snug, you’re nearly there.
Step 6: Test the Stability of the Chair
Ease the seat down until it rests upon your plastic “collar.” If you feel the pipe slip, squeak, or compress, don’t ignore it—better to adjust now than next week, when it’s harder to recall how everything fits together. Sit carefully at first. If it feels low, you can always stack another ring of PVC. Too high? Remove, trim, repeat. It seems a little fussy, but a personalized fit beats a one-size-fits-all shortcut.
Step 7: Consider a Full Cylinder Replacement
The PVC pipe approach has obvious limitations—it locks you into a single seat height. For workspaces shared by more than one person, or those who change positions regularly, swapping out the gas cylinder is the preferred approach. This is where things get slightly technical: flip the chair over, knock the old cylinder loose with measured force (too much, and you risk breaking something), and seat the new cylinder into place. Replacement parts run about $20, sometimes less if you find a deal. Penetrating oil, given enough time to do its work, will free even a stubborn joint. Check that the adjustment lever functions—otherwise, the repair isn’t really finished.
Following these steps on how to fix office chair sinking can help prolong the life of your chair and save you money in the long run. However, it’s important to also keep up with regular maintenance and cleaning to ensure your office chair stays in good working condition.
Regularly wiping down the chair with a damp cloth and mild soap can prevent dust and dirt from building up, which can affect the mechanisms of the chair. Using a vacuum with a brush attachment to remove any debris from crevices and around moving parts can also help maintain the functionality of your chair.
Common Mistakes to Avoid
Plenty of otherwise careful people try to knock the cylinder free with brute force, only to end up cracking the chair’s hub or damaging the base. Others forget the all-important chair-height measurement, assembling a “fixed” chair that sits inches too low for their desk.
Using the wrong pipe is another recurring issue; brittle or undersized tubing can fail dramatically. It’s also surprisingly easy to overlook cleaning the cylinder before fitting the pipe, which results in a sticky or uneven fit. Never, under any circumstances, drill, puncture, or otherwise breach the gas cylinder itself. Treat that rule as non-negotiable.
Do You Need To Use Professionals?
Unless you’re dealing with a designer chair packed with proprietary mechanisms or electronics (not common in home offices), these repairs are well within the reach of the average person. Standard office chairs use simple systems: mostly friction and a dash of pneumatic pressure.
Removing and replacing the core bits takes more patience than skill. If you’re handy enough to assemble flat-pack furniture, you should manage. Those who do hire a repair tech often pay far more for labor than a brand-new chair would cost.
How Much Will It Cost?
In most cases, fixing a sinking chair is a distinctly budget-friendly endeavor. PVC pipe, sold by the foot at hardware stores, rarely runs more than five dollars. Replacement cylinders are a bit pricier, but even the fanciest rarely top thirty bucks.
Both approaches represent a substantial saving over the price of a new ergonomic chair—a purchase that likely sets you back $200 or more. Factor in a bit of time and perhaps a learning curve, but not a financial burden.
Frequently Asked Questions
Q1: Why Do Office Chairs Start Sinking in the First Place?
What’s happening, in short, is that the seal inside the pneumatic cylinder isn’t what it once was. All these chairs operate with a pressurized cartridge; over the years, as the seals wear out or degrade, gas slowly leaks out. The more it leaks, the less strength the system retains, and you begin to sink.
Q2: Can I Use Duct Tape Instead of PVC Pipe?
You can try—and some do—but duct tape rarely holds out for long. The tape slips down the metal under load, or the glue lets go on a warm day. PVC, or sometimes a metal clamp, keeps its grip and doesn’t compress in the same way. Short-term, tape can get you by; for a lasting solution, pick something rigid.
Q3: Is It Dangerous to try to fix a Gas Cylinder?
There are hazards, but they’re easily avoided if you follow the basic advice. Never drill or puncture the cylinder—it’s pressurized, and a breach risks injury or, at minimum, a messy explosion of grease. Simply sliding a pipe over the existing shaft, or knocking a replacement into place, is safe if you go at it sensibly.
Conclusion
A chair that won’t stay put is almost uniquely irritating—both physically and for your concentration. The good news: you have ways to repair it, and most involve little more than simple tools, a free afternoon, and a bit of determination.
Fixing your own chair isn’t difficult, yet you may find it oddly satisfying. Whether you try the PVC ring or invest in a new cylinder, a steady seat is not far away. Thanks for reading this guide on how to fix office chair sinking.