

Apple’s sleek, buttonless peripheral often leaves new users wondering exactly how to operate its smooth acrylic surface. The device completely replaces the traditional scroll wheel and physical buttons with a seamless multi-touch interface that recognizes taps, swipes, and clicks. By learning how to harness these built-in touch capabilities, you can significantly speed up your daily workflow and navigate your Mac with incredible precision.

Understanding the specific features and gestures built into this device will transform your entire computing experience from frustrating to effortless. You will no longer need to rely on complicated keyboard shortcuts or standard trackpads once your fingers memorize the intuitive movements required to scroll through web pages and switch between full-screen applications. This guide on how to use magic mouse provides everything necessary to set up, customize, and master your device in just a few short minutes.
Types of Magic Mouse
Apple has released two primary versions of this iconic accessory over the years, each with distinct power requirements and minor design differences. The original Magic Mouse relies on two removable AA batteries, featuring a small latch on the aluminum bottom case to access the battery compartment. You will know you have this first-generation model if you have to periodically swap out dead batteries to keep working.
The Magic Mouse 2, introduced later, completely eliminated the removable battery compartment in favor of a built-in lithium-ion battery. This second-generation model charges via a Lightning port located directly on the bottom of the device, meaning you cannot actively use the mouse while it is plugged into a power source. Apple also expanded the color options for the newer version, offering it in silver, space gray, and black to perfectly match your specific Mac setup.
What You Will Need Before Using It?
Before you begin the setup process, you need to gather a few essential items to ensure a smooth connection. First, you must have a compatible Mac computer running macOS X 10.11 or later, as older operating systems lack the necessary software drivers to support the multi-touch gestures. Your computer must also have a functioning Bluetooth antenna, as this is the only way the peripheral communicates wirelessly with your machine.
If you own the second-generation rechargeable model, you will need a standard Lightning to USB cable to pair the device and charge its internal battery. For the first-generation model, ensure you have two fresh AA batteries on hand, preferably high-quality alkaline or rechargeable ones, to prevent the device from dying during the initial configuration. Finally, clear a smooth, non-reflective surface on your desk, or grab a high-quality mousepad to guarantee the optical tracking sensor registers your hand movements accurately.
7 Simple Step-by-step Guidelines on How to Use Magic Mouse
Step 1: Unboxing and Preparation
Opening the packaging requires care, as Apple tightly secures the accessory within its custom-molded plastic or cardboard housing. Carefully peel back the protective film covering the glossy top surface to avoid scratching the acrylic before you even place it on your desk. Take a moment to inspect the bottom aluminum casing, familiarizing yourself with the location of the power switch and the optical sensor window.
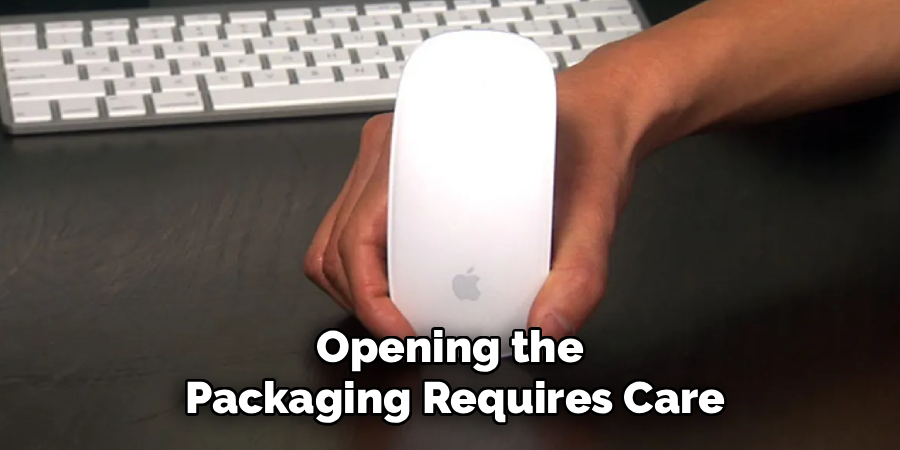
For the newer rechargeable model, you will find the required charging cable tucked neatly beneath the paper documentation in the box. If you are using the older battery-operated version, push the small latch down to remove the aluminum plate, insert your batteries according to the positive and negative indicators, and snap the cover securely back into place. Ensuring the device has adequate power is the most critical preparation step before attempting to establish a wireless connection with your computer.
Step 2: Turning on the Mouse
Locate the small mechanical switch on the underside of the aluminum chassis, positioned near the top optical sensor. Slide this switch upwards or forward to activate the device, which will reveal a bright green indicator color underneath the switch mechanism. This green tab acts as a quick visual confirmation that the internal circuitry is currently receiving power from the batteries.
If you are using the first-generation model, a tiny green LED indicator light located near the power switch will begin blinking rhythmically. This blinking pattern signifies that the device is actively broadcasting its Bluetooth signal and searching for a compatible Mac to pair with. The rechargeable version lacks this external LED light, but leaving the switch in the green position ensures the internal Bluetooth radio is successfully activated and ready for pairing.
Step 3: Connecting via Bluetooth
Navigate to your Mac’s screen and click on the Apple logo situated in the top-left corner of the menu bar, then select System Settings or System Preferences from the dropdown menu. Click on the Bluetooth icon to open the wireless connectivity panel, and verify that your computer’s Bluetooth radio is actively turned on. Your Mac will automatically begin scanning the immediate area for any available wireless devices broadcasting a pairing signal.
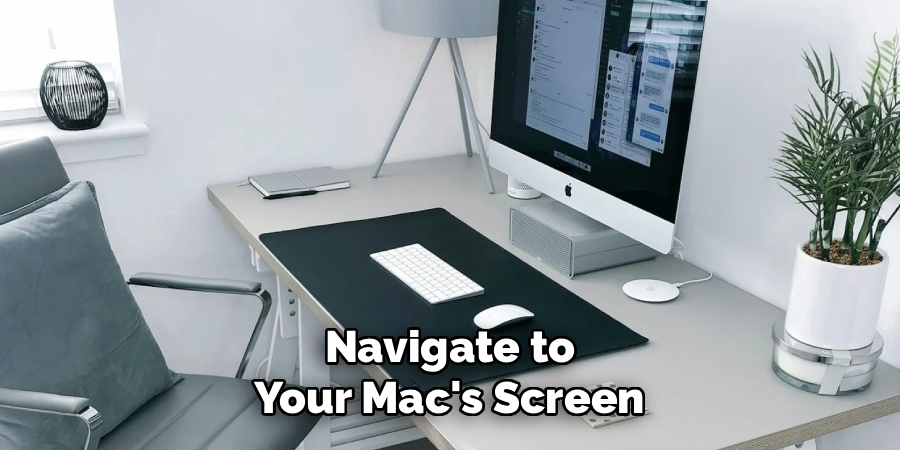
Look for the name of your new accessory to appear in the list of available devices, which typically shows up as “Apple Magic Mouse” or includes your first name. Click the Connect button located next to the device’s name to establish the secure wireless handshake between the peripheral and your computer. If you have the rechargeable version, you can completely bypass this manual menu process by simply plugging the Lightning cable into the mouse and your Mac, which automatically pairs them instantly.
Step 4: Configuring Basic Tracking and Clicking
Return to the main System Settings window and click on the Mouse menu to access the primary configuration options for your new device. Here, you will find a slider labeled Tracking Speed, which determines exactly how fast the cursor moves across your display in response to your physical hand movements. Adjust this slider left or right until the pointer speed feels comfortable and natural for your specific desk space and monitor size.
Next, you must enable the secondary click function, commonly known as right-clicking, since the physical device only has one solid top surface. Check the box labeled Secondary Click and choose whether you want to trigger this action by clicking the right or left side of the surface. Most users select the right side to mimic a traditional two-button setup, allowing you to easily open context menus by pressing down on that specific half of the acrylic top.
Step 5: Mastering Scrolling Gestures
The entire glossy surface acts as a sophisticated trackpad, meaning you do not have to search for a physical plastic wheel to scroll through documents. To navigate down a long web page, simply rest one finger on the top of the mouse and slide it vertically toward your palm. Sliding your finger upward toward the top edge will scroll the page in the opposite direction, mirroring the smooth scrolling mechanics found on smartphones and tablets.
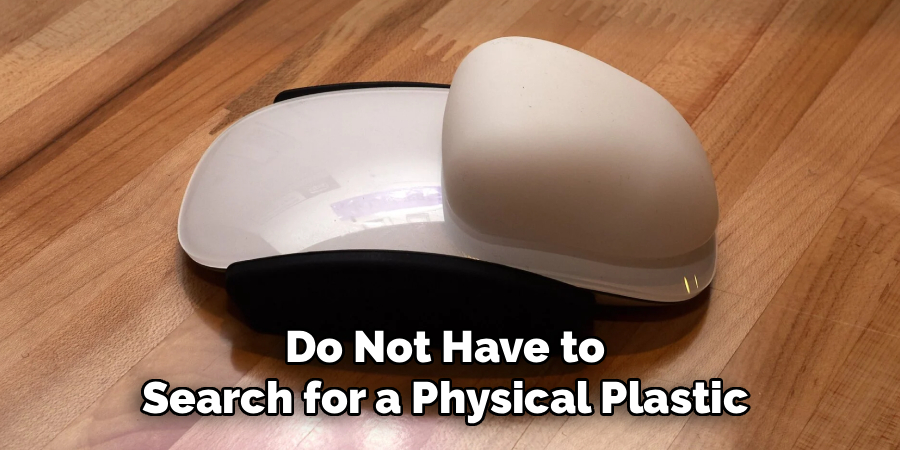
You can also use this same single-finger technique to scroll horizontally across wide spreadsheets or large image files. Simply swipe your finger left or right across the curvature of the device to move the on-screen content horizontally. If you find the scrolling direction feels backward compared to your natural instincts, return to the Mouse settings menu and toggle the Natural Scrolling option to reverse the orientation.
Step 6: Navigating with Swipe Gestures
Apple designed the multi-touch surface to help you navigate through your web browser history and full-screen applications without ever touching your keyboard. By resting a single finger on the surface and quickly swiping horizontally to the left or right, you can move back and forth between web pages in Safari or Chrome. This fluid motion completely eliminates the need to move your cursor to the top of the browser window to click the tiny back and forward arrows.
When you use two fingers simultaneously, the swipe gestures become even more powerful for managing your overall digital workspace. Swiping left or right with two fingers allows you to seamlessly transition between multiple full-screen applications or distinct desktop spaces you have created on your Mac. You must enable these specific actions in the More Gestures tab within the Mouse settings panel for your computer to recognize these multi-finger commands.
Step 7: Customizing Advanced Settings
To truly unlock the potential of your device, explore the advanced gesture controls that provide immediate access to macOS features like Mission Control and Launchpad. Double-tapping the surface lightly with two fingers—without actually clicking the mechanical switch down—will instantly open Mission Control, displaying all your currently active windows spread out across the screen. This makes finding a hidden document buried beneath your web browser incredibly fast and efficient.

Another excellent feature is the Smart Zoom capability, which allows you to enlarge specific areas of a webpage or PDF document instantly. By double-tapping lightly with a single finger, your Mac automatically zooms in on the block of text or image your cursor is hovering over. Repeating the single-finger double-tap will zoom the screen back out to its normal viewing size, saving you from hunting for tiny magnifying glass icons in your application toolbars.
Following these steps on how to use magic mouse gestures on your Mac will greatly enhance your productivity and efficiency while working on your computer. These simple but powerful actions can save you time and effort, allowing you to navigate through applications and documents seamlessly.
Troubleshooting Common Problems
Wireless interference frequently causes the cursor to jump erratically across the screen or disconnect entirely during heavy usage. If your pointer starts lagging, check the Bluetooth settings to ensure the battery level is above ten percent, as low power often causes signal degradation. Moving other wireless devices, such as external hard drives or routers, away from your desk can also clear up radio frequency congestion.
Additionally, check the optical sensor window on the bottom for tiny hairs or dust particles, which block the laser and prevent accurate tracking. If the peripheral completely refuses to connect, simply turn the power switch off, wait ten seconds, and turn it back on to force a fresh pairing request.
Cleaning and Maintenance Tips
Maintaining the physical condition of your device guarantees accurate gesture recognition and prevents the glossy top from becoming sticky. Use a slightly damp, lint-free microfiber cloth to gently wipe down the top surface, removing oils and residue left behind by your fingers.
Never spray liquid cleaners directly onto the mouse, and use a dry cotton swab to carefully clear debris from the bottom optical sensor window.
Best Uses for Magic Mouse
Creative professionals highly favor this peripheral when navigating large project timelines in video editing software like Final Cut Pro or Adobe Premiere. The smooth horizontal scrolling capabilities allow editors to scrub through high-resolution video clips seamlessly without relying on keyboard commands.
Graphic designers also utilize the Smart Zoom feature extensively in Photoshop or Illustrator to quickly check fine pixel details and then zoom out to view the entire canvas. Furthermore, standard office workers find the two-finger swipe gestures invaluable for shifting quickly between full-screen spreadsheets and email clients during busy workdays.
Frequently Asked Questions
Q1: How Do I Right-Click On A Magic Mouse?
A1: Because the device features a single, unified top shell, it does not have a separate physical button for right-clicking. You must enable this feature manually by opening System Settings, clicking on the Mouse menu, and checking the box labeled Secondary Click. Once activated, pressing down firmly on the right side of the top surface will act as a standard right-click, opening context menus and secondary options within your applications.
Q2: Why Is My Magic Mouse Disconnecting?
A2: Frequent wireless disconnections generally point to a depleted battery or severe Bluetooth signal interference in your immediate workspace. If you own the rechargeable version, plug it into your Mac for at least thirty minutes to ensure it has a sufficient power reserve. You should also try removing the device from your Mac’s Bluetooth menu entirely and repairing it from scratch to resolve any corrupted software handshakes between the two devices.
Q3: Can I Use A Magic Mouse With A PC?
A3: You can physically pair the device with a Windows computer using standard Bluetooth pairing protocols, allowing for basic point-and-click functionality. However, Windows lacks the proprietary Apple drivers necessary to recognize the multi-touch surface, meaning you will lose all scrolling and swiping gestures. Some third-party software developers offer paid driver packages that attempt to restore these gestures on a PC, but the experience is rarely as smooth as using it natively on macOS.
Elevate Your Daily Workflow
Mastering the unique multi-touch surface of Apple’s signature mouse fundamentally changes how you interact with your computer screen. By properly configuring your tracking speeds and memorizing the essential swipe gestures, you eliminate repetitive cursor movements and save valuable time during your daily tasks.
Keeping the device charged, clean, and customized to your specific preferences ensures a reliable, fluid computing experience. Take a few moments today to open your system settings and explore the gesture menus—you will quickly wonder how you ever managed your digital workspace without them. Thanks for reading this guide on how to use magic mouse.
