

It’s a familiar frustration: you plan a new workspace, move a desk, or just want to keep your devices hard-wired—and suddenly, your Ethernet cable is just a few feet short. Extending your home or office network doesn’t need to spiral into an ordeal. In fact, you can often get by with minimal gear and just a few attentive steps, sparing yourself both hassle and needless spending.
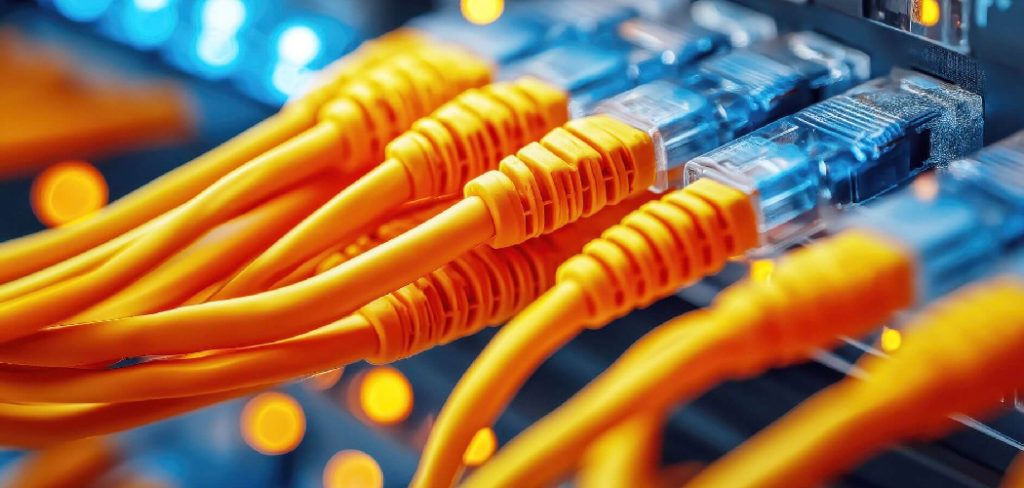
Connecting two Ethernet cables together isn’t rocket science. In practice, it usually involves an inexpensive little coupler or, occasionally, a simple switch—no mystery boxes required. I’ll lay out exactly how you can go about it, keeping things as straightforward as possible without risking that disappointing dip in connection quality. In this guide on how to connect two Ethernet cables, you’ll learn how to troubleshoot common problems and workarounds.
Understanding Ethernet Cable Basics
A brief pause before you leap for your toolbox: Do you really know what’s in that familiar blue or yellow cable? “Ethernet” covers a range of cable types, most ending in RJ45 connectors—those little clear plastic ends with the snapping clip. Behind that snap is a set of twisted copper pairs, wound deliberately to cut down on interference as your data zips between router, modem, and whatever else you plug in.
Cables are split into categories—Cat5e, Cat6, Cat6a, Cat7, and so on. Each step up nudges the speed and reliability higher, though for most home users, Cat5e or Cat6 covers a surprising breadth of needs. Categories matter when connecting cables. Combining a newer, faster cable with a lower-rated coupler can send your speeds plummeting back to the weakest link. It’s not always obvious right away, but if you’re running four people on a video call and the signal drops, that’s often where to check.
There’s a temptation, sometimes, to just strip the wires back and twist them together—after all, copper is copper. But that method often cripples your connection. The careful engineering inside those cables isn’t accidental; stray from it, and you’ll likely end up chasing ghostly signal problems you can’t easily diagnose.
Reasons to Connect Two Ethernet Cables
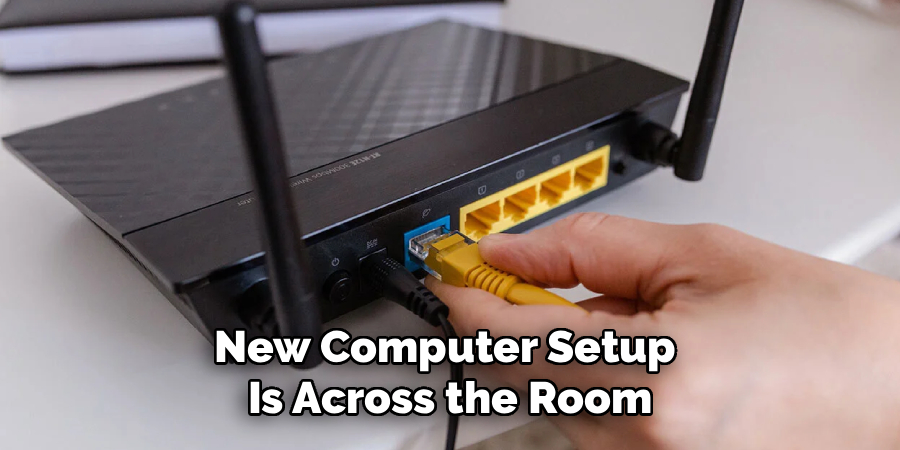
You’ve probably been there: the router’s where the cable guy left it, and your new computer setup is across the room. Buying a new, extra-long cable might cross your mind, but is it necessary? Not always. If you already have two good-length cables, joining them with a coupler can save both money and needless waste.
Another scenario? Temporary chaos. Think LAN party in the living room, or a makeshift office during renovations. You might not want to snake a brand-new cable through a sea of extension cords and boxes just for a weekend. Joining two shorter cables—maybe the ones you already fished along baseboards or through desks—lets you rearrange your network quickly, with little commitment.
Tools You May Need
This is refreshingly simple. Gather:
- The two Ethernet cables—obviously—in good condition.
- Some method to join them: the classic choice is an RJ45 inline coupler. It’s just a small rectangle, female ports at both ends, and costs less than most sandwiches.
- If you’re planning to connect several devices at the end point, a network switch could be handy; it’s just as user-friendly, but does split one connection into many.
- For cable tidiness (and anyone with pets or clumsy roommates), keep a few zip ties or adhesive clips on hand to secure the longer run. Nobody enjoys snagging their toe on a wire, least of all in the dark.
7 Simple Step-By-Step Guidelines on How to Connect Two Ethernet Cables
Step 1: Pick Your Hardware
If you just need an extension, an inline RJ45 coupler will do. Not to belabor the point, but matching the coupler type to your fastest cable category helps. Drop a Cat6 cable through a Cat5 coupler, and the bottleneck will frustrate you eventually, especially with larger file transfers or streaming.
If you want multiple devices connected at the far end, use a basic gigabit switch instead. There’s no technical wizardry here: it’s a small box, usually powered, with several ports to split and send your signal.
Step 2: Inspect the Cables
It’s easy to overlook this, but don’t. Check each RJ45 connector—are those plastic clips still intact? If the tiny hook is broken (they often are, especially with older or heavily used cables), the connector won’t “snap” into place and will pop out at the worst time.
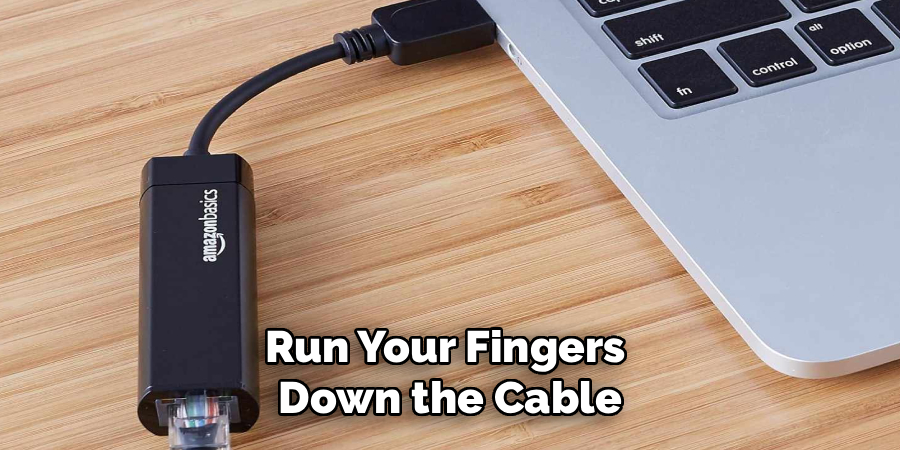
Run your fingers down the cable. Kinks, gashes, or exposed copper mean you’re rolling the dice on performance. A little damage goes a long way toward packet loss and weird lag. If there’s visible injury, swap out the cable before you go further.
Step 3: Power Down Devices
You may wonder: Is this strictly necessary? Maybe not, but it helps dodge the rare but annoying glitches when changing a live network. Desktops, game consoles, streaming boxes—if it plugs into Ethernet, turn it off before you play musical cables.
If you’re using a switch, don’t plug it into power yet. Less chance of any hiccups as you connect everything else.
Step 4: Connect Cable One
Start with the cable coming from your modem or router. Plug its RJ45 end firmly into one side of the coupler, or the input/uplink port on your switch, depending on your setup. Listen for that faint “click”—not exactly musical, but reassuring nonetheless.
Give a gentle pull. If it pops out, the connection’s not secure, and you’ll be cursing the cable soon enough. For switches, make sure you’re using the proper port as specified by the maker (the manuals, though dry, do spell it out if you’re unsure).
Step 5: Attach the Second Cable
Now, take the other Ethernet cord and insert one end into the free side of your coupler. Again, you want that click; otherwise, your data’s not making it through consistently.

With a switch, just use any of the open output ports. The far end of this cable goes into your device. Give a final look at the run: no crimps, no sharp bends, no strained connectors.
Step 6: Power On and Run a Simple Test
Plug the switch’s power supply into the wall if applicable. Power up your devices—computer, TV, game console—whatever sits at the end of this extended chain.
Open a browser, try a speed test. Ideally, you’ll see numbers similar to what you’d expect direct from the router. If all lights are green and things feel as speedy as before, you’re golden. Look for tiny green or blinking LEDs on device ports or the switch—they usually mean the connection is alive and well.
Step 7: Manage Excess Cable
A long cable tossed across the living room is no one’s idea of good housekeeping—or safety. Use velcro straps, zip ties, or plastic clips to anchor the excess along baseboards and out of the way. If the coupler itself is on the floor, nudge it behind a table or speaker stand, away from foot traffic.
It’s not just about neatness; secure cables last longer and are less likely to get damaged or unplugged at a bad moment.
Following these steps on how to connect two Ethernet cables will not only help you create a smooth and efficient network, but also keep your living space organized and safe.
Common Mistakes to Avoid
Let’s not sugar-coat this: manually stripping and twisting Ethernet cable pairs, even if you wrap the join with tape, is a recipe for static and headaches. It’s almost certain to wreck your signal and probably the cable itself, too.
Other slip-ups include using a mismatched coupler (Cat5 with Cat6, for instance) or ignoring damaged clips on cable ends. Even running the cable too close to power cords or appliances can create subtle interference. And sharp bends right at the coupler? Those put relentless stress on delicate copper strands, shortening life and performance.
Troubleshooting Connection Issues
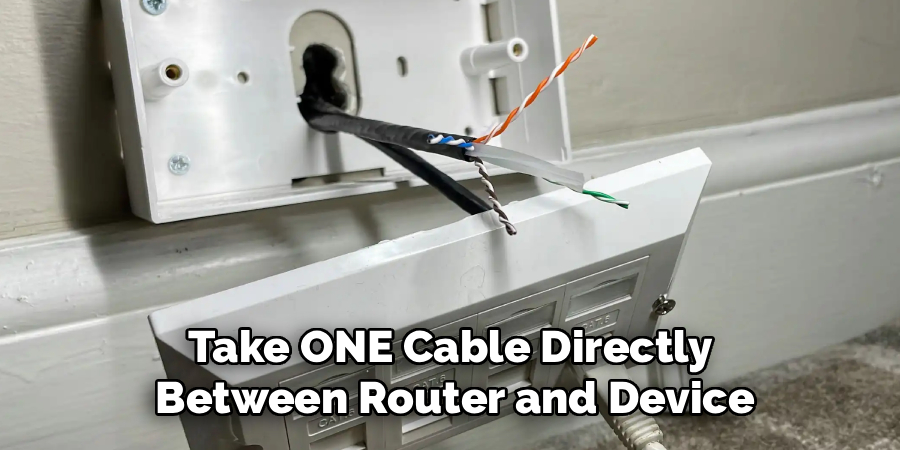
If, after everything, you get no signal—don’t panic just yet. Unplug each connection, then reseat with a firm push until you hear the click. Particularly when using a switch, make sure it’s powered and that the right port is used. If in doubt, bypass your coupler: take one cable directly between router and device. If things work now, your coupler or one cable is likely to be to blame.
On rare occasions, a quick reboot of your router or modem can clear up address assignment woes—devices sometimes need that nudge after a hardware change.
Performance Considerations
Most of the time, a good inline coupler introduces no meaningful lag or signal loss. High-quality parts, matched categories, and a total cable length under 100 meters—roughly 328 feet—will keep you in the safe zone, with no degradation you’re likely to notice.
Go beyond that distance, and problems quietly creep in. Signals fade, speeds drop, things get unreliable. If you must run a cable farther than 100 meters, you’ll need powered help—a signal repeater or network switch positioned mid-way; otherwise, you’re gambling on unpredictable results.
When to Use Alternatives?
Not every layout suits a string of Ethernet cables—even the neatest run. If walls, floors, or sheer distances make wiring impractical, there are options. Powerline adapters use your building’s electrical system to carry data, and in some homes, they work surprisingly well, though not always flawlessly.
Mesh Wi-Fi, offering strong and flexible wireless coverage, has also solved countless headaches—especially in older houses with thick walls.
Safety and Maintenance Tips
Don’t overlook the care of cables once set up. Keep couplers away from radiators and sinks—moisture and heat are enemies of good connections. Avoid dragging cables where chairs and feet may crush them.
Every so often, clear away dust from the coupler with a quick burst of compressed air if you see buildup.
Frequently Asked Questions
Q1: Can Connecting Two Ethernet Cables Slow Down My Internet?
Generally, if you use a high-quality coupler that matches the cable categories (Cat6 with Cat6, for instance), you won’t notice a speed drop. But stretch your run beyond 100 meters (328 feet) and the laws of physics come into play, making slowdowns a near certainty.
Q2: Is an Ethernet Coupler Always Better Than a Network Switch?
It’s a bit of a false comparison. A coupler is dead simple and best for connecting two cables leading to a single device. If you want to serve several devices at the network’s far end, a switch is better, though it requires a power source and a small investment.
Q3: What’s the Farthest I Can Run Joined Ethernet Cables?
You can safely join cables so long as the total length, from start to finish, doesn’t top 100 meters. If you need more, add a network switch or repeater at a halfway point to boost the signal.
Wrapping Up Your Networking Setup
Joining Ethernet cables is not exactly a glamorous project, but it’s an everyday skill that saves you trouble and money. With a decent coupler or an affordable switch, there’s no need to rewire your rooms or buy a single enormous cable every time your layout changes.
Double-check your cable categories, listen for that positive “click” as each connector locks in, mind your total length, and you’ll sidestep the most common pitfalls. With the right approach (and a bit of tidying up at the end), even non-techies can enjoy stable, wired internet exactly where they want it—without calling for backup. Thanks for reading this guide on how to connect two Ethernet cables.

1 thought on “How to Connect Two Ethernet Cables”