

Office cabinets can quickly become dumping grounds for old files, extra supplies, cables, manuals, and items no one remembers owning. When cabinets are cluttered, simple tasks take longer, important documents go missing, and your workspace feels more stressful than it needs to be.
Learning how to organize office cabinets helps you create a cleaner, faster, and more useful office system. Whether you work from home, manage a small business, or share storage with a team, organized cabinets make daily work easier. You can find what you need, protect important papers, reduce duplicate purchases, and make better use of limited space.
The process does not have to be complicated. With a clear plan, a few sorting decisions, and simple storage tools, you can turn messy cabinets into practical work zones. This guide walks you through each step in a beginner-friendly way so you can build a system that stays neat long after the first cleanup.
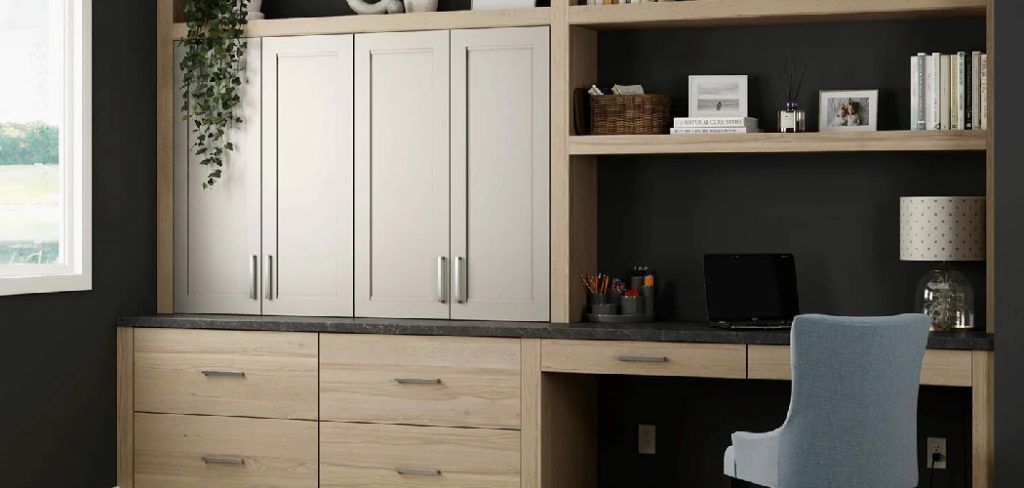
Why Organizing Office Cabinets Matters
Organized office cabinets save time, reduce stress, and support better productivity. When every item has a clear place, you spend less time searching and more time working. This is especially helpful in busy offices where several people need access to the same supplies, records, or equipment.
Good cabinet organization also protects important documents from damage, loss, or confusion. It helps you avoid buying supplies you already have because you can clearly see what is in stock.
A clean cabinet system can improve the look and feel of your office as well. Instead of crowded shelves and overflowing drawers, you get storage that supports your work. Over time, this makes the office easier to maintain, easier to clean, and more pleasant to use.
Step-By-Step Guide To How To Organize Office Cabinets
Step 1: Empty One Cabinet At A Time
Start with one cabinet instead of pulling everything out at once. This keeps the project manageable and prevents your office from becoming too messy to use. Remove every item from the first cabinet and place everything on a clean desk, table, or floor area.
As you empty the space, pay attention to what has been stored there. You may find outdated files, dried-out pens, duplicate supplies, broken electronics, or items that belong somewhere else. Seeing everything in one place gives you a clear picture of what you own and what needs to change.

Step 2: Sort Items Into Clear Groups
Once the cabinet is empty, sort items by type and purpose. Keep similar things together, such as paper, folders, printer supplies, financial records, client files, mailing materials, cables, and cleaning items. This step makes it easier to decide what deserves space in the cabinet.
If you are figuring out how to organize office cabinets for a shared workspace, think about how people use each category during the day. Items used often should be easy to reach, while rarely used records or backup supplies can go higher, lower, or farther back.
Do not rush this stage. Good sorting creates the base for the whole system.
Step 3: Declutter What You No Longer Need
Now look at each group and decide what should stay. Throw away trash, recycle outdated papers, shred sensitive documents, and donate usable supplies you no longer need. Be honest about items that have been sitting unused for months or years.
Old manuals, expired forms, broken staplers, dried markers, and duplicate chargers often take up valuable space. If an item is not useful, required, or worth keeping, remove it from the cabinet.
For documents, follow your company policy or legal requirements before discarding anything. If you work from home, create a simple rule for what records you must keep and for how long.
Step 4: Clean The Cabinet Interior
Before putting anything back, clean the inside of the cabinet. Dust shelves, wipe drawers, remove old labels, and vacuum corners if needed. Cabinets often collect paper dust, crumbs, staples, and small debris that make the space feel neglected.
Use a mild cleaner on surfaces if the material allows it, then let everything dry fully. Check for loose hinges, sticky drawers, weak shelves, or sharp edges. Fixing small issues now can prevent frustration later.
A clean cabinet makes your organization system feel fresh from the start. It also helps protect papers, supplies, and equipment from dirt or damage.
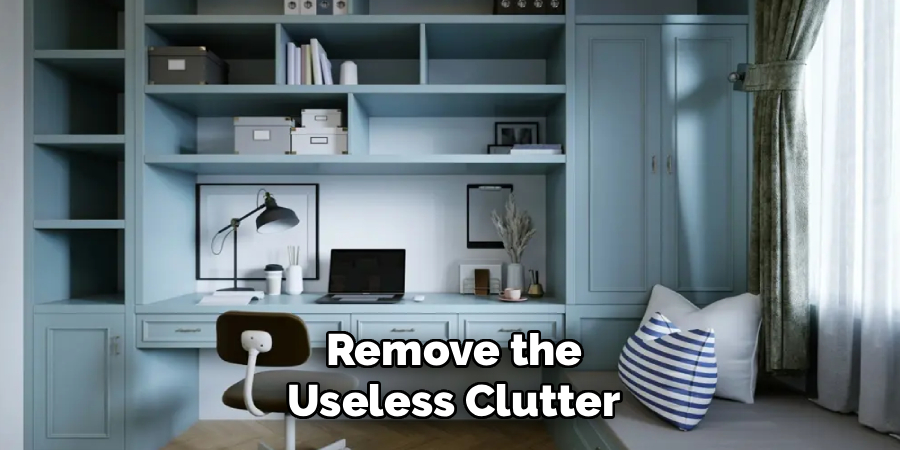
Step 5: Choose Smart Storage Tools
Storage tools help keep items contained and easy to find. Use file folders for documents, bins for loose supplies, drawer dividers for small items, and trays for paper that needs quick access. Clear containers are helpful because you can see what is inside without opening everything.
Avoid buying organizers before you know what you need. Measure your shelves and drawers first so bins and dividers fit well. Oversized containers waste space, while tiny ones can create more clutter.
When deciding how to organize office cabinets, choose tools that match your habits. The best system is one you can use without extra effort.
Step 6: Assign A Purpose To Each Space
Every shelf, drawer, and section should have a clear job. For example, one drawer might hold everyday supplies, one shelf might hold active files, and another area might store printer paper and ink. This prevents random items from spreading through the whole cabinet.
Place frequently used items at eye level or within easy reach. Store heavy items lower to reduce lifting strain and improve safety. Put rarely used items on higher shelves or in the back.
If multiple people use the cabinet, make the layout simple enough for anyone to understand. A clear purpose for each space helps the cabinet stay organized longer.
Step 7: Label Everything Clearly
Labels make your system easy to follow. Label shelves, bins, file folders, and drawers with simple words that explain what belongs there. Clear labels reduce guessing and help everyone return items to the right place.
Use labels that are easy to read from a normal standing position. Avoid vague names like “miscellaneous” unless the container truly holds temporary odds and ends. Too many vague categories can cause clutter to return.
You can use printed labels, a label maker, or neat handwritten tags. The style matters less than clarity. A good label should make the next action obvious.
Step 8: Build A Simple Maintenance Routine
Organization works best when you maintain it regularly. Set aside a few minutes each week to return misplaced items, remove trash, and check supply levels. This small habit prevents cabinets from sliding back into chaos.
Once a month, review files, restock essentials, and clear out anything that no longer belongs. If your office is busy, assign one person or rotate responsibility among team members.
Keep the routine realistic. You do not need a major cleanup every week. A quick reset is usually enough. The goal is to make the cabinet system easy to use and easy to preserve.
Frequently Asked Questions
How Often Should Office Cabinets Be Organized?
Office cabinets should be reviewed lightly once a week and cleaned more thoroughly every few months. Busy offices may need a monthly reset, especially if many people use the same storage. The best schedule depends on how quickly clutter builds up. Regular maintenance prevents small messes from becoming large projects and keeps supplies, files, and equipment easy to find.
What Should I Store In Office Cabinets?
Office cabinets are best for items that support daily work but do not need to sit on your desk. This may include files, paper, envelopes, printer supplies, stationery, manuals, small electronics, and backup office tools. Avoid storing food, personal clutter, or unrelated household items in work cabinets. Keeping the contents focused makes the space more useful and easier to manage.
How Do I Organize Cabinets In A Small Office?
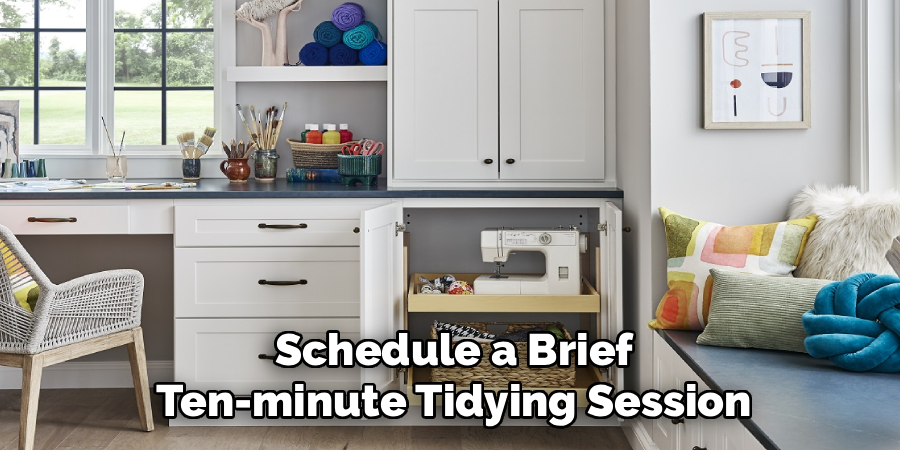
In a small office, focus on vertical space, clear categories, and compact storage tools. Use stackable bins, labeled folders, and drawer dividers to make the most of limited room. Keep only active files and frequently used supplies close by. Move archived records, bulk supplies, and rarely used items to another storage area if possible so the cabinet does not become overcrowded.
What Is The Best Way To Label Office Cabinets?
The best labels are simple, specific, and easy to read. Use names like “printer paper,” “client files,” “shipping supplies,” or “tax records” instead of broad labels that invite clutter. Place labels where users can see them without opening every drawer or bin. If several people use the office, keep the wording consistent so everyone understands the system.
How Can I Stop Office Cabinets From Getting Messy Again?
The easiest way to prevent mess is to give every item a clear home and remove anything that does not belong. Spend a few minutes each week putting items back, checking supplies, and clearing outdated papers. Avoid creating catch-all drawers because they fill quickly. If the system feels hard to follow, simplify the categories until it matches how you actually work.
Conclusion
A well-organized cabinet can change the way your office feels and functions. By emptying one cabinet at a time, sorting items into clear groups, removing clutter, cleaning the space, and using labels, you create storage that supports your daily workflow.
The key is to keep the system simple. Store useful items where they make sense, place frequently used supplies within reach, and build a small maintenance routine so clutter does not return.
If your cabinets feel crowded or confusing, start with just one section today. Once you learn how to organize office cabinets, the rest of your workspace becomes easier to manage, cleaner to use, and more productive every day.

About
Alexis Kerr is a distinguished figure in the world of professional workspace optimization, with a decade of expertise creating innovative and ergonomic office environments. Her professional focus lies in merging organizational psychology with modern spatial design, fostering office setups that are both high-performing and employee-centric. As the lead author for Deskvity, Alexis Kerr delves into the art and science of corporate aesthetics and functionality, inspiring office managers and remote professionals alike.
Education Cornell University
(Ithaca, New York) Bachelor of Science in Design and Environmental Analysis Focus on human factors, workplace strategy, and sustainable interior environments. Gained extensive experience in how physical space influences productivity and mental clarity.
Savannah College of Art and Design (SCAD)
(Savannah, Georgia) Master of Fine Arts in Interior Design Specialized in commercial workspace solutions with a focus on blending digital integration with physical comfort. Participated in high-level industry projects to refine the balance between corporate branding and architectural utility.
Publications and Impact
In Deskvity, Alexis Kerr shares her insights on modern workspace trends, acoustic management, and strategies for efficient layout planning. Her writing bridges the gap between high-level architectural theory and practical day-to-day office needs, making it a must-read for both facility directors and individual professionals looking to elevate their work environment.