

Printer ink can feel expensive, especially when you only need it for drafts, simple labels, practice sheets, or small home projects. That leads many people to wonder whether homemade ink is possible and whether it can be used safely in an inkjet printer. Learning how to make printer ink can help you understand what goes into basic ink, how color and flow work, and why printer manufacturers design ink so carefully.
Still, homemade ink is not the same as manufacturer ink. Commercial formulas are made for specific printheads, nozzles, drying times, paper types, and color standards. A homemade mixture may print unevenly, fade faster, clog the printhead, leak inside the cartridge, or even damage the printer if it is too thick, dirty, or chemically unsuitable.
This guide explains the process in a careful, beginner-friendly way. You will learn what materials are used, how to mix and filter a simple ink solution, and how to test it before taking any risk with your printer.
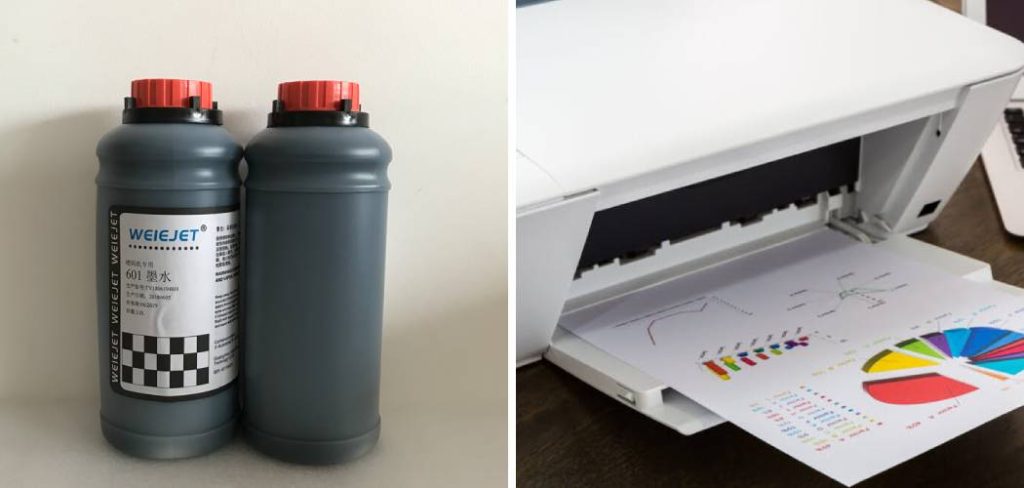
Why Homemade Printer Ink Matters
Homemade printer ink matters because it teaches you how ink works. You can better understand colorants, water balance, drying behavior, and why clean filtering is so important for inkjet printing.
It may also be useful for experiments, art practice, educational projects, or emergency low-quality printing when professional results are not required. For some users, it can reduce waste by helping them reuse refillable cartridges instead of throwing them away.
The main benefit is knowledge, not guaranteed savings. A poor mixture can cost more in repairs than a new cartridge would have cost. For important documents, photos, business use, or expensive printers, manufacturer ink or trusted third-party ink is usually the safer choice.
Step-By-Step Guide To How to Make Printer Inkg Printer Ink
Step 1: Understand Printer Compatibility And Risks
Before mixing anything, confirm what kind of printer you have. Homemade liquid ink is only relevant to inkjet-style printing, not laser printers. Laser printers use toner powder and heat, so liquid ink should never be used in them.
Inkjet printers vary widely. Some use thermal printheads, while others use piezoelectric printheads. These systems move ink in different ways, so thickness, surface tension, and cleanliness matter a lot. If the liquid is too thick or contains tiny particles, it can block the nozzles.
If you are researching how to make printer ink for an expensive printer, pause first. Testing should be done only with a low-value cartridge or an older printer you can afford to risk.
Step 2: Gather Ingredients And Tools
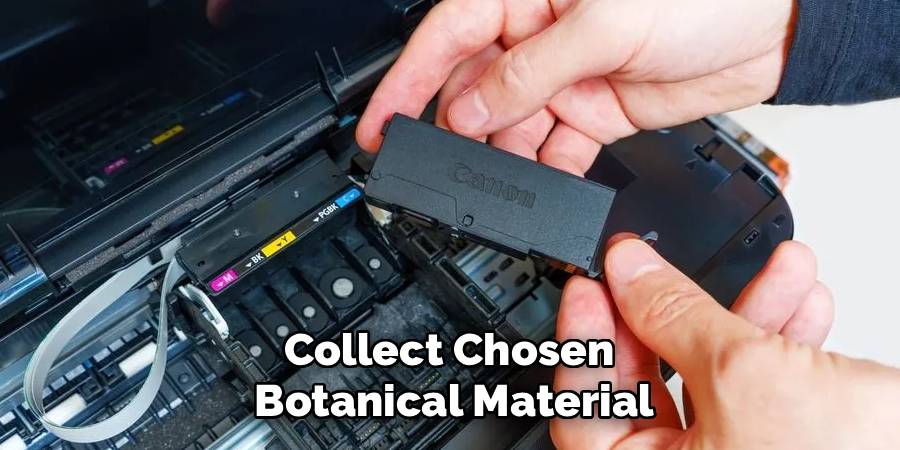
Set up a clean workspace before you begin. You will need distilled water, a colorant, a small amount of humectant such as glycerin, a mild preservative if the ink will be stored, clean glass containers, measuring spoons or a digital scale, disposable gloves, and a fine filter.
Distilled water is important because tap water can contain minerals that may clog printheads or react with colorants. You will also need a syringe or dropper if you plan to fill a refillable cartridge.
Keep paper towels nearby, and protect the work surface. Printer ink can stain skin, counters, fabric, and plastic. Work slowly and keep all tools clean.
Step 3: Choose A Dye Or Pigment Base
The colorant is the part that gives the ink its visible color. Dye-based ink uses colorants that dissolve in liquid. It often flows more easily and produces bright colors, but it may fade faster and bleed more on some paper.
Pigment-based ink uses tiny solid particles suspended in liquid. It can resist fading better, but it is harder to make safely at home because the particles must be extremely fine and evenly dispersed. Large or uneven particles can clog nozzles quickly.
For beginner experiments, dye-based colorants are usually easier to handle. Food coloring, fountain pen ink, or water-soluble dye can be used for testing, but results will vary.
Step 4: Measure Water And Additives
Start with a small batch so you do not waste materials. A simple experimental mixture can begin with mostly distilled water, a small amount of dye, and a few drops of glycerin. Glycerin helps slow drying inside the cartridge and printhead, which may reduce clogging.
Do not add too much glycerin. A mixture that feels slippery or thick may not spray correctly from fine inkjet nozzles. It can smear on paper or fail to dry fast enough.
Keep notes as you measure. Write down the amount of water, dye, and additive used. If a test works better than expected, your notes help you repeat it.
Step 5: Mix The Solution Carefully
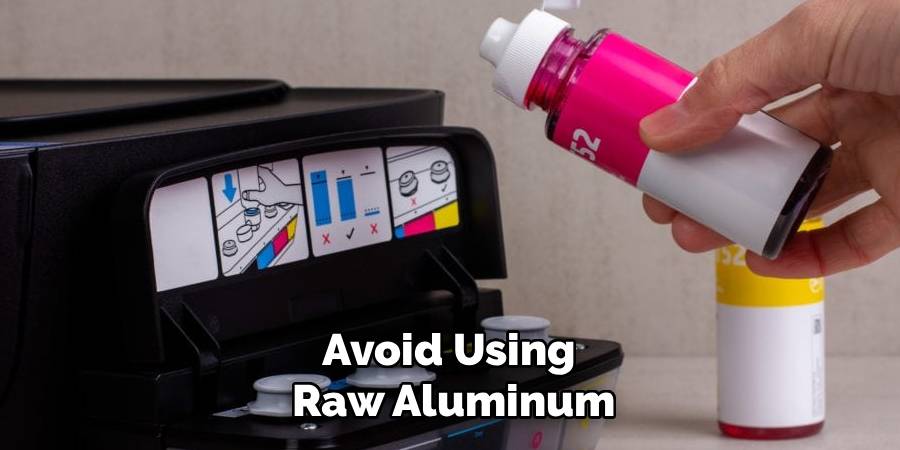
Pour the distilled water into a clean container first. Add the dye slowly while stirring gently. It is better to build color in small amounts than to make the liquid too strong at the start. Very dark ink may look useful, but it can leave heavy deposits or dry poorly.
Add glycerin last and stir until the liquid looks even. Avoid shaking the container hard, because bubbles can make filling and testing messy. Let the mixture sit for a short time so air bubbles can rise.
A careful approach to how to make printer ink means focusing on flow, cleanliness, and balance rather than just making the liquid dark.
Step 6: Filter The Liquid
Filtering is one of the most important steps. Even if the mixture looks smooth, it may contain tiny bits of dust, dye particles, dried material, or lint. These small particles can clog the printhead and cause missing lines, streaks, or total print failure.
Use a very fine filter, such as a laboratory filter, syringe filter, or high-quality coffee filter for basic experiments. A coffee filter may not remove the smallest particles, but it is better than no filtering at all.
Pour slowly and avoid scraping sediment from the bottom of the container. If you see any grit, clumps, or cloudy particles, do not put that liquid into a printer.
Step 7: Test On Sample Paper
Before filling a cartridge, test the ink on plain paper with a dropper, brush, or cotton swab. Watch how it spreads, dries, and looks after a few minutes. If it feathers heavily, the mixture may be too watery. If it stays wet too long, it may contain too much glycerin or dye.
After the paper test, you can test a tiny amount in a refillable cartridge only if you accept the risk. Use an old printer if possible. Print a small test page and check for streaks, weak color, smears, or missing lines.
Stop immediately if the printer makes unusual sounds, leaks, or shows printhead errors.
Step 8: Store And Handle Safely
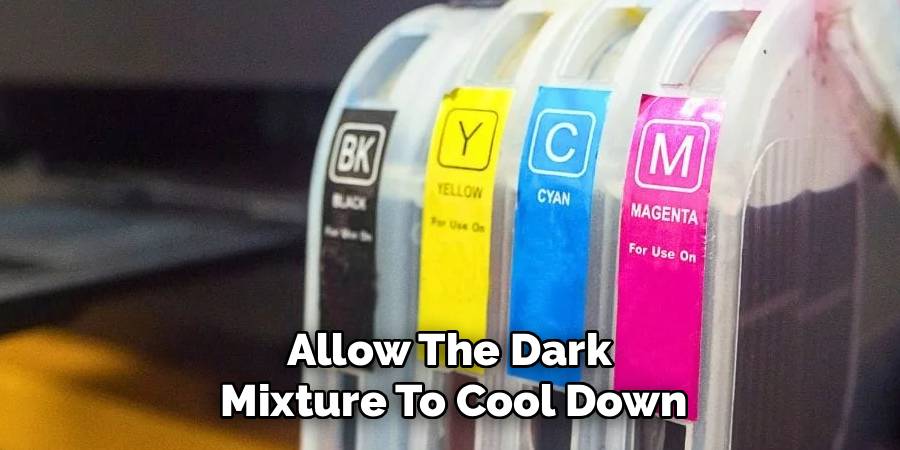
If you store homemade ink, use a clean, sealed glass bottle and label it clearly with the date and ingredients. Keep it away from children, pets, food, heat, and direct sunlight. Some mixtures can grow mold or bacteria over time, especially if no preservative is used.
Do not store ink for long periods unless you understand the ingredients and stability. If the liquid changes smell, separates, thickens, or forms particles, throw it away safely.
Clean tools after use and wipe spills right away. Never mix unknown chemicals, alcohols, cleaners, or solvents into printer ink. They can damage cartridges, release fumes, or react badly with printer parts.
Frequently Asked Questions
Can Homemade Ink Damage My Printer?
Yes, homemade ink can damage a printer if it is too thick, poorly filtered, chemically unsuitable, or contaminated with particles. Inkjet printheads have very small nozzles, so even tiny debris can cause clogs. The wrong mixture may also leak, dry inside the cartridge, or affect sensors. Use it only for low-risk testing, and avoid it in expensive or important printers.
Is Homemade Ink As Good As Store-Bought Ink?
Homemade ink usually does not match store-bought ink in color accuracy, drying speed, fade resistance, or printhead safety. Manufacturer ink is carefully designed for specific printer models and tested for long-term use. Homemade versions may work for simple experiments, but they are not ideal for photos, business documents, archival prints, or any job that needs reliable quality.
What Is The Safest Colorant To Use?
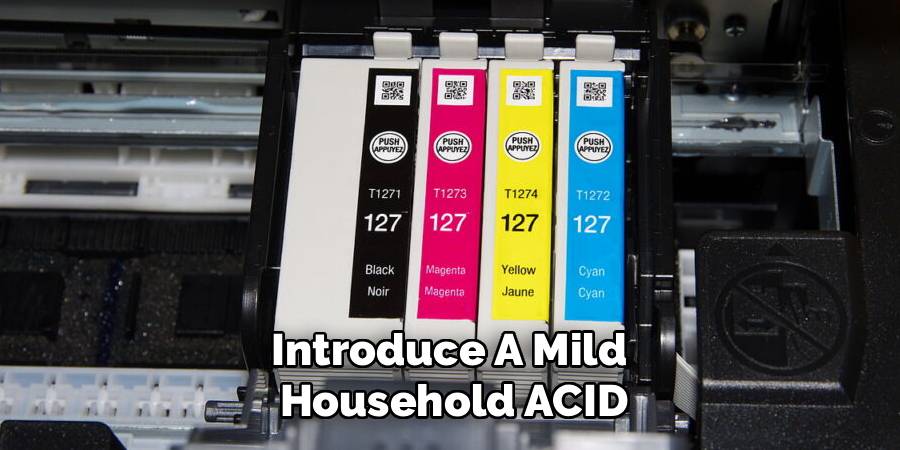
A water-soluble dye is usually easier for beginners than a pigment because it dissolves more evenly and is less likely to contain clogging particles. However, not every dye is safe for printers. Food coloring or fountain pen ink may work for paper tests, but they can still behave poorly in cartridges. Always filter the liquid and test with caution.
Can I Refill Any Ink Cartridge With Homemade Ink?
No, not every cartridge is easy or safe to refill. Some cartridges have chips, foam chambers, pressure systems, or built-in printheads that make refilling difficult. Others may reject refills or report empty even after liquid is added. Refillable cartridges are better for experiments because they are designed for repeated filling and are easier to inspect and clean.
Why Does Homemade Ink Clog Printheads?
Clogs happen when particles, dried dye, thick additives, or mineral deposits block the tiny nozzles. Homemade mixtures are more likely to clog because they are not made with the same controlled equipment and filtration used by ink manufacturers. Drying inside the printhead can also cause problems. Using distilled water, careful filtering, and small test batches can reduce risk, but not remove it.
Conclusion
Making basic printer ink at home is possible as an educational project, but it requires care, clean tools, proper filtering, and realistic expectations. Homemade ink may not print like commercial ink, and it can clog printheads or damage printers if the mixture is too thick, dirty, or incompatible.
The safest path is to start small, test on paper first, and avoid using homemade mixtures in printers you depend on. If you still want to explore how to make printer ink, treat it as a learning experiment rather than a guaranteed replacement for manufacturer ink.

About
Alexis Kerr is a distinguished figure in the world of professional workspace optimization, with a decade of expertise creating innovative and ergonomic office environments. Her professional focus lies in merging organizational psychology with modern spatial design, fostering office setups that are both high-performing and employee-centric. As the lead author for Deskvity, Alexis Kerr delves into the art and science of corporate aesthetics and functionality, inspiring office managers and remote professionals alike.
Education Cornell University
(Ithaca, New York) Bachelor of Science in Design and Environmental Analysis Focus on human factors, workplace strategy, and sustainable interior environments. Gained extensive experience in how physical space influences productivity and mental clarity.
Savannah College of Art and Design (SCAD)
(Savannah, Georgia) Master of Fine Arts in Interior Design Specialized in commercial workspace solutions with a focus on blending digital integration with physical comfort. Participated in high-level industry projects to refine the balance between corporate branding and architectural utility.
Publications and Impact
In Deskvity, Alexis Kerr shares her insights on modern workspace trends, acoustic management, and strategies for efficient layout planning. Her writing bridges the gap between high-level architectural theory and practical day-to-day office needs, making it a must-read for both facility directors and individual professionals looking to elevate their work environment.