

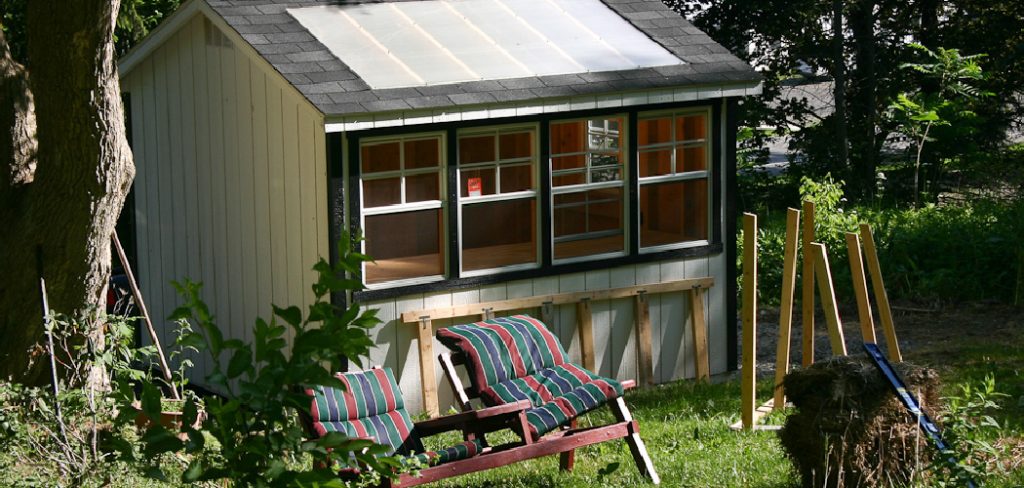
A shed can become much more than a place for lawn tools, paint cans, and storage boxes. With the right plan, it can turn into a quiet, comfortable workspace that separates your job from the distractions inside your home. For remote workers, freelancers, business owners, and hobbyists, learning how to convert a shed into an office can be a smart way to gain usable space without building a full home addition.
The process is not just about adding a desk and chair. A good shed office needs weather protection, insulation, power, lighting, ventilation, security, and a layout that supports real work. If you skip those basics, the space may feel too hot, too cold, too dark, or too uncomfortable to use every day.This guide walks you through the key steps in a beginner-friendly way, from checking the structure to finishing the interior.
Why A Shed Office Conversion Makes Sense
A shed office gives you a dedicated workspace close to home but separate from daily household noise. That separation can improve focus, reduce interruptions, and help you create a clearer work-life boundary.
It can also add practical value to your property. A well-finished shed office may serve as a remote work area, creative studio, reading room, client meeting space, or study area. Compared with a home addition, it is often faster and less disruptive.
The biggest benefit is control. You can design the space around your work style, comfort needs, storage, lighting, and privacy.
Step-By-Step Guide on How To Convert A Shed Into An Office
Step 1: Check The Shed Structure
Start by checking whether the shed is strong enough for daily use. Look at the floor, walls, roof, doors, and windows. The shed should feel stable when you walk inside, and the floor should not sag, bounce, or show signs of rot.
Pay close attention to water damage. Dark stains, soft wood, mold, and musty smells can point to leaks or poor drainage. These issues should be fixed before you spend money on insulation, wiring, or interior finishes.
If the shed is old or poorly built, ask a contractor to inspect it. A solid structure is the base of a safe and long-lasting office.
Step 2: Review Permits And Local Rules
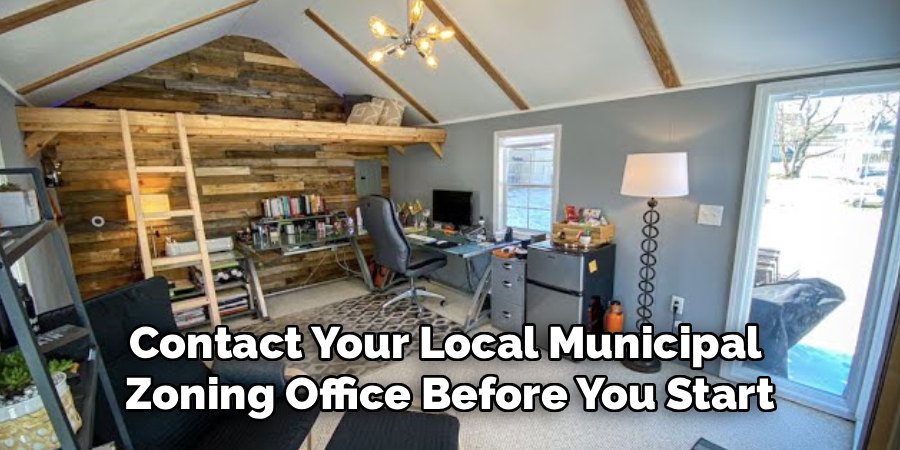
Before making changes, check local building codes, zoning rules, and homeowners association requirements. Some areas allow simple shed upgrades without a permit, while others require approval for electrical work, insulation, heating, cooling, or regular occupancy.
This step matters when planning how to convert a shed into an office because rules can affect your budget and design. For example, adding permanent power may require a licensed electrician. Running internet cables or installing climate control may also need approval.
Do not assume a backyard shed is automatically approved as an office. A quick call to your local building department can prevent fines, delays, or forced changes later.
Step 3: Make The Shed Weatherproof
A workspace must stay dry in every season. Check the roof first, since even small leaks can damage insulation, wiring, flooring, and furniture. Replace missing shingles, seal gaps, and make sure water drains away from the structure.
Next, inspect doors, windows, siding, and wall seams. Use exterior-grade caulk or weatherstripping to close small gaps. If rainwater pools around the shed, improve grading or add drainage so moisture moves away from the foundation.
Weatherproofing may not feel exciting, but it protects every upgrade that follows. If you only remember one thing, remember this: comfort starts with a dry shell.
Step 4: Add Proper Insulation
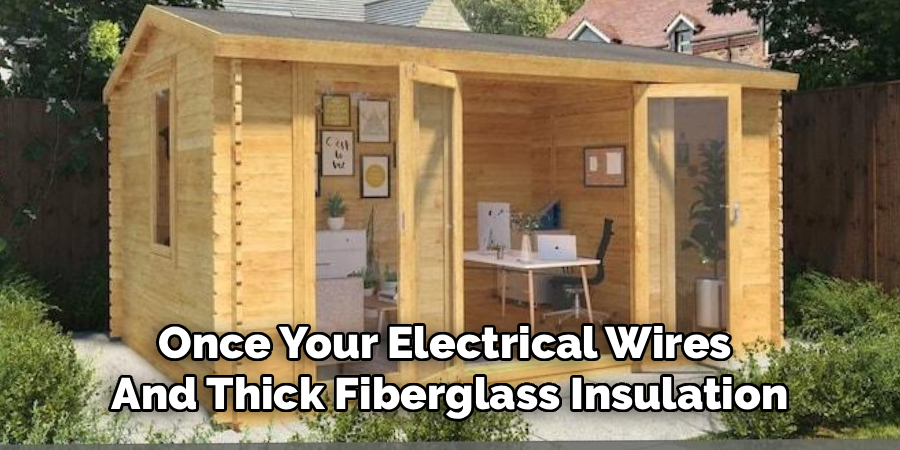
Insulation helps keep the office comfortable in hot and cold weather. Without it, the shed may become freezing in winter and overheated in summer. Insulate the walls, ceiling, and floor if possible, because heat can move through all sides of the structure.
Common options include fiberglass batts, rigid foam boards, and spray foam. Each has different costs, installation needs, and moisture control benefits. For many DIY projects, rigid foam or fiberglass can work well when installed carefully.
Leave room for ventilation and avoid trapping moisture inside the walls. If you are unsure about vapor barriers, ask a local contractor what works best in your climate.
Step 5: Plan Safe Electrical Power
Most shed offices need power for a computer, monitor, printer, lights, heater, fan, router, and chargers. Extension cords are not a safe long-term solution for a daily office. A better option is a dedicated electrical supply installed by a qualified electrician.
Think through your power needs before work begins. Decide where your desk will go, where outlets should be placed, and whether you need exterior lighting. You may also want a separate circuit for heating or cooling equipment.
Safe wiring is one area where expert help is worth it. Good electrical planning improves safety, function, and resale value.
Step 6: Install Lighting And Ventilation
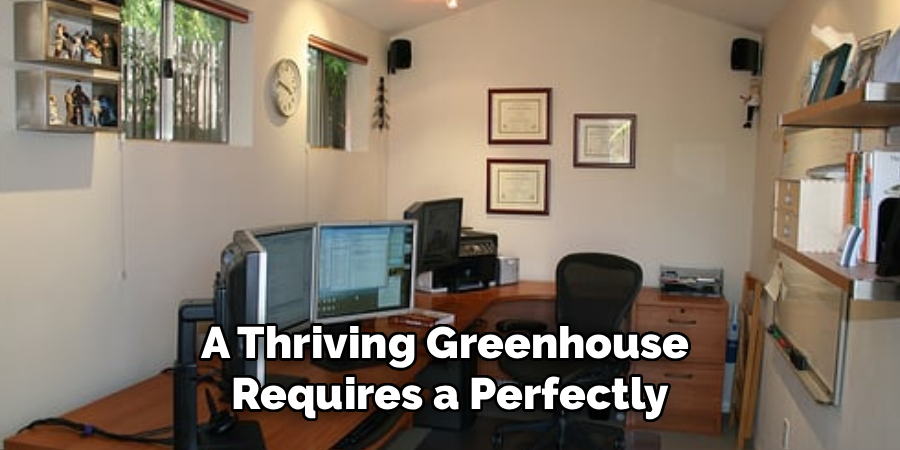
Good lighting makes the space easier to use for long work sessions. Natural light is helpful, but it may not be enough on cloudy days or during evening hours. Add overhead lighting for general brightness and a desk lamp for focused tasks.
Ventilation is just as important. A sealed shed can become stuffy, damp, and uncomfortable. Windows that open, wall vents, exhaust fans, or a small ventilation system can help move air through the space.
Fresh air also protects your materials and electronics. A dry, well-ventilated office is less likely to develop mold, odors, or condensation.
Step 7: Choose Heating And Cooling
A common mistake in how to convert a shed into an office is waiting until the end to think about temperature control. A shed office must be usable in real weather, not just on mild days.
For cooling, you may use a portable air conditioner, mini-split system, window unit, or fan, depending on the shed size and electrical setup. For heating, options may include an electric wall heater, oil-filled radiator, mini-split, or other safe indoor-rated heater.
Choose equipment based on the shed’s insulation, climate, and square footage. Avoid fuel-burning heaters unless the space is designed for safe ventilation and approved use.
Step 8: Finish The Interior Walls And Floor
Once the shed is dry, insulated, wired, and climate-ready, you can finish the inside. Drywall gives a clean home-office look, while plywood or wall panels may be easier for DIY installation. Paint the walls in light colors to make the space feel larger and brighter.
Flooring should be durable and comfortable. Vinyl plank, laminate, sealed plywood, or engineered flooring can work well. Add a rug if you want warmth and sound control.
This is also the time to hide cables, add trim, and create a polished look. Small finishing details can make the shed feel like a real office instead of a storage space.
Step 9: Set Up Furniture And Storage
Choose furniture that fits the shed without crowding it. A compact desk, ergonomic chair, shelves, and a filing cabinet may be enough for most people. Measure before buying anything, especially if the shed has low walls or a narrow doorway.
Place your desk where glare is low and outlets are easy to reach. If you take video calls, think about what appears behind you. A simple wall, shelf, or plant can create a clean background.
Storage should support your work, not take over the room. Keep only what you use often, and avoid turning the office back into a shed.
Step 10: Improve Security And Internet Access
Your shed office may hold electronics, documents, and work equipment, so security matters. Install a strong lock, secure windows, and consider motion lighting. If the shed is far from the house, a camera or alarm sensor can add peace of mind.
Reliable internet is also essential. Depending on distance, you may use a Wi-Fi extender, mesh system, outdoor-rated Ethernet cable, or powerline adapter. Test the connection before you commit to your final desk location.
Security and connectivity make the space practical. Once both are handled, your shed office is ready for real daily use.
Frequently Asked Questions
How Much Does It Cost To Turn A Shed Into An Office?
The cost depends on the shed’s condition, size, location, and the level of finish you want. A basic conversion may cost a few thousand dollars if the structure is already sound. A more complete office with insulation, electrical work, drywall, flooring, internet, and heating or cooling can cost much more. Electrical installation, structural repairs, and climate control are often the biggest expenses.
Do I Need A Permit For A Shed Office?
You may need a permit, especially if you add electrical wiring, plumbing, permanent heating, cooling, or major structural changes. Rules vary by city, county, and neighborhood. Some areas also limit shed size, height, use, or placement near property lines. Before starting, contact your local building department. Getting clear answers early can save time, money, and stress.
Can Any Shed Be Converted Into An Office?
Not every shed is a good candidate. The best sheds have a solid frame, dry roof, level floor, and enough interior space for comfortable work. A shed with major rot, leaks, pest damage, or poor construction may cost more to repair than replace. If the structure feels unstable or has visible damage, get a professional opinion before investing in upgrades.
What Is The Best Insulation For A Shed Office?
The best insulation depends on your climate, budget, and wall construction. Fiberglass batts are common and affordable, but they must stay dry. Rigid foam boards can provide good thermal performance and moisture resistance. Spray foam seals gaps well but usually costs more. For best results, insulate the walls, roof, and floor, then add proper ventilation to control moisture.
How Do I Keep A Shed Office Comfortable Year-Round?
Comfort comes from combining insulation, air sealing, ventilation, and temperature control. Seal gaps first so drafts and moisture do not enter. Add insulation to reduce heat loss and heat gain. Use windows, vents, or fans for airflow. Then choose heating and cooling equipment sized for the space. A well-sealed and insulated shed is much easier to keep comfortable.

Conclusion
A shed office can give you a quiet, useful workspace without taking over a bedroom, dining table, or corner of the living room. The best results come from doing the project in the right order: inspect the structure, handle permits, weatherproof the shell, add insulation, plan power, improve comfort, finish the interior, and set up security.
Now that you understand how to convert a shed into an office, start with a simple inspection and a realistic budget. Fix moisture and structural issues first, then build a space that supports your work every day.