

Establishing a reliable and secure office network serves as the backbone of modern business operations. A properly configured network ensures that employees can communicate efficiently, share resources seamlessly, and access critical data without interruption.
Designing this infrastructure requires careful planning, appropriate hardware selection, and a strong focus on security protocols. Rather than patching together temporary fixes as your business grows, investing time and resources into a professional network setup prevents downtime and protects sensitive information.
This comprehensive guide on how to set up office network provides everything required to build a robust, scalable, and secure office network from the ground up, tailored specifically for professional environments.
What Will You Need?
Building a dependable office network requires a combination of high-quality hardware and management software. You must gather the following components before beginning the installation process.
Hardware Requirements:
- Modem: Connects your office to your Internet Service Provider.
- Business-Class Router: Directs traffic between your internal network and the outside internet while providing initial security routing.
- Network Switches: Connect all wired devices within the office, allowing them to communicate with each other. Look for managed switches for better control.
- Wireless Access Points (WAPs): Broadcast the Wi-Fi signal throughout the workspace to ensure mobile devices and laptops stay connected.
- Ethernet Cables: High-speed cables (Cat 6 or Cat 6a) to physically connect hardware.
- Patch Panels and Racks: Organize cables and house your networking equipment safely.
- Dedicated Server or Network Attached Storage (NAS): Hosts centralized files, applications, and backups.
Software Requirements:
- Hardware Firewall: Advanced threat protection software integrated into your routing equipment.
- Network Management Software: Tools to monitor traffic, device health, and bandwidth usage.
- Endpoint Security: Antivirus and anti-malware software for all connected devices.
10 Easy Steps on How to Set Up Office Network
Step 1: Assess Your Office Needs
Before purchasing a single cable, you must evaluate exactly what your business requires from its network. Examine the physical layout of your office space to determine where employees will sit, where heavy machinery or large physical obstacles exist, and where the server room will be located. Calculate the total number of users who will connect to the network daily, and factor in the multiple devices each user might carry, such as laptops, smartphones, and tablets.
Consider the type of work your team performs; a video production company requires significantly more bandwidth and local storage speed than an accounting firm handling text-based spreadsheets. Documenting these specific operational requirements establishes a clear blueprint that guides all subsequent purchasing and configuration decisions, ensuring you do not overspend on unnecessary equipment or under-equip your growing workforce.

Step 2: Choose the Right Internet Service Provider
Your internal network is only as effective as the external connection supplying it with data. Research and select an Internet Service Provider (ISP) that offers business-grade connectivity with a Service Level Agreement (SLA). Unlike residential connections, business SLAs guarantee specific uptime percentages and provide expedited support if the connection fails.
Evaluate the bandwidth options carefully. You need substantial download speeds for retrieving files and cloud computing, but equally important are robust upload speeds for video conferencing, VoIP phone systems, and sending large files to clients. Fiber-optic connections generally provide the best symmetric speeds and reliability. Always order slightly more bandwidth than you currently need to accommodate sudden bursts in network traffic and future business expansion without requiring an immediate contract renegotiation.
Step 3: Map Out the Network Topology
Creating a visual diagram of your network topology is crucial for a smooth installation. Network topology refers to the physical and logical arrangement of your routers, switches, servers, and access points. Choose a central location for your main server room or networking closet; it should be secure, well-ventilated, and easily accessible to IT personnel.
On your floor plan, plot exactly where each network drop (wall port) will go, ensuring every workstation has access to a hardwired Ethernet connection. Mark the ceiling locations for wireless access points, spacing them out to ensure overlapping coverage and eliminate dead zones. This detailed mapping phase prevents costly mistakes during the physical cabling process and provides a permanent reference document for future troubleshooting or hardware upgrades.
Step 4: Select the Hardware and Equipment
Using your network map and needs assessment, procure the necessary hardware. Avoid the temptation to purchase consumer-grade networking equipment from a local electronics store, as these devices lack the processing power, security features, and durability required for a commercial environment. Invest in a business-class router capable of handling hundreds of simultaneous connections and featuring integrated VPN capabilities.
Purchase managed network switches, which allow administrators to monitor traffic on individual ports and configure virtual local area networks (VLANs) for better security and performance segregation. Select wireless access points that support the latest Wi-Fi standards (such as Wi-Fi 6) to ensure maximum throughput for wireless devices. Ensure all hardware is compatible and ideally sourced from the same manufacturer to simplify ongoing management and firmware updates.
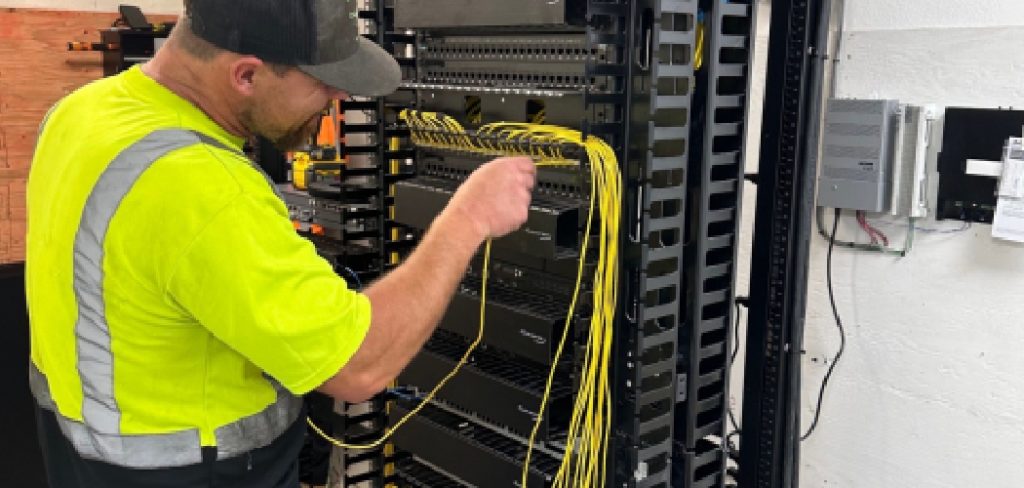
Step 5: Run the Cabling and Set Up the Server Room
With equipment in hand, begin the physical infrastructure installation. Start by establishing the central server room. Install an equipment rack to securely mount your routers, switches, and patch panels. Implement proper cable management from day one; disorganized cables lead to overheating and make troubleshooting incredibly difficult.
Run Ethernet cables (preferably Cat 6 or higher for future-proofing) from the central patch panel through the walls and ceilings to every workstation and access point location identified in your topology map. Terminate these cables into neat wall jacks. Label both ends of every single cable clearly. This meticulous approach to cabling ensures maximum data transfer speeds, minimizes electromagnetic interference, and creates a highly professional, easily maintainable physical infrastructure for your entire office.
Step 6: Configure the Primary Router and Firewall
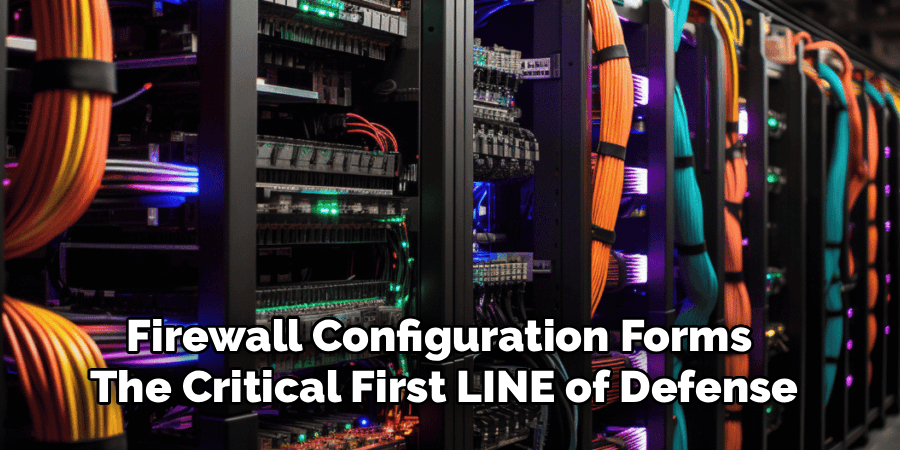
Once the physical connections are established, power on your primary router and begin configuration. Change all default administrator usernames and passwords immediately to secure, complex alternatives. Assign a static IP address to your router to ensure consistent connectivity. Next, configure the firewall settings.
The firewall acts as the security checkpoint between your internal network and the external internet. Create strict rules that block unauthorized incoming traffic while allowing legitimate business applications to function. Set up a Virtual Private Network (VPN) gateway on the router, which allows remote employees to securely access office files and servers from home or while traveling. Proper router and firewall configuration forms the critical first line of defense against external cyber threats and malicious intrusions.
Step 7: Connect and Configure the Network Switches
Connect your router to your core network switches, and then connect your patch panel runs to the switches. If you purchased managed switches, you now have the opportunity to segment your network into Virtual Local Area Networks (VLANs). Segmenting your network improves both security and performance by separating different types of traffic.
For example, you can create one VLAN strictly for VoIP desk phones, another for standard employee computer data, and a third for security cameras. This ensures that a heavy file download by an employee does not degrade the call quality of a sales representative on the phone. Configure Quality of Service (QoS) protocols on the switches to prioritize critical business traffic over lower-priority data like video streaming or casual web browsing.
Step 8: Deploy Wireless Access Points
Mount your wireless access points in the locations predetermined by your topology map. Connect them to the network switches using the overhead Ethernet cables. Whenever possible, use switches with Power over Ethernet (PoE) capabilities, which supply both data and electrical power to the access points through a single cable, eliminating the need for nearby electrical outlets.
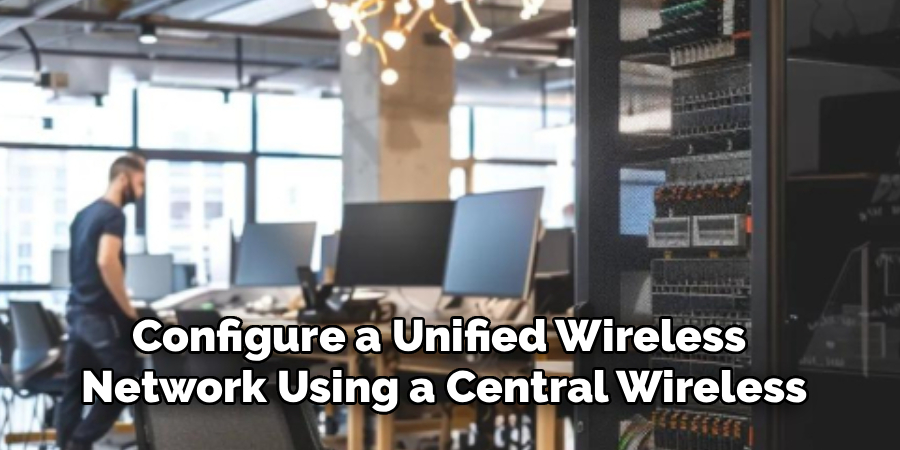
Configure a unified wireless network using a central wireless controller or cloud management platform. Create two distinct Wi-Fi networks: a secure, encrypted internal network for company-owned devices that requires strong authentication, and a separate, isolated guest network for visitors. The guest network must only provide internet access and should strictly block any communication with your internal servers, workstations, or sensitive business data.
Step 9: Establish Security Protocols and User Access
With the hardware functioning and network segmented, establish comprehensive user access controls. Implement a directory service, such as Active Directory, to manage employee accounts, passwords, and permissions from a central location. Follow the principle of least privilege: employees should only have access to the specific files, folders, and network resources required to perform their daily jobs.
Enforce strong password policies that require regular updates and a mix of characters. Deploy multi-factor authentication (MFA) for all remote access and administrative logins. Ensure that endpoint protection software is installed on every device connecting to the network. Educate your staff on basic cybersecurity hygiene, as human error remains one of the largest vulnerabilities in any network security posture.
Step 10: Test the Network and Monitor Performance
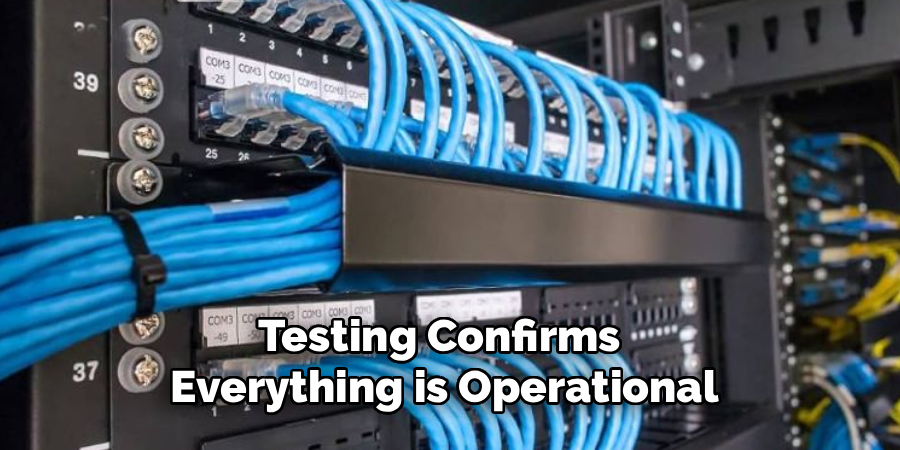
The final step involves rigorous testing and establishing ongoing monitoring protocols. Walk through the office with a laptop and smartphone to test wired and wireless connections at various locations. Check for Wi-Fi dead zones and verify that devices transition smoothly between different access points without dropping the connection. Test all peripheral devices, including shared printers and local servers, to ensure they are accessible to authorized users.
Once testing confirms everything is operational, deploy network monitoring software. This software provides real-time visibility into network traffic, alerting administrators to bandwidth bottlenecks, failing hardware, or suspicious activity. Continuous monitoring allows you to proactively identify and resolve minor issues before they escalate into major disruptions, ensuring the long-term reliability of your office network.
Conclusion
How to set up office network requires diligence, careful mapping, and an unwavering commitment to security.
By investing in business-grade hardware, structuring your cabling professionally, and enforcing strict access controls, you create a digital environment that empowers your employees rather than hindering them.
A well-executed network installation minimizes downtime, protects your proprietary information, and provides the scalable infrastructure necessary to support your business’s future growth and success.