

Royal Kludge keyboards are a popular choice for anyone who wants a solid mechanical typing experience without spending a fortune. Many models support Bluetooth, 2.4GHz wireless, and wired connections, which gives you real flexibility across devices. But if you have never set up a wireless keyboard before, getting it connected for the first time can feel confusing.
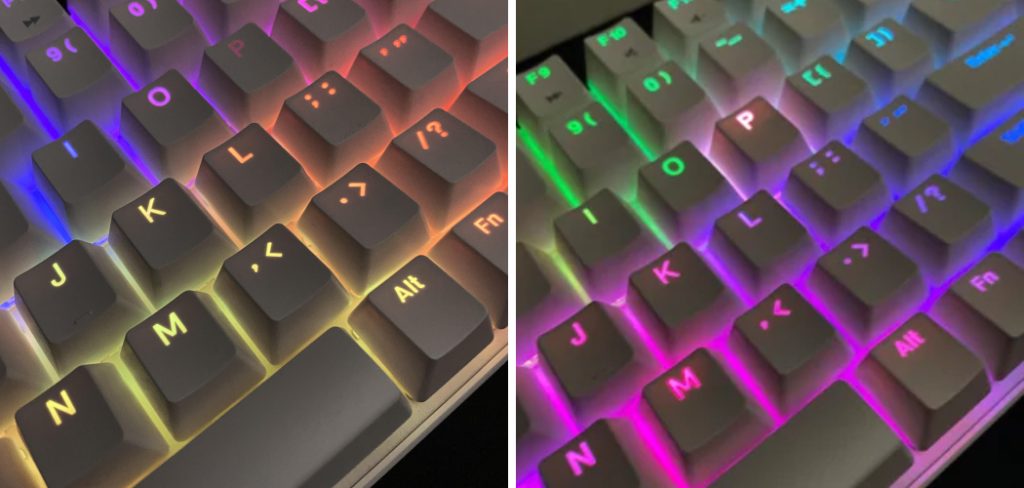
This guide walks you through how to pair royal kludge keyboard models step by step, using clear language that works for complete beginners. You will learn how to check your connection options, switch modes, enter pairing mode, and connect to Windows, Mac, or mobile devices. There is also a troubleshooting section for when things do not go as expected.
Why Pairing A Royal Kludge Keyboard Matters
Getting the pairing process right from the start saves you time and prevents frustrating connection problems later. A Royal Kludge keyboard paired correctly responds instantly, holds its connection reliably, and switches between devices without lag or repeated setup.
Beyond convenience, knowing how to pair and switch connections properly lets you get the most out of multi-device support. Many Royal Kludge models can store up to three Bluetooth profiles plus a 2.4GHz mode. That means you can move between your work laptop, home PC, and phone without unplugging anything.
A stable, correctly configured connection also reduces input delay, which matters for typing comfort and accuracy over long sessions. Getting this right once pays off every day you use the keyboard.
Step-By-Step Guide To How To Pair Royal Kludge Keyboard
Step 1: Check Your Keyboard Model And Connection Modes
Before anything else, confirm which Royal Kludge model you own and what connection options it supports. Look at the bottom of the keyboard, the box, or the product listing. Models like the RK61, RK68, RK84, and RK100 often support Bluetooth 5.0, a 2.4GHz USB dongle, and wired USB. Some entry-level models only support wired or Bluetooth connections.
This matters because the pairing steps differ depending on which mode you use. Knowing your options before you begin prevents you from searching for a dongle your keyboard does not include or trying to pair over Bluetooth when the model is wired-only.
Step 2: Charge the Internal Battery Completely
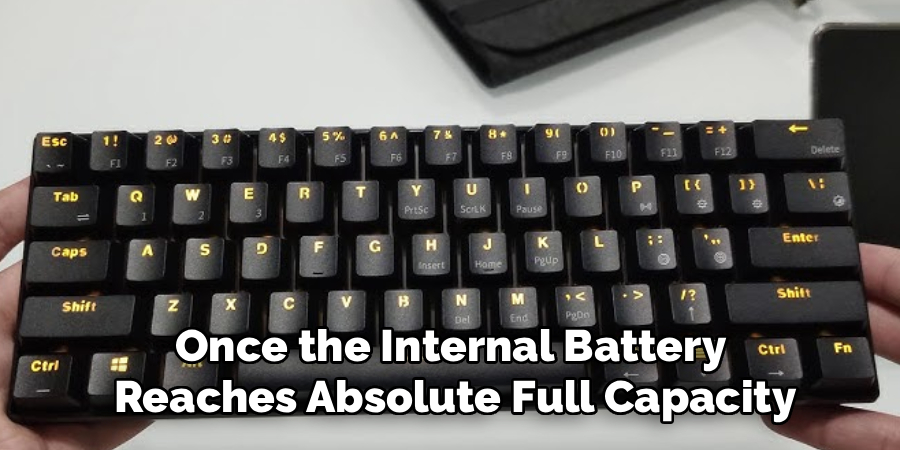
Before you attempt to connect the device to your primary desktop computer, you must ensure the internal battery possesses a massive amount of stored electrical energy. Think of this crucial charging phase exactly like deeply soaking a dry, dormant seed before placing it into the warm spring soil. Plug the provided braided cable directly into the top of the plastic chassis and connect the other end to an active USB port.
A bright indicator light will immediately illuminate, letting you know the device is currently drinking up the electrical power. Allow the unit to rest completely undisturbed for several hours until the light turns green. A fully saturated battery guarantees a perfectly stable, highly reliable wireless connection for your important typing sessions.
Step 3: Switch To The Correct Connection Mode
Royal Kludge keyboards typically have a dedicated switch or key combination for changing between wired, 2.4GHz, and Bluetooth modes. Look for a physical toggle on the back or bottom of the keyboard. Common positions are labeled as “BT” for Bluetooth, “2.4G” for the wireless dongle, and “USB” or a cable icon for wired.
Slide the switch to your preferred mode before continuing. If you plan to use Bluetooth, set the switch to BT. If you are using the included USB dongle, set it to 2.4G. Choosing the wrong mode is one of the most common reasons a keyboard fails to appear on a device during setup.
Step 4: Enter Pairing Mode For Bluetooth Connections
To connect over Bluetooth, the keyboard needs to broadcast a signal that your device can detect. On most Royal Kludge keyboards, you can enter Bluetooth pairing mode by holding the Fn key along with one of the number keys — typically Fn + 1, Fn + 2, or Fn + 3 to select one of three Bluetooth channels.
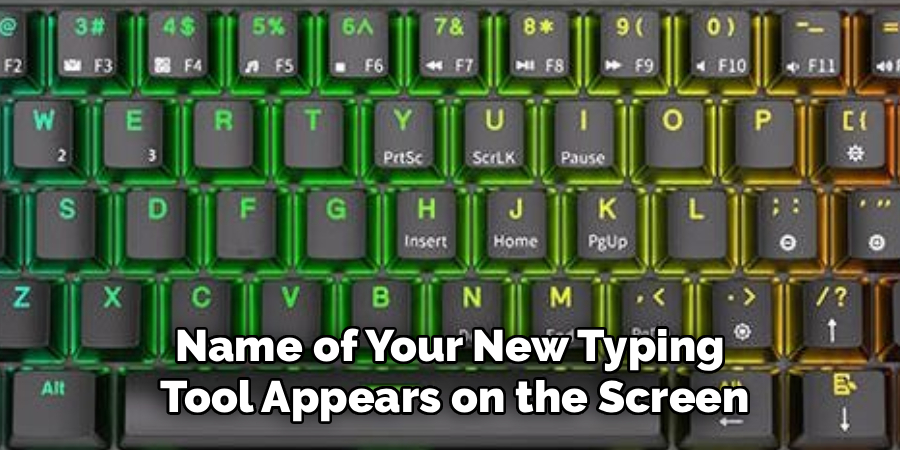
Hold the combination for about three seconds. The indicator light should start blinking rapidly, which means the keyboard is actively searching for a device to pair with. Each number key corresponds to a separate saved device, so you can dedicate channel 1 to your PC, channel 2 to your laptop, and channel 3 to your phone.
Step 5: Connect From Your Device
This is where learning how to pair royal kludge keyboard models becomes straightforward once you are in the right mode. On a Windows PC, open Settings, go to Bluetooth and Devices, and click Add Device. Choose Bluetooth and wait for the keyboard to appear in the list. Select it, confirm any pairing code if prompted, and the connection should complete within a few seconds.
On a Mac, go to System Settings, select Bluetooth, and look for the keyboard in the list of available devices. On Android or iOS, open Bluetooth settings and tap the keyboard name when it appears. Once paired, the blinking light should slow down or turn solid, confirming a successful connection.
Step 6: Set Up The 2.4GHz Dongle If Using Wireless Mode
The 2.4GHz connection uses a small USB receiver that comes with compatible Royal Kludge models. Plug the dongle into a USB port on your computer. Make sure the keyboard is switched to the 2.4G mode using the physical toggle. In most cases, the keyboard and dongle are pre-paired from the factory, so the connection should establish automatically within a few seconds of turning on the keyboard.
If the dongle does not connect right away, try removing it and plugging it into a different USB port. Avoid using USB hubs when possible, since direct ports provide a stronger and more stable signal for wireless input devices.
Step 7: Troubleshoot If The Keyboard Does Not Connect
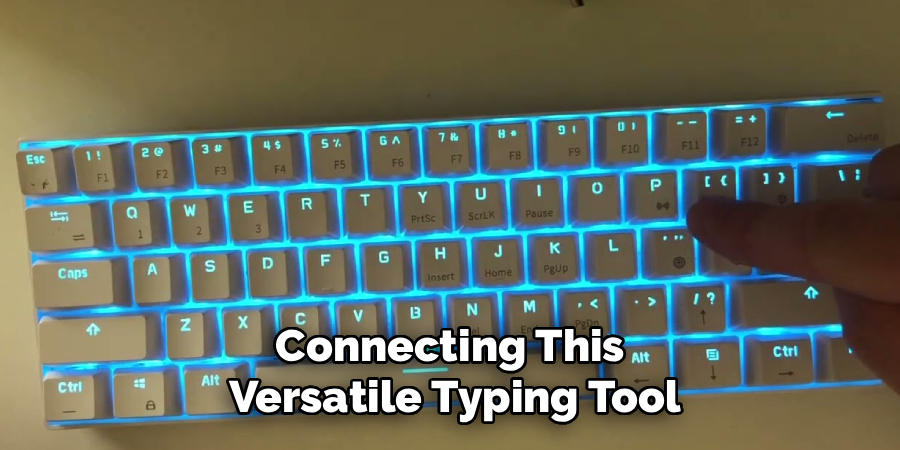
Understanding how to pair royal kludge keyboard devices fully includes knowing what to do when pairing fails. If your keyboard does not appear on your device, start by confirming the correct mode is selected, the battery is charged, and pairing mode was properly activated. Then turn Bluetooth off and back on from your device’s settings and try again.
If the keyboard was previously paired to another device on the same channel, clear the old pairing first by holding Fn plus the channel key for about five seconds until the light flashes again. On your computer, remove the keyboard from saved Bluetooth devices before attempting a fresh connection.
Frequently Asked Questions
Why Is My Royal Kludge Keyboard Not Showing Up On Bluetooth?
The most common reason is that the keyboard is not in active pairing mode. Make sure the physical switch is set to Bluetooth and that you held the correct Fn key combination long enough to activate the flashing pairing indicator. Also check that your device’s Bluetooth is turned on and searching. If the keyboard was previously paired to the same channel on another device, clear that old pairing from the keyboard side before trying again.
Can I Connect My Royal Kludge Keyboard To Multiple Devices At Once?
You cannot use the keyboard on two devices simultaneously, but many Royal Kludge models support up to three saved Bluetooth channels plus a 2.4GHz connection. This lets you store up to four different devices and switch between them using Fn plus the corresponding number key. You do need to switch actively — the keyboard connects to one device at a time — but the channel-switching process takes just a second or two.
How Do I Switch Between Bluetooth Channels?
Press Fn plus the number key for the channel you want — Fn + 1, Fn + 2, or Fn + 3 for Bluetooth channels. The keyboard will briefly flash its indicator light as it switches and then reconnect to the device previously paired on that channel. If no device was paired there before, it will enter pairing mode automatically. This feature is useful when you regularly move between a work computer, a personal laptop, and a tablet.
Does The 2.4GHz Mode Need Any Software Or Drivers?
No, the 2.4GHz dongle works as a plug-and-play device on most operating systems, including Windows and macOS. Simply plug the receiver into a USB port, set the keyboard to 2.4G mode using the physical switch, and turn it on. The connection establishes automatically without requiring software installation. If your computer does not recognize the dongle immediately, try a different USB port or restart the computer with the dongle already plugged in.
Why Does My Keyboard Keep Disconnecting After Pairing?
Repeated disconnections are usually caused by low battery, a power-saving setting on your computer, or interference from other wireless devices. Charge the keyboard fully and check your computer’s Bluetooth settings to disable any option that allows the system to turn off Bluetooth to save power. Keep the keyboard within a reasonable range — within about 10 meters for most models. Avoid placing it near routers, speakers, or other wireless peripherals that operate on similar frequencies.
Conclusion
Pairing a Royal Kludge keyboard is a quick process once you understand the steps. Start by confirming your model’s connection options, charge the keyboard, select the right mode, activate pairing, and connect from your device. For 2.4GHz users, just plug in the dongle and power on the keyboard.
If something goes wrong, clearing old pairings and restarting the pairing sequence usually resolves the issue without much effort. Now that you have a clear framework for how to pair royal kludge keyboard models, go ahead and set up your first connection — or finally get that multi-device switching working the way it was designed to.
