

Preserving heavy or antique furniture during a move often presents a significant logistical challenge. These desks carry considerable historical value, yet they are notoriously difficult to transport intact due to their immense weight and awkward center of gravity. Moving one without preparation could potentially lead to structural stress or permanent damage.
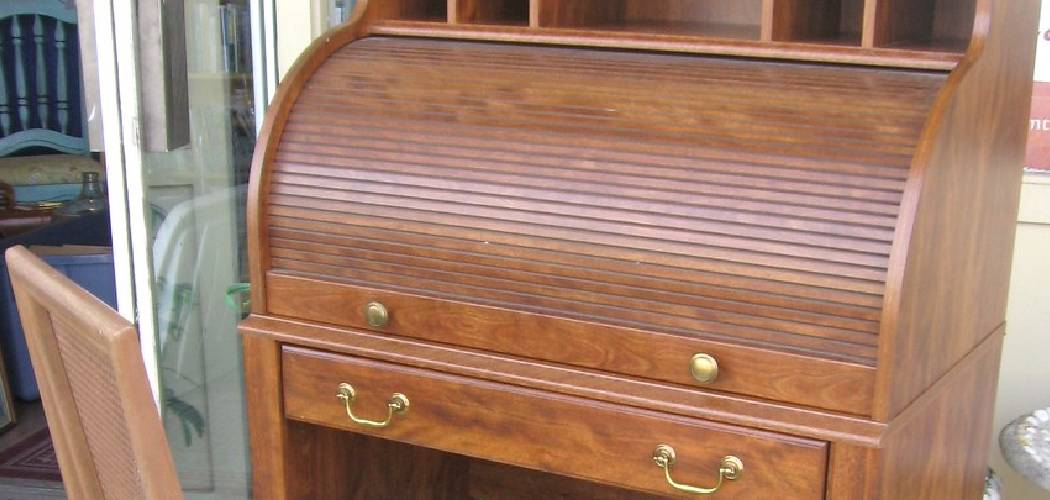
Learning how to disassemble a roll top desk will save time, prevent accidental damage, and make relocating the piece entirely manageable. This approach often proves to be the safest method for preserving antique joinery. A methodical breakdown requires specific tools, but it ultimately protects the wood finish and the delicate internal mechanics.
This article outlines the complete process for taking apart these massive pieces of furniture. We will explore the specific hand tools required and the careful, chronological sequence needed to separate the upper hutch from the dual pedestals. Approaching this project with patience appears to be the best way to ensure your desk survives the journey intact.
Understanding the Anatomy of a Roll-Top Desk
Before applying any tools to the wood, it helps to understand the structural components that make up this specific type of furniture. Recognizing the distinct parts ensures you handle each segment correctly during the teardown. The overall structure might seem imposing, but it actually consists of a few highly specific, interconnected modules.
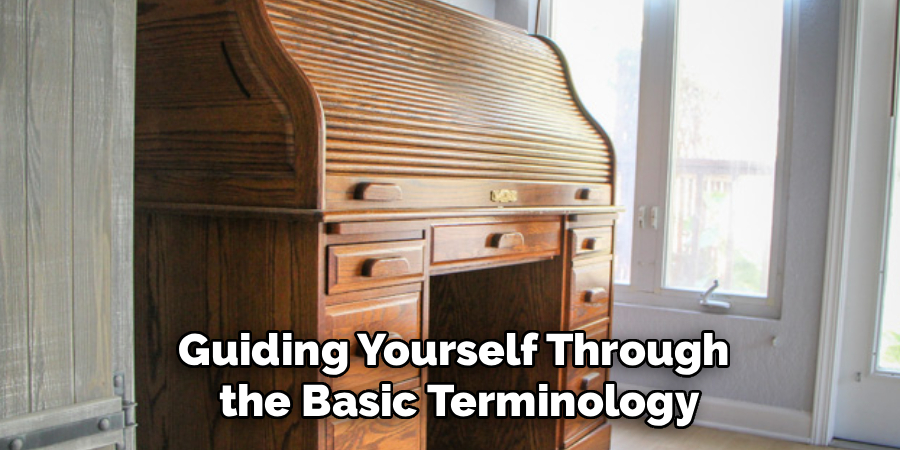
Guiding yourself through the basic terminology ensures you know exactly what parts require the most delicate handling. Antique furniture often relies on gravity and a few key screws to hold massive sections together. Knowing where these connection points live makes the entire separation process far less intimidating.
The Tambour Mechanism Explained
The tambour refers to the slatted rolling cover that gives the desk its signature name. It moves along a carved wooden track routed directly into the side panels of the upper casing. This flexible shield requires very delicate handling to avoid tearing the canvas backing that holds the individual wooden slats together.
If the canvas tears, the slats will separate, which often necessitates a highly expensive professional repair. The tambour essentially acts as the spine of the upper unit. It must be treated with the utmost caution when it is finally freed from its wooden grooves.
Identifying Pedestals and Hutch Components
The main body elements break down into three distinct visual sections. The upper casing, commonly called the hutch, houses the small organizational drawers and the rolling tambour cover. This massive top section rests directly on the flat, central desktop working surface.
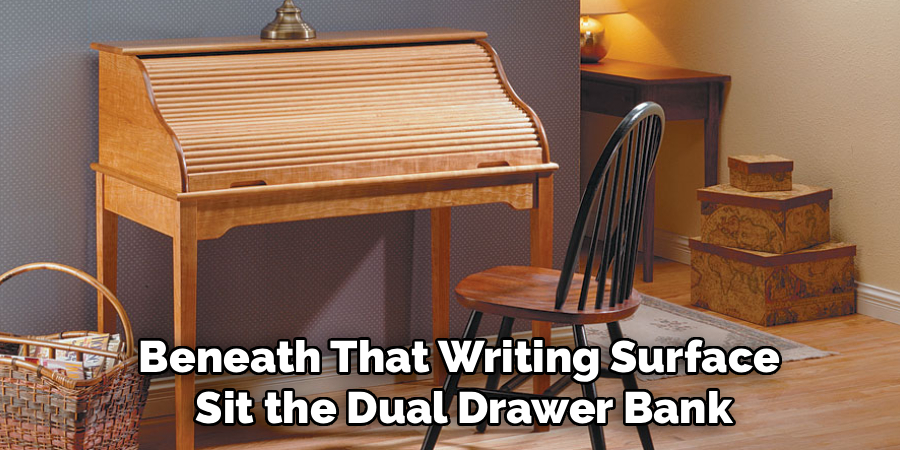
Beneath that writing surface sit the dual drawer banks, which are typically referred to as pedestals. These two pedestals support the entire weight of the structure and are usually joined at the rear by a thin modesty panel. Separating these three primary zones transforms an unmovable object into manageable, individual boxes.
Why Learning How to Disassemble a Roll Top Desk is Essential?
Transporting antique furniture fully assembled rarely ends well for the piece or the movers. Knowing how to disassemble a roll top desk protects the delicate antique joinery from cracking under uneven weight distribution. When a solid oak desk tilts awkwardly on a hand truck, the stress transfers directly into the oldest, weakest glue joints.
Proper breakdown techniques mitigate this risk entirely by separating the weight into independent sections. It might suggest a bit more labor up front, but the resulting safety margins are undeniably worth the effort. Taking the time to dismantle the piece protects your physical investment and your own lower back.
Preventing Damage During Transport
Moving a fully assembled unit often leads to shattered wooden tracks, broken legs, or severely warped back panels. The sheer mass of the upper hutch can cause the desk to become top-heavy and dangerously unstable in the back of a moving truck. Taking the piece apart is arguably the only reliable way to transport it safely across long distances.
When the desk is broken down, each pedestal can be wrapped and strapped independently. This modular approach prevents the desk from collapsing under its own massive momentum during sudden stops. It provides a level of transport security that moving blankets alone simply cannot offer.
Making Restoration Projects Easier
Breaking the desk down provides significant benefits beyond just physical transportation. It allows restorers to reach tight internal corners and sand flat surfaces effectively without dealing with awkward angles. Working on individual components often proves much faster than trying to strip or stain a fully assembled labyrinth of cubbies.
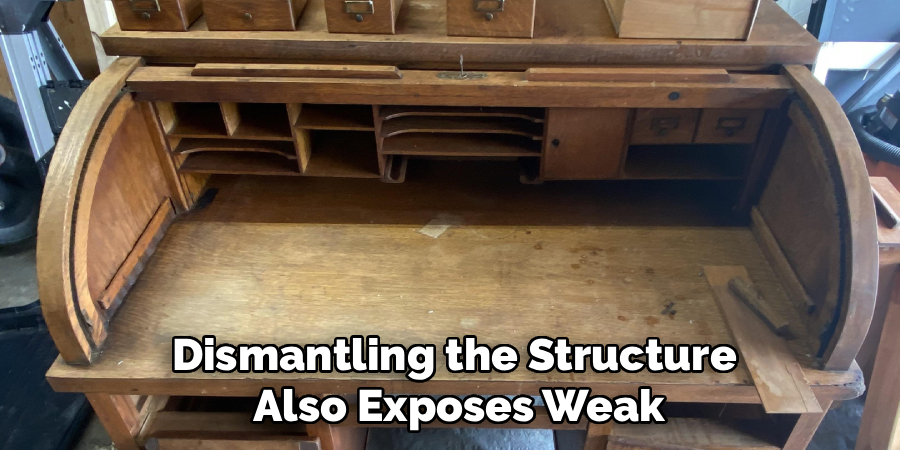
Dismantling the structure also exposes weak or failing joints that are completely hidden when the desk sits upright. You can easily re-glue loose dowels or clamp separated panels without the rest of the desk getting in the way. It essentially turns a massive restoration headache into a series of highly approachable weekend projects.
Essential Tools for Safe Disassembly
Setting the stage for a successful teardown involves gathering the exact equipment needed before the work actually begins. Having the right tools on hand prevents sudden frustration and protects the vintage wood finish from accidental gouges. You rarely need complex power tools for this process, as antique furniture was designed to be serviced with basic hand tools.
Approaching the desk with a standard hammer or a modern impact driver could easily shatter century-old wood. You want to rely on manual, gentle leverage to separate the components safely. Preparation here appears to be the deciding factor between a smooth separation and a broken panel.
Must-Have Hand Tools
You will need a selection of flathead and Phillips screwdrivers to carefully back out the original fasteners. A rubber mallet is absolutely crucial, as it allows you to tap tight joints apart without leaving dents in the oak or mahogany. A soft pry bar, preferably one wrapped in a rag, provides gentle leverage for stubborn panels that refuse to separate.
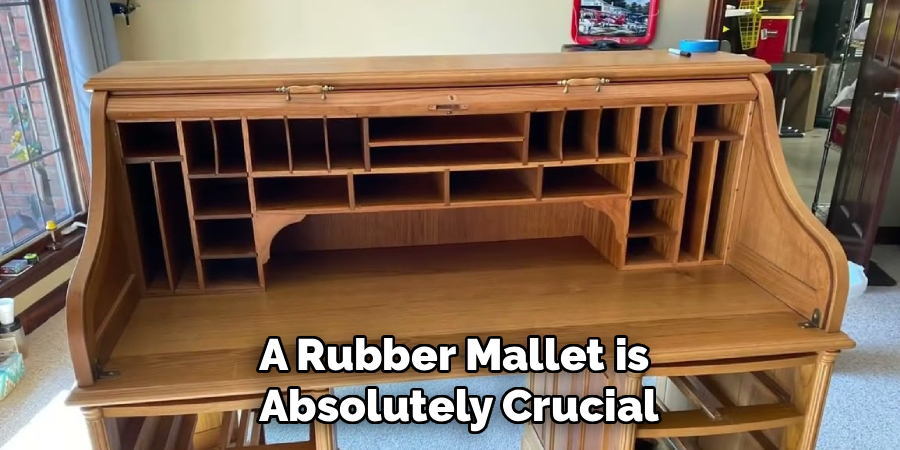
Using these manual tools allows you to feel the resistance of the wood. If a screw feels stripped or a joint feels permanently glued, hand tools give you the immediate feedback needed to stop before something breaks. This tactile feedback simply does not exist when using aggressive power tools.
Organization Supplies for Hardware
Losing a proprietary vintage screw can quickly bring your entire reassembly process to a painful halt. You should have a roll of masking tape, a permanent marker, and several small zip-top plastic bags ready before you remove the first drawer. These simple supplies allow you to safely store and label every bracket and fastener.
Writing exactly where a screw came from directly on the bag takes only a few seconds. Taping that bag to the corresponding piece of wood guarantees the hardware stays with its specific structural component. This hyper-organized approach eliminates the terrifying puzzle of leftover screws when you finally put the desk back together.
Preparing Your Workspace Before Starting
Detailing the preparation required before removing a single screw ensures the environment supports the delicate work ahead. You need a surprisingly large, flat area to lay out the separated pieces safely once they come off the main frame. Attempting to dismantle a desk in a cramped hallway usually leads to scratched surfaces or trapped fingers.
Clear away any nearby furniture to create a generous staging zone. The pedestals alone will take up significant floor space, and the upper hutch requires a wide, safe place to rest on its back. This preparation phase sets the rhythm for a calm, controlled workflow.
Protecting Floors and Surfaces
The weight of these wooden components can easily gouge hardwood floors or tear delicate carpets during the lifting phases. You should put down thick moving blankets or heavy canvas drop cloths beneath the desk and across your staging area. This protects both your home flooring and the desk’s polished finish from accidental, tragic scratches.
If you must set the upper casing down, resting it on a padded blanket prevents the bottom edges from chipping. The drop cloths also help catch any loose, rogue screws that might drop during the extraction process. A soft landing zone is highly recommended for all vintage furniture work.
Clearing Hidden Compartments
Before you attempt to move anything, you must empty all visible drawers, pigeonholes, and small upper compartments. Leaving heavy files or desk supplies inside the unit makes lifting the sections unnecessarily dangerous and difficult. It could also lead to items shifting and breaking through the thin wooden backing panels when the desk is tilted.
Check the rear of the hutch for hidden compartments, which were quite common in high-end antique models. Removing all this excess weight makes the subsequent lifting phases dramatically easier on your muscles. An empty desk is a safe desk.
How To Disassemble A Roll Top Desk: Step-by-Step Disassembly Guide
This section acts as the core instructional segment for your teardown phase. Setting expectations early is important; emphasize patience and never force a piece of wood that seems stuck. Following this specific chronological sequence generally prevents undue stress on the remaining joined sections.
Working methodically from the top down and the outside in is the safest approach. The desk was likely built in modular stages, and it must be taken apart by reversing that exact manufacturing logic. Take your time, and do not hesitate to ask a friend for lifting assistance when things get heavy.
Step 1: Removing Drawers and Loose Elements
You must begin by pulling out all side pedestal drawers, center lap drawers, and any sliding writing trays. Take your masking tape and place a small piece on the back exterior of each drawer, labeling its exact original location, such as “Top Left” or “Bottom Right.” Antique drawers were often hand-planed to fit one specific slot, and mixing them up will cause them to stick terribly during reassembly.
Once the main drawers are safely stacked out of the way, focus on the upper hutch. Carefully remove any loose organizational inserts, wooden dividers, or small inkwell shelves. Ensuring nothing can shift, fall, or rattle during the heavier lifting phases protects the intricate interior woodwork from sudden impact damage.
Step 2: Detaching the Tambour Roll Top
This phase often proves to be the most delicate and nerve-wracking part of the entire project. Locate the internal screws or wooden stops holding the upper track in place, which usually sit near the back corners of the hutch. Once those physical stops are removed, the tambour can be carefully slid backward and out of its routed wooden grooves.
You must support the tambour from underneath as it exits the track. Do not let it fold unnaturally or bend backward, as this will instantly crack the aging, flexible canvas backing. Roll it up tightly and wrap it immediately in a moving blanket to keep the delicate slats secure and perfectly aligned.
Step 3: Removing the Top Hutch
With the tambour safely removed, you can begin hunting for the connection points between the massive top hutch and the flat desktop. These fasteners are almost always secured by screws driven upward from underneath the main desk surface. You will likely need to lie on your back inside the knee hole to locate and remove these structural screws.
Once all the fasteners are bagged and tagged, do not attempt to move the hutch alone. Enlist a strong helper to lift the upper casing straight up and off the base evenly. If you lift it at an uneven angle, the wooden alignment dowels could snap off inside the desk surface, creating a massive repair headache.
Step 4: Disconnecting the Desktop from Pedestals
Direct your attention to the bolts or heavy wood screws holding the flat main desktop to the two side drawer banks. These are usually visible when you look up from inside the empty drawer cavities. Back these screws out slowly, supporting the desktop so it does not suddenly shift and damage the threads.
Next, remove the center modesty panel that connects the two pedestals at the back of the knee hole area. Once that panel is gone, you can simply lift the flat desktop completely free of the base. You are now left with two separate, highly manageable pedestal units that are ready to be wrapped for transport.
Troubleshooting Common Issues
Older furniture rarely comes apart without a fight, so you should anticipate a few stubborn roadblocks. Rusted hardware and swollen wood are entirely normal issues and can be managed with careful, measured techniques. Frustration is your biggest enemy here; brute force will only result in broken antiques.
Taking a step back to assess a stuck joint often prevents irreversible damage. There is almost always a gentle, mechanical solution to a piece of wood that refuses to budge. A calm approach to troubleshooting ensures the desk survives the teardown process unscathed.
Dealing with Rusted Screws
Extracting rusted or stripped screws requires a very delicate touch to avoid destroying the screw head completely. Applying a few drops of penetrating oil and allowing it to sit for an hour can work wonders on oxidized metal. You want the oil to seep into the wood threads and loosen the rusted bond before you apply any torque.
When you finally attempt the extraction, use an exact-fit screwdriver and apply slow, steady downward pressure while turning. If the screw head begins to strip, stop immediately. You might need to use a specialized screw extractor bit to safely back it out without tearing the surrounding wood.
Safely Separating Glued Joints
Sometimes you will encounter dowel joints that have slightly seized due to decades of humidity and wood swelling. You should gently use your rubber mallet to tap the pieces apart. Strike a piece of scrap wood placed against the desk rather than hitting the antique finish directly.
This indirect tapping method helps break the friction without splintering the fragile, aged wood. If a joint appears to be intentionally glued rather than just stuck, you might need to apply a few drops of warm vinegar to soften the hide glue. Working slowly and checking your progress after every tap keeps the antique joinery perfectly intact.
Conclusion
Understanding how to disassemble a roll top desk ensures these magnificent pieces of history survive relocation intact and ready for a new home. The process might seem intimidating initially, but breaking it down into manageable modules makes it entirely achievable for anyone with basic hand tools. This careful approach prevents the catastrophic structural failures that often plague vintage furniture during transit.
Reassembly simply involves following these exact steps in reverse, utilizing the organized hardware bags you meticulously labeled. Taking the time to respect the original craftsmanship ensures the desk will remain functional and beautiful for another century. Gather your screwdrivers, clear a wide workspace in your room, and confidently begin your furniture preservation project today.
