

A reception desk is often the first piece of furniture people notice when they enter an office, salon, clinic, studio, or lobby. it sets the tone for your space, supports daily work, and helps keep check-ins organized. learning how to make a reception desk gives you more control over size, style, storage, and cost than buying a ready-made option.
This guide walks you through the full process in a beginner-friendly way. you will learn how to plan the design, choose materials, build the frame, add panels, create a work surface, finish the desk, and install it safely. with careful measuring and basic tools, you can build a professional-looking desk that fits your space and supports your workflow.
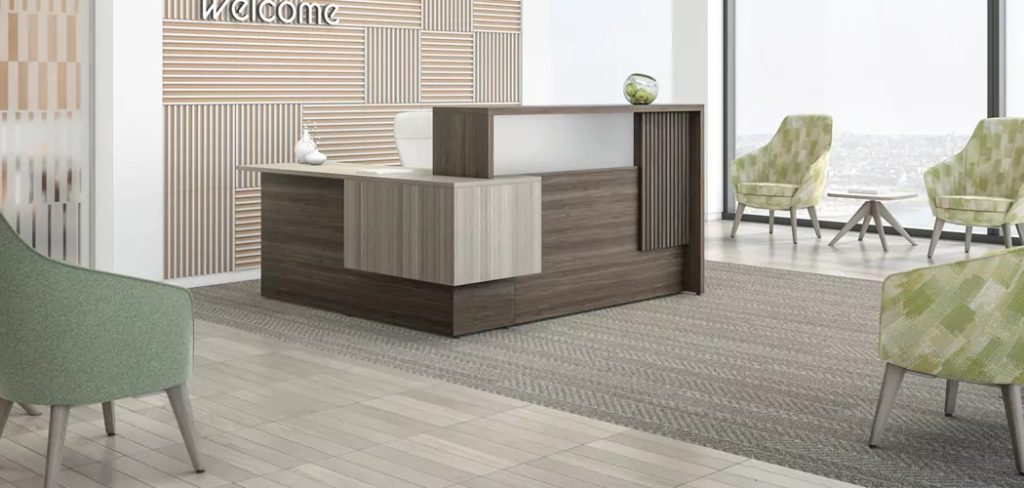
Why Building Your Own Reception Desk Matters
Building your own reception desk helps you create a better fit for your room, brand, and budget. store-bought desks can be expensive, too large, or missing the storage features you need. a custom build lets you choose the exact height, width, color, surface finish, and layout.
It also helps you make better use of awkward spaces. for example, a narrow lobby may need a compact straight desk, while a busy front office may need a wider counter with drawers and cable openings. when you build it yourself, you can plan around real daily tasks instead of adjusting your workflow to a generic product.
The main benefit is control. you can keep the design simple, durable, and practical without paying for features you do not need.
Step-By-Step Guide To How To Make A Reception Desk
Step 1: Plan The Size And Layout
Start by measuring the space where the desk will sit. note the width of the room, walking paths, nearby doors, outlets, and any waiting area furniture. a reception desk should look welcoming without blocking movement.
Think about who will use it each day. the person behind the desk needs enough room for a chair, computer, phone, paperwork, and storage. the guest side should have a clean counter surface for signing forms or speaking with staff.
Before buying materials, sketch a simple front, side, and top view. this early planning stage is where how to make a reception desk becomes easier, because every later cut depends on accurate dimensions.
Step 2: Choose Strong And Affordable Materials
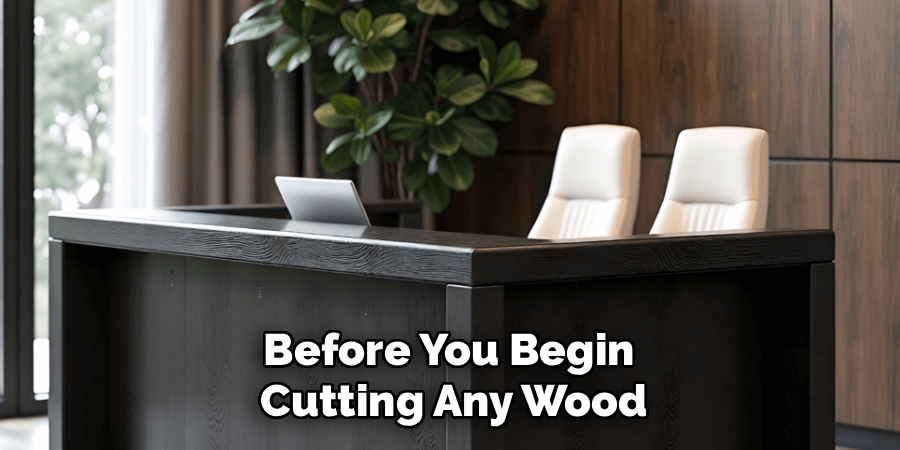
Choose materials based on durability, budget, and the look you want. plywood is a strong choice for the main structure because it resists splitting and holds screws well. medium-density fiberboard works well for smooth painted panels, but it is heavier and less moisture-resistant.
For the countertop, consider plywood with laminate, butcher block, hardwood, or a pre-made worktop. if the desk will see heavy daily use, choose a surface that resists scratches and cleans easily.
You will also need screws, wood glue, edge banding, trim, sandpaper, primer, paint or stain, and a clear protective finish. buying quality materials upfront helps the desk last longer.
Step 3: Cut The Frame Pieces
Cut the main frame pieces according to your plan. most beginner-friendly reception desks use a simple box-style structure with two side panels, a front panel, a back support area, and a top surface. use a circular saw, table saw, or have the boards cut at the store if needed.
Measure each piece twice before cutting. even a small mistake can cause gaps, uneven edges, or a weak structure. label each panel after cutting so assembly goes smoothly.
Keep cuts as straight as possible. square corners make the desk stronger and easier to finish. if needed, lightly sand rough edges before assembly.
Step 4: Build The Base Structure
Assemble the base on a flat surface. begin by attaching the side panels to the front panel using wood glue and screws. clamp the pieces if you can, because clamps help keep the corners tight while you fasten them.
Check that the frame is square before adding more supports. measure diagonally from corner to corner in both directions. if both measurements match, the frame is square. if not, adjust it before the glue dries.
Add internal support rails near the top and bottom. these rails keep the desk rigid and help support the countertop. a solid base prevents wobbling during daily use.
Step 5: Add The Countertop And Work Surface
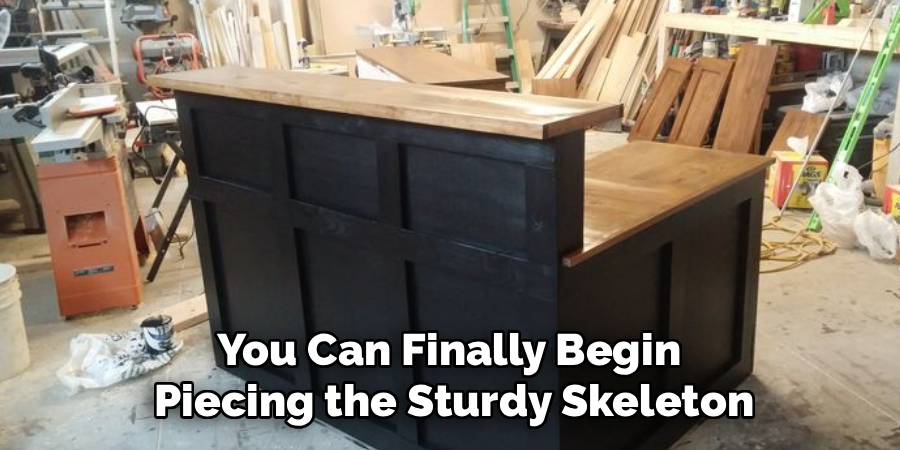
Place the countertop on the frame and check the overhang. a small overhang on the guest side gives the desk a finished look and makes it more comfortable to use. make sure the top sits level before attaching it.
Secure the countertop from underneath with screws so the top surface stays clean. choose screws that are long enough to hold well but not so long that they break through the top.
Think about practical details now. you may need a cable hole for a computer, card reader, phone charger, or monitor. this is also a good moment to confirm how to make a reception desk that supports real equipment, not just appearance.
Step 6: Install Shelves, Drawers, Or Storage Areas
Add storage based on your daily needs. open shelves are easier to build and work well for forms, supplies, and small equipment. drawers take more time but keep the desk looking cleaner from the staff side.
If you add shelves, install support cleats or shelf pins inside the desk. make sure each shelf is level and strong enough for the items it will hold. for heavier storage, use thicker boards and stronger fasteners.
Keep the staff area comfortable. leave enough knee space for sitting, and avoid placing shelves where they block legroom. good storage should help the workday, not create clutter.
Step 7: Finish The Front And Edges

so take your time here. you can keep it flat and modern, add vertical slats, install decorative trim, or use panels to match your brand style. simple details often look more professional than complicated ones.
Cover exposed plywood edges with edge banding, trim, or wood filler. smooth edges make the desk safer and give it a polished appearance. sand all visible areas with medium-grit sandpaper, then finish with fine-grit sandpaper.
At this stage, how to make a reception desk is mostly about patience. clean lines and smooth surfaces make a basic build look custom.
Step 8: Paint, Seal, And Place The Desk
Apply primer before painting, especially if you use medium-density fiberboard or raw plywood. primer helps paint stick better and creates a smoother finish. use thin, even coats instead of one thick coat.
After the paint or stain dries, apply a protective clear coat to areas that may get heavy use. the countertop needs extra protection because it will handle hands, pens, papers, cleaners, and equipment.
Move the desk into place carefully. check that it sits level and does not rock. if needed, add adjustable feet or small shims. once placed, organize cables and test the workflow before opening the space to visitors.
Frequently Asked Questions
What Is The Best Height For A Reception Desk?
A common reception desk height is about 42 inches on the guest-facing side and 29 to 30 inches on the staff work surface. this setup allows visitors to stand comfortably while staff can sit and work at a normal desk height. if your space serves children, wheelchair users, or seated visitors, consider adding a lower accessible section. comfort and access matter as much as appearance.
What Tools Do I Need To Build A Reception Desk?
You can build a basic reception desk with a measuring tape, pencil, square, drill, saw, clamps, sandpaper, and safety gear. a circular saw works for most straight cuts, while a table saw gives cleaner results if you have access to one. you may also use a jigsaw for cable holes or curved details. beginners should focus on accurate measuring and safe tool handling.
Which Wood Is Best For A Beginner-Friendly Desk Build?
Plywood is one of the best choices for beginners because it is strong, stable, and widely available. cabinet-grade plywood gives a cleaner finish if the surface will be stained or partly exposed. medium-density fiberboard is good for painted panels, but it can chip and does not handle moisture well. for the top, a laminate worktop or sealed wood surface usually performs better under daily use.
How Much Does It Cost To Build A Reception Desk?
The cost depends on size, materials, hardware, and finish. a simple plywood desk may cost much less than a custom commercial desk, especially if you already own basic tools. paint-grade materials usually cost less than hardwood or specialty panels. drawers, laminate tops, lighting, and decorative trim can raise the price. planning your design before shopping helps you avoid waste and surprise expenses.
Can A DIY Reception Desk Look Professional?
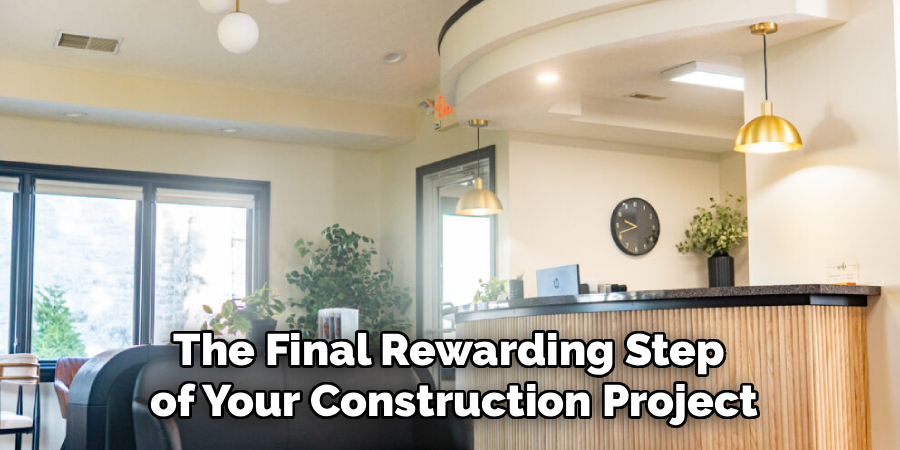
Yes, a diy reception desk can look professional if you focus on clean measurements, straight edges, smooth surfaces, and a durable finish. the design does not need to be complex. many professional desks use simple shapes with good proportions and neat details. matching the desk color to your walls, flooring, or brand style can also make the finished piece feel intentional and polished.
Conclusion
Building a reception desk is a practical project when you plan carefully and keep the design simple. start with accurate measurements, choose durable materials, build a square frame, add a strong countertop, and finish every visible edge with care. storage, cable access, and comfort should guide your design choices as much as style.
Now that you understand how to make a reception desk, take the next step by sketching your layout and listing the materials you need. a clear plan will help you build with confidence and create a desk that fits your space.
