

A desk hutch can turn a crowded work surface into a cleaner, more useful workspace. Instead of stacking notebooks, mail, supplies, and devices across your desk, you can move items upward into shelves, cubbies, and organized storage zones.
This guide explains how to build a desk hutch in a beginner-friendly way, even if you have limited woodworking experience. You will learn how to plan the size, choose practical materials, cut and assemble the main parts, secure the hutch safely, and finish it so it looks polished.
A well-built hutch can help you save space, protect your tools, and make your desk feel more productive. The key is to plan carefully before cutting anything. With accurate measurements, simple joinery, and a stable design, you can create a custom piece that fits your desk instead of settling for a store-bought option that almost works.
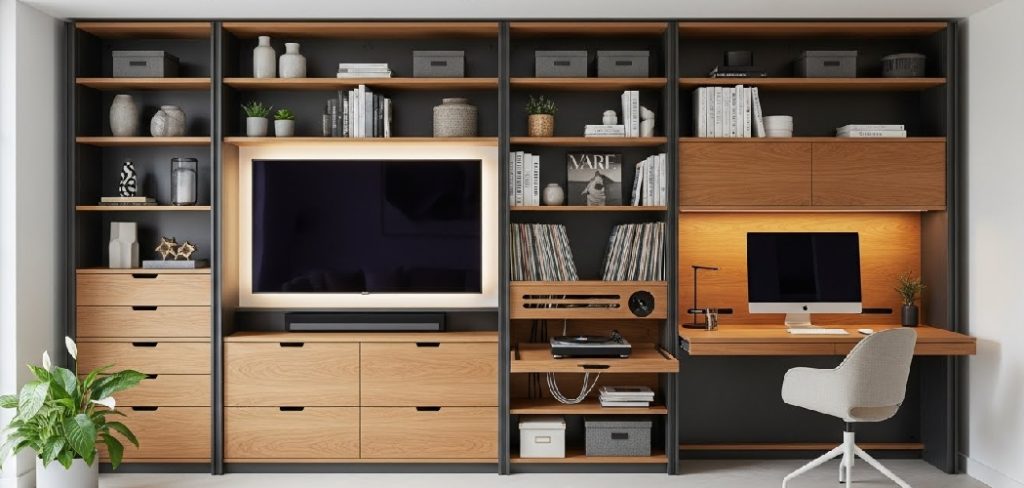
Why Building A Desk Hutch Matters
Building your own desk hutch gives you control over size, layout, and storage. Store-bought hutches often leave awkward gaps, block outlets, or fail to match your desk depth. A custom build can fit your exact space and support the way you work.
It also helps you use vertical space. This matters in small bedrooms, home offices, dorm rooms, craft areas, and shared workstations. You can add shelves for books, cubbies for supplies, and open areas for monitors or decor.
The biggest benefit is function. A hutch keeps important items within reach without covering your main writing or keyboard area. When your desk is easier to use, your daily workflow feels smoother.
Step-By-Step Guide To Building A Desk Hutch
Step 1: Measure Your Desk And Wall Space
Start by measuring the full width, depth, and height of your desk. Then measure the open wall space above it, including any trim, outlets, windows, shelves, or wall-mounted items that may affect the design.
Write down the maximum width your hutch can be without overhanging the desk. Also decide how tall it should be. A shorter hutch may feel lighter and easier to move, while a taller one gives you more storage.
If you are learning how to build a desk hutch for the first time, accurate measuring is the step that prevents most mistakes. Measure twice, then confirm the numbers before planning your cuts.

Step 2: Plan The Layout And Storage Zones
Sketch a simple front view of the hutch before buying materials. You do not need advanced drawing skills. A basic rectangle with shelf lines, side panels, and open spaces is enough to guide the project.
Think about what you need to store. Books need taller shelves. Paper trays need flat openings. Small supplies work well in cubbies. If you use a monitor, leave enough open space in the center so the hutch does not feel cramped.
Keep the design simple for your first build. Two side panels, a top panel, a bottom rail, and one or two shelves can create a strong, useful structure without making the project too complex.
Step 3: Choose The Right Materials
Common beginner-friendly materials include plywood, pine boards, poplar, and medium-density fiberboard. Plywood is strong and stable, which makes it a good choice for shelves and side panels. Pine is affordable and easy to cut, though it can dent more easily.
If you plan to paint the hutch, plywood or medium-density fiberboard can work well. If you want a stained wood look, choose a board with an attractive grain. Avoid warped boards, cracked panels, or material that feels too thin for the size of your shelves.
For most small desk hutches, three-quarter-inch material provides good strength. Thinner material may sag over time if you store heavy books.
Step 4: Gather Tools And Safety Gear
Before cutting, gather the tools you need so the work goes smoothly. A circular saw, table saw, or jigsaw can cut panels, depending on what you have available. A drill, measuring tape, square, clamps, sandpaper, and screwdriver will also help.
Use safety glasses whenever cutting or drilling. Hearing protection is smart when using loud power tools. If you are sanding indoors, wear a dust mask and keep the area well ventilated.
A straightedge or cutting guide can help you make cleaner cuts. Clamps are also useful because they hold panels steady while you drill pilot holes, attach screws, or glue pieces together.
Step 5: Cut The Main Panels
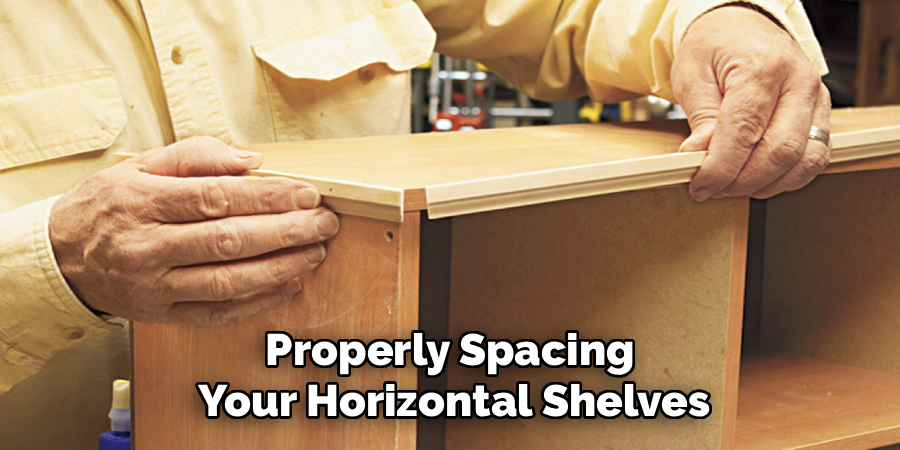
Mark each cut clearly on your material before using a saw. The main parts usually include two side panels, a top panel, shelves, and possibly a back panel or support rail. Label each piece after cutting so you do not mix them up during assembly.
Cut slowly and keep the saw aligned with your marks. If your material has a finished side, place it in the correct direction based on your saw type to reduce splintering. Light sanding along the cut edges can remove rough spots.
When thinking through how to build a desk hutch, this is where your plan becomes real. Take your time and check each piece against your sketch.
Step 6: Assemble The Frame And Shelves
Lay the side panels flat and mark where each shelf will sit. Use a square to make sure your lines are straight. This helps the shelves stay level when the hutch is upright.
Drill pilot holes before driving screws, especially near the edges of boards. Pilot holes reduce splitting and make assembly easier. Add wood glue at the joints if you want extra strength, but wipe away excess glue before it dries.
Attach the top panel first, then the lower support or bottom shelf, and then the inner shelves. Check for square as you go. A slightly crooked frame can make the finished hutch wobble or sit unevenly.
Step 7: Secure The Hutch Safely
Once assembled, place the hutch on the desk and check the fit. Make sure it sits flat and does not rock. If the desk surface is uneven, small furniture pads or careful sanding may help level it.
Safety matters, especially if the hutch is tall, heavy, or used around children or pets. Depending on your design, you may need to fasten it to the desk, attach it to wall studs, or use furniture anti-tip hardware.
Do not rely only on the weight of books to keep it stable. A hutch with loaded upper shelves can become top-heavy. Secure it before filling it with supplies.
Step 8: Sand, Finish, And Style The Hutch

Sand all visible surfaces and edges before finishing. Start with a medium grit to smooth rough areas, then use a finer grit for a cleaner feel. Slightly rounding sharp edges can make the hutch more comfortable to use.
Choose a finish that matches your workspace. Paint gives a clean, modern look and hides mixed materials well. Stain highlights the wood grain, while clear polyurethane adds protection against wear.
After the finish dries, organize the hutch with purpose. Keep daily items at eye level or within easy reach. Store heavier items on lower shelves. A smart layout is the final part of how to build a desk hutch that supports real productivity.
Frequently Asked Questions
What Is The Best Wood For A Beginner Desk Hutch?
Plywood is often the best choice for beginners because it is strong, stable, and available in large panels. It works well for side panels, shelves, and top pieces. Pine boards are also easy to cut and affordable, but they may warp or dent more easily. If you plan to paint the hutch, smooth plywood or medium-density fiberboard can give you a clean finish.
How Deep Should A Desk Hutch Be?
A desk hutch is usually deep enough to hold books, supplies, and small organizers without taking over the work surface. Many simple hutches are between 8 and 12 inches deep. If you use a monitor, make sure the hutch does not push the screen too close to your face. Always match the depth to your desk size and daily work habits.
Do I Need To Attach The Hutch To The Wall?
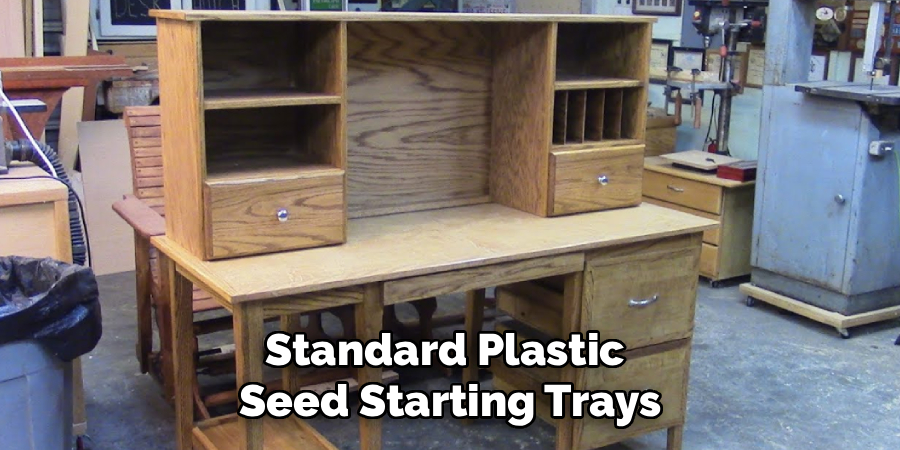
You should attach the hutch to the wall if it is tall, heavy, narrow, or likely to tip forward. This is especially important in homes with children or pets. Smaller, low-profile hutches may be stable on their own, but anti-tip hardware adds extra safety. When possible, fasten wall brackets into studs instead of relying only on drywall anchors.
Can I Build A Hutch Without Power Tools?
Yes, but it may take more time and patience. You can ask a home improvement store to cut large panels to size, then assemble the hutch with a drill, screwdriver, clamps, and hand tools. A handsaw can handle smaller adjustments. Pre-cut boards also make the project easier. The main challenge is keeping cuts straight and joints square.
How Do I Prevent Shelves From Sagging?
Use material thick enough for the shelf span and avoid making wide shelves without support. Three-quarter-inch plywood is a strong option for many small hutches. If a shelf is long, add a center divider, back support, or front trim strip to increase stiffness. Store heavier items near the sides or on lower shelves to reduce stress over time.
Conclusion
A desk hutch is a practical project that can make your workspace cleaner, more organized, and easier to use. Start with careful measurements, choose sturdy materials, keep the design simple, and assemble each part with patience.
The most important steps are planning the layout, cutting accurately, building a square frame, and securing the finished hutch so it stays stable. Sanding and finishing then turn the project from basic storage into a piece that fits your room.
Now that you know how to build a desk hutch, choose your desk measurements, sketch a simple design, and begin with one clean, manageable build.

About
Alexis Kerr is a distinguished figure in the world of professional workspace optimization, with a decade of expertise creating innovative and ergonomic office environments. Her professional focus lies in merging organizational psychology with modern spatial design, fostering office setups that are both high-performing and employee-centric. As the lead author for Deskvity, Alexis Kerr delves into the art and science of corporate aesthetics and functionality, inspiring office managers and remote professionals alike.
Education Cornell University
(Ithaca, New York) Bachelor of Science in Design and Environmental Analysis Focus on human factors, workplace strategy, and sustainable interior environments. Gained extensive experience in how physical space influences productivity and mental clarity.
Savannah College of Art and Design (SCAD)
(Savannah, Georgia) Master of Fine Arts in Interior Design Specialized in commercial workspace solutions with a focus on blending digital integration with physical comfort. Participated in high-level industry projects to refine the balance between corporate branding and architectural utility.
Publications and Impact
In Deskvity, Alexis Kerr shares her insights on modern workspace trends, acoustic management, and strategies for efficient layout planning. Her writing bridges the gap between high-level architectural theory and practical day-to-day office needs, making it a must-read for both facility directors and individual professionals looking to elevate their work environment.