

A smoke detector that keeps chirping or sounding after the danger has passed can be confusing, especially if you are not sure whether it needs a new battery, a reset, cleaning, or replacement. Learning how to reset a first alert smoke detector helps you respond calmly, protect your home, and avoid ignoring a device that may be warning you about a real safety issue.
First Alert smoke detectors may be battery-powered, hardwired, or part of an interconnected system. The reset process can vary by model, but the basic approach is similar: confirm there is no fire, address the cause of the alert, reset the unit, and test it afterward.
This guide explains the safe, beginner-friendly way to reset your detector. You will also learn when chirping means something simple, when it points to a bigger problem, and when replacing the alarm is safer than trying another reset.
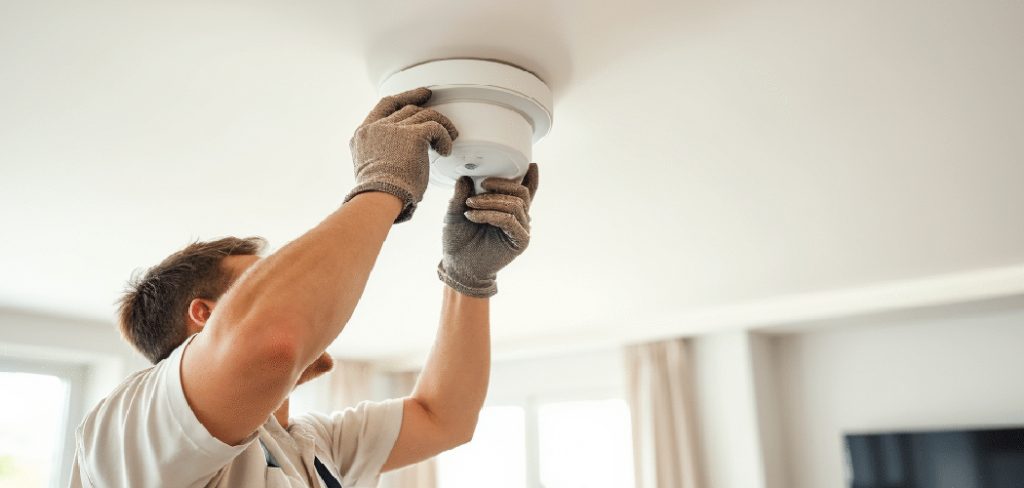
Why Resetting A First Alert Smoke Detector Matters
Resetting a First Alert smoke detector matters because it helps restore normal operation after an alarm, battery change, power interruption, or false alert. A proper reset can clear stored alarm conditions, stop nuisance chirping, and confirm the detector is ready to protect your home.
It also prevents unsafe habits. If an alarm keeps making noise, some people remove the battery or disconnect the unit and forget to fix it. That leaves the home less protected.
A safe reset process helps you check the cause first, handle battery or wiring issues correctly, and test the detector before trusting it again. It also helps you know when the device is too old, damaged, or unreliable and should be replaced instead.
Step-By-Step Guide To How To Reset A First Alert Smoke Detector
Step 1: Confirm There Is No Emergency
Before touching the detector, make sure the alarm is not warning you about real smoke, fire, or another danger. Look for smoke, burning smells, heat, flames, or signs of an electrical issue. If the alarm is a combination smoke and carbon monoxide unit, treat any carbon monoxide warning seriously and move everyone to fresh air.
Do not reset the alarm just to make the sound stop if you are unsure what caused it. Leave the building and call emergency services if there is any sign of danger. A reset should only happen after you know the area is safe.
Step 2: Identify The Type Of Alarm
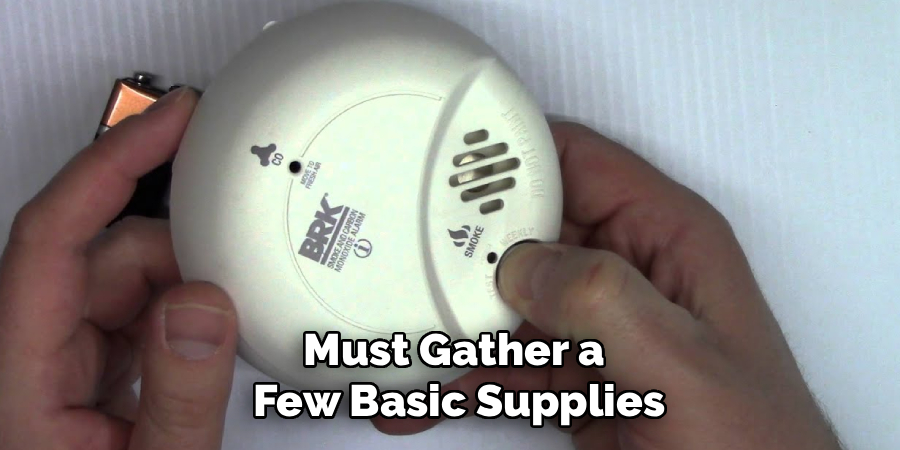
First Alert makes several types of smoke detectors, and the reset steps may differ slightly. Some models use replaceable batteries. Others are hardwired into your home’s electrical system and may also include a backup battery. Some alarms are interconnected, which means one unit can trigger other units in the home.
Look at the front, back, or side of the detector for the model number. You may need to twist the alarm off its mounting bracket to find the label. Knowing the model helps you follow the correct manual and avoid forcing parts that are designed to open a certain way.
Step 3: Silence The Alarm If Needed
Many First Alert models have a test or silence button on the front. If the alarm is sounding because of cooking smoke, steam, or another non-emergency cause, pressing this button may temporarily quiet the unit. This is not always the same as a full reset, but it can help you work safely and calmly.
If you are learning how to reset a first alert smoke detector, remember that silencing is only a short-term step. You still need to find the cause of the alert. Ventilate the room if needed, clear smoke or steam, and make sure the sensing chamber is not blocked by dust.
Step 4: Replace Or Check The Battery
A repeated chirp often points to a low battery, especially in battery-powered models or hardwired models with backup batteries. Remove the detector according to the manufacturer’s instructions and open the battery compartment. Replace the battery with the type listed on the alarm label or in the user manual.
Make sure the battery is installed in the correct direction. Close the compartment fully, because some models will not mount or reset properly if the battery door is open. If the chirping continues after a fresh battery, the issue may be dust, age, wiring, or a fault inside the unit.
Step 5: Disconnect Power On Hardwired Models
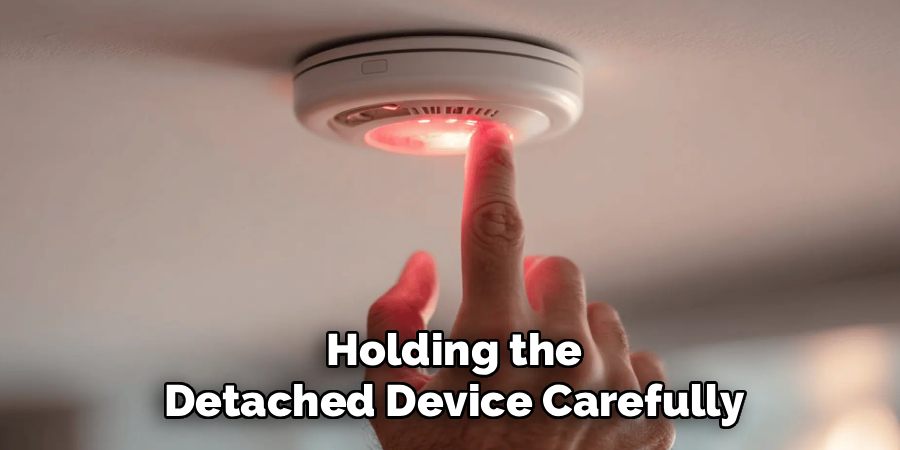
For hardwired models, resetting may require removing both electrical power and backup battery power. If you are comfortable doing so, turn off the correct circuit breaker before removing the alarm from its mounting bracket. Never work on a hardwired unit while it is still powered if the instructions tell you to disconnect it first.
After the breaker is off, unplug the connector from the back of the detector and remove the backup battery if the model has one. If you are unsure which breaker controls the alarm or you are not comfortable handling wiring, contact a qualified electrician.
Step 6: Hold The Test Button
Once power sources are removed, press and hold the test button for about 15 to 30 seconds, or follow the time listed in your model’s manual. This can help discharge remaining power and clear the alarm’s memory. After that, reinstall the battery, reconnect the wiring harness if it is hardwired, and restore power at the breaker.
This is the point where many people complete how to reset a first alert smoke detector successfully. The alarm may chirp once when power returns, which can be normal. If it keeps chirping, check the manual for the exact signal pattern.
Step 7: Clean Around The Sensing Area
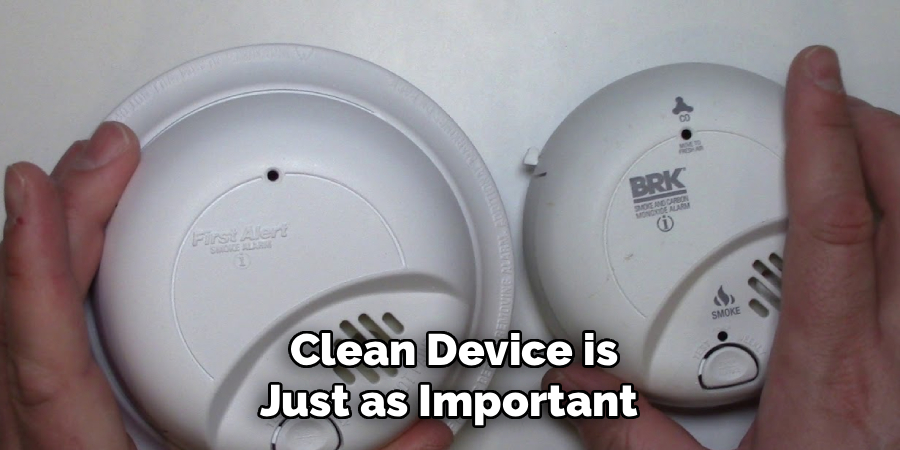
Dust, insects, grease, and debris can cause false alarms or repeated chirps. After resetting the unit, gently clean around the outside vents with a soft brush attachment on a vacuum or a clean, dry cloth. Do not spray cleaners, water, paint, or air freshener into the detector.
Cleaning is especially useful if the alarm is near a kitchen, bathroom, garage entry, laundry area, or dusty room. Steam and cooking particles can build up over time. If the alarm continues to react even after cleaning and resetting, it may be installed in a poor location or may be near the end of its service life.
Step 8: Test The Detector After Resetting
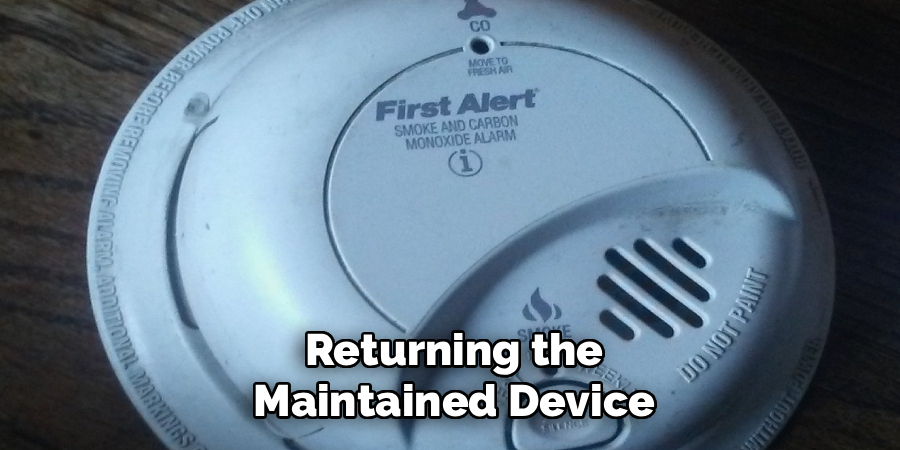
After the detector is back in place, press the test button until the alarm sounds. This confirms that the horn, battery, and basic power connection are working. If your alarms are interconnected, the test may also trigger other units in the home. Warn family members first so no one is startled.
Testing after a reset is not optional. A quiet detector is not always a working detector. If the alarm does not sound during the test, check the battery, power connection, and manual. If it still fails, replace the unit. Your smoke detector must be reliable every day, not just quiet.
Frequently Asked Questions
Why Is My First Alert Smoke Detector Chirping After A New Battery?
A detector may keep chirping after a new battery if the battery is not seated correctly, the battery door is not fully closed, or the unit still needs a reset. Dust, age, or a fault can also cause chirping. Check that you used the correct battery type, reinstall it firmly, press the test button, and review the manual for the chirp pattern.
How Do I Know If My Smoke Detector Is Too Old?
Most smoke alarms should be replaced after about 10 years, but you should always check the date and instructions on your specific model. Look for a manufacture date on the back or side of the unit. If the alarm is expired, yellowed, damaged, failing tests, or chirping after proper maintenance, replacement is safer than repeated resetting.
Can I Remove The Battery To Stop The Noise?
You should not remove the battery and leave the detector disabled. The noise may be annoying, but it is warning you that something needs attention. If there is no emergency, replace the battery, reset the alarm, clean the unit, and test it. If it still will not work correctly, replace the detector rather than leaving your home unprotected.
Why Did All My Smoke Detectors Go Off At Once?
If your alarms are interconnected, one triggered detector can cause all connected alarms to sound. This can happen because of real smoke, cooking smoke, steam, dust, or a malfunctioning unit. Check the home carefully for danger first. Once the area is safe, identify the initiating alarm if possible, clear the cause, reset the system, and test each unit.
Should I Call An Electrician For A Hardwired Smoke Detector?
Call an electrician if you are unsure how to turn off the correct breaker, see damaged wiring, cannot remove the unit safely, or have repeated problems with a hardwired detector. You should also get help if multiple alarms behave strangely after a reset. Electrical work should be handled carefully, and a professional can check wiring, power, and placement.
Conclusion
Resetting a smoke detector is simple when you follow a safe order. First, confirm there is no emergency. Then identify your model, silence the alarm if appropriate, check the battery, disconnect power on hardwired units when needed, hold the test button, clean the detector, and test it after reinstalling it.
The most important lesson is not to treat noise as the only problem. Chirping, false alarms, and failed tests all have causes. Sometimes the fix is a fresh battery or cleaning. Other times, the safer choice is replacing an expired or unreliable alarm.
If you want to handle your device with confidence, use this guide on how to reset a first alert smoke detector, then check your model’s manual for any specific instructions before you finish.

About
Alexis Kerr is a distinguished figure in the world of professional workspace optimization, with a decade of expertise creating innovative and ergonomic office environments. Her professional focus lies in merging organizational psychology with modern spatial design, fostering office setups that are both high-performing and employee-centric. As the lead author for Deskvity, Alexis Kerr delves into the art and science of corporate aesthetics and functionality, inspiring office managers and remote professionals alike.
Education Cornell University
(Ithaca, New York) Bachelor of Science in Design and Environmental Analysis Focus on human factors, workplace strategy, and sustainable interior environments. Gained extensive experience in how physical space influences productivity and mental clarity.
Savannah College of Art and Design (SCAD)
(Savannah, Georgia) Master of Fine Arts in Interior Design Specialized in commercial workspace solutions with a focus on blending digital integration with physical comfort. Participated in high-level industry projects to refine the balance between corporate branding and architectural utility.
Publications and Impact
In Deskvity, Alexis Kerr shares her insights on modern workspace trends, acoustic management, and strategies for efficient layout planning. Her writing bridges the gap between high-level architectural theory and practical day-to-day office needs, making it a must-read for both facility directors and individual professionals looking to elevate their work environment.