

It is a universal truth of homeownership: the smoke alarm never chirps at noon. Usually, it waits until the early hours of the morning to demand attention. We tend to take these plastic ceiling fixtures for granted, yet they might ultimately dictate the boundary between a minor kitchen mishap and a devastating loss. Maintaining them requires an occasionally frustrating physical interaction with a device that feels designed to baffle the average person.
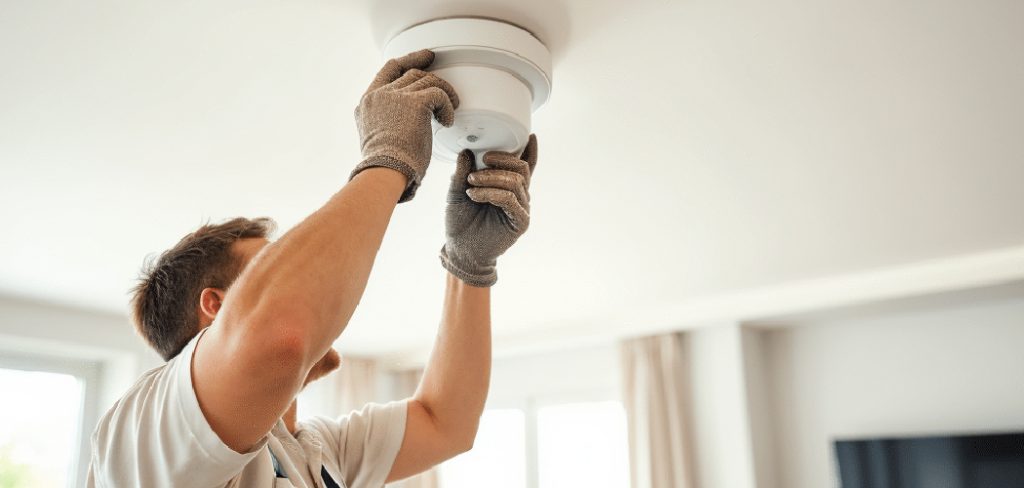
If you have ever balanced precariously on a dining chair, staring up at a yellowing plastic disc and wondering how it actually detaches, you are not alone. Getting inside the housing seems like it should be intuitive. Instead, it often results in broken tabs, scratched drywall, or an alarm that refuses to sit flush ever again. The friction between human patience and cheap plastic is a recurring theme in household maintenance.
Taking a few moments to understand the mechanics of your specific model could save you both money and midnight aggravation. A careful, methodical approach allows you to swap batteries, clear out accumulated dust, and reset the system. This guide on how to remove smoke alarm cover will walk you through the process of removing that stubborn cover safely.
Understanding Your Specific Device
Before attempting to twist or pry anything, it helps to identify what exactly is bolted to your ceiling. Manufacturers do not adhere to a single, universal design standard. Some units operate via ionization, meaning they contain a microscopic amount of radioactive material to detect fast-flaming fires. Others utilize photoelectric technology. This relies on a light beam and appears slightly better equipped to sense smoldering fires.
You might also encounter dual-sensor units, particularly if your property was constructed in the last decade. Recently, “smart” alarms have entered the market, promising Wi-Fi connectivity and smartphone alerts. This rapid technological evolution may suggest why standardizing a simple cover removal mechanism has remained elusive. Knowing your model prevents you from applying the wrong type of physical force.
Reasons You Might Need to Open the Housing
Opening the casing is rarely something one does for entertainment. The most prominent catalyst is a dying battery. The unit communicates this failure through a persistent, rhythmic chirp that can drive occupants to the brink of despair.
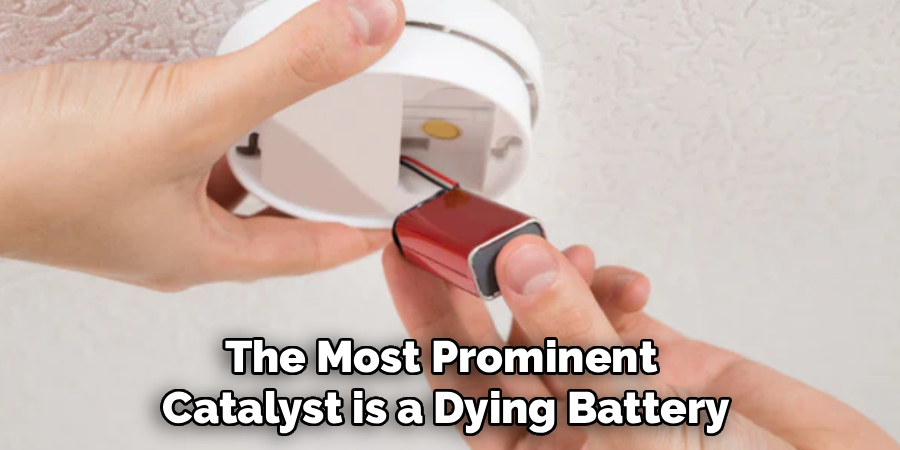
Beyond power issues, sensor chambers accumulate household dust, pet dander, and occasionally small insects. This debris accumulation appears to indicate why false alarms trigger during a harmless cooking session. If the device has hung there for ten years, removing the outer shell is your initial step toward replacing the entire setup.
Essential Safety Precautions
Interacting with electrical hardware carries inherent risks. A sturdy step ladder, rather than a wheeled office chair, remains your safest platform. If the unit is hardwired to your home’s electrical grid, flipping the corresponding circuit breaker off is highly advised. A sudden shock while balancing elevated off the floor could yield disastrous results.
Wearing eye protection might seem overly cautious. However, dislodging a decade-old fixture often releases a surprising shower of ceiling dust directly into your face. Protecting your eyes keeps you from flinching and losing your footing.
Identifying the Locking Mechanism
Take a moment to examine the perimeter of the plastic shell. Manufacturers employ varying strategies to keep the internals secure. Some covers require a firm counterclockwise rotation, mimicking a stubborn jar lid.
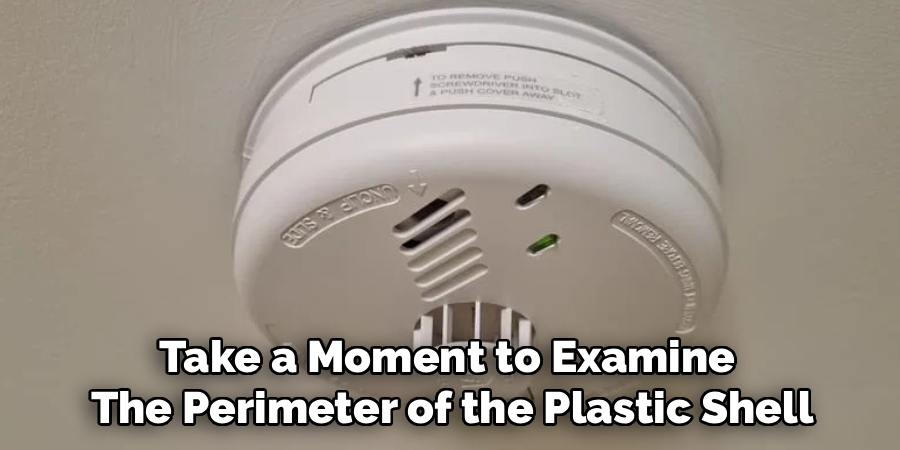
Others conceal a tiny plastic tab that must be compressed using a tool. Pausing to determine the exact method prevents you from inadvertently ripping the drywall anchors out of the ceiling.
Recommended Tools for the Job
Most modern units detach by hand. Bringing a few basic implements up the ladder, however, saves you a second trip. A standard flathead screwdriver is practically mandatory for pressing recessed tabs.
You will also want a microfiber cloth or a canister of compressed air to clear away internal debris once the sensor is exposed. Keep a fresh replacement battery—usually a 9-volt or AA—in your pocket so you do not have to climb down halfway through the task.
6 Simple Steps on How to Remove Smoke Alarm Cover
Step 1: Secure Your Ladder and Workspace
Setting up properly establishes the foundation for an incident-free process. Position the ladder directly beneath the fixture. Reaching outward shifts your center of gravity, which could easily lead to a fall. Clear the immediate floor area of toys, fragile items, and rugs. Dropping a tool is annoying, but dropping it onto a glass coffee table is an expensive mistake.
Step 2: Disconnect the Power Supply
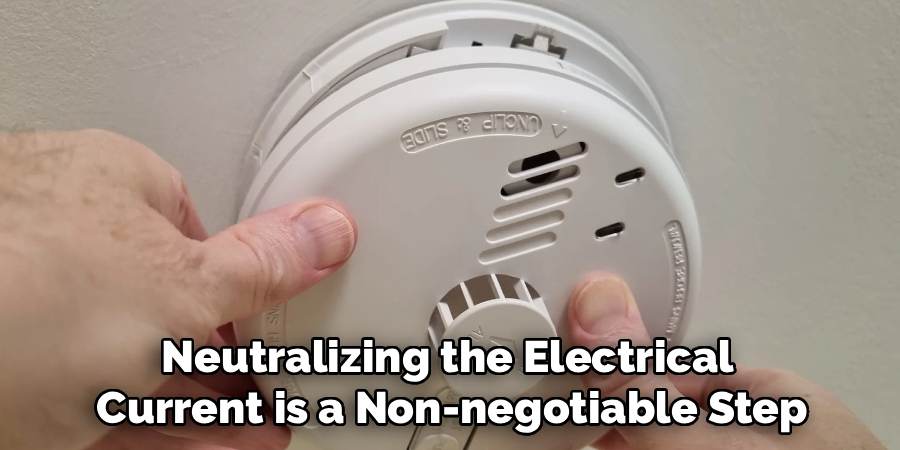
For hardwired systems, neutralizing the electrical current is a non-negotiable step. Walk to your main breaker box and flip the switch labeled for the smoke alarms or hallway lighting. Even devices assumed to be strictly battery-operated sometimes harbor hidden wiring as a primary power source. Treating every ceiling fixture as a live electrical hazard is a sound philosophy.
Step 3: Inspect for Hidden Releases
Once elevated, look closely at the plastic rim. You might spot faint arrows or tiny embossed text directing you to “twist.” If the plastic is entirely uniform, it almost certainly employs a rotational lock. Understanding the engineering intention before applying physical pressure keeps the casing intact.
Step 4: Disengage Any Locking Tabs
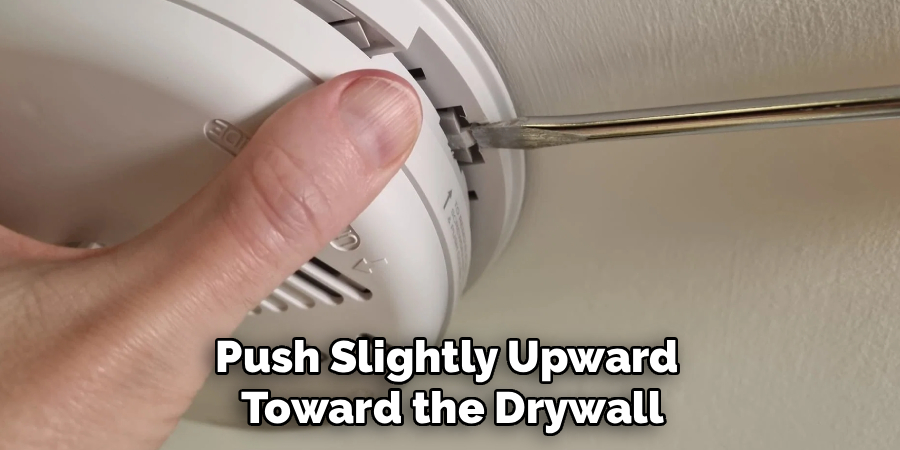
If you locate a small slot, slide the tip of your flathead screwdriver inside. Apply gentle, progressive pressure inward. The goal is to slightly bend the internal catch without snapping it off. While maintaining that pressure, use your free hand to ease the cover downward. Rushing this specific maneuver frequently results in broken plastic.
Step 5: Twist and Detach
For rotational designs, place both palms flat against the outer edges of the faceplate. Push slightly upward toward the drywall, then turn the unit counterclockwise. You should feel the plastic tracks slide out of alignment. Once it turns roughly half an inch, the resistance will vanish, allowing you to pull the casing straight down.
Step 6: Maintain and Clean the Internals
With the sensor exposed, you can finally swap out the offending battery. Ensure the positive and negative terminals connect properly; a brief beep usually confirms success. Before snapping the lid back on, use your compressed air to blow out the inner chamber. A clean sensor is significantly less likely to panic the next time you toast a bagel.
Following these steps on how to remove smoke alarm cover and battery, you can keep your home safe by regularly maintaining and cleaning your smoke detectors.
Common Pitfalls and Troubleshooting
The most frequent error involves brute force. Yanking downward without checking for a twist-lock inevitably shatters the mounting ring. People also regularly forget the circuit breaker, exposing themselves to unnecessary danger.
If the plastic refuses to turn, check the edges for ceiling paint. Recent renovations often inadvertently glue the fixture to the ceiling. Scoring the edge with a utility knife usually breaks this bond. Should the device continue chirping after a fresh battery installation, double-check the terminal alignment or ensure the battery drawer is fully seated.
Routine Upkeep and Associated Costs
Experts recommend pressing the test button monthly to verify functionality. Batteries should theoretically be swapped annually, though most of us wait for the auditory warning. The financial investment for this maintenance remains negligible.
A replacement battery costs a few dollars, and a can of compressed air is similarly cheap. If you happen to break the housing or if the unit exceeds its ten-year operational lifespan, a complete replacement will generally run between $15 and $40.
Frequently Asked Questions
Q1: Can I Paint My Smoke Alarm Cover to Match My Ceiling?
Absolutely not. Paint clogs the air intake vents, blinding the sensors to ambient smoke. An aesthetically pleasing alarm that fails to detect a fire provides zero utility.
Q2: Why is the Unit Still Chirping After a Battery Change?
The internal processor occasionally retains a residual charge and requires a manual reset. Remove the new battery, hold down the test button for fifteen seconds to drain the capacitors, and reinstall the power source.
Q3: How Do I Know if the Entire Unit Requires Replacement?
Check the back of the device for a printed manufacturing date. If a decade has passed since that date, the sensors have degraded past the point of reliability. It must be replaced immediately.
Q4: Can I Replace the Carbon Monoxide Sensor on My Own?
It is not recommended to replace a carbon monoxide sensor on your own. It requires special tools and expertise to properly install and calibrate the new sensor for accurate readings. Contact the manufacturer or a certified technician for assistance with replacing the sensor.
Maintaining a Secure Household Environment
Understanding the physical mechanics of your home safety equipment represents a minor but essential facet of property management. Navigating the quirks of a plastic ceiling mount may lack glamour, yet it directly influences the reliability of your early warning systems.
By adopting a methodical approach, you minimize damage to the hardware and eliminate the stress of midnight battery failures. Take ten minutes this weekend to familiarize yourself with your specific model. It is a brief chore that pays quite dividends for years to come. Thanks for reading this guide on how to remove smoke alarm cover.
