

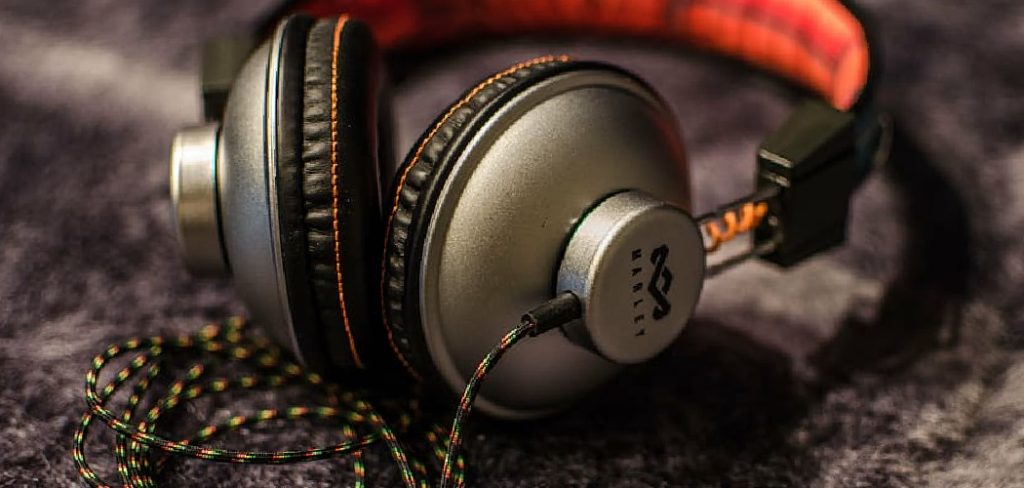
Keeping your workspace organized makes a massive difference in your daily productivity. Your premium audio gear deserves a dedicated resting place rather than sitting cluttered on your desk. Creating a customized holder for your audio equipment solves this problem while adding a personal touch to your setup. Understanding how to 3d print a headphone stand transforms your digital workspace into a highly functional, aesthetic environment. You take complete control over the design, ensuring the final piece perfectly matches your unique style and ergonomic needs.
Taking on this manufacturing project might seem daunting if you have limited experience with additive manufacturing. However, producing a custom desk accessory serves as the perfect project to build your fabrication skills. You only need a functioning machine, standard filament, and a little patience to achieve professional results. We guide you through the entire process, breaking down technical concepts into manageable actions. You will learn to prepare files, configure machine settings, and execute the fabrication flawlessly. Discovering this process empowers you to upgrade your desk setup while mastering a highly valuable technical skill.
Why Custom Fabricated Desk Accessories Matter
Relying on generic, store-bought accessories often leads to disappointment. Mass-produced holders might not fit the specific curvature of your premium headband, causing indentations or premature wear on the cushioning. Fabricating your own accessory guarantees a precise fit tailored explicitly to your equipment. You measure the exact dimensions of your headband and ear cups, ensuring the final product provides optimal support without causing unnecessary pressure points.
Learning this fabrication process saves you considerable money over time. High-end audio accessories carry premium price tags, often costing a significant amount for basic metal or plastic designs. By utilizing your own machine and materials, you produce an equally durable, attractive holder for a fraction of the retail cost. This proactive approach keeps money in your pocket while allowing you to iterate on the design until it meets your exact specifications.
Step-By-Step Guide To How to 3d Print a Headphone Stand
Step 1: Discover Through Design Selection

The journey begins with selecting the perfect digital model for your specific needs. Numerous online repositories offer free, high-quality files designed by experienced community members. Browse these platforms to find a model that supports the exact weight and shape of your audio gear. Look for designs featuring a wide, stable base to prevent the unit from tipping over. Taking the time to evaluate different structural approaches ensures you start your project with a reliable, tested foundation.
Step 2: Download And Inspect Your Digital File
Once you locate the ideal design, download the standard stereolithography file to your computer. Open this file inside your preferred slicing software to perform a thorough visual inspection. Rotate the digital model on your screen to check for any extreme overhangs or unsupported floating elements. Identifying potential structural issues early prevents failed jobs and wasted material. A careful examination guarantees the downloaded geometry will translate successfully into a physical, durable object.
Step 3: Choose The Appropriate Filament Material
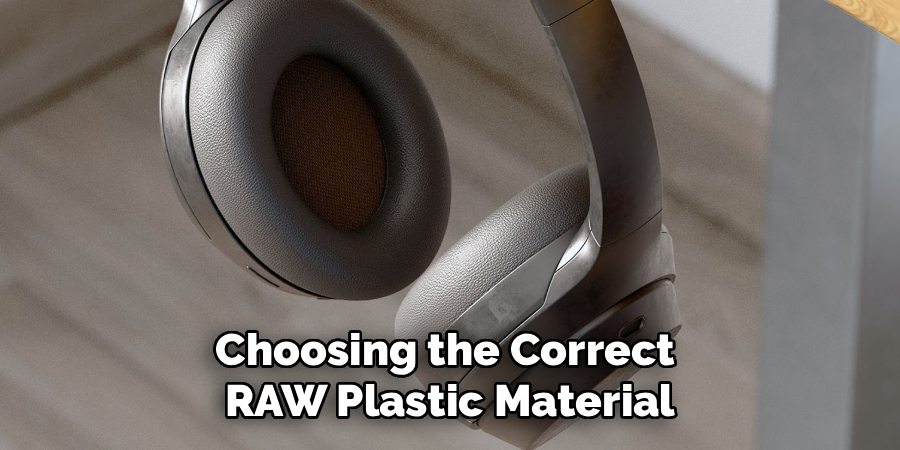
Selecting the right raw material heavily influences the longevity and appearance of your finished project. Polylactic acid serves as an excellent, beginner-friendly choice due to its low warping tendencies and smooth finish. If you own heavier, audiophile-grade gear, consider using polyethylene terephthalate glycol for added structural strength and impact resistance. Pick a color that seamlessly matches your computer peripherals or desk surface. Using high-quality filament prevents frustrating nozzle clogs and ensures a beautiful surface texture.
Step 4: Configure Your Slicing Software Settings
Proper software configuration acts as the secret to producing a sturdy, reliable holder. Set your layer height to a medium value, balancing visual quality with a reasonable completion time. Increase the internal infill percentage to at least twenty percent to give the structure necessary weight and rigidity. Add a skirt or brim to the base to ensure perfect adhesion to the build plate during the initial layers. These calculated adjustments guarantee the final product withstands daily use without bending or snapping.
Step 5: Prepare And Level Your Build Surface

A flawless foundation dictates the success of the entire manufacturing process. Clean your build plate thoroughly with isopropyl alcohol to remove lingering oils or dust. Heat the bed to the temperature recommended by your filament manufacturer. Use the manual or automatic leveling sequence to ensure the nozzle maintains a consistent distance from the surface across the entire printing area. Achieving perfect first-layer adhesion prevents the tall structure from detaching midway through the lengthy production cycle.
Step 6: Execute The Fabrication Process Safely
Load your chosen material into the extruder and verify that the hot end reaches the correct melting temperature. Transfer your sliced file to the machine and initiate the sequence. Watch the crucial first layer closely to confirm the plastic adheres smoothly to the build plate without bubbling or peeling. Once you verify a solid foundation, you can step back and let the machine handle the rest. Monitoring the initial stages prevents wasted hours and material.
Step 7: Remove The Completed Object Carefully
Patience plays a vital role when the machine finally finishes its work. Allow the heated bed to cool down completely to room temperature before attempting to remove the structure. The plastic naturally shrinks slightly as it cools, often releasing itself from the surface automatically. If the object remains stuck, use a flexible spatula to gently pry it loose from the edges. Rushing this step might break the delicate base or cause painful injuries to your hands.
Step 8: Master Through Post-Processing
The final stage involves cleaning up the manufactured object to achieve a premium retail appearance. Use small flush cutters to snip away any stringing or leftover support materials. Take a fine-grit sandpaper block and gently smooth out the resting curve where the headband will sit, ensuring no sharp plastic edges scratch your equipment. Adding small rubber adhesive pads to the bottom of the base prevents the holder from sliding across your desk. These finishing touches elevate your creation from a basic plastic shape to a professional desk accessory.
Frequently Asked Questions
What Machine Size Do I Need For This Project?
Most standard desktop fabrication machines easily accommodate a standard holder design. You generally need a vertical build volume of at least eight inches to produce the structure in a single, solid piece. If your machine features a smaller build volume, you can easily find modular designs that print in multiple smaller sections. These sections feature interlocking joints or require a few drops of strong adhesive to assemble into a full-sized, sturdy resting place for your gear.
How Long Does The Fabrication Process Take?
The total production time depends entirely on your chosen infill density, layer height, and overall machine speed. A standard design printed at a medium quality setting usually takes between ten and fifteen hours to complete. Solid, heavily reinforced designs meant for heavy audio equipment might push that timeframe closer to twenty hours. We recommend starting this lengthy process early in the morning or letting the machine run securely overnight to minimize active waiting time.
Will The Printed Plastic Scratch My Equipment?
Properly finished polylactic acid or similar materials will not damage the leather or fabric on your audio equipment. The plastic surface remains relatively smooth right off the machine. However, taking five minutes to lightly sand the resting curve guarantees absolute safety for delicate materials. Many enthusiasts take an extra step by gluing a small strip of soft felt or leather to the top curve, creating an ultra-premium resting surface that perfectly cradles the gear.
Does The Holder Need Internal Supports?
The need for generated supports relies entirely on the specific geometry of your chosen digital model. Many clever designs feature gradual curves and self-supporting angles that completely eliminate the need for extra scaffolding. If your chosen model features sharp horizontal overhangs, you must enable supports in your slicing software to prevent the melted plastic from dropping into thin air. Reviewing the model carefully in your software preview reveals exactly where the structure requires temporary assistance.
Why Did My Object Warp At The Base?
Warping occurs when the plastic cools too rapidly, causing the material to shrink and pull away from the build plate. This issue frequently ruins tall structures with large, flat bases. You can prevent warping by ensuring your heated bed reaches the correct temperature and keeping the machine away from cold drafts or air conditioning vents. Using a brim in your software settings adds an extra perimeter of plastic that anchors the base firmly to the surface during production.
Conclusion
Creating your own workspace accessories brings a deep sense of accomplishment and unparalleled functionality to your daily routine. You bypass the limitations of generic retail products by crafting a customized, durable resting place perfectly suited to your specific audio gear. Applying the correct slicing configurations, choosing reliable materials, and executing careful post-processing transforms basic filament into a premium desktop addition. Mastering how to 3d print a headphone stand gives you the confidence to tackle even more complex manufacturing projects in the future. Power on your machine today, download a visually striking design, and take the first step toward upgrading your professional environment.

About
Alexis Kerr is a distinguished figure in the world of professional workspace optimization, with a decade of expertise creating innovative and ergonomic office environments. Her professional focus lies in merging organizational psychology with modern spatial design, fostering office setups that are both high-performing and employee-centric. As the lead author for Deskvity, Alexis Kerr delves into the art and science of corporate aesthetics and functionality, inspiring office managers and remote professionals alike.
Education Cornell University
(Ithaca, New York) Bachelor of Science in Design and Environmental Analysis Focus on human factors, workplace strategy, and sustainable interior environments. Gained extensive experience in how physical space influences productivity and mental clarity.
Savannah College of Art and Design (SCAD)
(Savannah, Georgia) Master of Fine Arts in Interior Design Specialized in commercial workspace solutions with a focus on blending digital integration with physical comfort. Participated in high-level industry projects to refine the balance between corporate branding and architectural utility.
Publications and Impact
In Deskvity, Alexis Kerr shares her insights on modern workspace trends, acoustic management, and strategies for efficient layout planning. Her writing bridges the gap between high-level architectural theory and practical day-to-day office needs, making it a must-read for both facility directors and individual professionals looking to elevate their work environment.