

Cubicle walls are useful when an office needs privacy, but they can become a problem when your team needs more space, better movement, or a new layout. Removing them may look simple, yet many panels include hidden brackets, electrical raceways, glass sections, or heavy connector posts.
Learning how to remove cubicle walls helps you take apart a workstation safely without damaging panels, floors, wiring, or nearby furniture. This is helpful for office managers, small business owners, facilities teams, and anyone preparing for a renovation or move.
The process usually involves planning the layout, checking for power, removing accessories, separating panels, and storing parts correctly. With the right approach, you can avoid injuries, reduce repair costs, and make reassembly easier if you plan to reuse the system later.
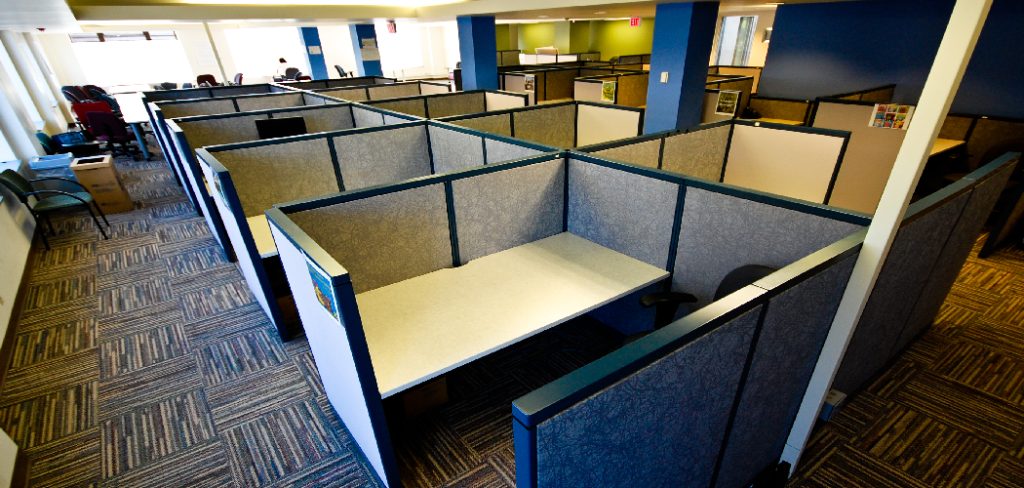
Why Removing Cubicle Walls Matters
Removing cubicle walls can improve how an office looks, feels, and functions. It can open up crowded spaces, support team collaboration, create room for new desks, or prepare an area for updated furniture.
It also helps businesses reuse valuable parts. Many cubicle systems are modular, which means panels, connectors, work surfaces, and trim pieces can often be moved instead of thrown away. Careful removal protects those parts and lowers replacement costs.
Safety is another major benefit. Rushing the job can damage electrical wiring, crack panels, or cause heavy sections to fall. A planned process keeps the workspace safer and helps the project move faster.
Step-By-Step Guide To How To Remove Cubicle Walls
Step 1: Review The Cubicle Layout
Start by studying the full cubicle system before touching any panels. Look at how the walls connect to each other, where the corner posts sit, and whether work surfaces are attached to the panels. Some systems use simple hooks, while others use hidden brackets, bolts, or locking clips.
Take photos from several angles before disassembly begins. These photos can help if you need to rebuild the cubicles later or explain the setup to a mover, installer, or facilities team.
Also check the floor plan if one is available. Knowing the layout prevents confusion once parts are removed and stacked.
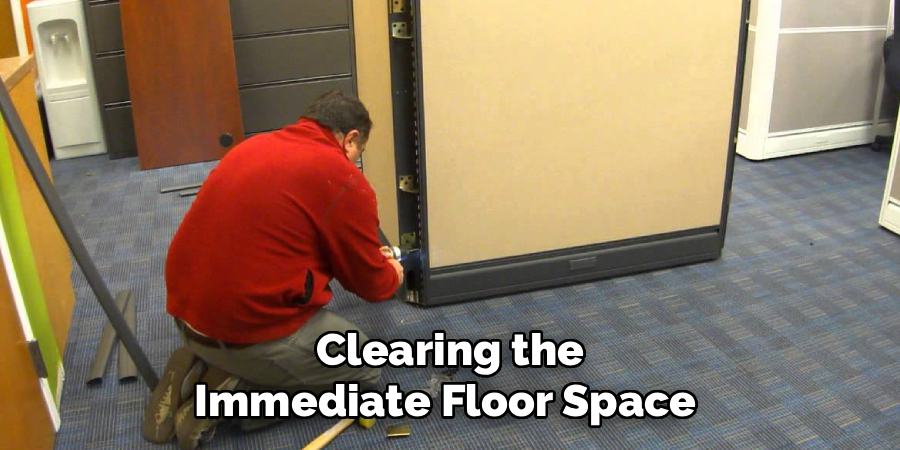
Step 2: Plan How To Remove Cubicle Walls Safely
Before lifting or loosening anything, clear the area around the cubicles. Move chairs, file cabinets, trash bins, personal items, computers, and loose office supplies out of the way. This gives workers enough space to move panels without tripping.
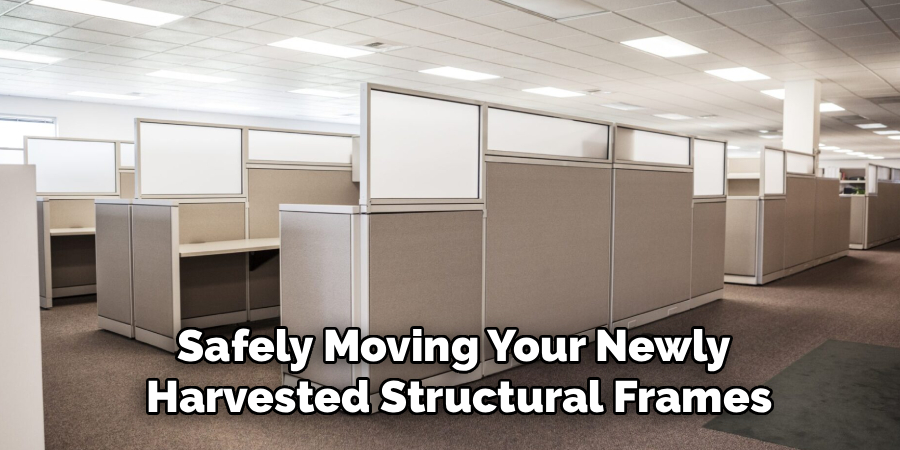
Decide where removed parts will go. Cubicle panels can be bulky, and stacking them in a hallway can create a safety hazard. Choose a clean, dry staging area where panels can stand upright or lie flat without blocking exits.
If the office is active, mark the work zone so employees know to avoid the area during removal.
Step 3: Turn Off Power And Check Wiring
Many cubicle systems include built-in power channels, data ports, or cable raceways. Do not assume a panel is safe just because it looks like a divider. Electrical parts may be hidden inside the base or lower section of the wall.
Turn off power to the cubicle area at the breaker panel when needed. If you are not sure which circuit feeds the workstations, ask a licensed electrician or building maintenance professional to confirm it.
Unplug computers, monitors, phones, printers, and chargers. Then remove visible cords and cable covers carefully so nothing pulls, snaps, or stays trapped inside the panels.
Step 4: Remove Work Surfaces And Accessories
Next, take off anything attached to the cubicle walls. This may include desks, shelves, overhead bins, tack boards, whiteboards, privacy screens, monitor arms, keyboard trays, and nameplates. Removing these items first makes the panels lighter and easier to handle.
Use the right tool for each fastener. A screwdriver, hex key, drill, or socket wrench may be needed depending on the cubicle brand. Keep fasteners in labeled bags so you do not lose small parts.
Do not force attached furniture away from the wall. If it does not move, check underneath for hidden brackets or support rails.
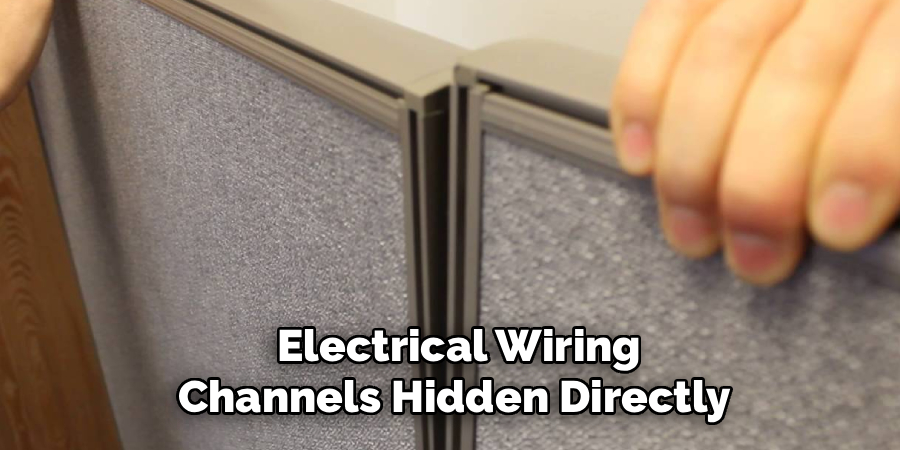
Step 5: Learn Remove Walls From Connectors
Most cubicle walls are held together by connector posts, brackets, latches, or interlocking channels. Look closely at the seams between panels. You may see caps, trim strips, screws, or clips that must come off before the panels separate.
Remove top caps and base covers gently. These pieces can crack if bent too far. Once the connectors are visible, loosen the hardware while another person supports the panel.
Avoid pulling a panel from one side only. Uneven force can bend metal tracks or damage the fabric edge. Work slowly from top to bottom until the connection releases cleanly.
Step 6: Lift And Separate The Panels
Once the connectors are loose, lift or slide the panel according to the system design. Some panels lift straight up from support brackets, while others slide sideways out of a channel. If the panel does not move, stop and inspect it again instead of forcing it.
Cubicle walls can be heavier than they look, especially wide panels or panels with glass, metal frames, or electrical raceways. Use two people for each large section. Keep your back straight, bend at the knees, and communicate before moving.
Carry panels slowly to the staging area. Watch corners, door frames, and nearby walls to avoid dents or scratches.
Step 7: Label And Store Each Component
Good labeling saves time if you plan to reuse or sell the cubicles. Mark panels by location, size, and position. For example, you can label one panel as a left-side return, back wall, or corner section. Keep connector posts, brackets, screws, caps, and trim pieces grouped with the panels they came from.
Store fabric panels away from moisture, dust, and sharp objects. If panels must be stacked, place protective padding between them to reduce scuffs and pressure marks.
Keep electrical parts separate and clearly marked. This makes future installation easier and helps professionals reconnect components correctly.
Step 8: Inspect The Space After Removal
After the cubicle walls are out, inspect the floor, walls, outlets, and remaining furniture. Look for scratches, loose fasteners, abandoned cables, broken trim, or adhesive residue. Small issues are easier to fix before new furniture arrives.
Vacuum the area and remove any hardware left on the floor. Even small screws can damage chair wheels, scratch flooring, or create slip hazards.
If electrical or data connections were part of the cubicle system, have a qualified professional review them before reuse. Once the space is clean and safe, you can plan the next layout with a clear view of the room.
Frequently Asked Questions
Can I Remove Cubicle Walls By Myself?
You can remove small, simple panels by yourself, but it is not always the safest choice. Many cubicle walls are heavy, awkward, or connected to other panels in ways that are not obvious. If the system includes power, glass, tall panels, or overhead storage, it is better to have at least one helper or hire a professional installer.
Do Cubicle Walls Have Electrical Wiring Inside?
Some cubicle walls do include electrical wiring, especially in office systems with built-in outlets or data ports. The wiring is often routed through lower raceways or connector points. Before removing panels, shut off power and inspect the system carefully. If you are unsure, contact building maintenance or a licensed electrician to avoid shock, damage, or code problems.
What Tools Are Needed To Take Apart Cubicles?
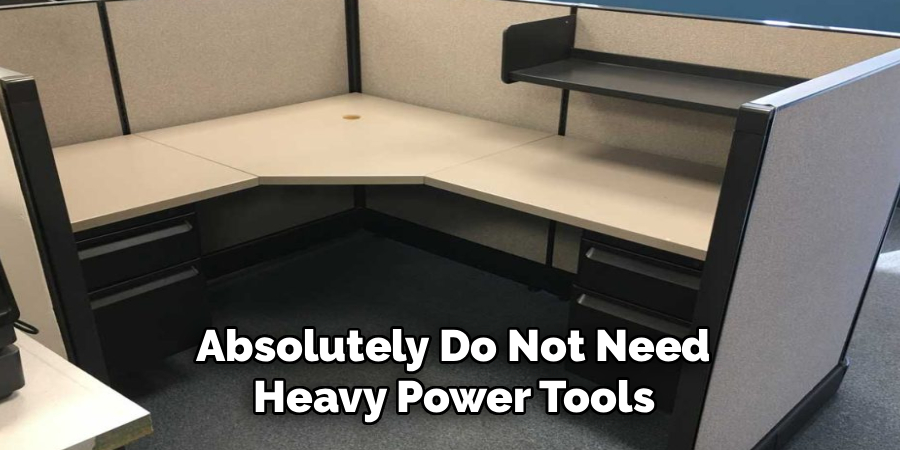
Common tools include a screwdriver, drill, hex keys, socket wrench, rubber mallet, pliers, labels, and storage bags for hardware. The exact tools depend on the cubicle brand and connection style. It is also smart to use work gloves and safety glasses. Avoid using excessive force, because many systems rely on hidden clips or brackets that can break.
Can Cubicle Walls Be Reused After Removal?
Yes, many cubicle walls can be reused if they are removed carefully. Modular systems are designed to be taken apart and reconfigured, but the panels, posts, brackets, and trim must stay in good condition. Labeling each part during removal makes reassembly much easier. Damaged connectors, missing screws, or bent tracks can make reuse harder.
How Long Does It Take To Remove Cubicle Walls?
The time depends on the number of workstations, panel size, electrical connections, and how complex the system is. A small group of simple cubicles may take a few hours. A larger office with powered panels, overhead bins, and many connectors may take a full day or longer. Planning, clearing the area, and labeling parts can speed up the work.
Conclusion
Removing cubicle walls is much easier when you work in the right order. Start by reviewing the layout, clearing the area, turning off power, and removing attached accessories. Then loosen connectors, separate panels carefully, label every part, and inspect the space when the job is done.
The key is patience. Most damage happens when panels are forced apart or wiring is ignored. If the system includes electricity, heavy glass, or complex connectors, get help from a qualified professional.
Now that you understand how to remove cubicle walls, you can plan the project with more confidence and create a cleaner, safer, more flexible office space.

About
Alexis Kerr is a distinguished figure in the world of professional workspace optimization, with a decade of expertise creating innovative and ergonomic office environments. Her professional focus lies in merging organizational psychology with modern spatial design, fostering office setups that are both high-performing and employee-centric. As the lead author for Deskvity, Alexis Kerr delves into the art and science of corporate aesthetics and functionality, inspiring office managers and remote professionals alike.
Education Cornell University
(Ithaca, New York) Bachelor of Science in Design and Environmental Analysis Focus on human factors, workplace strategy, and sustainable interior environments. Gained extensive experience in how physical space influences productivity and mental clarity.
Savannah College of Art and Design (SCAD)
(Savannah, Georgia) Master of Fine Arts in Interior Design Specialized in commercial workspace solutions with a focus on blending digital integration with physical comfort. Participated in high-level industry projects to refine the balance between corporate branding and architectural utility.
Publications and Impact
In Deskvity, Alexis Kerr shares her insights on modern workspace trends, acoustic management, and strategies for efficient layout planning. Her writing bridges the gap between high-level architectural theory and practical day-to-day office needs, making it a must-read for both facility directors and individual professionals looking to elevate their work environment.