

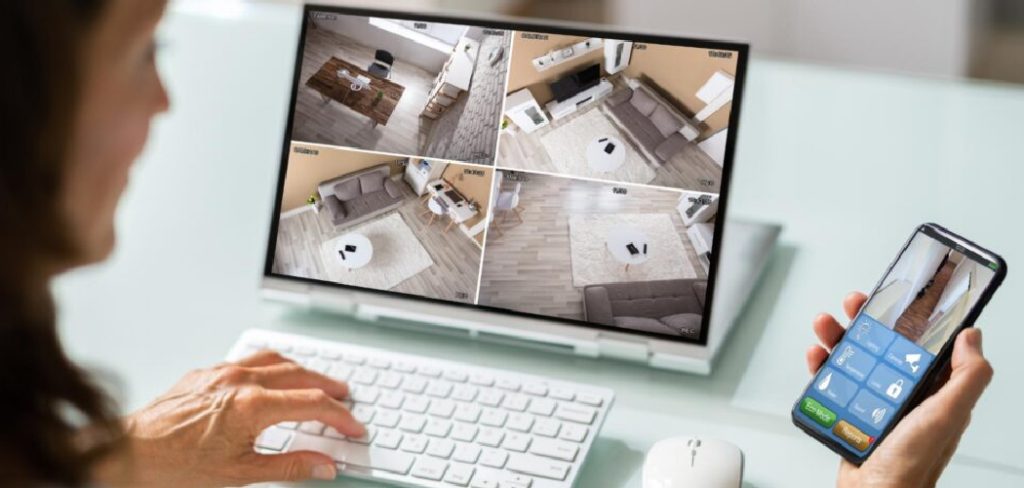
Securing your home requires a reliable monitoring setup that you can access without hassle. When you have cameras covering the front door, backyard, and garage, switching between individual feeds becomes frustrating. You need a streamlined approach to keep an eye on everything simultaneously. Knowing the exact method for how to view multiple Blink cameras at once changes the way you manage home security. It transforms a fragmented system into a unified command center.
We understand that navigating smart home technology sometimes feels overwhelming for beginners. However, setting up a combined view does not require advanced technical skills. You just need the right devices and a clear understanding of the application features. This guide breaks down the entire process into simple, actionable pieces. By following along, you will gain total control over your security network. You can monitor every angle of your property without missing a beat. Protecting your home should bring peace of mind, and having immediate access to all your video feeds ensures you always know what is happening.
Why Viewing All Your Devices Matters
Keeping track of a single camera limits your perspective. If you hear a noise outside, you might check the front door feed while the actual activity happens in the backyard. Managing your security efficiently means having a comprehensive view of your entire property. You eliminate blind spots and reduce the time it takes to assess a situation.
Having immediate access to all your feeds enhances your overall safety. You do not have to waste precious seconds opening and closing different tabs or device screens. A unified dashboard allows you to spot unusual activity across different zones immediately. This rapid assessment capability proves essential during an actual security event.
Step-By-Step Guide To How to View Multiple Blink Cameras at Once
Step 1: Understand the Capabilities
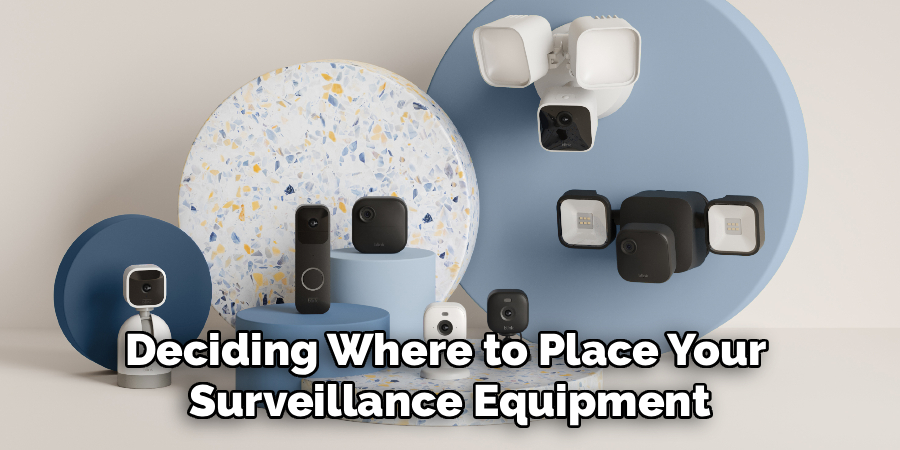
Before changing any settings, you must understand the capabilities and limitations of your current hardware. The native mobile application does not support a traditional grid view for live feeds on a single screen. However, you can achieve simultaneous viewing by leveraging third-party integrations and smart displays. Recognizing this distinction helps you choose the right path for your specific needs.
You need to evaluate the equipment you already own. Do you have a smart television, an Amazon Echo Show, or a dedicated computer? Each of these devices offers a different method for grouping and displaying your video feeds. Taking inventory of your tech ecosystem prevents frustration later in the process.
Step 2: Update Your Mobile Application
Outdated software causes most smart home integration failures. You must ensure your mobile application runs the latest version available in your app store. Developers frequently release patches that improve streaming stability and device connectivity. An updated application guarantees you have the foundational code necessary for advanced viewing features.
Open your smartphone and navigate to your respective application marketplace. Search for the official monitor application and look for an update button. If you only see an option to open the software, you already have the newest version installed. We suggest enabling automatic updates to prevent future compatibility issues.
Step 3: Organize Your Sync Modules
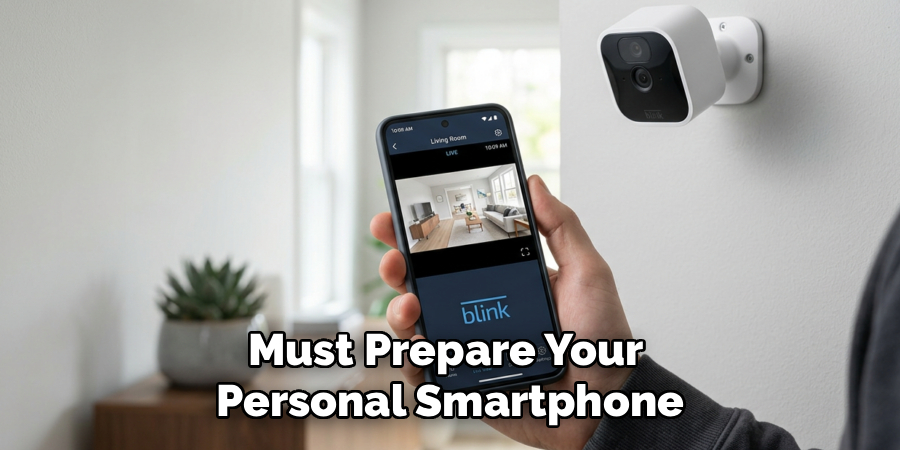
Your cameras connect to sync modules, which dictate how the system groups your devices. Proper organization at this level makes simultaneous viewing much easier to manage. You want to group cameras logically based on their physical location around your property.
Navigate to the system settings within your mobile application. Review the names and assignments of your current devices. If you have all your cameras tied to a single module, consider whether breaking them into distinct zones makes sense for your property size.
Step 4: Download a Reputable Android Emulator
Watching your feeds on a larger monitor provides the best comprehensive overview of your property. Since there is no official desktop application, you must use an Android emulator to run the mobile software on your computer. This method allows you to open multiple instances of the application simultaneously.
Download a reputable Android emulator on your desktop or laptop. Follow the installation prompts and sign in using a standard Google account. Once the virtual environment loads, navigate to the digital store and download your security application.
You can use the emulator’s multi-instance feature to duplicate the application window. Open a different camera feed in each separate window and arrange them on your computer screen. You now have a custom grid view monitoring system. This setup works perfectly for a dedicated home office monitor.
Step 5: Connect Your Account To Smart Displays
If you prefer avoiding computer emulators, smart home hubs offer an excellent alternative. Amazon Echo Show devices integrate seamlessly with your security network. You must link your accounts to enable voice commands and display features.
Open the smart home companion application on your mobile device. Search for the specific skill associated with your security cameras and enable it. The application will prompt you to enter your account credentials to authorize the connection.
Step 6: Create Device Groups For Quick Access
Grouping your cameras within your smart home ecosystem streamlines the viewing process. You can create specific zones that allow you to command multiple devices simultaneously. This organization translates into faster monitoring when you hear a noise outside.
Access the device management section of your smart home companion application. Create a new group and assign it a logical name, such as “Outdoor Cameras.” Add the corresponding camera feeds to this newly created group.
Step 7: Test Your Live Feed Stability
After configuring your viewing method, you must test the system under normal conditions. Video streaming requires significant bandwidth, especially when pulling multiple feeds simultaneously. You need to ensure your internet connection can handle the load without dropping frames.
Activate your multi-view setup and watch the feeds for several minutes. Pay attention to any buffering, lagging, or pixelation on the screens. If the video quality degrades, your wireless router might be struggling to process the data packets.
Frequently Asked Questions
Can I See All My Cameras In A Grid On My Phone?
The native mobile application does not currently support viewing all your video feeds in a single grid layout. You must tap on individual cameras to access their live streams. To achieve a grid perspective, you have to use alternative methods like Android emulators on a desktop computer. This workaround allows you to open multiple application windows and arrange them side-by-side on a larger monitor.
Does Streaming Multiple Feeds Drain Batteries Faster?
Yes, accessing live video streams requires significant power and will drain your camera batteries much faster than normal motion detection. The hardware consumes energy to transmit the video data across your wireless network. If you frequently monitor live feeds for extended periods, you will need to replace the lithium batteries more often. Consider using wired power adapters for cameras you plan to watch constantly.
Why Is There A Delay When Opening My Feeds?
Video feeds often experience a slight delay because the camera must wake from sleep mode, connect to the sync module, and transmit data through your router. This process takes a few seconds to complete. If the delay seems excessively long, you likely have a weak wireless connection. Moving your router closer to the sync module or removing physical obstructions can significantly improve response times.
Do I Need A Subscription For Live Monitoring?
You do not need a paid subscription plan to access the live video feeds from your cameras. Basic live view functionality comes included with the hardware out of the box. However, a subscription provides additional features like cloud storage for motion-activated clips and extended live viewing sessions. Without a plan, you cannot save the footage you are watching for later review.
Can I Share My Camera Access With Family Members?
You can allow family members to monitor the security system by having them download the mobile application and log in using your primary account credentials. The system permits multiple devices to be logged into the same account simultaneously. Keep in mind that only one person can actively watch a specific camera’s live feed at any given moment. Simultaneous viewing of the exact same camera by two different users is not supported.
Conclusion
Managing your home security effectively means maximizing the tools at your disposal. You no longer have to settle for checking one isolated camera while hoping nothing happens off-screen. By utilizing computer emulators or integrating with smart home displays, you take full command of your property’s surveillance. Implementing these strategies removes the friction from daily monitoring and empowers you to respond to situations faster.
Take the time today to assess your current hardware and apply the steps outlined above. Update your software, organize your device groups, and test your bandwidth to ensure a stable connection. Once you learn how to view multiple Blink cameras at once, you will experience a new level of confidence in your home security. Do not wait for a security concern to prompt action. Upgrade your monitoring setup right now and enjoy the peace of mind that comes with complete visibility.

About
Alexis Kerr is a distinguished figure in the world of professional workspace optimization, with a decade of expertise creating innovative and ergonomic office environments. Her professional focus lies in merging organizational psychology with modern spatial design, fostering office setups that are both high-performing and employee-centric. As the lead author for Deskvity, Alexis Kerr delves into the art and science of corporate aesthetics and functionality, inspiring office managers and remote professionals alike.
Education Cornell University
(Ithaca, New York) Bachelor of Science in Design and Environmental Analysis Focus on human factors, workplace strategy, and sustainable interior environments. Gained extensive experience in how physical space influences productivity and mental clarity.
Savannah College of Art and Design (SCAD)
(Savannah, Georgia) Master of Fine Arts in Interior Design Specialized in commercial workspace solutions with a focus on blending digital integration with physical comfort. Participated in high-level industry projects to refine the balance between corporate branding and architectural utility.
Publications and Impact
In Deskvity, Alexis Kerr shares her insights on modern workspace trends, acoustic management, and strategies for efficient layout planning. Her writing bridges the gap between high-level architectural theory and practical day-to-day office needs, making it a must-read for both facility directors and individual professionals looking to elevate their work environment.