

Home security hardware often promises absolute safety through a simple digital lens. This theoretical protection, however, relies entirely on a highly fragile local network ecosystem. A dropped connection essentially renders the entire system useless, leaving your property completely unmonitored at the worst possible moments.
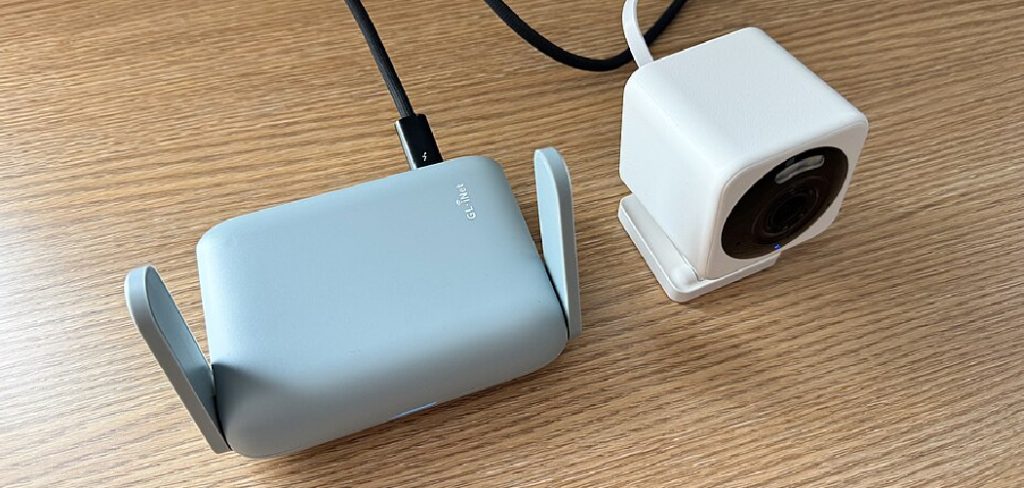
Understanding exactly how to connect blink camera to wifi ensures your surveillance footage remains accessible when you actually need it. The underlying network architecture might initially seem complex, but managing it requires only a few methodical steps. We will examine system preparation, the chronological setup sequence, and practical troubleshooting techniques for common router conflicts.
Taking a measured approach to this installation prevents the sudden frustration of offline error codes later. You simply need to align the hardware requirements with your current household internet infrastructure. This careful alignment may suggest a much more reliable surveillance experience going forward.
Why Knowing How To Connect Blink Camera To Wifi Matters?
Consumers frequently underestimate the structural importance of a solid digital link. They mount the hardware outside and simply assume the internal antenna will force a connection through thick exterior walls. This assumption often leads to spotty video feeds and delayed motion alerts.
Knowing how to connect blink camera to wifi properly prevents these frustrating connectivity gaps from occurring in the first place. A stable network link acts as the invisible tether holding your entire security apparatus together. Without it, the camera is merely a plastic decoration hanging on your porch.
You must actively manage this digital bridge rather than leaving it to chance. Recognizing the limitations of consumer-grade wireless protocols could save you hours of unnecessary troubleshooting. It puts you in direct control of your own security infrastructure.
Continuous Security Monitoring
A solid, uninterrupted network connection guarantees that video recording and real-time motion alerts function exactly as advertised. The hardware requires a constant outward pipeline to push large video files to the cloud servers. If that pipeline narrows or collapses, the camera simply cannot upload the evidence.
Reliable connectivity protects your property and family around the clock without requiring manual intervention. You should expect your system to document an incident clearly and transmit that data instantaneously. This continuous monitoring capability appears to be the primary justification for purchasing the system initially.
Remote Access and Convenience
The entire appeal of modern smart cameras lies in checking live feeds from anywhere on the planet. This extraordinary convenience relies entirely on the successful pairing of the physical hardware to your local router. The mobile application essentially acts as a window into that specific, localized network.
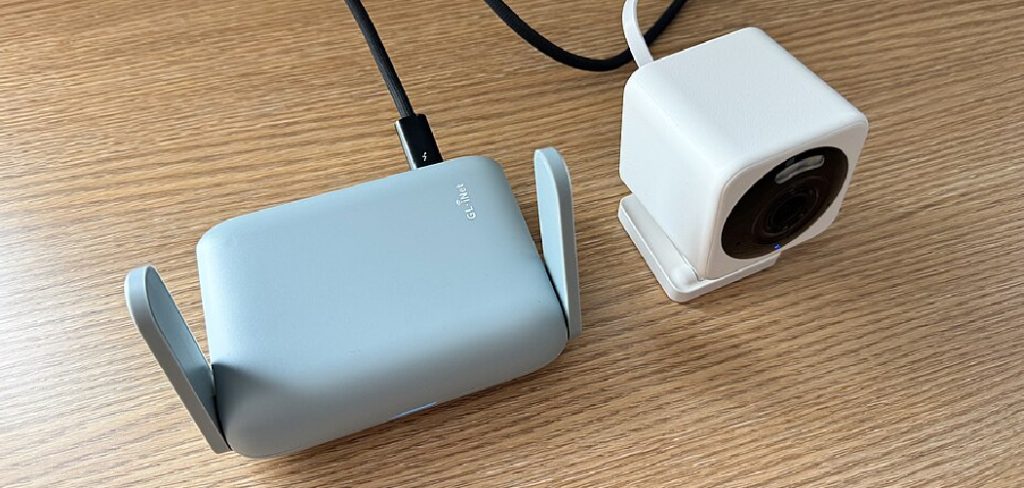
If the digital pairing fails, the application simply displays a loading screen or a frustrating timeout error. You cannot check on a package delivery or verify a visitor if the camera refuses to speak to the router. Maintaining this link provides the necessary psychological comfort when you are traveling away from home.
Understanding Your Blink Camera System
Jumping straight into the software setup without understanding the hardware usually creates unnecessary confusion. You need to provide a comprehensive background on the ecosystem before opening the mobile application. The various pieces of hardware inside the box communicate with each other using highly specific radio frequencies.
This internal communication web might seem redundant, but it actually serves a very deliberate engineering purpose. Blink devices utilize a hub-and-spoke model to maximize their internal battery life over extended periods. Recognizing how these components interact makes the eventual Wi-Fi configuration much more intuitive.
The Role of the Sync Module
The Sync Module serves as the absolute brain of your entire localized security network. This small, square hub bridges the considerable gap between the individual exterior cameras and your main home router. It intercepts low-frequency radio signals from the cameras and translates them into standard Wi-Fi data packets.
By offloading the heavy networking lifting to the plugged-in module, the cameras conserve massive amounts of battery power. The cameras themselves only connect directly to the internet during active video transmission. This clever architectural design may indicate why these specific devices claim such exceptionally long battery life spans.
Identifying Your Camera Model
Blink manufactures several distinct models, including the wired Mini, the standard Indoor, and the weatherproof Outdoor variants. While the underlying software setup process remains nearly identical across the board, knowing your specific model dictates your physical installation choices. It also helps immensely when interpreting the various in-app prompts and flashing LED indicator lights.
Certain models require physical batteries, while others rely on a constant USB power source to function. Identifying these power constraints early prevents the device from dying in the middle of a crucial firmware update. You should take a moment to read the specific hardware documentation included in your packaging.
Essential Preparation Before Setup
Diving into the setup sequence without laying the proper groundwork almost always results in a failed connection. You must complete specific technical prerequisites before you even attempt to open the pairing screen. Sorting these variables out early prevents you from timing out the pairing mode while hunting for a lost password.
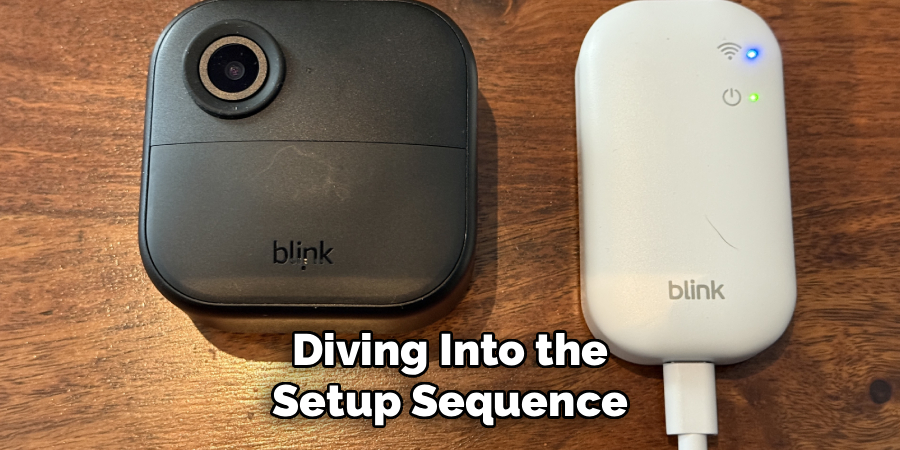
A calm, methodical preparation phase establishes the foundation for a flawless installation. You essentially want to remove all external friction points before the hardware attempts its first digital handshake. This proactive approach could indicate a much higher success rate for first-time users.
Checking Network Requirements
You must verify your current router settings before attempting to pair the Sync Module. Blink devices require a dedicated 2.4 GHz network band to function and cannot physically process a 5 GHz signal. This hardware limitation exists because lower frequency bands penetrate solid walls much more effectively than high-frequency waves.
Modern routers often blend both bands under a single network name to simplify the user experience. This automated blending frequently confuses the Sync Module during the initial connection phase. You might need to access your router’s administrative panel to temporarily separate these bands.
Gathering Necessary Tools and Information
Collect every necessary item and place it on a clear table near the internet router. You will need your smartphone with a fully charged battery, the exact network password, and the unboxed hardware components. Do not attempt to pair the cameras while standing out in the yard.
Perform the entire digital configuration in the same room as the router to guarantee maximum signal strength. Once the cameras are successfully registered to your account, you can physically move them to their permanent exterior locations. This localized approach dramatically reduces the chance of dropped packets during registration.
How To Connect Blink Camera To Wifi: Step-by-Step Guide
This section serves as the core instructional pathway for establishing your security network. You must follow this chronological path precisely, as each step builds logically upon the previous software command. Skipping ahead or rushing the hardware recognition phase usually forces you to start the entire process over.
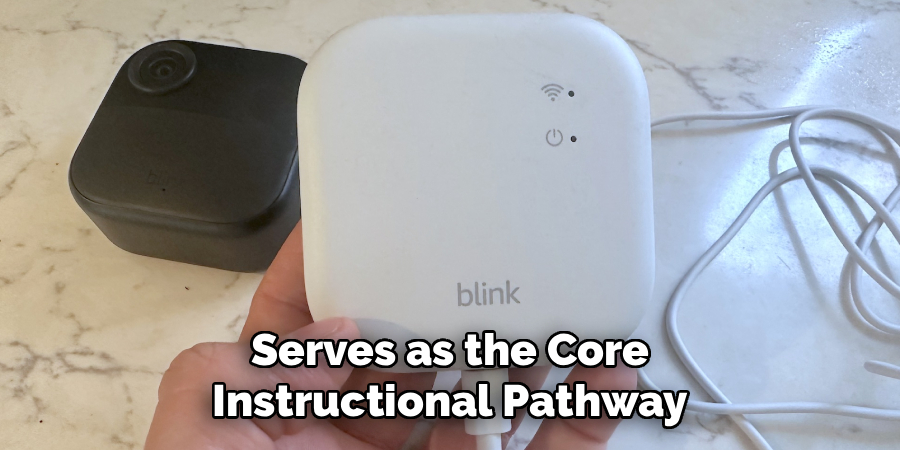
We will focus on a highly structured installation that minimizes the risk of confusing the internal firmware. Stay patient during the various loading screens, as the hardware often requires thirty seconds to negotiate security certificates. Let the digital handshake complete fully before pressing any additional buttons.
Step 1: Downloading the Blink Home Monitor App
Navigate directly to your smartphone’s designated app store and locate the official Blink Home Monitor application. Download and install the software, ensuring you grant it the necessary system permissions upon the first launch. The application requires localized Bluetooth access and local network discovery permissions to find the unboxed hardware.
Denying these specific permissions will permanently halt the setup process before it even begins. The application uses Bluetooth to establish a temporary, secure tunnel to the Sync Module. You can often revoke some of these permissions later, but they remain absolutely critical for the initial pairing phase.
Step 2: Creating or Logging Into Your Account
Open the application and select the option to create a new user profile if you do not already have one. You must input a valid email address and create a highly secure, unique password for your security system. The application will immediately send a multi-factor authentication code to your email or mobile device.
Retrieve this code quickly and enter it into the app to verify your identity. This strict authentication process protects your future video feeds from unauthorized remote access. It may suggest a slight inconvenience now, but it forms the bedrock of your personal digital privacy.
Step 3: Plugging in and Adding the Sync Module
Take the Sync Module and plug its power adapter into a standard wall outlet located near your router. Open the mobile application, tap the plus icon in the upper corner, and select the option to add a new system. The app will prompt you to use your phone’s camera to scan the unique QR code printed on the back of the module.
Once scanned, the software will ask you to wait for a specific pattern of lights on the physical hardware. You must observe a blinking blue light alongside a steady green light before tapping the confirmation button. This light pattern explicitly confirms the module is ready to receive network instructions.
Step 4: Connecting to Your Local Network
The application will now attempt to join the Sync Module’s temporary broadcast network. Accept this connection prompt, and the app will present a list of available local Wi-Fi networks in your immediate area. Select your designated 2.4 GHz network from this list and prepare to enter your credentials.
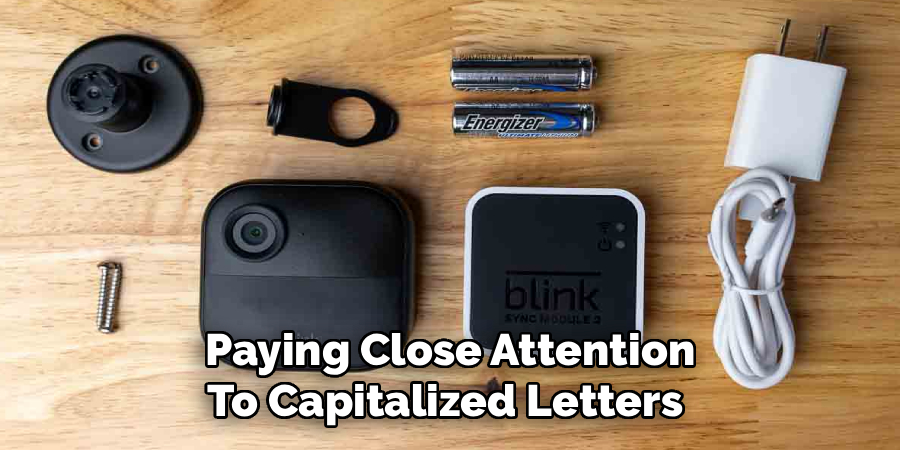
Type your Wi-Fi password carefully, paying close attention to capitalized letters and special characters. Press the join button and wait while the module attempts to authenticate with your household router. A success screen will eventually appear, indicating the Sync Module is officially online and communicating with the cloud servers.
Step 5: Adding Your Camera Device
With the central hub online, you can finally integrate the actual camera lenses into the ecosystem. Insert the provided lithium batteries into the camera housing, ensuring the positive and negative terminals align correctly. Tap the plus icon in the app again, this time selecting the option for a wireless camera.
Scan the camera’s internal QR code, which usually sits inside the battery compartment or on the back plate. The app will verify the hardware and automatically assign it to the Sync Module you just configured. You should immediately test the connection by requesting a live video feed directly through the application interface.
Ideal Camera Placement for Strong Connectivity
A successful initial connection means absolutely nothing if you subsequently mount the camera out of the router’s physical range. The physical placement of the hardware dictates the ongoing reliability of the video stream. You must balance your desire for the perfect viewing angle with the harsh realities of wireless signal degradation.
Exterior walls, metal ductwork, and large appliances all absorb or deflect radio waves to varying degrees. Planning your installation around these invisible obstacles ensures the camera remains highly responsive. It often requires a few compromises to achieve a perfectly stable signal.
Avoiding Signal Interference
Brick, concrete, and heavy stone are notorious for blocking standard Wi-Fi frequencies completely. If you mount a camera on the outside of a thick brick chimney, the signal will likely bounce off rather than penetrate the house. You might need to relocate the Sync Module to a window or an exterior-facing wall to bridge this gap.
Metal siding and large household appliances like refrigerators also cause severe signal deflection. Try to maintain a relatively clear line of sight between the camera’s location and the Sync Module indoors. Minimizing the amount of dense physical mass between these two points heavily reduces network latency.
Checking Signal Strength in the App
You do not have to guess whether a location provides adequate coverage. The mobile application includes a built-in diagnostic tool specifically designed to evaluate connection quality. Navigate to the camera’s device settings and locate the network status section before drilling any holes.
You should evaluate both the “Camera to WiFi” metric and the “Camera to Sync Module” signal icons. Both indicators must show at least three bars of strength to guarantee reliable motion uploads. If the signal drops below this threshold, you must physically move the camera closer to the house.
Troubleshooting Common Connection Issues
Users frequently encounter frustrating obstacles when their devices inexplicably drop off the network. Validating these struggles is important, as consumer networking hardware is notoriously temperamental. Providing immediate, logical solutions gets the security system back online without requiring a lengthy call to customer support.
Most connection failures stem from simple typographical errors or conflicting router protocols rather than defective hardware. Approaching these failures analytically strips away the mystery. You simply need to isolate the variable causing the communication breakdown.
Dealing with Incorrect Passwords
Typing the wrong network password remains the single most common cause of setup failure globally. The application cannot verify the password against your router; it merely passes the text string along blindly. If the router rejects the text string, the module simply fails to connect without explaining why.
If you suspect a typo, you must safely force the app to forget the current network attempt. Restart the pairing process for the Sync Module and re-enter the credentials with extreme care. This minor adjustment usually resolves the vast majority of initial configuration errors.
Managing Dual-Band Router Conflicts
Modern mesh routers frequently cause immense frustration during the setup phase of 2.4 GHz devices. The router attempts to force the Sync Module onto the faster 5 GHz band, which the module physically cannot comprehend. This protocol mismatch results in an endless, looping connection failure.
You must temporarily disable the 5 GHz band through your router’s administrative web panel during the setup phase. This forces the smartphone and the Sync Module to communicate exclusively on the lower frequency. Once the hardware is registered to the cloud, you can safely re-enable the 5 GHz band for the rest of your household.
Optimizing System Performance
Getting the hardware online represents merely the baseline of your security setup. You must configure the advanced software settings to get the absolute most out of your newly connected system. Failing to optimize these parameters often leads to drained batteries and annoying, irrelevant phone notifications.
You want to strike a delicate balance between rigorous network security and efficient bandwidth usage. The software offers several granular controls to tailor the camera’s behavior to your specific environment. Taking the time to adjust these sliders prevents the system from becoming a digital nuisance.
Adjusting Motion Sensitivity
The default sensitivity slider in the device settings is often calibrated too high for standard suburban environments. A high sensitivity setting forces the camera to ping the network every time a stray leaf blows across the driveway. This constant upload activity saturates your local bandwidth and drains the lithium batteries rapidly.
Lowering this sensitivity slightly drastically reduces false network pings. The camera will ignore minor environmental movements and focus exclusively on larger thermal signatures like people or vehicles. This calibration could indicate a much more refined and sustainable approach to motion tracking.
Setting Up Activity Zones
You can further reduce unnecessary network traffic by masking out high-traffic areas in the camera’s field of view. The application allows you to draw gray boxes over public sidewalks or neighboring driveways. The camera essentially ignores any motion that occurs within these blocked-out geographical zones.
This specific feature prevents the camera from overloading your local network with useless clip uploads of passing cars. It forces the hardware to concentrate its limited battery resources on your actual private property line. Implementing these zones turns a generic camera into a highly specialized security tool.
Conclusion
Establishing a stable digital perimeter requires a bit of patience and a fundamental understanding of wireless limitations. Mastering how to connect blink camera to wifi guarantees your hardware performs precisely when it matters most. It clears away the technical confusion and leaves you with a highly responsive, reliable surveillance architecture.
Taking the time to carefully establish this connection, balance the router frequencies, and verify signal strength yields massive dividends. You avoid the recurring nightmare of offline cameras and missed delivery notifications entirely. Proceed with mounting your fully configured devices outside, set your custom motion parameters, and enjoy the distinct peace of mind that a stable security system provides.

About
Alexis Kerr is a distinguished figure in the world of professional workspace optimization, with a decade of expertise creating innovative and ergonomic office environments. Her professional focus lies in merging organizational psychology with modern spatial design, fostering office setups that are both high-performing and employee-centric. As the lead author for Deskvity, Alexis Kerr delves into the art and science of corporate aesthetics and functionality, inspiring office managers and remote professionals alike.
Education Cornell University
(Ithaca, New York) Bachelor of Science in Design and Environmental Analysis Focus on human factors, workplace strategy, and sustainable interior environments. Gained extensive experience in how physical space influences productivity and mental clarity.
Savannah College of Art and Design (SCAD)
(Savannah, Georgia) Master of Fine Arts in Interior Design Specialized in commercial workspace solutions with a focus on blending digital integration with physical comfort. Participated in high-level industry projects to refine the balance between corporate branding and architectural utility.
Publications and Impact
In Deskvity, Alexis Kerr shares her insights on modern workspace trends, acoustic management, and strategies for efficient layout planning. Her writing bridges the gap between high-level architectural theory and practical day-to-day office needs, making it a must-read for both facility directors and individual professionals looking to elevate their work environment.