

Home security systems offer a distinct sense of psychological comfort, though their actual effectiveness relies heavily on proper implementation. You might assume that simply purchasing a high-end device guarantees immediate safety. This assumption often falls apart when a poorly mounted lens fails to capture a crucial incident.
Understanding exactly how to install ring camera devices ensures your property remains consistently monitored. A correct installation minimizes the risk of frustrating network dropouts or sudden power failures. It essentially bridges the gap between theoretical protection and practical, everyday reliability.
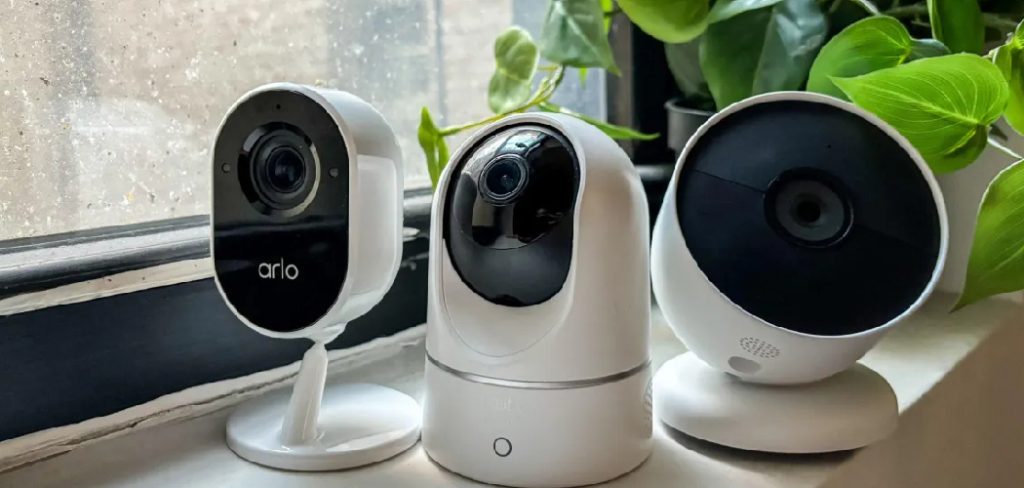
We will explore the specific physical and digital steps required to set up your surveillance hardware. This process involves evaluating your specific model, preparing your structural mounting surface, and navigating the companion software. Approaching this project with a measured, analytical mindset might suggest a much smoother experience than rushing through the quick-start manual.
Understanding Your Device Before You Begin
The consumer electronics market features a slightly overwhelming variety of surveillance hardware. Ring manufactures dozens of distinct models, each engineered for very specific environmental contexts. Treating every camera as if it requires the same setup process usually leads to immediate frustration.
You must identify the precise hardware architecture sitting in the box before picking up a drill. This initial evaluation dictates your structural mounting options and your available power sources. It could indicate whether you need professional electrical assistance or just a simple screwdriver.
Battery-Powered vs. Hardwired Models
Battery-powered units offer incredible physical flexibility regarding where they can be mounted. You can essentially place them on any exterior tree, fence, or distant garage wall that receives a decent wireless signal. However, this flexibility introduces the recurring chore of manually retrieving and recharging the internal power packs.
Hardwired models present an entirely different set of logistical challenges and benefits. These units require a physical connection to your home’s internal electrical grid. This might suggest a more labor-intensive afternoon of installation, but it eliminates the anxiety of a dead battery during a winter storm.
Indoor vs. Outdoor Considerations
Interior cameras generally feature lightweight plastic housings designed to blend into standard living room decor. They lack the heavy-duty weather seals necessary to survive freezing rain or direct summer sunlight. Attempting to mount an indoor unit outside almost guarantees a fatal short circuit within a few months.
Outdoor variants utilize specialized rubber gaskets to protect their sensitive internal motherboards from moisture. You must maintain the integrity of these protective seals during the physical mounting phase. A cracked housing or a missing silicone plug could easily allow morning dew to destroy the camera’s optical sensor.
Why Knowing How To Install a Ring Camera Matters?
Slapping a piece of hardware onto a doorframe without considering the environmental variables rarely produces good results. A rushed job frequently results in stripped screws, cracked siding, and crooked video feeds. Knowing how to install Ring camera models properly protects both the expensive electronics and your home’s exterior façade.

It might appear easier to hire a local contractor for this specific task. Yet, mastering the installation yourself grants you total operational control over your own security perimeter. You gain the specific knowledge required to adjust, move, or troubleshoot the hardware years down the line.
Maximizing Home Security
A solid physical installation guarantees that the device will not shift violently during heavy winds. When a camera remains perfectly stable, its motion tracking algorithms function with far greater accuracy. This stability prevents the software from triggering false alarms every time the housing rattles against the brickwork.
Optimal placement also dictates the actual utility of the recorded footage. A camera mounted too high might only capture the tops of heads rather than identifiable facial features. Strategic positioning ensures the captured video actually holds investigative value if an incident occurs.
Avoiding Common Setup Mistakes
Following a highly structured methodology prevents the agonizing errors that plague impatient homeowners. People frequently mount the hardware permanently before testing the local wireless signal strength. This oversight forces them to unscrew the entire assembly when they realize the router cannot reach the device.
Careful planning also helps you avoid inaccessible battery compartments. If you wedge a battery-powered model too closely against a gutter, you might find it impossible to open the latch later. Anticipating these physical clearance requirements is arguably the most critical aspect of the entire project.
Essential Tools and Preparation
Jumping straight into the physical mounting without gathering your equipment disrupts your intellectual momentum. You want to avoid climbing down a ladder three separate times simply because you forgot a specific drill bit. Preparation transforms a chaotic chore into a highly controlled, satisfying mechanical process.
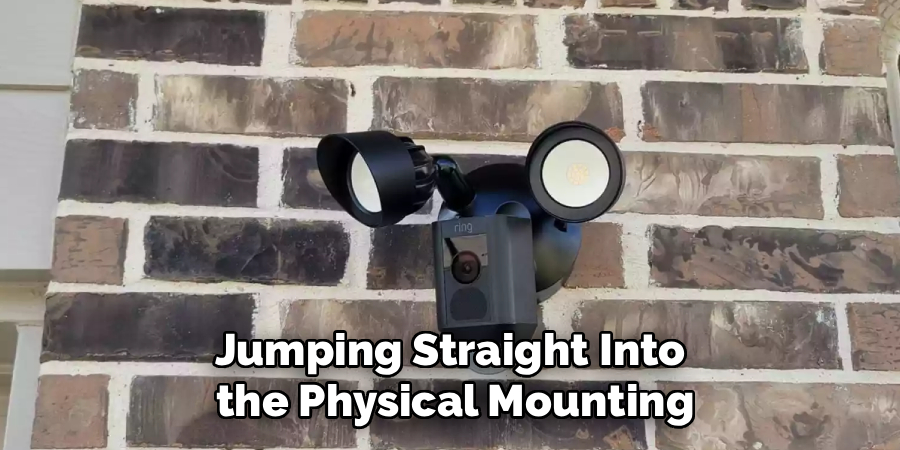
Laying your tools out on a flat surface allows you to inventory your resources. It might suggest a level of overkill for a simple consumer device, but this discipline prevents careless structural mistakes. You should treat the installation of security hardware with a degree of mild reverence.
Gathering Your Supplies
Your toolkit should include a fully charged smartphone, a standard power drill, and a reliable Phillips-head screwdriver. The original product box typically contains a proprietary mounting bracket and a specialized masonry drill bit. You should verify that these specific components are actually present before starting.
If you plan to mount the device on wood or vinyl siding, a standard wood drill bit is highly recommended. You might also want to locate a small bubble level to ensure the mounting plate sits perfectly horizontal. A crooked camera lens induces a subtle, nagging sense of vertigo every time you check the live feed.
Charging the Battery Properly
If you purchased a battery-powered model, you must initiate the charging sequence before doing anything else. Plug the removable rectangular battery pack into a standard wall outlet using the provided micro-USB cable. The small indicator lights on the battery will eventually glow solid green, indicating a maximum charge capacity.
Do not attempt the digital app setup with a partially depleted battery. A low-power state can occasionally cause the camera’s internal firmware to freeze during the initial software update. Waiting a few hours for a complete charge establishes a much safer baseline for the device’s first boot sequence.
How To Install Ring Camera: Step-by-Step Guide
Executing the actual installation requires a methodical, linear progression. You must combine the digital software configuration with the physical carpentry work in a very specific order. Reversing these steps usually results in a camera that is firmly attached to the wall but completely disconnected from the internet.
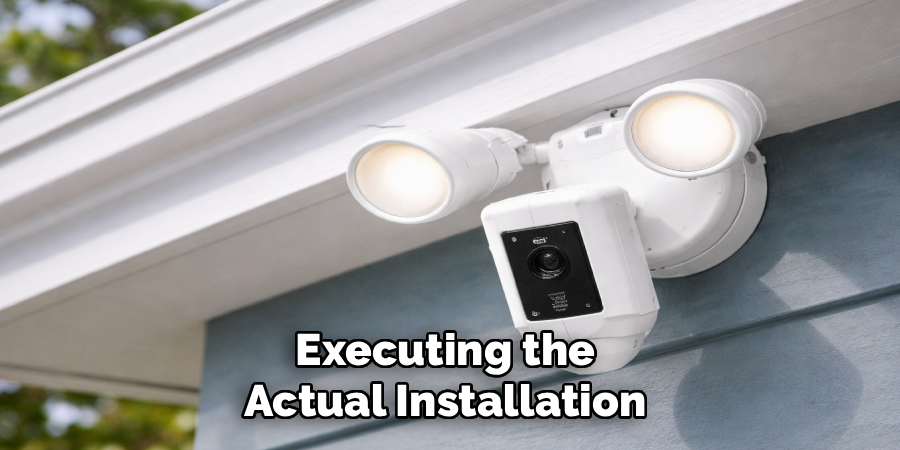
This guided sequence minimizes the risk of software timeouts. It forces you to verify the digital handshake before committing to permanent structural holes. Patience remains your most valuable tool throughout this entire phase.
Step 1: Downloading the App and Creating an Account
Navigate to your smartphone’s designated app store and download the official software application. You must create a unique user profile by verifying your email address and establishing a highly secure password. This digital account acts as the absolute gatekeeper for your private surveillance footage.
The application will request several core operating system permissions upon its first launch. You should grant it access to your local Bluetooth radio and your device’s location services. These specific permissions allow the smartphone to discover the unpowered camera sitting on your kitchen table.
Step 2: Connecting the Camera to Your Wi-Fi
Initiate the pairing sequence by scanning the unique QR code printed on the rear of the camera housing. The application will prompt you to select your local household Wi-Fi network from a populated list. Enter your network password carefully, as a single typographical error will completely halt the digital handshake.
Wait patiently while the camera attempts to authenticate its credentials with your router. The device might immediately download a mandatory firmware patch once it successfully connects to the internet. Let this automated software update run its course entirely before you physically move the camera outside.
Step 3: Drilling Holes and Inserting Anchors
Take the plastic mounting bracket and hold it flat against your chosen exterior wall. Use your small bubble level to verify its alignment, then mark the designated screw holes with a dark pencil. This visual mapping prevents you from drilling blindly into the siding.
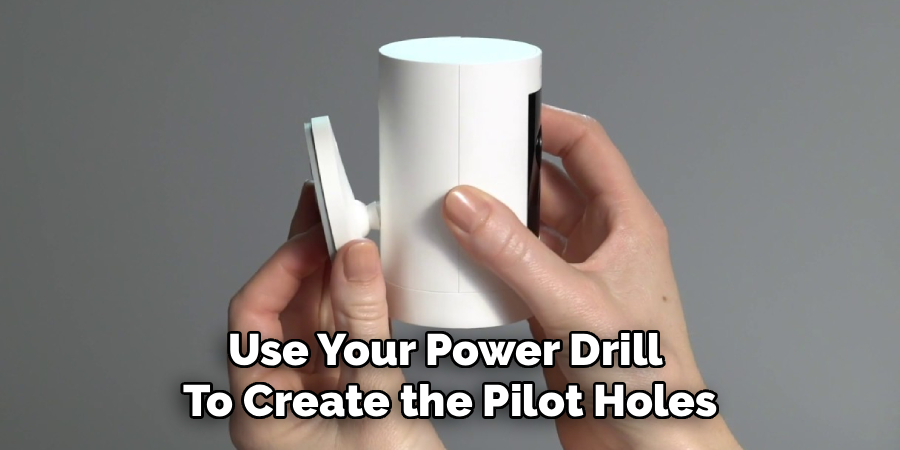
Use your power drill to create the pilot holes directly over your pencil marks. If you are attaching the unit to brick, stucco, or concrete, you must gently tap the included plastic anchors into these holes. These anchors expand inside the masonry, providing a remarkably tight grip for the eventual metal screws.
Step 4: Securing the Camera and Faceplate
Position the mounting bracket over the pilot holes and drive the screws in tightly with your screwdriver. Avoid over-tightening the screws, as excessive torque can easily crack the thin plastic baseplate. You want the mount to feel perfectly rigid against the wall without bowing inward.
Slot the main camera body directly onto the secured bracket until you hear a definitive, satisfying click. Finally, attach the decorative outer faceplate and insert the tiny security screw at the absolute bottom of the unit. This specific proprietary screw prevents casual thieves from simply popping the battery out of the housing.
Managing Power and Hardwiring
Users who opted for a hardwired model face a slightly more hazardous installation path. Dealing with household electrical currents requires strict adherence to basic safety protocols. A casual mistake here could result in a blown fuse or a serious electrical shock.
You must never assume that a wire is dead simply because a switch is turned off. Electrical currents often behave in unpredictable ways within older residential wiring systems. Taking a highly defensive posture is the only rational way to handle live voltage.
Connecting to Existing Wires
Locate your home’s primary circuit breaker box and completely cut the power to the specific area where you are working. Use a handheld voltage meter to verify that the exterior wires are genuinely dead before touching them with your bare hands. This minor verification step might literally save your life.
Wrap the exposed copper ends of the existing doorbell or junction box wires around the terminal screws located on the back of the mounting bracket. It generally does not matter which wire connects to which terminal on standard low-voltage systems. Tighten the screws down firmly to ensure a clean, uninterrupted flow of electricity.
Perfecting Your Camera Angle
A mechanically perfect installation means very little if the optical lens points directly at a brick wall. The camera’s field of view determines the actual utility of your entire security investment. You must physically manipulate the housing to capture the most vital environmental data.
Many people angle their cameras far too high, capturing excellent footage of the sky and passing clouds. You actually want the lens angled slightly downward to catch the faces of anyone approaching the perimeter. This slight tilt maximizes the effectiveness of the infrared motion sensors.
Testing the Live View
Open the companion mobile application and access the live video feed feature. Stand outside and look at your smartphone screen while physically tilting the camera on its adjustable swivel mount. This real-time visual feedback allows you to perfectly frame your driveway or front porch.
Check the extreme edges of the frame to ensure no glaring blind spots exist. You might notice that a nearby porch light severely washes out the image during the evening hours. Adjusting the angle by just a few degrees usually resolves these localized glare issues entirely.
Fine-Tuning Your Motion Settings
The hardware installation merely establishes the baseline of your security apparatus. You must now configure the advanced software parameters to prevent the system from becoming a digital nuisance. Uncalibrated cameras frequently overwhelm users with hundreds of irrelevant push notifications daily.
The software algorithms need to learn what constitutes a genuine threat versus a standard environmental variable. You have to explicitly tell the system what areas of the frame to ignore. This fine-tuning process transforms a chaotic motion sensor into a highly precise surveillance tool.
Customizing Activity Zones
Navigate deeply into the device settings menu and locate the motion configuration tab. The interface allows you to draw custom geometric shapes over the live video feed. These shapes represent the specific geographical boundaries where motion detection is actually permitted.
You should actively mask out high-traffic public areas, such as the street or the sidewalk directly in front of your house. This targeted masking prevents the camera from triggering an alert every time a delivery truck drives past. It ensures that when your phone finally buzzes, the notification actually warrants your immediate attention.
Conclusion
Taking ownership of your household security requires a willingness to engage with both carpentry and digital networking. Understanding how to install ring camera hardware correctly ensures that your property remains vigilantly monitored without constant maintenance interruptions. A precise, level mount combined with a strong wireless signal establishes an incredibly reliable surveillance foundation.
The process demands a calm approach, especially when balancing battery charges, masonry drill bits, and live electrical wires. Yet, the physical effort yields a highly responsive system that performs exactly as intended during critical moments. You avoid the recurring nightmare of false alarms and crooked video feeds that plague rushed installations.
Take a few moments to review your custom activity zones within the mobile app tonight. Ensure your security screw is tightened securely against the bottom faceplate to deter casual tampering. You can now rely on your fully operational smart camera to deliver accurate, high-quality security alerts for years to come.

About
Alexis Kerr is a distinguished figure in the world of professional workspace optimization, with a decade of expertise creating innovative and ergonomic office environments. Her professional focus lies in merging organizational psychology with modern spatial design, fostering office setups that are both high-performing and employee-centric. As the lead author for Deskvity, Alexis Kerr delves into the art and science of corporate aesthetics and functionality, inspiring office managers and remote professionals alike.
Education Cornell University
(Ithaca, New York) Bachelor of Science in Design and Environmental Analysis Focus on human factors, workplace strategy, and sustainable interior environments. Gained extensive experience in how physical space influences productivity and mental clarity.
Savannah College of Art and Design (SCAD)
(Savannah, Georgia) Master of Fine Arts in Interior Design Specialized in commercial workspace solutions with a focus on blending digital integration with physical comfort. Participated in high-level industry projects to refine the balance between corporate branding and architectural utility.
Publications and Impact
In Deskvity, Alexis Kerr shares her insights on modern workspace trends, acoustic management, and strategies for efficient layout planning. Her writing bridges the gap between high-level architectural theory and practical day-to-day office needs, making it a must-read for both facility directors and individual professionals looking to elevate their work environment.