

Home security networks operate under the assumption of constant, uninterrupted vigilance. We expect these small plastic lenses to passively record our environments without requiring active mechanical intervention. When a device suddenly drops off the network or freezes entirely, that illusion of passive security shatters.
Understanding the specific mechanical interventions required to restore functionality might suggest a more sustainable approach to home maintenance. Figuring out exactly how to reset ring camera devices provides an immediate technical advantage over stubborn software glitches. It transforms a frustrating, unresponsive piece of hardware back into a highly capable surveillance tool.
This guide examines the precise physical and digital pathways required to wipe your device clean. We will explore the subtle differences between power cycles, the timing of the reboot sequence, and the nuances of app-based unbinding. Approaching this maintenance task with a bit of analytical patience usually yields a much smoother recovery.
Understanding When a Reset is Necessary
Consumers frequently confuse a basic restart with a complete system wipe. Pulling the power cord simply turns the machine off and on, which occasionally clears minor cache errors. A factory reset, however, violently erases all custom configurations and localized network memory.
You should arguably reserve this destructive action for scenarios where the camera absolutely refuses to cooperate. Employing a total wipe when a simple reboot would suffice only creates unnecessary administrative work. Careful diagnostic observation prevents you from wasting an afternoon rebuilding your custom motion zones.
Network Connection Drops
Changing your internet service provider usually leaves your existing smart home devices stranded in a digital void. The camera continues searching for an old network profile that no longer physically exists. This abandoned state almost always requires a hard reset to force the hardware to accept new routing instructions.
Upgrading to a new router often produces similar communication breakdowns, even if you keep the same network name. The underlying security protocols might clash with the camera’s aging internal firmware. Wiping the device clears these confusing digital artifacts and initiates a clean, fresh handshake.
Changing Home Ownership
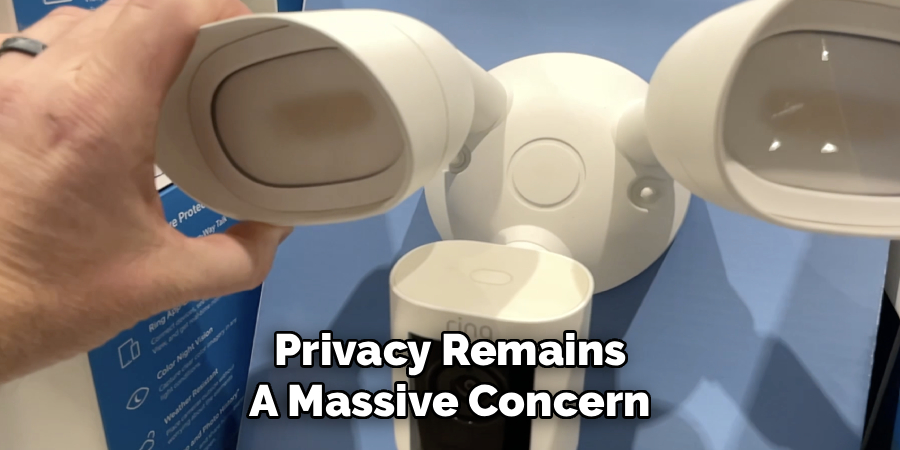
Privacy remains a massive concern when dealing with any internet-connected optical sensor. If you decide to sell your house and leave the cameras behind, keeping your personal account bound to the hardware seems incredibly risky. A full reset severs the digital tether between the physical lens and your private email address.
Moving the camera to a different building entirely also justifies a complete system purge. The hardware will struggle to adapt to a completely foreign IP structure without a blank slate. Erasing the memory allows the camera to adapt to its new geographical environment without carrying digital baggage.
Why Knowing How To Reset Ring Camera Matters?
Electronic devices naturally accumulate corrupted data fragments over extended periods of continuous operation. This invisible clutter eventually bogs down the processing chip, leading to dropped frames or severe latency. Knowing how to reset ring camera hardware allows you to actively combat this creeping software degradation.
Relying on technical support for minor networking hiccups quickly becomes an exhausting endeavor. Mastering your own equipment empowers you to resolve crises independently on your own schedule. It shifts you from a passive consumer into an active administrator of your own property.
Restoring Optimal Performance
A factory reset fundamentally alters the current state of the machine. It strips away every single motion schedule, custom alarm sound, and Wi-Fi credential you previously established. The operating system essentially travels back in time to the moment it left the assembly line.
This absolute destruction of data might seem slightly intimidating at first glance. Yet, it remains the only guaranteed method for clearing deeply embedded software conflicts. You trade a few minutes of setup time for a completely stabilized operating system.
Protecting Your Privacy
Taking direct control of the reset process guarantees your personal information stays off the secondary market if you sell the unit. Relying on a stranger to honestly delete your account later is rarely a wise strategy. Proactive data management appears to be the only reliable way to handle modern smart home devices.
Erasing the camera’s memory gives you a perfectly clean break. You can walk away knowing the hardware is completely disassociated from your personal identity. This action provides genuine peace of mind regarding your digital footprint.
Differentiating Between a Restart and a Hard Reset
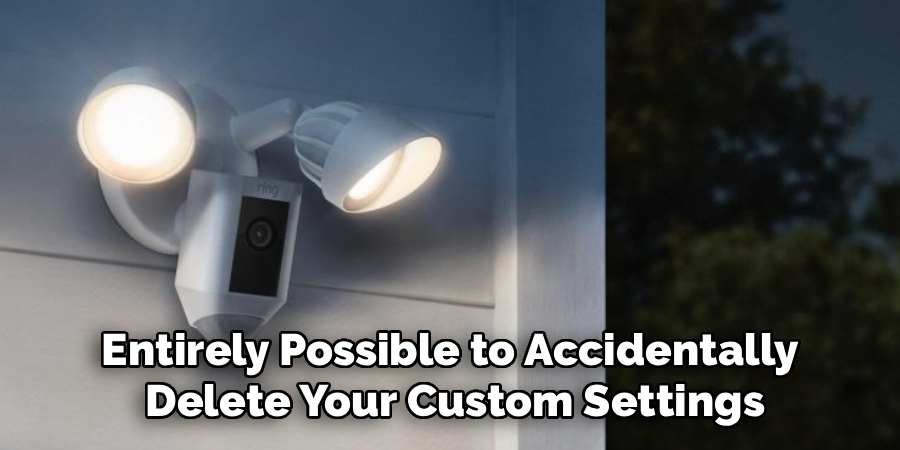
It is entirely possible to accidentally delete your custom settings if you rush the troubleshooting process. Clarifying the terminology prevents unnecessary data loss and a ruined afternoon. There are distinct mechanical differences between soft power cycles and complete hard resets.
Taking a moment to assess the severity of the hardware failure dictates which path you should choose. A minor software hang rarely warrants the complete destruction of your local settings. You must apply the correct level of technical force to the problem.
Power Cycling the Device
Removing the internal battery pack simply turns the device off and on again. Flipping the electrical circuit breaker achieves the exact same result for hardwired units mounted to your brickwork. This basic action safely preserves all your motion zones and network passwords.
A power cycle often fixes minor, temporary electronic glitches. It might suggest a localized memory overload rather than a systemic failure inside the circuitry. You should always try this minor step before resorting to extreme measures.
Performing a Factory Wipe
A hard reset, conversely, is a permanent and irreversible action. It deletes all network memory and custom user preferences immediately. The camera returns to its original factory state exactly as it was when you first opened the box.
You only want to perform this action when standard rebooting fails. It forces you to rebuild your entire surveillance profile from the ground up. Think of it as an absolute last resort for stubborn technical problems.
Preparing Your Device for a Factory Wipe
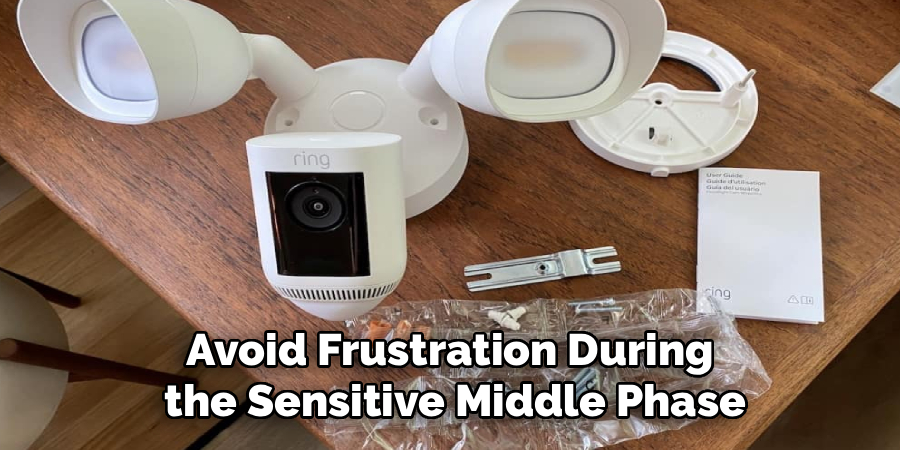
Certain preparations are required before you press any physical buttons on the hardware. Getting your technical prerequisites sorted out early prevents accidental data loss. You want to avoid frustration during the sensitive middle phase of the reboot cycle.
Skipping this preparatory phase often leads to permanent regret. The digital wipe happens instantaneously, leaving no room for secondary recovery options. A cautious approach is highly recommended before initiating a self-destruct sequence.
Saving Important Video Footage
Open your mobile app and locate any video clips you actually need to keep. Download these files directly to your smartphone or personal computer hard drive. The reset process will permanently disconnect the camera from the cloud storage archive.
Once that connection drops, those saved events are generally unrecoverable. It could indicate poor planning if you lose evidence of a security event simply because you forgot to export the file. Take five minutes to review your digital timeline first.
Checking Battery Levels
Ensure the device has sufficient electrical power before initiating the wipe. Attempting a reset on a nearly dead battery introduces massive, unnecessary risk. If the camera dies mid-cycle, it can heavily interrupt the reboot sequence.
This power interruption sometimes corrupts the internal operating firmware. Plug the battery into a wall charger if the percentage looks dangerously low. Waiting an hour for a solid charge is much better than dealing with a completely unusable device later.
How To Reset Ring Camera: Step-by-Step Guide
Performing a hard reset on the physical hardware requires highly specific timing. You need to follow a chronological path to ensure the internal memory clears properly. Rushing the reboot cycle almost always causes pairing errors later on.
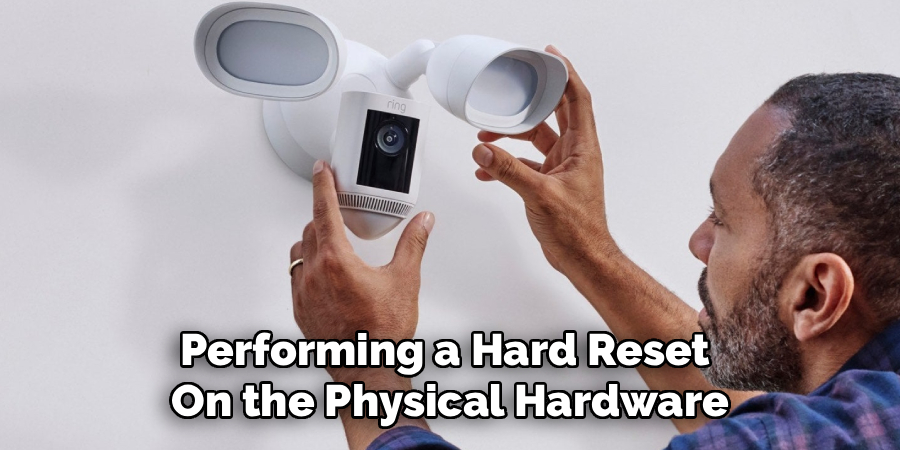
The logic board inside the camera requires a specific duration of electrical contact to accept the command. You cannot simply tap the button and expect the memory to wipe. Methodical execution is the key to a successful hardware purge.
Step 1: Locating the Setup Button
The physical setup button varies dramatically depending on your specific hardware model. On most battery-powered units, you will find an orange button hidden securely inside the battery compartment. Sometimes it sits right on the rear back plate, covered by a small rubber flap.
For hardwired cameras, the button usually rests on the top or side of the main plastic housing. You might need to remove a small security screw at the base to access it properly. Finding this button is your first physical objective before moving forward.
Step 2: Pressing and Holding the Button
Triggering the factory wipe demands firm, steady pressure on the plastic contact. Press the setup button and hold it down for 15 to 20 seconds. Do not let your finger slip or lessen the pressure during this critical window.
Releasing the button too early usually triggers a standard setup mode instead. That action simply puts the camera into Bluetooth pairing mode rather than actually erasing the memory chips. You must hold it long enough to initiate the true deletion sequence.
Step 3: Waiting for the Flashing Light Signal
Visual cues confirm the reset sequence has officially begun deep within the hardware. The circular LED indicator on the front of the camera will start flashing rapidly. Keep your eyes locked on this light as it visually confirms the internal memory is being actively scrubbed.
If the light does not flash, you might not be pressing the button hard enough. Sometimes the internal microswitch requires a fairly aggressive push to register the command. Wait for that specific rapid blinking pattern before moving your hand away.
Step 4: Releasing and Allowing the Reboot
Once the light flashes several times in quick succession, you can safely release the button. Now you just need to wait patiently for up to a full minute. The camera is currently restarting completely from its foundational base firmware.
Do not remove the battery or cut the electrical power during this highly vulnerable boot-up phase. The operating system is currently rebuilding its core software files. Interrupting this fragile process could essentially break the camera forever.
Step 5: Confirming Setup Mode
Watch the front panel for a final visual indicator. The camera should eventually enter its setup mode automatically. A slow, calming, pulsing white light usually signals this.
Some newer models might also emit a loud voice prompt stating the device is ready to connect. This pulsing light strongly indicates a highly successful factory wipe. The physical hardware is now a completely blank slate.
Removing the Device from the Mobile App
Physically wiping the camera does not automatically remove it from your remote cloud account. The software side of the process requires your direct attention as well. The app still stubbornly thinks it owns that specific piece of hardware.
Failing to complete this digital unbinding prevents anyone from ever using the camera again. The manufacturer locks the hardware to the original email address to deter theft. You must sever this digital link manually.
Navigating the Device Settings
Open the mobile application on your smartphone or tablet. Select the specific camera from your main dashboard overview screen. Tap the small gear icon in the upper corner to access the detailed settings menu.
This menu controls the digital relationship between the cloud servers and the camera on your wall. You must navigate to the deepest administrative levels of this interface. It is here that you hold the power to release the hardware.
Unregistering the Hardware
Locate the general settings tab near the absolute bottom of the screen. Select the red option labeled Remove this device. The app will likely ask you to confirm this permanent, destructive choice.
This crucial step fully releases the camera’s unique network identifier. It allows the hardware to be freely registered to a new Wi-Fi network. Without this specific step, a new owner would never be able to pair the device.
Reconnecting to Your Home Network
If you are keeping the hardware, you now face the post-reset phase. A reset camera acts exactly like a brand-new device fresh out of the retail box. You must pair it to your home network from scratch.
This pairing sequence bridges the gap between your local router and the manufacturer’s external servers. It requires a stable Bluetooth connection from your phone to initiate the handshake. Prepare your Wi-Fi password beforehand to avoid session timeouts.
Opening the Device Setup Menu
Tap the option to set up a new device on the application’s home screen. The interface will prompt you to select the correct product category. Choose security cameras or smart doorbells depending strictly on your current model.
This initiates the local Bluetooth pairing sequence. Your phone will attempt to locate the pulsing white light we discussed earlier. Stand relatively close to the camera during this step to ensure a strong signal.
Scanning the MAC or QR Code
The app usually requires you to scan a specific optical code to identify the hardware. You can find this complex pattern located right on the back of the camera body. Sometimes it is printed on a small slip of paper hidden inside the original packaging.
Follow the on-screen prompts to select your local 2.4 GHz network band. Carefully input your updated Wi-Fi password when asked by the system. A single typographical error will force you to restart this entire pairing process.
Troubleshooting Common Post-Reset Issues
People occasionally face intensely frustrating obstacles immediately after performing a wipe. Hardware does not always behave exactly as the printed manual promises. Providing immediate solutions gets your system back online quickly.
Most connection failures stem from simple typographical errors or conflicting router protocols rather than defective parts. Approaching these failures analytically strips away the mystery. You simply need to isolate the variable causing the communication breakdown.
Unresponsive Setup Button
Holding the button sometimes yields absolutely no flashing lights whatsoever. This silence could suggest the power adapter has failed, delivering zero voltage to the motherboard. You might want to check the metal battery contacts for dust or corrosion.
Ensure the battery is fully seated and actually holds a measurable electrical charge. For wired units, verify the wire connections at the main breaker panel. A complete lack of power is the most common reason the reset button fails to respond.
Failure to Enter Setup Mode
Some cameras reboot but stubbornly refuse to pulse white. This annoying situation leaves you stuck in a strange electronic limbo. You can often force the setup sequence to trigger by performing a secondary power cycle.
Remove the battery pack entirely for about ten seconds. Reinsert it firmly and wait to see if the pulsing white light finally returns. This minor physical shock frequently clears whatever background software hangup stopped the setup mode.
Updating Firmware and Optimizing Settings
Getting the absolute most out of your freshly reset system requires a few final adjustments. You want to update the internal software immediately to prevent future glitches from surfacing. Running old firmware simply invites the same networking problems back into your daily life.
The camera usually handles these updates passively in the background. You just need to ensure the device remains powered and connected during this vulnerable window. Software optimization is the final step toward a stable system.
Checking for Software Updates
The camera usually downloads the latest firmware automatically once connected to Wi-Fi. The white light might flash rapidly during this silent background update process. Leave the device completely alone while this crucial download happens.
Interrupting a firmware patch is a truly terrible idea. Give it ten or fifteen minutes to settle into its new network environment. The mobile app will clearly tell you when the lens is finally ready to view.
Reconfiguring Motion Zones
Your previous custom motion settings are entirely gone. You need to carefully redraw your motion detection zones from scratch. Open the app and trace the specific yard or driveway areas you actually want to monitor.
Adjust the overall sensitivity sliders based on your current physical environment. A reset gives you an excellent opportunity to refine these alerts. You might find you can dramatically reduce false notifications simply by adjusting these parameters more carefully this time around.
Conclusion
Taking direct control of your device maintenance yields massive dividends in long-term network reliability. You can fix most common software hangs without begging for outside technical assistance. Understanding how to reset ring camera models puts the operational power directly back in your own hands.
Whether you are selling the house or just fixing a dropped Wi-Fi signal, the physical reset process remains highly effective. It clears out the confusing digital clutter and provides a completely fresh start. You essentially get a brand-new piece of hardware for just a few minutes of concentrated effort.
Go ahead and safely reconnect your freshly wiped camera to the local network today. Redraw your custom motion zones with a bit more precision and forethought than your initial installation. You can easily continue monitoring your property with total confidence going forward.

About
Alexis Kerr is a distinguished figure in the world of professional workspace optimization, with a decade of expertise creating innovative and ergonomic office environments. Her professional focus lies in merging organizational psychology with modern spatial design, fostering office setups that are both high-performing and employee-centric. As the lead author for Deskvity, Alexis Kerr delves into the art and science of corporate aesthetics and functionality, inspiring office managers and remote professionals alike.
Education Cornell University
(Ithaca, New York) Bachelor of Science in Design and Environmental Analysis Focus on human factors, workplace strategy, and sustainable interior environments. Gained extensive experience in how physical space influences productivity and mental clarity.
Savannah College of Art and Design (SCAD)
(Savannah, Georgia) Master of Fine Arts in Interior Design Specialized in commercial workspace solutions with a focus on blending digital integration with physical comfort. Participated in high-level industry projects to refine the balance between corporate branding and architectural utility.
Publications and Impact
In Deskvity, Alexis Kerr shares her insights on modern workspace trends, acoustic management, and strategies for efficient layout planning. Her writing bridges the gap between high-level architectural theory and practical day-to-day office needs, making it a must-read for both facility directors and individual professionals looking to elevate their work environment.