

Laser printing technology provides incredible speed and flawless text resolution for your important documents. These powerful machines rely on a highly complex system of electrical charges, spinning drums, and ultra-fine colored powder to produce those beautiful pages. However, during this rapid printing cycle, a small amount of leftover powder fails to adhere to your paper. The machine sweeps this excess dust into a dedicated plastic receptacle to prevent internal mechanical damage. When this specific receptacle fills up, your machine will halt all operations until you resolve the physical blockage.
Understanding how to empty toner waste container correctly saves you from calling expensive technical support teams for a simple maintenance task. We will explore the exact physical methods required to manage this powdery byproduct without creating a massive mess in your workspace. You do not need an engineering degree to handle this routine hardware maintenance safely and effectively.
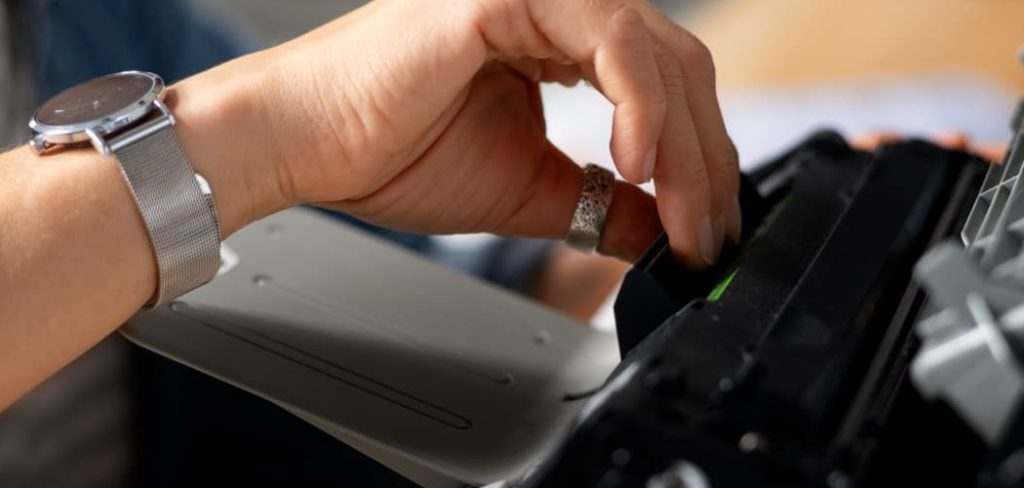
Why Managing Your Leftover Powder Matters
Every single time you send a document to your laser device, microscopic particles transfer from the main cartridge onto the imaging drum. The wiper blade physically scrapes away any residual particles left behind after the page passes through the fusing unit. This swept-up material travels directly into a specialized plastic storage box designed specifically for byproduct containment. Ignoring a full containment box forces that fine dust to back up into the delicate internal gears and optical sensors. This dangerous internal buildup causes immediate print quality issues, including dark vertical streaks and random colored spots across your clean documents.
Beyond ruining your professional documents, overflowing powder creates severe mechanical friction that destroys expensive moving components. A damaged imaging drum or ruined transfer belt costs significantly more to replace than standard ink supplies. Taking control of this routine hardware task extends the overall lifespan of your expensive office equipment drastically. You protect your valuable financial investment by ensuring the internal environment remains completely clean and unobstructed.
Step-By-Step Guide To How to Empty Toner Waste Container
Step 1: Gather Essential Supplies
Proper preparation prevents accidental spills that can easily stain your professional work clothing and office carpeting. You must gather a heavy-duty plastic garbage bag, a pair of disposable rubber gloves, and a standard paper face mask. The colored dust consists of microscopic plastic particles that become airborne very easily with the slightest air current.
Wearing a mask prevents you from inhaling these tiny synthetic particles during the physical transfer process. You should also lay down a few large sheets of old newspaper across your desk or floor to catch any stray dust. Having these protective items ready ensures a completely safe and stress-free maintenance experience from start to finish.
Step 2: Power Down And Unplug Your Device
Safety must always remain your absolute highest priority when reaching inside electrical office equipment. You must press the main power button and wait for the internal cooling fans to completely stop spinning. Once the machine falls completely silent, unplug the thick electrical cord directly from the wall outlet.
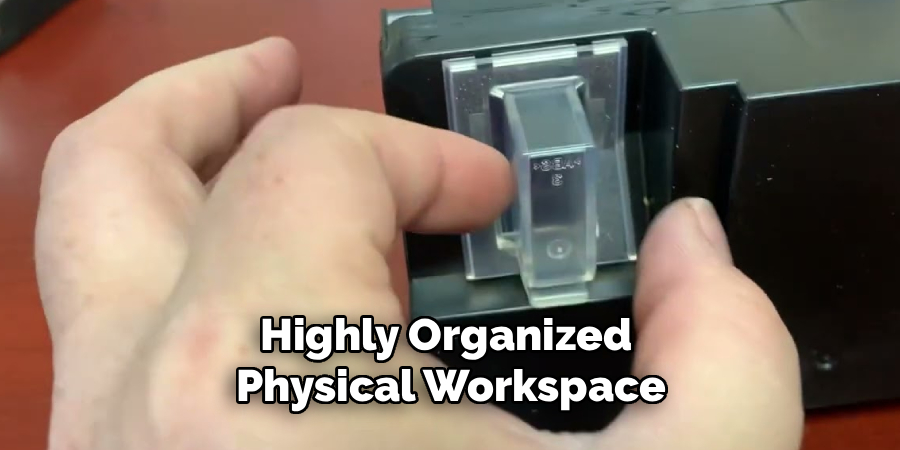
Disconnecting the main power source entirely eliminates any risk of sudden mechanical movement or mild electrical shocks. The internal fusing unit reaches incredibly high temperatures during normal operation and requires time to cool safely. Allowing the hardware to rest for ten minutes guarantees a safe temperature for your hands.
Step 3: Locate The Proper Access Panel
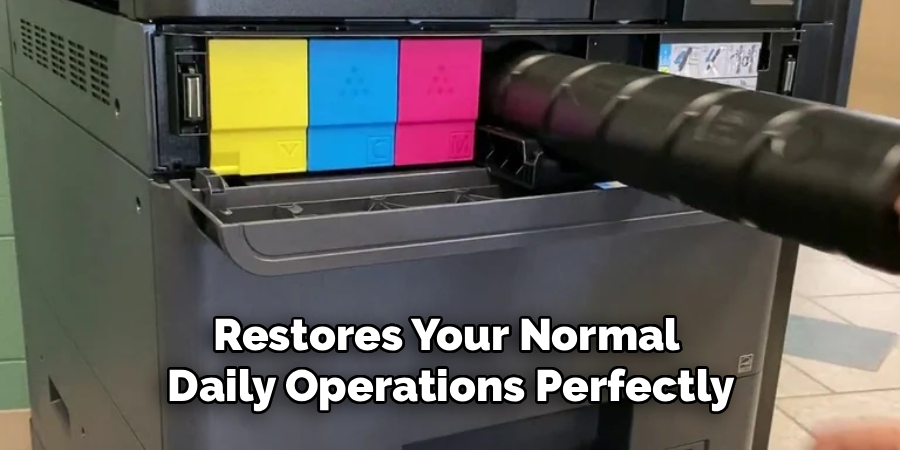
Every manufacturer designs their hardware differently, but the byproduct receptacle usually sits near the main color cartridges. Look for a large plastic door on the front or side of the machine, typically secured by a basic physical latch. Gently press the release button or pull the plastic handle to swing the access door completely open.
You will typically see a long, rectangular plastic piece positioned directly below or beside the main imaging drum. This component often features a small colored sticker or physical handle designed specifically for user interaction. Take a moment to visually identify this specific component before attempting to pull anything out of the machine.
Step 4: Extract The Full Box Carefully
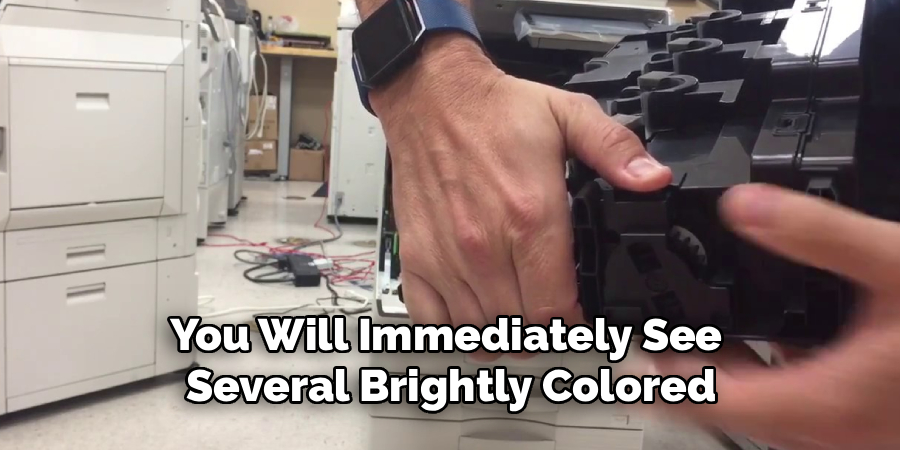
Removing the full receptacle requires slow, deliberate movements to prevent the fine powder from shaking loose. Grip the designated plastic handle firmly and pull the unit straight outward toward your body. You must keep the entire box perfectly level to prevent the contents from spilling out of the small intake holes.
Never tilt the container sideways or upside down while lifting it away from the main hardware unit. If you feel any physical resistance while pulling, stop immediately and check for small locking levers on the sides. Releasing these tiny plastic locks allows the unit to slide forward smoothly without requiring aggressive force.
Step 5: Execute Waste Container Outdoors
You must transport the full unit entirely outside your building to prevent airborne dust from settling on your office furniture. Place the full unit deeply inside your heavy-duty plastic garbage bag before attempting to empty the contents. Point the small circular intake holes directly toward the bottom of the bag while keeping the opening tied somewhat tight around your wrists.
Gently tap the hard plastic sides of the unit to encourage the dense powder to fall downward into your trash bag. Do not hit the fragile plastic housing violently, as aggressive strikes will crack the casing and ruin the component permanently. Allow the dust to settle completely before slowly removing the empty unit from the plastic enclosure.
Step 6: Clean The Surrounding Hardware Area
Before reinstalling your empty component, you should inspect the internal cavity of your machine for stray dust. Use a dry, lint-free microfiber cloth to gently wipe away any visible colored particles sitting near the electrical contacts. You must never use a standard vacuum cleaner for this task unless it features a specialized particle filter.
Regular household vacuums will simply blow the microscopic dust right through their standard filters and back into your breathing air. A dry cloth easily captures small amounts of loose material without causing any airborne hazards. Keeping this internal area spotless ensures perfect communication between the machine sensors and the installed components.
Step 7: Reinstall The Empty Receptacle And Test
Slide your completely empty plastic unit straight back into the designated internal cavity with a firm, steady motion. Push the component gently until you hear a distinct clicking sound, which confirms the physical locks have engaged properly. Close the main access door securely, ensuring the outer plastic housing sits perfectly flush with the machine body.
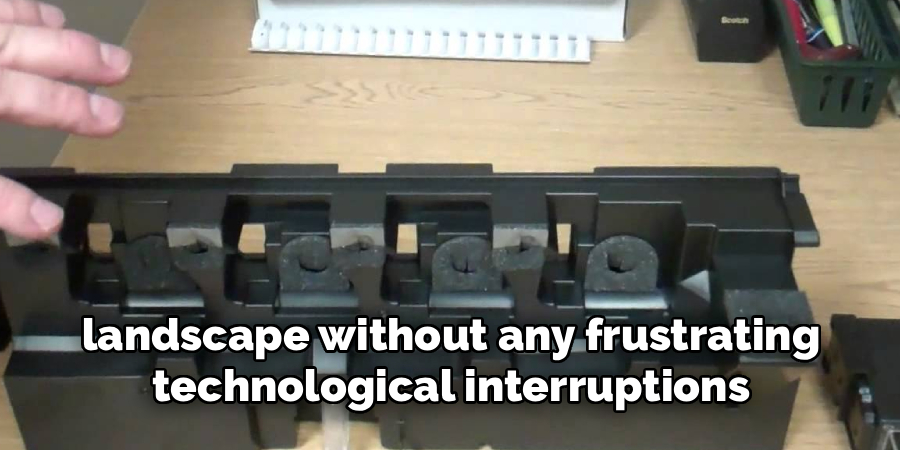
Plug the main electrical cord back into the wall outlet and press the primary power button to boot up the system. The machine will run a brief calibration sequence to verify the physical blockage has been successfully removed. Once the digital display screen shows a ready status, you can successfully resume your normal daily printing tasks.
Frequently Asked Questions
Is The Colored Dust Dangerous To My Health?
The fine powder used in laser hardware consists primarily of pulverized plastic, carbon, and specialized coloring agents. While not highly toxic, inhaling these microscopic particles can cause mild irritation in your throat and respiratory system. This is exactly why you should always wear a basic paper mask when handling full waste receptacles directly. Washing your hands thoroughly with cold water and standard soap completely removes any lingering residue from your skin after the maintenance process.
Can I Wash The Plastic Receptacle With Water?
You must absolutely never use liquid water to clean the interior of a powder containment box under any circumstances. Water causes the microscopic plastic particles to clump together aggressively, forming a thick paste that hardens like concrete. This hardened sludge permanently blocks the small intake holes and renders the entire physical component completely useless. You should only use dry tapping methods to dislodge the material, leaving any stubborn remaining dust safely inside the plastic housing.
How Often Does This Receptacle Need Attention?
The specific maintenance timeline depends entirely on your daily document output and the types of projects you create. Standard office environments that produce heavily saturated color graphics will fill the containment box significantly faster than offices printing basic text documents. Most modern devices feature intelligent internal optical sensors that automatically track the physical volume of the collected powder. Your digital display screen will provide a clear warning message several days before the component reaches its absolute maximum capacity.
Why Is My Machine Still Displaying An Error Message?
If your digital screen continues flashing a full receptacle warning after emptying, the external optical sensor window might be dirty. Locate the small, clear plastic windows on the sides or bottom of the waste box and wipe them perfectly clean with a dry cloth. The hardware shoots a tiny beam of light through these clear windows to measure the internal powder volume accurately. A dusty window tricks the internal computer into thinking the container remains entirely full, halting all mechanical operations needlessly.
Can I Use Hot Water To Clean Stained Clothes?
If you accidentally spill this synthetic powder onto your clothing, you must avoid hot water at all costs. Hot water physically melts the tiny plastic particles, fusing the dark colored dye permanently into the delicate fabric fibers of your garments. You must take the clothing outside and aggressively shake off as much dry dust as possible before washing. Always wash affected garments using strictly cold water and standard detergent to prevent the artificial colors from setting permanently.
Conclusion
Taking proactive control of your hardware maintenance eliminates unnecessary workplace downtime and keeps your daily operations moving smoothly. You protect your expensive mechanical investments by keeping the internal components completely free of obstructive powder buildup. Now that you understand how to empty toner waste container, you possess the knowledge required to handle this specific technical challenge with total confidence. Do not wait for your digital screen to lock up in the middle of a massive project deadline. Grab your protective gloves today, locate your containment unit, and secure a perfectly clean printing environment for your entire office.

About
Alexis Kerr is a distinguished figure in the world of professional workspace optimization, with a decade of expertise creating innovative and ergonomic office environments. Her professional focus lies in merging organizational psychology with modern spatial design, fostering office setups that are both high-performing and employee-centric. As the lead author for Deskvity, Alexis Kerr delves into the art and science of corporate aesthetics and functionality, inspiring office managers and remote professionals alike.
Education Cornell University
(Ithaca, New York) Bachelor of Science in Design and Environmental Analysis Focus on human factors, workplace strategy, and sustainable interior environments. Gained extensive experience in how physical space influences productivity and mental clarity.
Savannah College of Art and Design (SCAD)
(Savannah, Georgia) Master of Fine Arts in Interior Design Specialized in commercial workspace solutions with a focus on blending digital integration with physical comfort. Participated in high-level industry projects to refine the balance between corporate branding and architectural utility.
Publications and Impact
In Deskvity, Alexis Kerr shares her insights on modern workspace trends, acoustic management, and strategies for efficient layout planning. Her writing bridges the gap between high-level architectural theory and practical day-to-day office needs, making it a must-read for both facility directors and individual professionals looking to elevate their work environment.