

Security cameras can make your home or business feel safer, but only when they are placed, powered, and configured the right way. Poor placement can leave blind spots, weak wiring can cause connection problems, and rushed setup can make footage hard to use when you need it most.
Learning how to install security cameras gives you more control over your property’s safety. You can monitor entrances, deter unwanted activity, check deliveries, and review events with clear video. The process may seem technical at first, but most installations become simple when you break them into clear steps.
This guide explains how to choose camera locations, prepare tools, mount devices, manage cables, connect power, adjust settings, and test your system. Whether you are setting up cameras for a house, office, garage, shop, or rental property, these beginner-friendly steps will help you build a reliable security setup without guesswork.
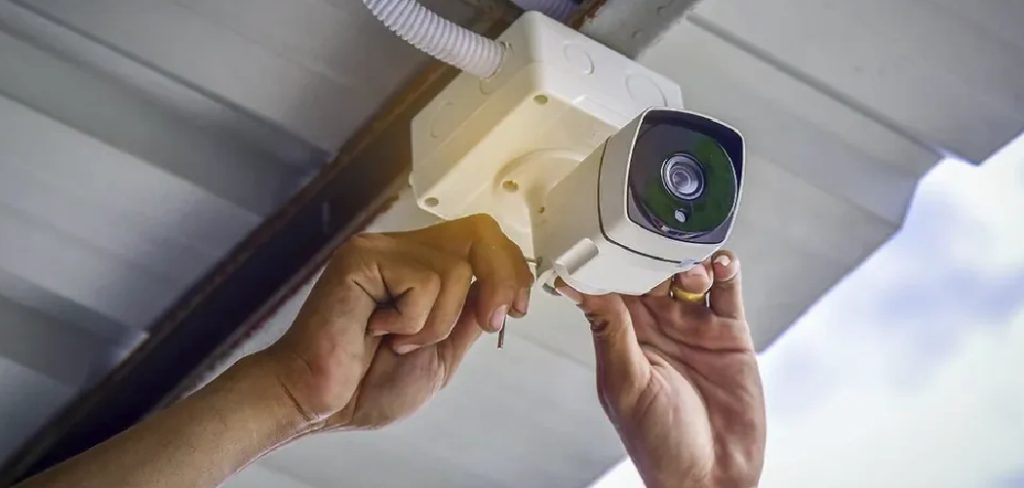
Why Installing Security Cameras Matters
Security cameras help you see what happens around your property, even when you are not there. They can discourage trespassing, support safer entry points, and provide useful footage after theft, vandalism, package loss, or suspicious activity.
A good camera setup also improves daily convenience. You can check visitors before opening the door, monitor driveways, watch pets, or confirm that employees, deliveries, or service providers arrived as expected.
Proper installation matters because camera quality alone is not enough. A high-resolution camera placed too high, aimed poorly, or connected to weak Wi-Fi may miss important details. When cameras are installed with care, you get clearer footage, fewer blind spots, stronger coverage, and a system you can trust when it matters.
Step-By-Step Guide To How To Install Security Cameras
Step 1: Plan Your Coverage Areas
Start by walking around your property and deciding what you need to monitor. Focus on doors, windows, driveways, garages, hallways, stairways, cash areas, storage spaces, and any location where people naturally enter or pass through.
Think about what each camera must capture. A front door camera may need a clear face view, while a driveway camera may need a wider angle for vehicles. Avoid placing cameras only where they look neat. Place them where they solve real security concerns.
Also consider privacy. Do not aim cameras into neighbors’ windows, private rooms, bathrooms, or areas where recording would be inappropriate or restricted.
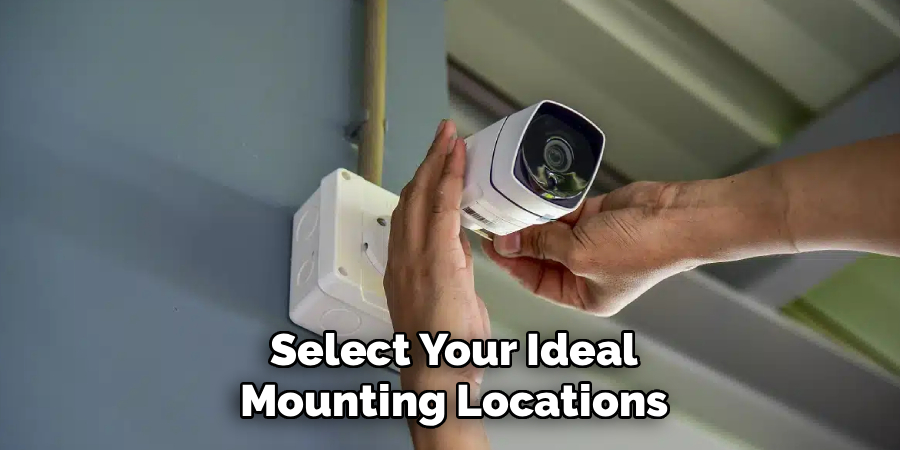
Step 2: Choose The Right Camera Type
The camera type affects wiring, placement, storage, and long-term performance. Wired cameras are often stable and reliable, but they take more work to install because cables must run from the camera to the recorder, router, or power source.
Wireless cameras are easier to place, but they still need strong Wi-Fi and may require charging if they are battery powered. Indoor cameras usually focus on smaller rooms, while outdoor models need weather resistance, night vision, and stronger mounting hardware.
If you are learning how to install security cameras for the first time, choose a system that matches your comfort level, property size, and internet strength.
Step 3: Gather Tools And Safety Gear
Before drilling holes or mounting anything, gather your tools. You may need a drill, drill bits, screwdriver, measuring tape, pencil, ladder, level, cable clips, anchors, screws, and weatherproof sealant. For wired systems, you may also need Ethernet cables, power cables, a fish tape, or cable covers.
Safety matters during this stage. Use a stable ladder, wear eye protection when drilling, and avoid working near electrical lines unless you know what you are doing. If a camera location requires roof access, high exterior walls, or complex wiring, consider hiring a professional.Preparing first prevents delays and keeps the installation cleaner.
Step 4: Mark Each Mounting Location
Once you know where each camera should go, hold the mounting bracket against the surface and mark the screw holes with a pencil. Use a level if the bracket needs to sit straight. Small mistakes at this stage can make the camera look crooked or limit its angle.
Mount cameras high enough to reduce tampering, but not so high that faces, license plates, or details become hard to see. For many homes, a height of about 8 to 10 feet works well for outdoor entry points.
Check the camera’s field of view before drilling. A few inches can make a big difference in coverage.
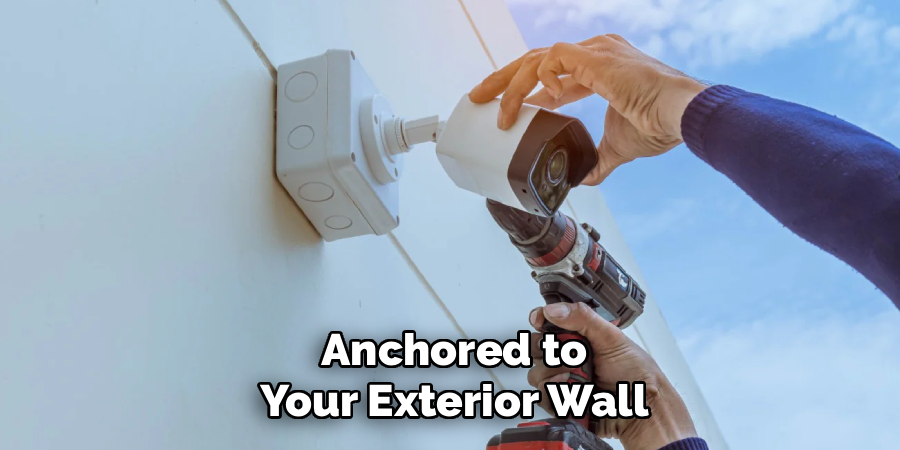
Step 5: Drill Holes And Attach Mounts
Drill pilot holes where you marked the surface. Use the right drill bit for the material, whether you are working with wood, brick, drywall, stucco, or siding. If the surface is hollow or weak, use suitable wall anchors so the camera stays secure.
Attach the mounting bracket with screws, then gently test it by applying light pressure. It should feel firm and stable. A loose mount can shake in the wind, blur footage, or shift the camera away from the target area.
For outdoor cameras, seal gaps around cable holes to help keep out moisture, insects, and dust.
Step 6: Run Power And Network Connections
Now connect the camera to power and, if needed, to your network. Wired security cameras may use Ethernet, coaxial cable, or separate power wiring. Many modern systems use power over Ethernet, which sends power and data through one cable.
Wireless cameras may plug into a nearby outlet or run on batteries. If you use battery models, make sure you can reach them easily for charging or replacement. For Wi-Fi cameras, test signal strength before finalizing placement.
Keep cables neat and protected. Avoid sharp bends, exposed loose wiring, and routes where people may trip, pull, or damage the cable.
Step 7: Adjust Angles And Camera Settings
After mounting and connecting each camera, open the system app, monitor, or recorder view. Adjust the camera angle until the important area fills the frame without wasting too much view on sky, walls, floors, or empty space.
A clean test is an essential part of how to install security cameras because it confirms that each camera captures useful footage, not just any footage. Check focus, brightness, night vision, motion zones, alerts, recording quality, and time settings.
For outdoor cameras, test during the day and again at night. Glare, porch lights, headlights, and shadows can affect video quality more than expected.
Step 8: Test Recording And Remote Access
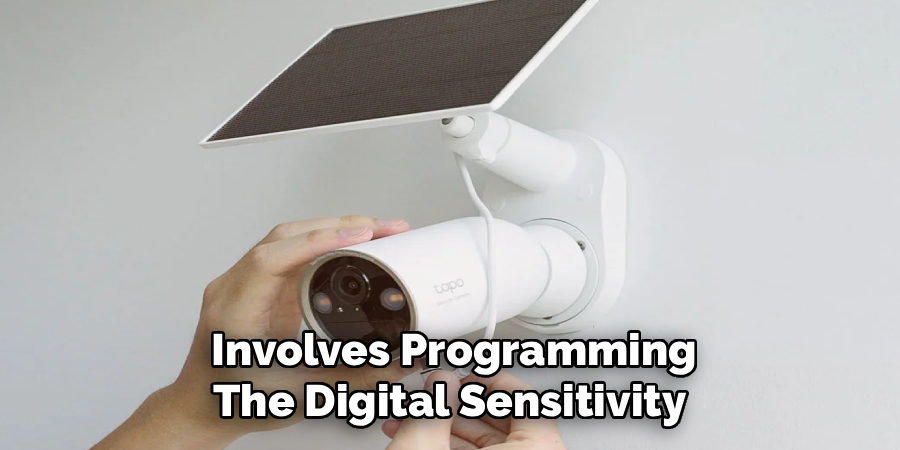
Do a full system test before calling the project finished. Walk through monitored areas and confirm that each camera records movement. Review the saved footage to make sure faces, clothing, vehicles, and entry points are clear enough to identify.
If your system offers remote viewing, test it on your phone while using mobile data instead of home Wi-Fi. This confirms that you can check cameras while away from the property.
Also review storage settings. Make sure recordings save to the correct location, whether that is a memory card, cloud account, network video recorder, or digital video recorder.
Frequently Asked Questions
What Is The Best Place To Put Security Cameras?
The best places are entry points and high-traffic areas where activity is most likely to occur. Front doors, back doors, side gates, garages, driveways, and main hallways are common choices. Cameras should be high enough to reduce tampering but low enough to capture faces clearly. Avoid pointing them at private areas or places where recording may violate privacy rules.
Are Wired Or Wireless Security Cameras Better?
Wired cameras usually offer stronger reliability because they do not depend as much on Wi-Fi signal strength or battery life. They work well for larger properties and permanent setups. Wireless cameras are easier to install and move, making them useful for renters or smaller spaces. The better choice depends on your property layout, budget, internet quality, and comfort with wiring.
How High Should Security Cameras Be Mounted?
Most outdoor cameras work well when mounted about 8 to 10 feet above the ground. This height helps prevent easy tampering while still keeping faces and objects visible. Mounting a camera too high can make footage less useful because people may appear too small or angled. Always test the view before finalizing the position.
Do Security Cameras Need Wi-Fi To Work?
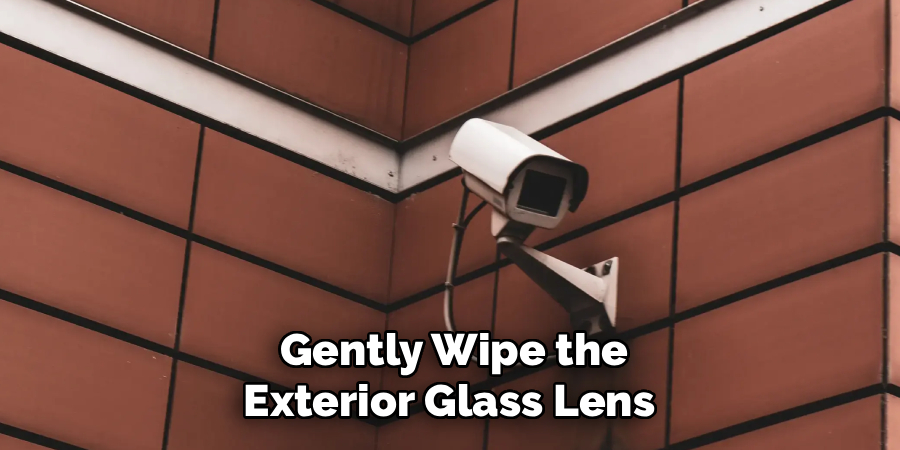
Not all security cameras need Wi-Fi. Some wired systems connect directly to a recorder through Ethernet or coaxial cable. Others store footage on local memory cards without internet access. Wi-Fi is mainly needed for wireless cameras, app alerts, cloud storage, and remote viewing. If your internet is unreliable, a wired or local recording system may be a better option.
Can I Install Security Cameras Myself?
Many homeowners and small business owners can install basic camera systems themselves, especially wireless or plug-in models. The job becomes harder when it involves high walls, long cable runs, attic access, or electrical work. If you feel unsure about drilling, wiring, ladder safety, or network setup, hiring a professional can save time and reduce mistakes.
Conclusion
A reliable security camera setup starts with planning. Choose useful coverage areas, select the right camera type, mount each device securely, protect the wiring, adjust the view, and test the system before you rely on it.
Good installation helps you avoid blind spots, weak footage, false alerts, and connection problems. Take your time with each step, especially placement and testing, because those choices affect how useful your cameras will be later.
Now that you understand how to install security cameras, start with one key area of your property, confirm the footage is clear, and build the rest of your system with confidence.

About
Alexis Kerr is a distinguished figure in the world of professional workspace optimization, with a decade of expertise creating innovative and ergonomic office environments. Her professional focus lies in merging organizational psychology with modern spatial design, fostering office setups that are both high-performing and employee-centric. As the lead author for Deskvity, Alexis Kerr delves into the art and science of corporate aesthetics and functionality, inspiring office managers and remote professionals alike.
Education Cornell University
(Ithaca, New York) Bachelor of Science in Design and Environmental Analysis Focus on human factors, workplace strategy, and sustainable interior environments. Gained extensive experience in how physical space influences productivity and mental clarity.
Savannah College of Art and Design (SCAD)
(Savannah, Georgia) Master of Fine Arts in Interior Design Specialized in commercial workspace solutions with a focus on blending digital integration with physical comfort. Participated in high-level industry projects to refine the balance between corporate branding and architectural utility.
Publications and Impact
In Deskvity, Alexis Kerr shares her insights on modern workspace trends, acoustic management, and strategies for efficient layout planning. Her writing bridges the gap between high-level architectural theory and practical day-to-day office needs, making it a must-read for both facility directors and individual professionals looking to elevate their work environment.