

A 2-in-1 laptop is convenient in ways a standard clamshell just isn’t. You can type for an hour, fold the screen back, and read or sketch as if you’re holding a tablet. That flexibility is the appeal. It is also, unfortunately, where some of the wear begins. On many convertible models, once the hinge rotates fully, the keyboard ends up on the underside of the device, pressed against a desk, a sofa cushion, your jeans, or whatever else happens to be underneath it.
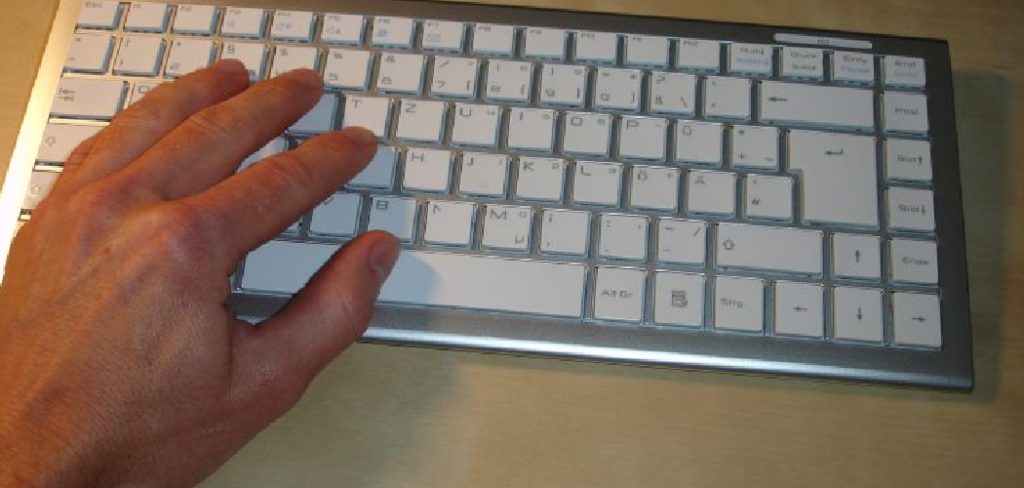
That design does not automatically mean the keyboard is fragile. Still, it does mean the keys are exposed to kinds of contact a typical laptop rarely deals with. Dust builds up. Keycaps pick up grime from tables. Letters can wear down sooner than you expect. If the machine is carried around loosely, the problem tends to get worse rather than better.
A few small habits can make a noticeable difference here. You do not need an elaborate routine, and you probably do not need to buy much. What helps most is reducing friction, keeping debris out of the key mechanism, and being slightly more careful when the laptop is in tablet mode. The suggestions below are practical, low-effort, and, in most cases, inexpensive. In this guide on how to protect keyboard on 2 in 1 laptop, we’ll cover some simple tips to help you keep your keyboard in good condition and extend the lifespan of your device.
Materials You’ll Need
To get started, here are some materials you may need to help protect your keyboard on a 2 in 1 laptop:
- Microfiber Cloth
- Compressed Air Canister
- Keyboard Cover or Skin
- Screen Protector
7 Simple Steps on How to Protect Keyboard on 2 in 1 Laptop
Step 1: Use a Silicone Keyboard Cover That Actually Fits
If you want a relatively simple layer of protection, a silicone cover is a reasonable place to start. It won’t solve every problem, and some people dislike the feel. Even so, it can help shield the keys from dust, pet hair, skin oils, and the occasional splash that would otherwise slip between the gaps.
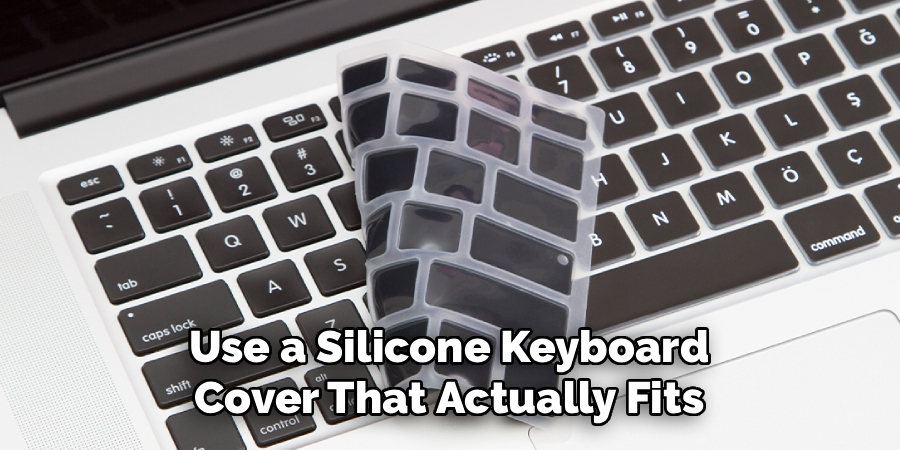
The key point is compatibility. A cover made for the wrong layout usually bunches up, blocks key travel, or leaves corners exposed. When it fits properly, though, it tends to stay in place with very little fuss. Typing may feel slightly softer, but most people adjust quickly.
There is another advantage that often gets overlooked. In tablet mode, the cover creates a thin barrier between the keys and the surface beneath the laptop. That does not make the keyboard invincible, obviously, but it may reduce scuff marks and limit the dirt that gets pressed onto the keycaps when the machine is set down.
Most silicone covers can also be washed and reused. If yours starts looking cloudy or greasy, remove it, rinse it with mild soap and water, and let it dry fully before putting it back on. Fully dry really does mean fully dry.
Step 2: Put Something Soft Under the Laptop in Tablet Mode
This is probably the most underrated habit on the list. When a 2-in-1 is folded back, the keyboard is often the part making contact with the desk. If that desk is rough wood, laminate with grit on it, stone, or even just a surface that hasn’t been cleaned in a while, the keys take the hit.
A desk mat, large mouse pad, or soft lap desk can help absorb that contact. It is not complicated. You are simply reducing pressure and friction. Over time, that may matter more than people think, especially if the device gets used in tablet mode every day.
This also helps in less obvious places. A couch, bed, or blanket may seem gentler than a desk, but fabric can catch on key edges, and uneven pressure is not ideal either. A flat, slightly cushioned surface gives the laptop a more stable base.
If you’re shopping for one, look for felt, neoprene, or a padded synthetic surface that wipes clean easily. The fanciest option is not necessary. What matters is that it is clean, soft, and large enough that the keyboard side never rests directly on a hard surface.
Step 3: Clean the Keyboard Regularly, Not Just When It Looks Dirty
Dust and crumbs have a way of settling into places you do not notice until a key starts sticking. By then, the cleanup is more irritating. A light routine once a week or so is usually easier than waiting until the keyboard feels gritty.
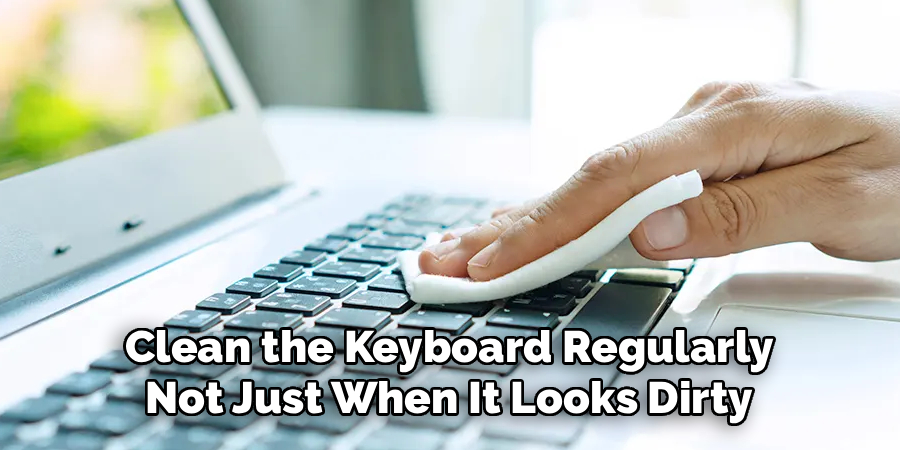
Start by shutting the laptop down completely. If possible, disconnect it from power. Then tilt it gently and let the debris fall away. A few short bursts of compressed air between the keys can help push out particles, though it’s best to angle the nozzle so you are moving debris outward rather than driving it deeper inside. Short bursts are better than prolonged blasts.
After that, wipe the surface with a microfiber cloth lightly dampened with 70% isopropyl alcohol. Lightly is the important part. The cloth should feel barely damp, not wet. Focus on high-contact areas such as the spacebar, Enter key, trackpad, and palm rests. Those spots usually collect the most oil.
Will this make the laptop look factory-new forever? No, probably not. But it can reduce buildup, improve the feel of the keys, and make it less likely that dirt works its way into the mechanism over time.
Step 4: Protect It Properly When You Travel
A surprising amount of keyboard damage happens in transit rather than during use. People toss a laptop into a backpack, add a charger brick, maybe a metal water bottle, a notebook, loose keys, a pen without a cap, and hope for the best. Sometimes that works. Sometimes a key gets scratched, loosened, or popped off.
A padded sleeve is the simplest fix. It creates a separate layer around the laptop, which helps prevent objects in the bag from pressing directly against the keyboard or screen. For a 2-in-1, that matters because the hinge and input area already deal with more handling than average.
Look for a sleeve with a soft lining and a fairly snug fit. If the laptop slides around inside, the protection is less useful. At the same time, you do not want something so tight that inserting and removing the device becomes a struggle. There is a middle ground.
One more thing: avoid packing heavy items directly against the laptop compartment. Repeated pressure from books, chargers, or a packed bag can stress the keyboard deck and, in some cases, the display. That sort of damage tends to arrive slowly, then all at once.
Step 5: Keep Drinks and Food Further Away Than Feels Necessary
Spills are one of the few laptop problems that can go from minor to expensive in seconds. A few drops may do nothing. A full mug of coffee across the keyboard is a different story. The same is true of soda, tea, sparkling water, and anything sugary or acidic.

The easiest prevention strategy is blunt but effective: do not eat or drink directly over the keyboard. If you need a drink nearby, use a bottle or travel mug with a secure lid and place it off to the side, not in the same zone as your elbows. People tend to knock things over while reaching, shifting position, or standing up too quickly.
Food is a slower problem, but still a real one. Crumbs slip under keycaps. Greasy fingers leave residue that attracts more dirt. Over time, the keyboard starts to feel sticky even when nothing obvious is spilled. If you’re snacking while working, step away for five minutes. It sounds fussy, maybe, yet it saves cleanup later.
This is less about perfection than about reducing the odds of the worst-case scenario. Most laptop owners only need one bad spill to become much more careful.
Step 6: Type a Little More Gently Than You Think You Need To
Some keyboards can take a fair amount of force. That does not mean they benefit from it. Repeatedly hammering the keys, whether from habit, stress, or gaming, adds strain to the mechanisms underneath. On slim laptops, especially, those parts are not built with much margin.
A lighter touch usually works just as well. Modern keyboards register input with very little force, so there is rarely a reason to press harder than necessary. If your hands tend to tense up while working, it may help to notice when that happens. Most people do not realize how aggressively they type until a keyboard starts sounding louder than it should.
The same principle applies when handling the device. Do not grip the keyboard surface tightly when folding it into tablet mode. Hold the edges or base instead. Avoid resting heavy objects on the palm rest area, too. The pressure might not cause immediate damage, but over time, it could affect alignment or stress internal components.
Gentle use is not glamorous advice, I know. Still, it is often the difference between a keyboard that ages normally and one that starts developing odd issues far earlier than expected.
Step 7: Watch Heat and Storage Conditions
Heat affects more than battery health. It can also wear on adhesives, plastics, and other small components around the keyboard assembly. A laptop left in direct sunlight, on a hot windowsill, or inside a parked car may not show damage immediately, but repeated exposure is not doing it any favors.
Try to use and store the device in a cool, dry place with decent airflow. That sounds obvious, but many people work with laptops on beds, cushions, or blankets that trap heat underneath. In a 2-in-1, where the chassis is already compact, blocked vents can push internal temperatures higher than they need to be.
If the laptop becomes unusually hot during gaming, video editing, or extended multitasking, place it on a hard, flat surface and let it cool if needed. Heat alone may not ruin a keyboard overnight. What it can do, though, is speed up wear in ways that are difficult to notice until months later.
Leaving it in a car on a summer afternoon is especially risky. The cabin temperature rises fast. Plastics soften. Adhesives weaken. It is one of those scenarios that sounds dramatic until it happens once.
Following these steps on how to protect keyboard on 2 in 1 laptop can go a long way in prolonging the life of your device.
Common Mistakes to Avoid
Some keyboard damage comes from neglect. Some of it comes from habits that seem harmless at the time.
One common mistake is closing the laptop when there is grit, a crumb, or a tiny hard object sitting on the keys. That pressure transfers directly to the screen. Another is using household cleaners with bleach, ammonia, or strong fragrance additives. Those products are meant for counters and bathroom surfaces, not laptop finishes.
People also tend to grab a convertible laptop by the keyboard area when rotating it into tablet mode. That puts pressure in the wrong place. Wet hands are another issue. Even a small amount of moisture around the keys is best avoided.
And then there is the sticky-key problem. One key starts feeling off, and it is easy to ignore. Sometimes that works out. Sometimes it means dirt keeps spreading or settling until several keys start misbehaving. Early cleanup is usually easier than late cleanup.
Maintenance
If you want a practical routine, keep it short enough that you’ll actually follow it.
Once a week, power the laptop down and give the keyboard a quick once-over. Use compressed air if needed. Wipe the surface with a microfiber cloth. Check for smudges, crumbs, or any key that feels different from the others. This can take five minutes, maybe less.
Once a month, wash the silicone cover if you use one. Inspect the sleeve for dust or grit inside it, too, because a dirty sleeve defeats the point a bit. It may also be worth checking the rubber feet on the bottom of the laptop. If one has worn off, the device may sit unevenly, which can affect airflow and how the keyboard contacts the surfaces in tablet mode.
Store cleaning cloths somewhere clean. A sealed drawer or pouch works better than tossing them loose into a bag, where they collect dust before you even use them.
Maintenance is not exciting. It is, however, usually what separates a laptop that stays pleasant to use from one that slowly becomes irritating.
Frequently Asked Questions
Q1: Can I Leave the Silicone Cover On When Closing the Laptop?
Often, yes, provided the cover is very thin and designed for your exact model. Many are made to stay on while the lid is closed. That said, not every laptop tolerates added thickness equally well.
If the lid no longer closes flat, or if the cover leaves clear marks on the screen, take it off before closing the device. It is better to be mildly inconvenienced than to create pressure between the keyboard and display over time.
Q2: Do Laptop Keyboards Turn Off in Tablet Mode Automatically?
In many modern 2-in-1 laptops, yes. The system usually detects when the hinge passes a certain point and disables the physical keyboard and trackpad so you do not trigger accidental input while holding the device.
Still, that depends on the model, firmware, and driver setup. If your keyboard remains active in tablet mode, it may be worth checking system settings or updating the relevant drivers. The feature is common, but not something to assume blindly.
Q3: What Should I Do If I Spill Water on My Keyboard?
Act quickly. Disconnect the charger if one is attached, then shut the laptop down immediately. Do not keep using it to finish a paragraph or save one more tab. Power is the problem once liquid gets inside.
After shutting it down, turn the laptop so the liquid can drain away from the internal components as much as possible. An inverted V-shape on an absorbent towel is a common approach. Then leave it alone in a dry, ventilated area for at least 48 hours before trying to turn it back on.
If the spill was large, sugary, or anything other than plain water, professional service may be the safer route. Residue can remain even after the visible moisture is gone.
Protecting Your Hybrid Investment
A 2-in-1 laptop asks for slightly different care than a standard notebook. Not dramatically different, but enough that a few habits are worth adjusting. The biggest risks are fairly predictable: rough contact in tablet mode, debris in the keyboard, travel damage, heat, and spills.
None of the fixes is especially difficult. A soft mat helps. A sleeve helps. So does cleaning the keyboard before grime has time to settle in. Add a bit of caution around food and drinks, and the machine will likely stay in better shape for longer.
That is really the goal here. Not perfection. Just fewer avoidable problems, fewer repair bills, and a keyboard that still feels normal six months from now. Thanks for reading this guide on how to protect keyboard on 2 in 1 laptop.
