

Working with a single screen often feels restricting, but adding a second or third display quickly clutters your work area. You might find yourself pushing keyboards aside just to find room for a coffee cup or a notepad. A crowded workstation leads to unnecessary stress and negatively impacts your daily productivity. Learning How to Maximize Desk Space With Multiple Monitors transforms a chaotic environment into a streamlined productivity hub.
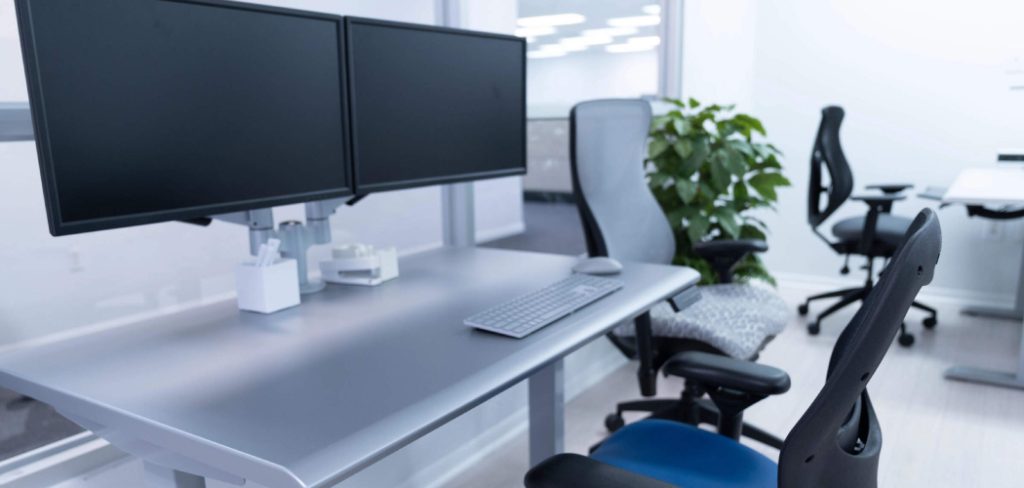
This guide breaks down practical, beginner-friendly methods to organize your workspace efficiently. We will explore everything from choosing the right mounting hardware to organizing those pesky stray cables. By the time you finish reading, you will understand exactly how to elevate your screens and reclaim your valuable surface area. Let us dive into the best strategies for creating a clean, professional, and comfortable dual-screen setup.
Why Organizing Your Dual Screen Setup Matters
Upgrading to a multi-monitor layout offers incredible benefits for your workflow and task management. You can keep reference materials open on one screen while actively writing or coding on the other. However, standard monitor stands feature bulky bases that consume a massive amount of physical surface area. Removing these cumbersome bases instantly frees up room for writing, reviewing documents, or simply resting your arms comfortably.
Creating a well-organized workstation also provides significant ergonomic benefits. When your screens sit on their factory stands, they often force you to look down, causing severe neck strain and poor posture. Elevating your displays to eye level reduces tension in your shoulders and spine, keeping you comfortable during long shifts. Proper organization also improves the aesthetic appeal of your home office, making it a place where you actually want to spend time.
Step-By-Step Guide To Organizing Your Workstation
Step 1: Assessing Your Current Workstation Layout
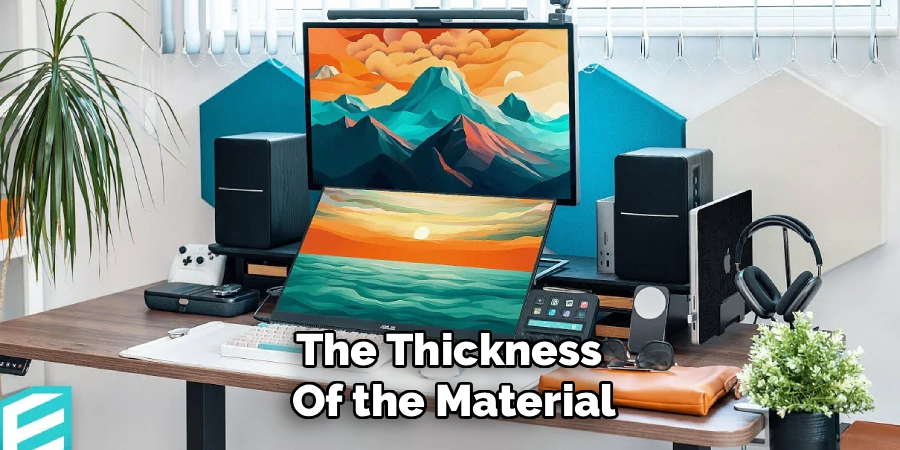
Before buying any new equipment, you must evaluate your current physical setup. Take a close look at the dimensions of your tabletop and the thickness of the material. Glass or thin particleboard surfaces might require extra reinforcement before you can attach heavy mounting hardware. You should also note the location of your wall outlets and the length of your current power cables.
Clearing everything off your tabletop gives you a fresh perspective on the available area. Wipe down the surface and visualize where you naturally want your keyboard and mouse to sit. Identifying your preferred seating position helps you determine exactly where your screens need to hover. Taking these initial measurements prevents you from purchasing incompatible hardware and ensures a smooth installation process.
Step 2: Exploring With Multiple Monitors
Understanding the core concepts of spatial efficiency changes how you view your office equipment. You must stop thinking of your workstation as a flat surface and start utilizing vertical volume. Elevating bulky items creates immediate breathing room for your hands and essential office supplies.
Begin by categorizing your accessories based on how often you use them during an active shift. Items you touch constantly belong within easy reach, while secondary items should move outward or upward. Embracing this vertical mindset is the foundational secret for clearing away visual clutter. You quickly realize that the area above your keyboard holds immense potential for holding necessary hardware.
Step 3: Selecting The Right Monitor Arms
Investing in a high-quality dual monitor arm is the most effective way to eliminate bulky plastic bases. These heavy-duty mounts clamp directly to the back edge of your workstation, utilizing almost zero surface area. You can choose between gas spring arms for easy adjustments or static pole mounts for a rigid, budget-friendly setup.
Always check the VESA compatibility and weight limits of your specific screens before ordering a mount. Your displays need standard mounting holes on the back panel to attach securely to the bracket. Once installed, these metal arms allow your screens to float effortlessly above your keyboard. You can push them back when you need space to read or pull them forward for intense focus.
Step 4: Implementing Effective Cable Management
Dangling wires ruin the aesthetic of a clean workstation and frequently tangle around your feet. Proper wire management keeps your connections secure and creates a visually appealing environment. Start by routing your display cables directly along the metal channels built into most modern monitor arms.
Use velcro ties to bundle loose cords together as they travel down toward your power strip. Attaching an under-desk wire tray completely hides heavy power bricks and surge protectors from view. Securing your wires prevents accidental tugs that could damage your expensive ports. A cord-free surface instantly makes your entire setup feel incredibly spacious and highly professional.

Step 5: Utilizing Laptop Stands And Vertical Docks
Many professionals power their dual screens using a single laptop computer. Leaving your laptop open flat on your work surface consumes a tremendous amount of usable room. A simple vertical dock holds your closed computer upright, reducing its physical footprint to just a few inches.
If you prefer to use your laptop as a third display, invest in an elevated laptop stand. This device lifts the machine off the table, allowing you to slide notebooks or a keyboard underneath. Elevating the computer also drastically improves airflow, preventing the internal fans from overheating during intense tasks. These simple tools effortlessly blend your portable device into a permanent desktop environment.
Step 6: Master Using Shelves
Adding a clamp-on shelf introduces a secondary tier to your workstation without requiring any permanent drilling. These sturdy platforms span the length of your work area, providing a perfect home for your speakers, charging pads, and decorative plants. Storing these accessories on a raised tier keeps your primary workspace completely unobstructed.
You can easily slide your mouse and keyboard underneath the shelf when you finish working for the day. This creates a beautifully clean aesthetic and protects your peripherals from gathering dust. Tiered storage transforms a cramped table into a highly functional, multi-level command center. Leveraging shelves is a brilliant strategy for organizing small apartments or compact office cubicles.
Step 7: Optimizing Your Peripheral Placement
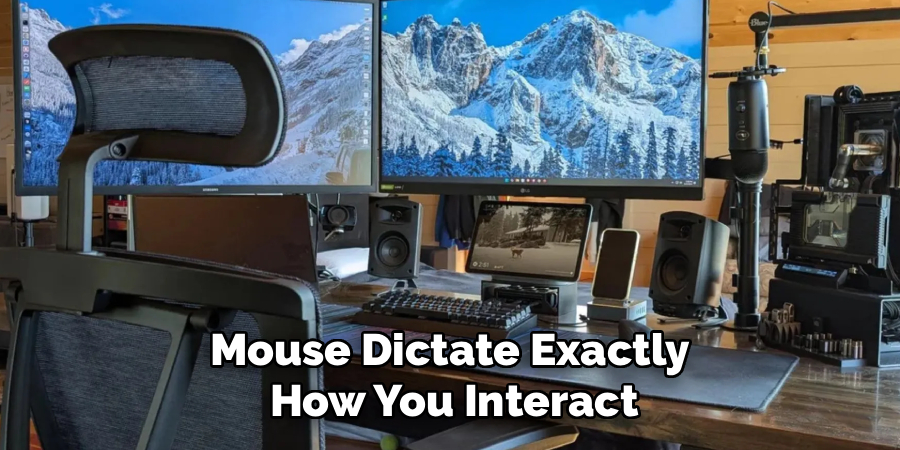
Your keyboard and mouse dictate exactly how you interact with your digital workspace. Pushing them too far forward strains your wrists, while keeping them too close crowds your chest. Consider installing a retractable keyboard tray underneath your table to remove these peripherals from the main surface entirely.
If a tray does not work for your layout, switch to compact, wireless peripherals. Tenkeyless keyboards remove the bulky number pad, giving your mouse much more room to glide smoothly. Going wireless eliminates the clutter of charging cables dragging across your pristine work surface. Thoughtful peripheral placement ensures your hands remain comfortable while preserving a sleek, minimalist aesthetic.
Frequently Asked Questions
Can I Mount Screens If My Table Is Too Thin?
You can successfully install heavy mounts on thin materials by using a reinforcement plate. These solid metal brackets slide over the top and bottom of the table edge, distributing the clamping force across a much wider surface. This prevents the heavy clamp from cracking or snapping fragile materials like glass or cheap particleboard. Reinforcement plates are inexpensive and ensure your expensive equipment remains entirely secure and stable during daily use.
Are Curved Screens Better For Saving Room?
Curved screens do not necessarily save physical room, but they greatly improve your visual experience. The deep curve mimics the natural shape of the human eye, reducing the need to turn your head constantly. Because the edges wrap inward, a curved display actually requires slightly more depth than a standard flat panel. However, pairing a single ultrawide curved display with a heavy-duty arm creates an incredibly sleek, unified look that feels highly organized.
Do I Need To Drill Holes To Hide My Cables?
Drilling holes is completely optional and rarely required for achieving excellent wire organization. You can route cords cleanly over the back edge of your workstation using simple adhesive clips and velcro strips. Under-desk wire baskets attach easily with heavy-duty adhesive tape, keeping power strips hidden without permanently modifying your furniture. These damage-free solutions work perfectly for office renters or anyone who frequently rearranges their professional environment.
How Heavy Can Displays Be On A Spring Mount?
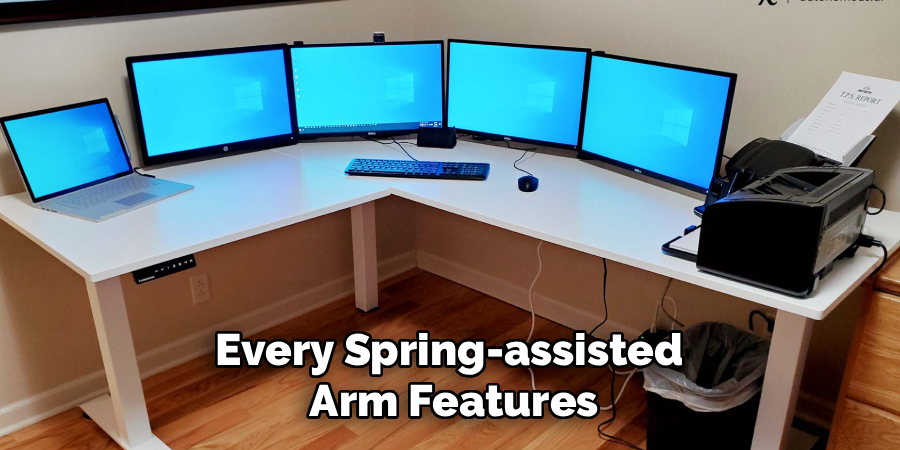
Every spring-assisted arm features a very specific weight capacity listed by the manufacturer. Most standard consumer mounts comfortably hold panels weighing between ten and eighteen pounds. If you use massive ultrawide panels or heavy professional displays, you must purchase a heavy-duty mount designed specifically for higher weight classes. Exceeding the maximum load limit causes the hydraulic springs to sink constantly, completely ruining your carefully aligned ergonomic setup.
Will Using A Vertical Dock Make My Laptop Overheat?
Using a vertical dock is perfectly safe and often improves the thermal performance of your portable computer. Standing the device upright exposes the bottom chassis to open air, which naturally dissipates internal heat much faster than resting flat on a wooden surface. You should always ensure the dock does not block the primary exhaust vents along the hinge or sides. Keeping those vents clear guarantees your machine runs smoothly while driving your external displays.
Conclusion
Transforming your crowded workstation into a highly efficient command center is entirely within your reach. By ditching bulky factory stands in favor of sleek mounting arms, you instantly create a cleaner, more inviting environment. Elevating your displays improves your posture, while clever cable management removes distracting visual clutter from your peripheral vision. Small adjustments like adding a vertical laptop dock or a compact keyboard yield massive returns in comfort and productivity. Now that you know How to Maximize Desk Space With Multiple Monitors, it is time to take action. Evaluate your current layout, invest in a sturdy mounting solution, and start building the organized, professional workstation you truly deserve today.
