

Are you tired of hearing that sudden, hollow thud every time a door swings open too fast? Damaged drywall, scuffed baseboards, and dented door hardware are frustrating realities for many homeowners.
Fortunately, you can eliminate this problem with a simple piece of hardware. Hinge pin door stoppers provide an elegant, barely visible solution to protect your home from swinging doors.
This guide on how to install door stopper hinge will walk you through exactly how to install a door stopper hinge quickly and correctly, saving you from costly drywall repairs.
What are the Benefits?
Hinge pin door stoppers offer several distinct advantages over traditional baseboard or floor-mounted stops. First, they are entirely out of the way. Because they attach directly to the door’s existing hinge hardware, you never have to worry about tripping over a bulky floor stop or running a vacuum cleaner into a baseboard spring. This makes them ideal for tight spaces, small bathrooms, or minimalist interiors where you want to keep floor spaces clear.
Second, they are incredibly easy to install. You do not need to drill any new holes into your expensive trim, delicate wood doors, or pristine drywall. This is a massive benefit for renters who want to protect their security deposit or homeowners who lack advanced carpentry skills.
Finally, hinge pin stoppers are highly adjustable. Most models feature a threaded rubber bumper that lets you dictate exactly how far the door can open. Whether you want the door to stop at a strict 90-degree angle or open wider to 110 degrees, a simple twist of the bumper allows for precise calibration.
What Will You Need?
Before you begin, gather the right materials. Having everything within reach makes the installation process smooth and prevents you from having to hold a heavy door in place while searching for a tool.
- Hinge Pin Door Stopper: Purchase a stopper that matches the finish of your existing door hinges (e.g., brushed nickel, oil-rubbed bronze, or polished brass) for a cohesive look.
- Flathead Screwdriver: You will need a standard flathead screwdriver to gently pry the existing hinge pin out of the hinge barrel.
- Hammer or Rubber Mallet: A lightweight hammer or a non-marring rubber mallet helps tap the pin back into place securely.
- Needle-Nose Pliers (Optional): If your hinge pin is painted over or stubborn, pliers can help grip and pull it free.
- A Soft Cloth or Rag: Use this to protect the finish of your door hinge and the pin when you are prying or hammering.
- Lubricant (Optional): A quick spray of WD-40 or a dab of white lithium grease can help a sticky pin slide back into the barrel effortlessly.
10 Easy Steps on How to Install Door Stopper Hinge
Installing a hinge pin door stopper is a straightforward project. Follow these ten detailed steps to ensure your doors and walls remain perfectly protected.
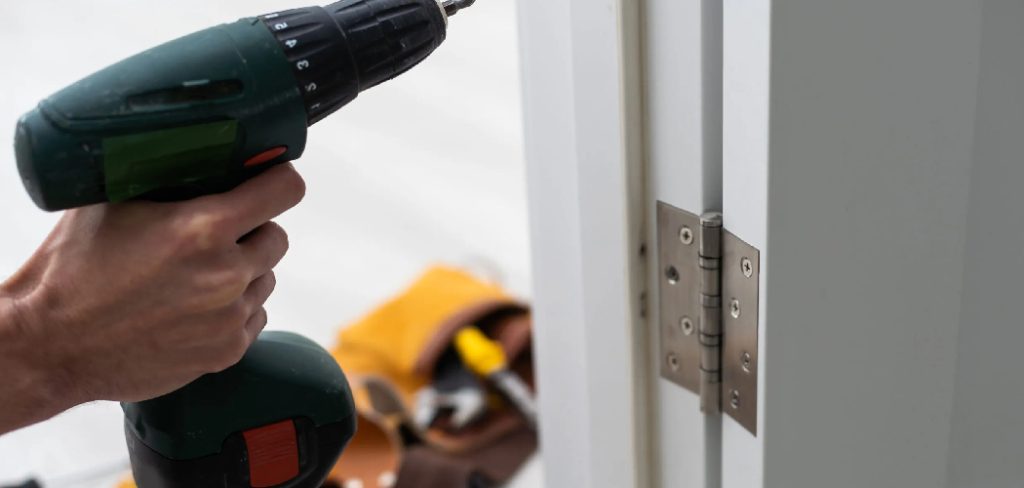
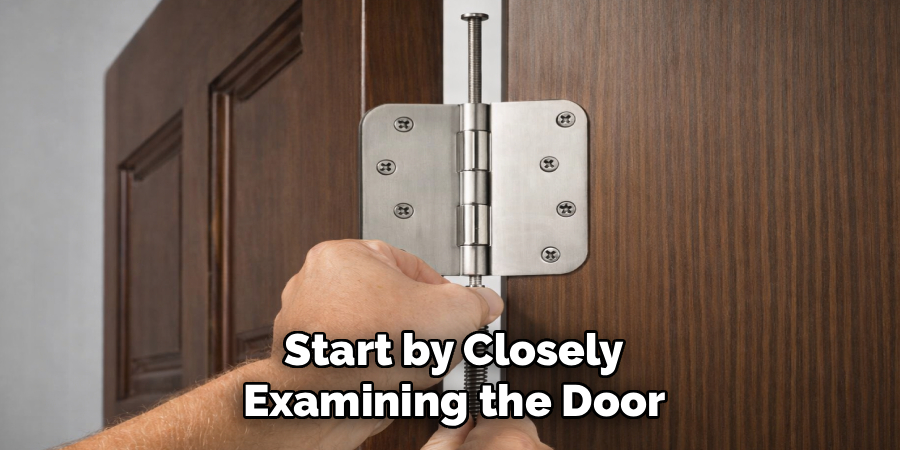
Step 1: Inspect the Door and Hinge
Start by closely examining the door you want to protect. Decide which hinge will receive the stopper. For standard interior doors, the top hinge is usually the best choice because it keeps the stopper out of reach of small children and pets. If your door is exceptionally heavy or made of solid wood, you might want to install stoppers on both the top and bottom hinges to distribute the force evenly. Check the hinge to ensure the pin is removable; some exterior or security hinges have non-removable pins.
Step 2: Clear the Work Area and Gather Tools
Preparation is key to a frustration-free DIY project. Clear away any rugs, shoes, or clutter from around the door so you have plenty of room to maneuver. Lay out your hammer, flathead screwdriver, cloth, and the new door stopper on a nearby table or a towel on the floor. Having everything within arm’s reach means you will not have to step away while the door is partially unsupported. Take a moment to unpack your new stopper and familiarize yourself with its adjustable parts.
Step 3: Close the Door Completely
This is a critical safety and mechanical step. You must close the door and ensure it is fully latched shut. When the door is closed, the door frame supports the weight of the slab. If you attempt to remove a hinge pin while the door is open, the door will sag, potentially damaging the remaining hinges, tearing the screws out of the wood frame, or falling and causing injury. Always keep the door securely latched during the entire pin removal and reinsertion process.
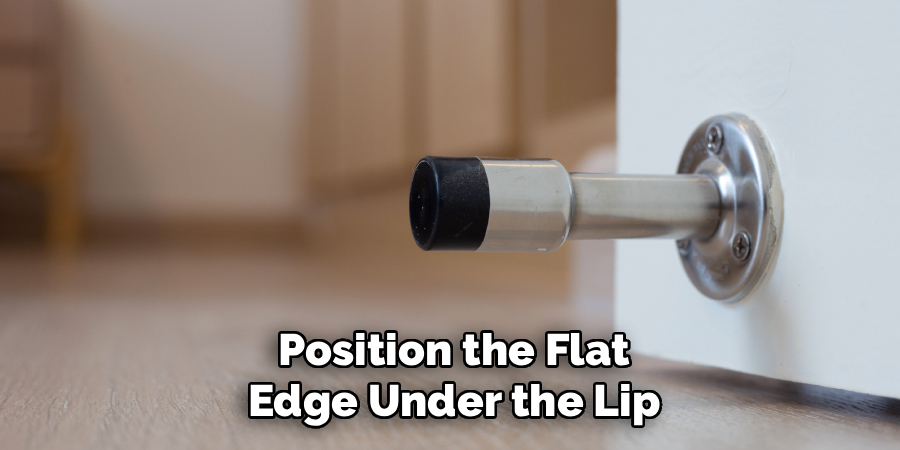
Step 4: Remove the Hinge Pin
Take your flathead screwdriver and position the flat edge under the lip of the hinge pin cap. Place your soft cloth between the screwdriver and the hinge barrel to prevent scratching the metal finish. Gently tap the handle of the screwdriver with your hammer to force the pin upward. Once the pin pops up an inch or two, you can usually pull it the rest of the way out with your fingers. If it is stubborn, use your needle-nose pliers to grip the shaft and pull it completely free.
Step 5: Clean and Lubricate the Pin
Old hinge pins often accumulate dust, grime, or rust over the years. Before you reinstall the pin, take a moment to wipe it down with a dry rag. If you notice significant rust or sticky residue, you can use a fine steel wool pad to smooth the metal. Applying a very light coat of mechanical lubricant or white lithium grease to the shaft of the pin is highly recommended. This prevents the door from squeaking in the future and makes sliding the pin through the new stopper much easier.
Step 6: Position the Door Stopper
Take your new hinge pin door stopper and slide it over the top of the hinge barrel. The stopper features a central hole that aligns perfectly with the hole in your hinge. Pay close attention to the orientation of the stopper. The rubber bumpers need to face the right direction. One bumper should press against the door casing (the wooden trim on the wall), and the other bumper should press against the face of the door slab. Ensure you have this alignment correct before moving to the next step.
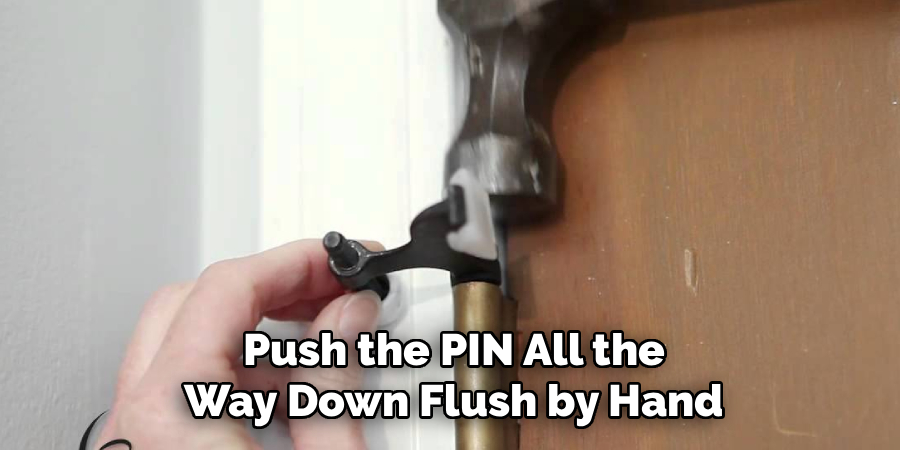
Step 7: Reinsert the Hinge Pin
With the stopper properly aligned over the hinge barrel, take your clean, lubricated hinge pin and slide it back down through the hole in the stopper and into the hinge itself. Push it down as far as you can with your hands. You might need to wiggle the door handle very slightly to get the hinge knuckles to align perfectly if the door shifted a fraction of a millimeter. The pin should slide smoothly through the stopper and the first few knuckles of the hinge.
Step 8: Tap the Pin Securely into Place
You will likely not be able to push the pin all the way down flush by hand. Take your hammer or rubber mallet and gently tap the top of the hinge pin. Again, you can place a cloth over the pin head to protect the metallic finish from hammer strikes. Tap straight down until the pin sits completely flush against the top of the door stopper, pinning it securely to the hinge. Do not use excessive force; gentle, repeated taps are enough to seat the pin properly.
Step 9: Adjust the Stopper Settings
Most modern hinge pin stoppers feature a threaded rod with a rubber bumper on the end. This allows you to adjust the maximum swing angle of the door. Turn the threaded bumper clockwise to allow the door to open wider, or counterclockwise to stop the door sooner. Adjust the bumper so that the door stops opening before the knob or handle makes contact with the drywall behind it. Leave at least an inch of clearance between the door hardware and the wall to account for the slight flex when the door is pushed hard.
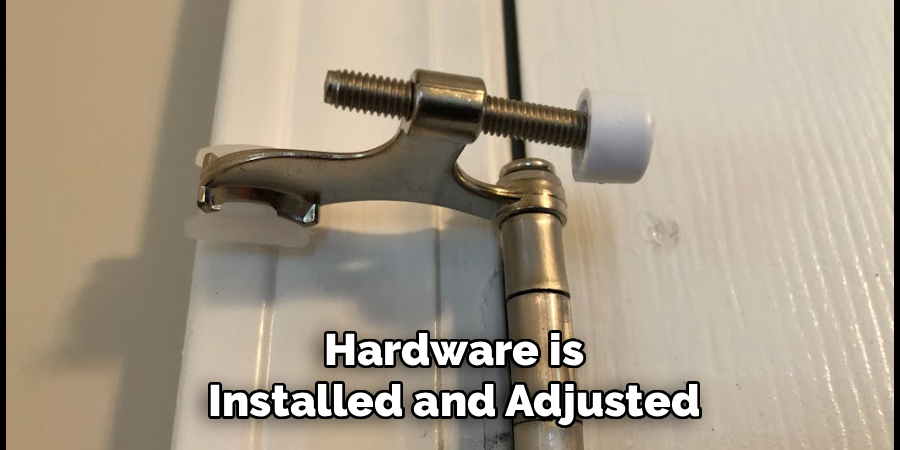
Step 10: Test the Door and Stopper
Now that the hardware is installed and adjusted, unlatch the door and test your work. Open the door slowly until the stopper engages. Watch how the rubber pads interact with the wood trim and the door slab. If the door still opens too far, close the door and readjust the threaded bumper. Give the door a slightly firmer push to ensure the stopper holds securely and does not leave marks. Once you confirm the door stops safely before hitting the wall, your installation is fully complete.
5 Things You Should Avoid
- Avoid Hollow Core Doors with Heavy Stoppers: Hinge pin stoppers concentrate a lot of force on a small area of the door slab. If you have extremely cheap, thin hollow-core doors, a hinge pin stopper can actually punch through the thin veneer if the door is slammed hard. For these doors, consider a wall-mounted stopper instead.
- Avoid Removing Multiple Pins at Once: Never remove the pins from your top, middle, and bottom hinges at the same time unless you intend to completely remove the door from the frame. Removing more than one pin compromises the structural integrity of the installation and will cause the heavy door to collapse onto the floor.
- Avoid Forcing a Misaligned Pin: If the hinge pin is not sliding easily back into the barrel, do not smash it repeatedly with a heavy hammer. You could bend the pin or damage the hinge knuckles. Instead, pull the pin out, ensure the door is properly supported, and try inserting it again smoothly.
- Avoid Using Bare Metal Hammers on Decorative Finishes: Striking a painted, brass, or oil-rubbed bronze hinge pin directly with a steel hammer will chip the paint or mar the finish. Always use a rubber mallet or place a protective rag between the hammer and the metal hardware.
- Avoid Skipping the Adjustment Phase: Do not install the stopper and walk away without calibrating the threaded bumper. If the bumper is screwed in too tightly, the door might still open far enough for the doorknob to hit the drywall, completely defeating the purpose of the installation.
Conclusion
How to install door stopper hinge is a highly rewarding, five-minute DIY project that saves you from the headache of patching drywall holes and painting scuffed baseboards.
By utilizing the door’s existing hardware, you keep your floors clear and maintain the clean aesthetic of your rooms. Now that you understand the precise steps, the necessary tools, and the pitfalls to avoid, you can easily outfit every door in your home with proper protection.
Grab your hammer and screwdriver, follow the instructions above, and enjoy the peace of mind that comes with knowing your walls are safe from swinging doors.
About
Alexis Kerr is a distinguished figure in the world of professional workspace optimization, with a decade of expertise creating innovative and ergonomic office environments. Her professional focus lies in merging organizational psychology with modern spatial design, fostering office setups that are both high-performing and employee-centric. As the lead author for Deskvity, Alexis Kerr delves into the art and science of corporate aesthetics and functionality, inspiring office managers and remote professionals alike.
Education Cornell University
(Ithaca, New York) Bachelor of Science in Design and Environmental Analysis Focus on human factors, workplace strategy, and sustainable interior environments. Gained extensive experience in how physical space influences productivity and mental clarity.
Savannah College of Art and Design (SCAD)
(Savannah, Georgia) Master of Fine Arts in Interior Design Specialized in commercial workspace solutions with a focus on blending digital integration with physical comfort. Participated in high-level industry projects to refine the balance between corporate branding and architectural utility.
Publications and Impact
In Deskvity, Alexis Kerr shares her insights on modern workspace trends, acoustic management, and strategies for efficient layout planning. Her writing bridges the gap between high-level architectural theory and practical day-to-day office needs, making it a must-read for both facility directors and individual professionals looking to elevate their work environment.