

Running out of ink halfway through an important document causes unnecessary stress. You press print, wait for the pages to emerge, and find only faded streaks or blank sheets.
Monitoring your printer ink levels regularly prevents this frustration and keeps your workflow moving smoothly. Whether you use a desktop computer, a laptop, or just the printer itself, checking your remaining ink takes only a few moments.
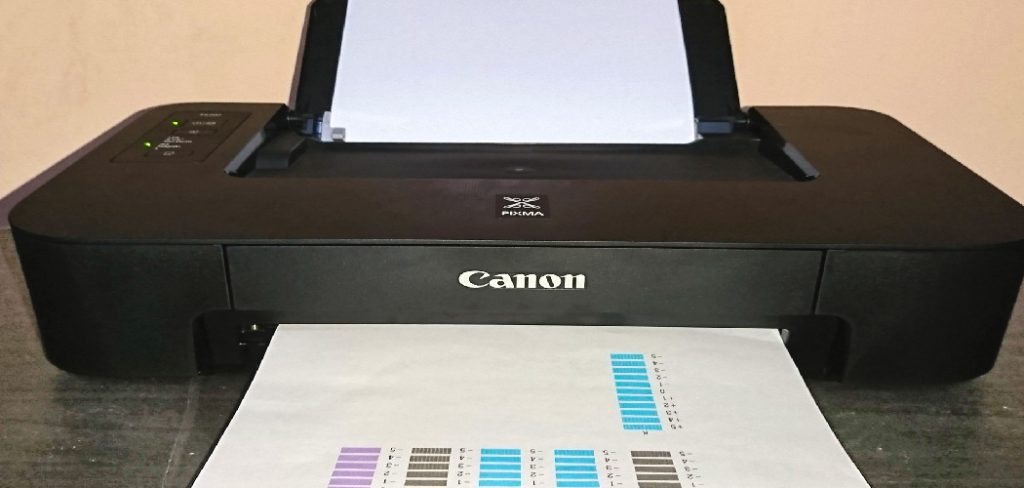
This guide on how to check printer ink levels breaks down the process for both Windows and Mac operating systems, alongside physical hardware checks. By making this a regular habit, you take control of your device maintenance and ensure your equipment always remains ready for your next project.
What Will You Need?
Before you begin checking your ink levels, gather a few basic items to make the process as seamless as possible. You need:
- A powered-on printer connected to your local network or directly to your computer.
- A Windows or Mac computer with the necessary printer drivers installed.
- Access to the printer’s built-in LCD screen (if your model includes one).
- Plain paper is loaded in the tray to print a status or test page.
- A flashlight (optional, but helpful for manually inspecting transparent cartridges inside the machine).
10 Easy Steps on How to Check Printer Ink Levels
Step 1: Turn on the Printer and Check the Built-in Display
Many modern printers feature a built-in LCD or touchscreen that provides instant access to maintenance information. Start by pressing the power button and waiting for the device to initialize completely. Once the home screen appears, look for a small icon that resembles an ink drop or a gear symbol indicating the settings menu.

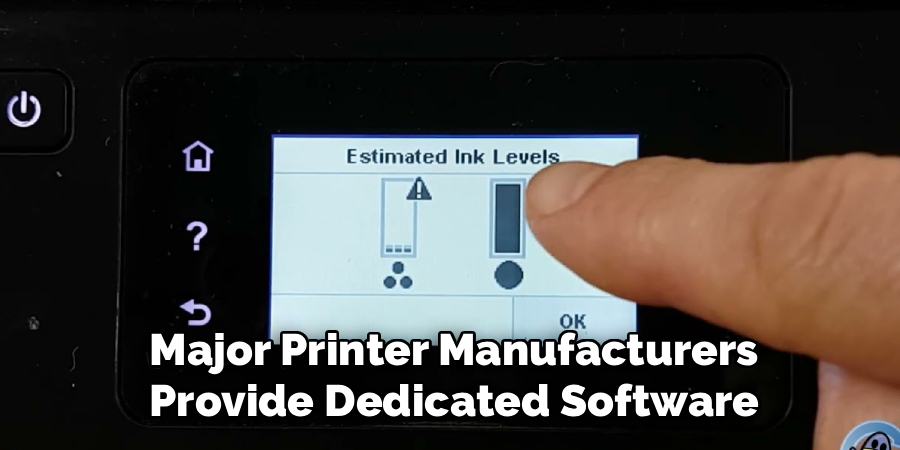
Tap this icon to navigate to the maintenance or supply levels section. The screen will display a visual representation of your current ink capacity, usually showing distinct bars for cyan, magenta, yellow, and black. This method provides the fastest way to check your supply without needing to boot up a computer or open any software applications. If your printer lacks a display, you will need to rely on the software methods detailed in the following steps.
Step 2: Inspect the Ink Cartridges Manually
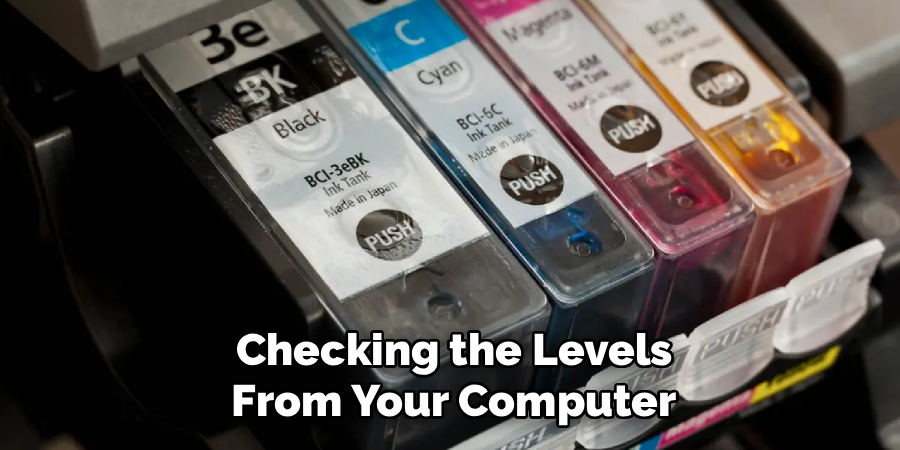
Sometimes software glitches cause false readings, making a physical inspection the most reliable way to verify your remaining supply. Open the main access door of your printer while the device remains powered on. The carriage holding the ink cartridges will slide into the center position. Carefully look at the cartridges.
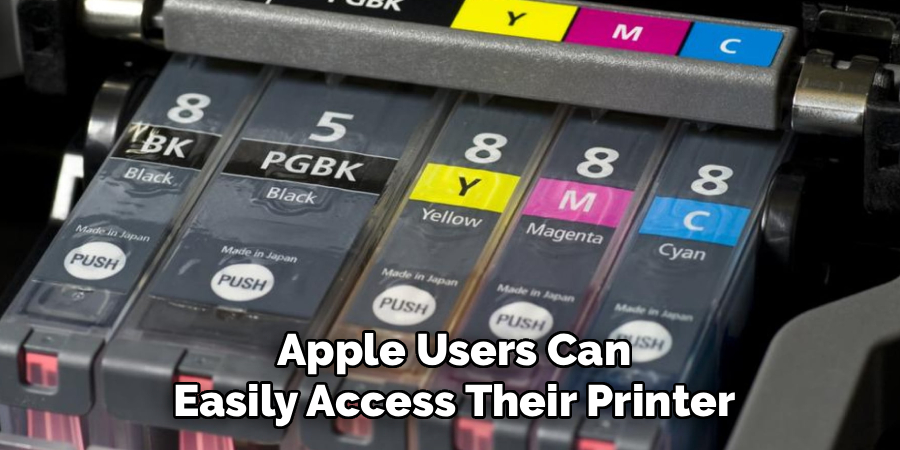
Many manufacturers use semi-transparent plastic for their ink tanks, allowing you to see the actual liquid sloshing inside. If the tanks are opaque, you can gently remove them one by one. A full cartridge feels noticeably heavier than an empty one. Give the cartridge a very gentle shake to feel the liquid moving. If it feels completely hollow and weightless, you need a replacement, regardless of what the software might indicate.
Step 3: Navigate to the Control Panel on Windows
If you prefer checking the levels from your computer, the Windows operating system offers built-in tools for this task. Click on the Start menu located at the bottom of your screen and type “Control Panel” into the search bar. Open the application when it appears in the results.
Depending on your view settings, you might see large icons, small icons, or categories. Make sure you set the view to display all items clearly. The Control Panel acts as the central hub for all hardware connected to your machine. From here, you can access the specific communication pathways that Windows uses to talk to your printer and retrieve essential maintenance data, including the current ink supply.
Step 4: Access the Devices and Printers Menu
Once you have the Control Panel open, look for the section labeled “Hardware and Sound” or scan directly for “Devices and Printers.” Click on this link to open a new window displaying all the peripherals connected to your computer, including mice, keyboards, and printers. Locate the icon that matches your specific printer model.
It usually features a green checkmark if it serves as your default printing device. This menu provides a comprehensive overview of your active hardware. If your printer appears grayed out, it means the computer cannot establish a connection. Ensure the printer connects to the same Wi-Fi network or that the USB cable remains securely plugged in before attempting to read the ink data.
Step 5: Open Printer Preferences or Properties
With your printer icon located in the Devices and Printers menu, right-click on it to reveal a drop-down list of options. Select “Printing Preferences” or “Printer Properties” from this list. A new dialogue box will pop up, featuring several different tabs along the top. Look for a tab labeled “Maintenance,” “Services,” or “Levels.” Click on this tab to prompt the computer to communicate directly with the printer.
Within a few seconds, a graphic should appear showing the exact amount of ink remaining in each cartridge. Some driver software also provides estimated page yields, giving you a better idea of how many more documents you can process before a replacement becomes necessary.
Step 6: Open System Settings on a Mac
Apple users can easily access their printer data through the macOS interface. Start by clicking the Apple logo located in the top left corner of your screen. From the drop-down menu, select “System Settings” (or “System Preferences” on older versions of the operating system). This action opens the main control center for your Mac.
The interface categorizes all your computer’s functions, making it simple to find hardware controls. Ensure your printer remains turned on and connected to your Mac, either via a wireless network or a direct USB connection, so the system can successfully pull the most recent data from the machine.
Step 7: Locate Printers and Scanners on macOS
Inside the System Settings window, scroll down the left-hand sidebar until you find the option labeled “Printers & Scanners.” Click on this option to view a list of all the printing devices associated with your Mac. On the right side of the window, you will see the names of your installed printers. Click on the specific printer you want to check.
This action opens a detailed view of the printer’s current status, showing whether it sits idle or is currently processing a job. If you notice a yellow or red warning indicator next to the printer name, it often signals a connectivity issue or a completely depleted ink cartridge that requires immediate attention.
Step 8: Check Options and Supplies for Ink Levels
After selecting your printer in the Mac settings, look for a button labeled “Options & Supplies” and click it. A new window will appear with multiple tabs. Click on the tab labeled “Supply Levels.” The system will query the printer and generate a bar graph displaying the estimated ink remaining for each color.
Keep in mind that these levels serve as estimates based on usage data and page counts, rather than a physical measurement of the liquid. If the “Supply Levels” tab does not appear, or if it shows no information, your specific printer driver might not support direct reporting through macOS, requiring you to use the printer’s screen or a dedicated manufacturer application.
Step 9: Download and Use the Manufacturer’s Official Software
Most major printer manufacturers provide dedicated software suites that offer far more detail than standard operating system menus. Visit the official website for your printer brand and download their specific management utility. Once installed, these programs run in the background and monitor your printer’s health constantly.
Open the application to find a highly accurate, real-time readout of your ink levels. These manufacturer-specific programs also offer built-in links to order replacement cartridges directly, run printhead cleaning cycles, and update the device firmware. Using the official software ensures you receive the most accurate data regarding your consumables.
Step 10: Print a Network Configuration or Test Page
If software methods fail and your printer lacks a display screen, you can force the machine to print its own status report. Every printer features a specific button combination—often holding down the “Resume,” “Information,” or “Cancel” button for a few seconds—that triggers a test page. Consult your manual for the exact sequence.
The printer will pull a sheet of paper and print a detailed diagnostic report. This page usually includes a visual graph of the current ink levels, alongside the total page count and network connection details. Evaluating the physical printout also lets you see if the ink looks faded, confirming that the supply runs low even if the digital sensors report otherwise.
5 Things You Should Avoid
1. Ignoring Low Ink Warnings
When your computer or printer alerts you to low ink, do not dismiss it repeatedly. Continuing to print until the page comes out completely blank causes the printhead to overheat. This leads to permanent damage that often costs more to fix than simply buying a new printer.
2. Touching the Copper Contacts
If you remove an ink cartridge to check its weight or inspect it manually, never touch the gold or copper electrical contacts on the back. The oils from your skin disrupt the electrical connection between the cartridge and the printer, causing the device to stop recognizing the ink entirely.
3. Shaking Cartridges Vigorously
While a gentle tilt helps you feel the liquid inside a tank, shaking a cartridge aggressively causes severe problems. Violent shaking introduces air bubbles into the liquid, which blocks the microscopic nozzles during printing. It also increases the risk of ink leaking out and staining your hands or the printer’s interior.
4. Leaving Cartridges Out of the Printer
Never remove a cartridge and leave it sitting on your desk for extended periods. The ink exposed to the air dries out rapidly, clogging the output ports. If you must remove a cartridge for an inspection, put it back into the carriage within a few minutes.
5. Trusting Sensors Over Print Quality
Avoid relying strictly on digital readouts if your printed pages look terrible. Sensors occasionally fail or misread the remaining volume. If your software says you have half a tank of black ink, but your text prints in a faint, streaky gray, trust your eyes.
Conclusion
Taking a few moments to monitor your printer ink levels saves you time, money, and unnecessary stress. Whether you use the simple built-in screen, dive into the Windows Control Panel, navigate Mac System Settings, or print a manual diagnostic page, the process remains straightforward.
By understanding how to check printer ink levels accurately and avoiding common maintenance mistakes, you prolong the life of your machine.
Make checking your supply a regular part of your routine, and you will ensure your documents and photos always print perfectly the first time.

About
Alexis Kerr is a distinguished figure in the world of professional workspace optimization, with a decade of expertise creating innovative and ergonomic office environments. Her professional focus lies in merging organizational psychology with modern spatial design, fostering office setups that are both high-performing and employee-centric. As the lead author for Deskvity, Alexis Kerr delves into the art and science of corporate aesthetics and functionality, inspiring office managers and remote professionals alike.
Education Cornell University
(Ithaca, New York) Bachelor of Science in Design and Environmental Analysis Focus on human factors, workplace strategy, and sustainable interior environments. Gained extensive experience in how physical space influences productivity and mental clarity.
Savannah College of Art and Design (SCAD)
(Savannah, Georgia) Master of Fine Arts in Interior Design Specialized in commercial workspace solutions with a focus on blending digital integration with physical comfort. Participated in high-level industry projects to refine the balance between corporate branding and architectural utility.
Publications and Impact
In Deskvity, Alexis Kerr shares her insights on modern workspace trends, acoustic management, and strategies for efficient layout planning. Her writing bridges the gap between high-level architectural theory and practical day-to-day office needs, making it a must-read for both facility directors and individual professionals looking to elevate their work environment.