

Are you constantly stretching your neck or raising your shoulders just to see your computer screen? Sitting in a chair that sits too low does more than just cause temporary discomfort.
Over time, poor seating height wrecks your posture, drains your energy, and leads to chronic pain. A chair that fits your body correctly changes everything about your workday. This complete guide will walk you through exactly how to add height to your office chair, what tools you need, and the common mistakes to avoid along the way.
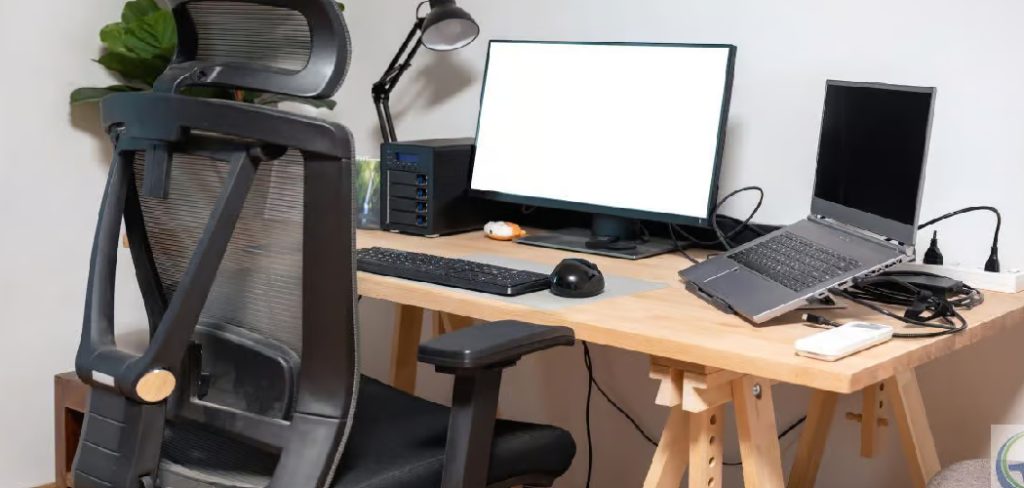
Let’s dive into how to make office chair taller.
What Will You Need?
Before you start dismantling your workspace, gather the right tools. Depending on the method you choose to raise your chair, you will need a few specific items.
For a Gas Cylinder Replacement:
- A replacement heavy-duty gas lift cylinder (extended length)
- A pipe wrench or locking pliers
- A heavy rubber mallet
- WD-40 or a similar penetrating lubricant
- Old newspaper or a drop cloth to protect your floor
For Temporary Height Additions:
- Drafting chair extension stems or chair height spacers
- Replacement caster wheels (larger diameter, like rollerblade style)
- A thick, high-density ergonomic seat cushion
Make sure you measure your current chair base and cylinder diameter before ordering any replacement parts. Most office chairs use a standard two-inch diameter cylinder, but confirming your specific model prevents frustrating return processes.
10 Easy Steps on How to Make Office Chair Taller
If you want a permanent, reliable fix for a short office chair, replacing the standard gas lift cylinder with an extended one is the best method. This 10-step process will guide you through the entire replacement and adjustment phase safely.
Step 1: Prepare Your Workspace and Gather Your Tools
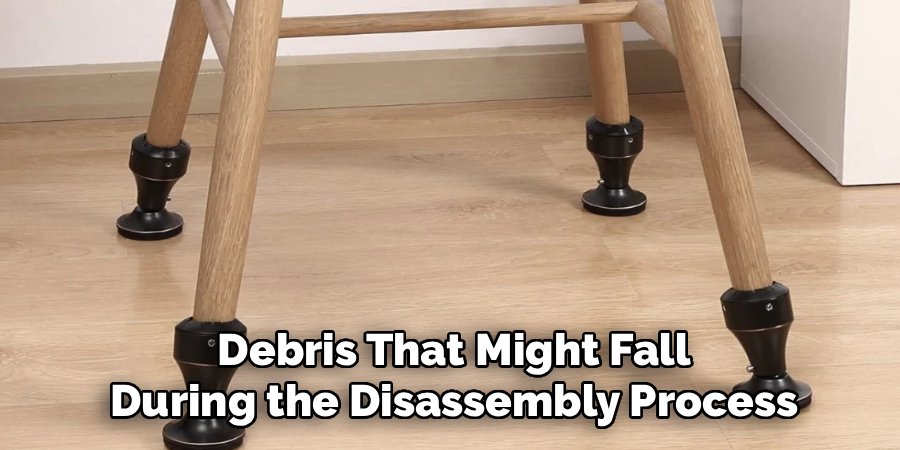
The first step toward achieving the perfect chair height requires setting up a clean, safe area to work. Office chairs get remarkably dusty and greasy near the base mechanism. Lay down old newspapers, an old towel, or a plastic drop cloth on a flat surface to catch any grease, dirt, or debris that might fall during the disassembly process. Gather your rubber mallet, pipe wrench, WD-40, and the brand-new extended gas cylinder. Having everything within arm’s reach prevents you from stopping mid-project. Make sure your workspace has good lighting so you can clearly see the connections between the chair base, the cylinder, and the seat mechanism. Preparation guarantees a smooth, frustration-free project.
Step 2: Protect the Chair and Floor
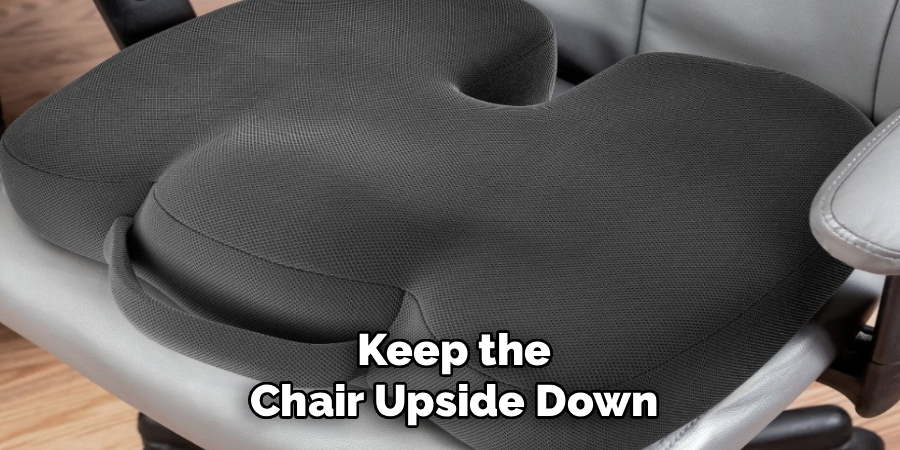
While it might seem tempting to start hammering away, protecting your chair and your floor is crucial. Turn the office chair entirely upside down so the wheels point toward the ceiling. You can rest the seat on a sturdy desk or the floor, depending on what feels most stable. If you place the chair on a table, put down a thick blanket to prevent the desk surface from scratching the chair’s upholstery or leather. If you work on the floor, ensure the backrest does not bend at an awkward angle. Securing the chair properly prevents the heavy metal base from swinging and hitting you while you work on detaching the old cylinder.
Step 3: Apply Lubricant to the Connecting Joints
Office chair cylinders sit inside the metal wheelbase and the seat plate under immense pressure. Over time, your body weight wedges the metal pieces tightly together. Take your WD-40 or penetrating oil and spray a generous amount around the seam where the bottom of the gas cylinder meets the five-star wheelbase. Next, spray another layer around the top of the cylinder where it enters the metal plate attached to the bottom of the seat. Let this lubricant soak in for at least ten to fifteen minutes. The oil seeps into the microscopic gaps between the metal components, breaking down rust and making the removal process significantly easier.
Step 4: Detach the Wheelbase from the Old Cylinder
After the lubricant has worked its magic, it is time to remove the wheelbase. Keep the chair upside down. Hold the old gas cylinder firmly with one hand to stabilize it. Take your heavy rubber mallet and firmly strike the metal base near the center hole, right next to where the cylinder slides in. Strike outward, away from the center. You might need to hit it several times with moderate force. Do not use a metal hammer, as this will dent and ruin your chair base. As you tap around the center opening, the friction will break, and the heavy metal base will pop off the old cylinder. Set the wheelbase aside.
Step 5: Secure the Pipe Wrench on the Cylinder
Now you are left with the seat resting upside down and the old cylinder sticking straight up out of the seat mechanism. This connection is usually much tighter than the base. Take your heavy-duty pipe wrench and adjust the teeth so they clamp firmly onto the thickest part of the old cylinder, as close to the seat plate as possible. Tighten the wrench as much as you can. The tighter the grip, the more leverage you will have to twist the metal loose. Ensure the teeth bite into the metal. Since you are discarding this old cylinder, do not worry if the wrench leaves deep scratch marks on the metal casing.
Step 6: Twist and Pull to Remove the Old Cylinder
With the pipe wrench securely locked in place, grab the long handle and forcefully twist it. You want to twist it side to side, back and forth, to break the friction seal holding the cylinder inside the seat plate. If it refuses to budge, apply a little more penetrating oil and wait five more minutes. Once you feel the cylinder start to twist within the housing, pull upward while continuing the twisting motion. The combination of torque and pulling will eventually free the cylinder from the chair’s underbelly. Pull the old part completely out and place it on your drop cloth to keep grease off your hands.
Step 7: Clean the Base and Seat Plate Receptacles
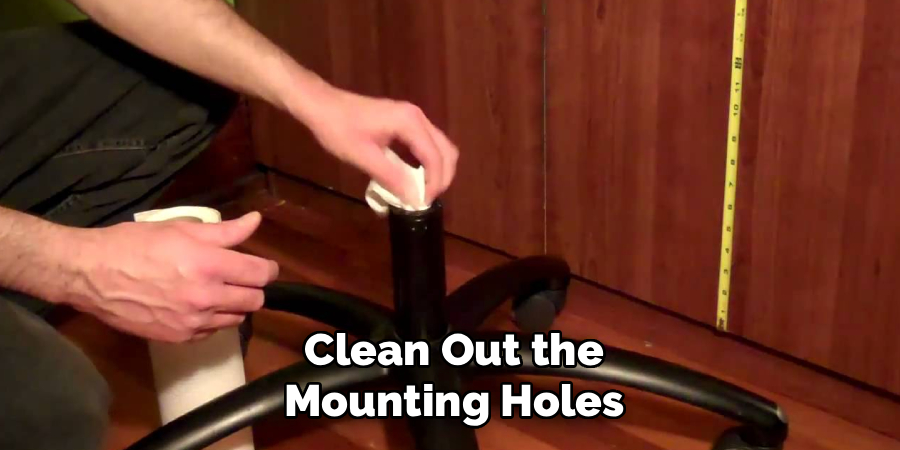
Before you install the brand-new extended cylinder, you must clean out the mounting holes. Take an old rag or paper towel and thoroughly wipe the inside of the hole on the five-star wheelbase. Remove any leftover grease, dirt, pet hair, or rust flakes. Do the exact same thing for the hole in the metal seat plate attached to the bottom of your chair. Installing a new cylinder into a dirty receptacle can cause the chair to sit slightly crooked or cause an irritating squeaking noise when you sit down. A clean surface ensures a perfectly tight, secure fit for your new chair components.
Step 8: Insert the New Extended Cylinder
Unbox your new, extended-height gas lift cylinder. Notice that one end is slightly tapered, and the other end features the tiny release button that controls the air pressure. Keep the chair seat upside down on the floor. Take the new cylinder and slide the top end (the end with the button) directly into the center hole of the seat plate. Push it down gently. You do not need to hammer it into the seat. The natural taper of the cylinder, combined with your body weight later on, will lock the metal pieces together securely. Just ensure it goes in perfectly straight to avoid damaging the internal release mechanism.
Step 9: Reattach the Wheelbase to the New Cylinder
With the new cylinder resting in the seat plate, pick up the five-star wheelbase that you set aside earlier. Hold it directly over the exposed bottom end of the new cylinder. Carefully line up the center hole of the wheelbase with the tapered end of the gas lift. Lower the wheelbase onto the cylinder. Again, push it down firmly with your hands to seat it in place, but do not use a hammer. Once the base sits level on the cylinder, double-check that all five caster wheels are still attached securely to the legs of the base.
Step 10: Flip the Chair and Test the Height
Carefully grab the base and the seat simultaneously and flip the chair back over so it stands on its wheels. Before sitting, press down firmly on the center of the seat with your hands to start seating the taper into the metal brackets. Next, sit in the chair carefully. Your body weight pushes the cylinder firmly into the base and seat plate, locking it in place permanently. Reach for the height adjustment lever and pull it up to test the new pneumatic lift. The chair should now rise significantly higher than it did before, providing you with a comfortable, ergonomic workspace tailored exactly to your unique height.
Conclusion
Adjusting your office chair to the correct height prevents back pain, stops neck strain, and creates a highly productive work environment.
Whether you decide to swap out the entire gas lift cylinder for an extended version or just upgrade to larger rollerblade wheels, making your chair taller is a relatively easy project you can tackle in an afternoon. Stop compromising on your daily comfort and take control of your workspace ergonomics today.
Hopefully, this guide on how to make office chair taller has provided you with the necessary information and tips to adjust your office chair height effectively.

About
Alexis Kerr is a distinguished figure in the world of professional workspace optimization, with a decade of expertise creating innovative and ergonomic office environments. Her professional focus lies in merging organizational psychology with modern spatial design, fostering office setups that are both high-performing and employee-centric. As the lead author for Deskvity, Alexis Kerr delves into the art and science of corporate aesthetics and functionality, inspiring office managers and remote professionals alike.
Education Cornell University
(Ithaca, New York) Bachelor of Science in Design and Environmental Analysis Focus on human factors, workplace strategy, and sustainable interior environments. Gained extensive experience in how physical space influences productivity and mental clarity.
Savannah College of Art and Design (SCAD)
(Savannah, Georgia) Master of Fine Arts in Interior Design Specialized in commercial workspace solutions with a focus on blending digital integration with physical comfort. Participated in high-level industry projects to refine the balance between corporate branding and architectural utility.
Publications and Impact
In Deskvity, Alexis Kerr shares her insights on modern workspace trends, acoustic management, and strategies for efficient layout planning. Her writing bridges the gap between high-level architectural theory and practical day-to-day office needs, making it a must-read for both facility directors and individual professionals looking to elevate their work environment.