

Let’s be honest: clutter can turn even the simplest day into a minor epic of lost notes and aimless rifling through drawers. The funny thing is, a lot of the chaos isn’t even that complicated to fix. An orderly filing approach isn’t so much about perfection as it is about carving out some space for sanity—a chance to find what you need without a hunt, sparing you those moments when a key contract vanishes just as you really need it.
It doesn’t matter if you’re juggling stacks of insurance files at a busy front desk or just hoping to keep receipts in check at the kitchen table. Gaining command over your paperwork—both the folders you can hold and the digital clutter stacked up on your hard drive—can make a remarkable difference. Below, you’ll find a walk-through that, if adapted to your quirks and workflow, may actually stick. Good intentions don’t organize papers. Habits do. In this guide on how to create a filing system for an office

Understand Your Office Needs
Pause before you charge down the supply aisle or start filling an online cart with storage gear. The categories of files any workplace actually produces are always more specific than you first expect. Think of a medical practice where patient names and privacy rules set the tone.
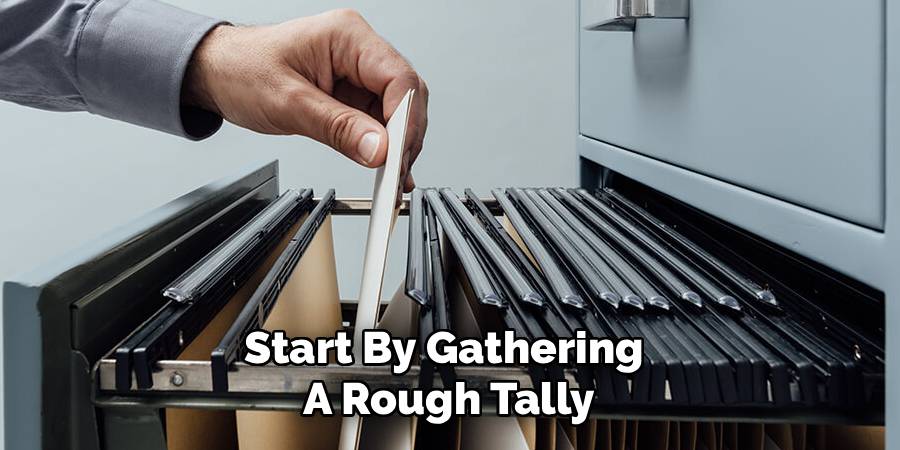
Or compare that to the world of a freelance designer, who mostly handles the odd contract or receipt. Start by gathering a rough tally—ballpark, not forensic—of just how much paperwork passes through your hands. With a clearer sense of both volume and variety, you avoid making the system more elaborate than it needs to be. A convoluted filing setup, in my experience, is a surefire way to never use it.
Tools and Supplies Needed
- File folders or binders
- Labels for organization
- Writing utensils, such as pens and markers
- Stapler and staples
- Hole puncher
- Paper clips
- Sticky notes or flag tabs for labeling and marking important documents
7 Simple Step-By-Step Guidelines on How to Create a Filing System for an Office
Step 1: Gather and Sort All Existing Documents
Let’s not sugarcoat this: facing a pile of unfiled papers is rarely pleasant. Still, corral every stray envelope, receipt, and memo into one central spot. Yes, it will look worse before it looks better. That overwhelming stack is necessary, though, as it puts you in front of the total mess you need to sort.
Now, begin broadly. Divide your growing stack into loose categories—financial stuff in one heap, contracts in another, HR bits somewhere else. Resist the urge to get bogged down; details come later. This initial pass gives you a shot at general organization, rather than death by micro-categorization.
Step 2: Establish a Clear Categorization Method
With your towers of paper divided, it’s time to pick a system. There isn’t a one-size-fits-all rule, unfortunately. Are your documents best fetched alphabetically, by project, or does a timeline suit you better? Many offices default to alphabetical order for vendors or clients. For things like receipts and payroll, a monthly or yearly breakdown can be a saving grace.
In slightly more complicated setups, hybridity can help—a drawer by vendor name, with folders also sorted by date, for example. The golden rule: if a new employee (real or imaginary) can intuit where something goes, you’re probably on the right track.
Step 3: Utilize Color-Coding for Quick Identification
Some folks roll their eyes at color-coding—it feels like grade school—but, in practice, it hastens the search. Assigning blue folders for clients, green for anything to do with money, and orange for tasks that haunt your to-do list… now those files practically jump out at you.
That said, be sure not to run out of any given color halfway through the year—a surprisingly common error. Pick up a generous supply of each color you choose, and maybe set a reminder to reorder before the hues dwindle. When done consistently, the result isn’t just pretty; it’s practical.

Step 4: Create Clear and Legible Labels
Nothing undermines a system like indecipherable handwriting or mysterious acronyms only you can decode. Whatever method you use—handwritten, typed, or label maker—aim for clarity. Labels should favor essential details. Think “Smith, John – Invoice 2024,” not “SJ24 Rec.” Keep the text snappy; elaborate codes are alluring but often regretted.
Uniform labelling builds a sense of order, even for the most paper-averse among us, and hastens the return of wayward files.
Step 5: Separate Active Files from Archived Records
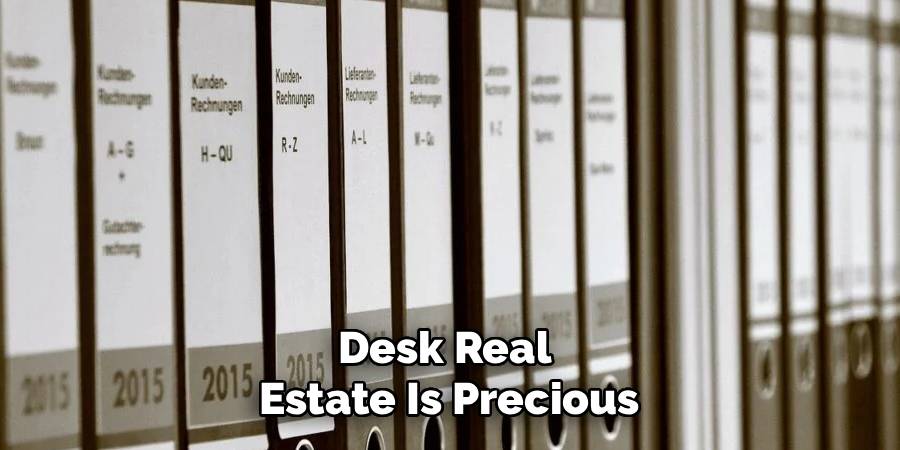
Desk real estate is precious—don’t waste it parking old tax files alongside live project sheets. Documents you reach for often should be near at hand, not buried by archives. Completed deals, years-old payroll, or expired contracts? Move those to clearly marked storage boxes and stash them out of the workflow—be it the supply closet, a rolling cart, or even offsite storage if you really want that desk clear.
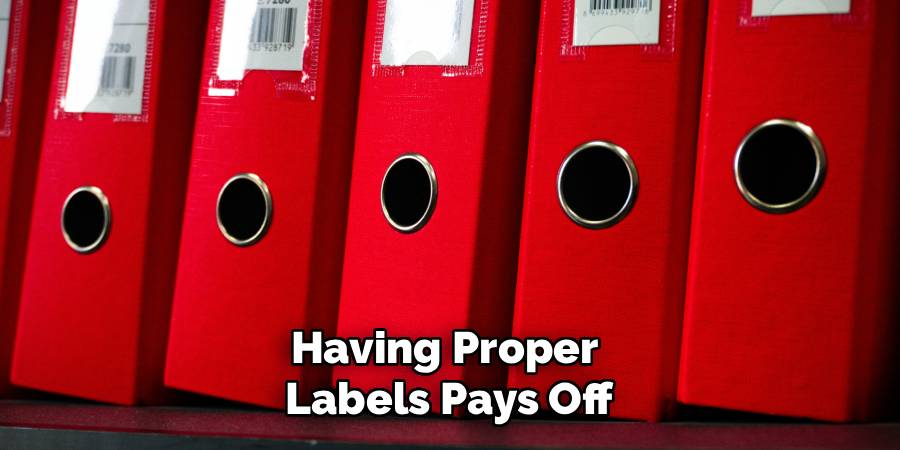
Of course, having proper labels pays off in the future. No point in protecting old files if you can’t locate them when someone—inevitably—asks.
Step 6: Implement a Standardized Check-Out Process
In offices with shared files, folders vanish, sometimes forever, when everyone assumes someone else returned them. A dead-simple ‘check-out’ system curbs this headache. Each time a file leaves the drawer, the borrower plops a placeholder—a card or sheet with their name and the date—in its place.
This tiny habit hints to others where the file has gone. (And, by extension, who to pester should it never come home.) It also injects a little accountability, reducing those frantic hunts that typically flare up just before a major meeting.
Step 7: Digitize Crucial Backup Documents
Physical files alone are always at risk, though it’s tempting to ignore the odds. A burst pipe, fire, or even a distracted coffee spill can wreak havoc. Begin scanning critical papers: contracts, licenses, financial statements, and tuck them—securely—into a digital cloud archive.
Ideally, the digital folder structure should match the physical one—dull work, perhaps, but helpful if you ever really need to retrieve something fast. Match up names, categories, and even dates. That way, switching between formats doesn’t trip you up.
Following these steps on how to create a filing system for an office can greatly improve the efficiency and organization of any workplace. By implementing a consistent system, important documents are easily accessible, reducing stress and saving time in the long run.
Maintain and Update the Filing System
Organization, sadly, is not a “set it and forget it” scenario. Make it a routine—each Friday or Monday morning, perhaps—to tuck loose papers away before they multiply.
Setting aside fifteen minutes, even if you grumble the whole while, can save you hours down the road. Lax maintenance, in my dubious experience, is just the first step back to chaos.
Common Mistakes to Avoid
Some problems crop up again and again. Shoving too many files into a tight cabinet hurts the folders and your patience. Labels like “Misc” are an invitation for lost papers. Hanging onto forms you’ll never need, out of fear or indecision, only gobbles up valuable room.
Creating categories so complex that only you can decipher them? Not ideal. But perhaps the most overlooked pitfall: skipping staff training, leaving others guessing at your logic.
Benefits of a Good Filing System
A tidy filing cabinet, surprisingly, is less about visual satisfaction and more about not losing time. Knowing where everything rests hastens responses to clients and frees your attention for work that actually matters. There’s a quiet confidence in being able to locate any document at a moment’s notice.
This structure shields your organization from legal headaches, too. Meeting record-keeping and compliance standards is less stressful if nothing goes missing. In short, a smart filing system turns your workspace into something approaching an ally—steady, supportive, and close to invisible.
Frequently Asked Questions
Q1: How Often Should I Purge My Office Files?
In my experience, setting a yearly reminder—perhaps aligned with tax season—serves most offices well. Use this occasion to shift inactive files into the archive zone and ditch anything beyond its legally required lifespan. Don’t be sentimental. Shred, recycle, or delete; your future self will thank you for the breathing room.
Q2: What Is The Best Way To Handle Confidential Documents?
Some paperwork is inherently sensitive—think employee records, proprietary data, or anything that would hurt if it fell into the wrong hands. Store these in their own locked cabinet, granting access only to a small, well-defined group. When it’s time to discard, a cross-cut shredder is worth every penny; confidentiality ranks higher than convenience in these cases.
Q3: Should I Digitize My Entire Physical Filing System?
Full digitization strikes many as the only modern route, but it demands both time and judgment. Not every scrap merits scanning. Prioritize active files and those irreplaceable legal documents or financial records—the rest can probably remain on paper, provided there’s no regulatory reason to digitize them.
Conclusion
Getting your office documents in shape is really a matter of bite-sized, steady effort. The relief you’ll feel when your next document hunt lasts thirty seconds instead of thirty minutes is hard to overstate.
Start with that inevitable paper pile on the edge of your desk, and build out from there. Over time, you’ll wonder how you ever got any work done before. Thanks for reading this guide on how to create a filing system for an office.

About
Alexis Kerr is a distinguished figure in the world of professional workspace optimization, with a decade of expertise creating innovative and ergonomic office environments. Her professional focus lies in merging organizational psychology with modern spatial design, fostering office setups that are both high-performing and employee-centric. As the lead author for Deskvity, Alexis Kerr delves into the art and science of corporate aesthetics and functionality, inspiring office managers and remote professionals alike.
Education Cornell University
(Ithaca, New York) Bachelor of Science in Design and Environmental Analysis Focus on human factors, workplace strategy, and sustainable interior environments. Gained extensive experience in how physical space influences productivity and mental clarity.
Savannah College of Art and Design (SCAD)
(Savannah, Georgia) Master of Fine Arts in Interior Design Specialized in commercial workspace solutions with a focus on blending digital integration with physical comfort. Participated in high-level industry projects to refine the balance between corporate branding and architectural utility.
Publications and Impact
In Deskvity, Alexis Kerr shares her insights on modern workspace trends, acoustic management, and strategies for efficient layout planning. Her writing bridges the gap between high-level architectural theory and practical day-to-day office needs, making it a must-read for both facility directors and individual professionals looking to elevate their work environment.