

A well-planned office cabinet can turn a cluttered workspace into a cleaner, calmer, and more productive place to work. Whether you need storage for files, office supplies, books, printer paper, or equipment, custom cabinets let you use your space better than many ready-made options. Learning how to build office cabinets also helps you control the size, style, materials, and layout so the finished project fits your room and your daily routine.
You do not need to be a master carpenter to build a simple office cabinet. You do need careful measurements, a clear plan, the right materials, and safe work habits. A beginner-friendly cabinet can be made with plywood, basic hardware, screws, wood glue, and common tools.
This guide walks you through the full process, from planning the cabinet layout to cutting panels, assembling boxes, adding doors and shelves, finishing the surface, and placing the cabinets securely in your office.
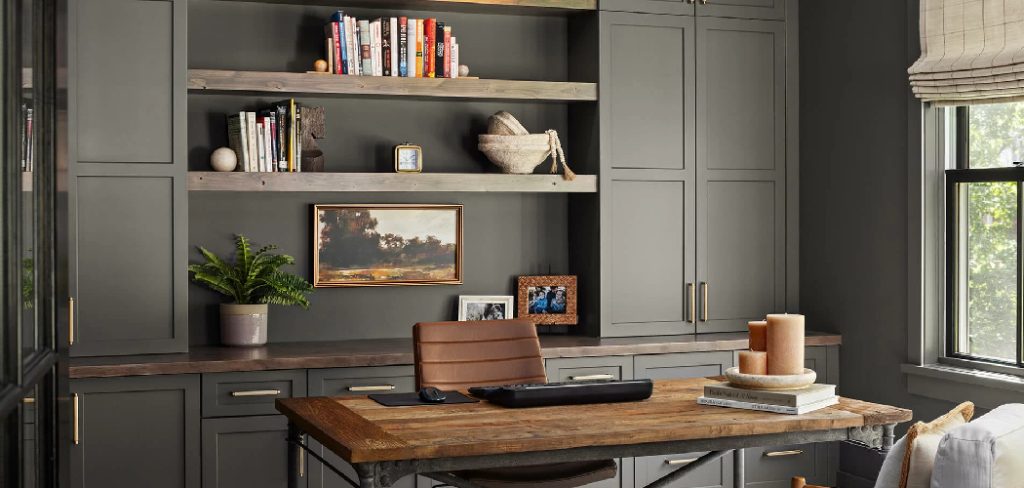
Why Building Office Cabinets Matters
Building your own office cabinets gives you storage that fits your exact space instead of forcing your office to fit standard furniture. You can design around wall outlets, desk height, printers, file boxes, books, and awkward corners.
Custom cabinets can also improve workflow. When every item has a clear place, you spend less time searching and more time working. A tidy setup can make a small office feel larger and more comfortable.
It can also save money compared with fully custom professional cabinetry. While you still need materials and tools, a simple do-it-yourself build often costs less than hiring out the whole project. You also gain practical woodworking skills that can help with future home or office upgrades.
Step-By-Step Guide To How to Build Office Cabinets
Step 1: Plan The Cabinet Purpose And Layout
Start by deciding what the cabinets need to hold. Office storage for paper files is different from storage for books, electronics, craft supplies, or a printer. Heavy items need stronger shelves, while small items may need drawers, dividers, or adjustable shelf holes.
Think about how you use the room each day. Cabinets near your desk should hold items you reach for often. Less-used supplies can go higher, lower, or farther away. If this is your first project, keep the layout simple. A basic cabinet box with shelves and doors is easier to build than a large wall unit with drawers, lighting, and complex trim.

Step 2: Measure The Office Space Carefully
Accurate measurements prevent most cabinet-building problems. Measure the width, height, and depth of the area where the cabinets will sit. Check the wall in more than one place because floors, walls, and ceilings are not always perfectly level or square.
Leave room for baseboards, door swings, outlets, vents, window trim, and desk chairs. If the cabinet will sit beside a desk, make sure it does not block legroom or movement. Write every measurement down clearly. When you learn how to build office cabinets, this planning stage matters as much as cutting wood because one wrong number can throw off the whole build.
Step 3: Choose Materials And Hardware
Plywood is a strong and common choice for office cabinet boxes. Three-quarter-inch plywood works well for sides, tops, bottoms, and shelves. Half-inch plywood can work for backs, though some builders use thinner panels for lighter cabinets. Medium-density fiberboard gives a smooth painted finish, but it is heavier and does not handle moisture as well as plywood.
Choose hardware based on the cabinet style. Hinges are needed for doors, shelf pins are useful for adjustable shelves, and pulls or knobs make doors easier to open. If you want a cleaner look, consider concealed hinges. For a painted finish, choose paint-grade plywood or MDF. For a stained finish, choose a wood veneer that looks good enough to show.
Step 4: Create A Cut List And Design Plan
Before cutting anything, draw a simple plan of each cabinet. Include the height, width, depth, shelf locations, door sizes, and back panel. You do not need advanced design software. A clear sketch with accurate dimensions can work well for a basic cabinet.
Next, create a cut list. A cut list is a written list of every panel you need, including the quantity, length, width, and material thickness. Include side panels, top panels, bottom panels, shelves, backs, doors, and any face frame parts if your design uses them. This step reduces waste and helps you buy the right amount of material. It also gives you a guide to follow at the saw.

Step 5: Cut The Cabinet Panels Safely
Set up a safe cutting area before you begin. Use a stable work surface, wear eye protection, and keep your hands away from the blade path. A table saw gives clean, straight cuts, but a circular saw with a guide can also work well for plywood panels.
Measure twice before each cut. Mark your cut lines clearly and label each panel after cutting so you do not mix up similar pieces. If the plywood chips along the cut edge, use painter’s tape over the cut line or a fine-tooth blade. Beginners often rush this step, but clean cuts make assembly easier and help the finished cabinet look more professional.
Step 6: Assemble The Cabinet Boxes
Begin by dry-fitting the cabinet box to check that the parts line up. A dry fit means placing the pieces together without glue to confirm the shape and size. Once everything looks right, apply wood glue to the joining edges and secure the panels with screws or brad nails.
Keep the box square as you assemble it. Measure diagonally from corner to corner in both directions. If the measurements match, the box is square. If they do not, adjust the cabinet before the glue sets. Add the back panel to strengthen the cabinet and hold the shape. Many guides on how to build office cabinets focus on tools, but careful squaring is what makes doors fit correctly later.
Step 7: Install Doors, Shelves, And Hardware
Install shelves after the cabinet box is solid. Fixed shelves can be glued and screwed into place, while adjustable shelves need shelf pin holes. Adjustable shelves are useful in an office because storage needs can change over time.
Next, attach the doors. If you use concealed hinges, follow the hinge instructions for cup depth and placement. Take your time here because even small hinge errors can cause uneven gaps. After hanging the doors, adjust the hinges until the reveal looks even. The reveal is the small gap around the door. Install knobs or pulls last, using a simple template if you want every handle to line up neatly.
Step 8: Sand, Finish, And Position The Cabinets
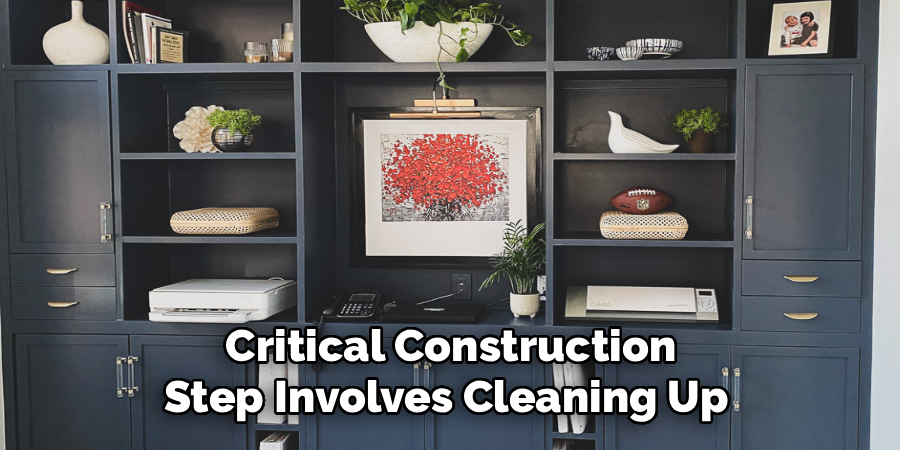
Sand the cabinet surfaces before applying paint, stain, or clear finish. Start with a medium grit, then move to a finer grit for a smoother feel. Remove dust with a vacuum or tack cloth before finishing. If you plan to paint, apply primer first, especially on plywood edges or MDF.
Let the finish dry fully before moving the cabinets into place. Position them carefully in the office and check that they sit level. Use shims if the floor is uneven. Tall cabinets should be secured to wall studs for safety. Once installed, load the shelves gradually and keep heavier items lower to improve stability.
Frequently Asked Questions
What Tools Do I Need To Build Office Cabinets?
For a basic cabinet, you need a measuring tape, square, pencil, saw, drill, clamps, screwdriver, sanding tools, and safety gear. A table saw is helpful, but a circular saw with a straightedge can work for many cuts. A brad nailer, pocket hole jig, and hinge jig can make the job easier, but they are not always required for a simple build.
What Is The Best Wood For Office Cabinets?
Three-quarter-inch plywood is one of the best choices for strong office cabinet boxes because it is stable, durable, and easier to work with than solid wood panels. Birch, maple, and oak plywood are common options. MDF is good for painted cabinets because it has a smooth surface, but it is heavy and can swell if exposed to moisture.

How Deep Should Office Cabinets Be?
The best depth depends on what you plan to store. Upper wall cabinets often work well at 12 to 15 inches deep. Base cabinets may be 18 to 24 inches deep, especially if they support a countertop or printer. Avoid making cabinets deeper than needed because items can get lost in the back and the room may feel crowded.
Can A Beginner Build Office Cabinets?
Yes, a beginner can build office cabinets if the design is simple and the measurements are accurate. Start with a basic rectangular cabinet box, fixed or adjustable shelves, and standard doors. Avoid drawers, angled units, and built-in lighting on your first project. Taking time to plan, label parts, and check for square will make the process much easier.
Should Office Cabinets Be Attached To The Wall?
Tall cabinets and wall-mounted cabinets should be attached to wall studs for safety. This prevents tipping and keeps the cabinet stable during daily use. Base cabinets may also benefit from wall attachment, especially if they are narrow, top-heavy, or placed on uneven flooring. Use a stud finder and proper screws so the cabinet is secured into framing, not just drywall.
Conclusion
Building office cabinets is a practical project that can improve storage, reduce clutter, and make your workspace feel more organized. The key steps are planning the cabinet purpose, measuring the room, choosing suitable materials, creating a cut list, cutting safely, assembling square boxes, installing hardware carefully, and finishing the cabinets well.
Now that you understand how to build office cabinets, start with a simple design that matches your skill level and office needs. Measure carefully, work patiently, and focus on clean construction. A thoughtful build can give you durable storage that fits your space and supports the way you work every day.

About
Alexis Kerr is a distinguished figure in the world of professional workspace optimization, with a decade of expertise creating innovative and ergonomic office environments. Her professional focus lies in merging organizational psychology with modern spatial design, fostering office setups that are both high-performing and employee-centric. As the lead author for Deskvity, Alexis Kerr delves into the art and science of corporate aesthetics and functionality, inspiring office managers and remote professionals alike.
Education Cornell University
(Ithaca, New York) Bachelor of Science in Design and Environmental Analysis Focus on human factors, workplace strategy, and sustainable interior environments. Gained extensive experience in how physical space influences productivity and mental clarity.
Savannah College of Art and Design (SCAD)
(Savannah, Georgia) Master of Fine Arts in Interior Design Specialized in commercial workspace solutions with a focus on blending digital integration with physical comfort. Participated in high-level industry projects to refine the balance between corporate branding and architectural utility.
Publications and Impact
In Deskvity, Alexis Kerr shares her insights on modern workspace trends, acoustic management, and strategies for efficient layout planning. Her writing bridges the gap between high-level architectural theory and practical day-to-day office needs, making it a must-read for both facility directors and individual professionals looking to elevate their work environment.
1 thought on “How to Build Office Cabinets”