

A new desk can make your workspace feel cleaner, more comfortable, and more productive, but the assembly process can feel confusing when you open the box and see panels, screws, brackets, and a booklet full of diagrams. The good news is that most desks follow a simple building order once you understand the parts.
Learning how to put a desk together helps you avoid wobbly legs, misaligned drawers, scratched surfaces, and missing hardware. It also saves time because you can work with a clear plan instead of guessing which piece comes next.
This guide is made for beginners, but it is detailed enough to help anyone assemble a desk more smoothly. You will learn how to prepare your space, sort the parts, read the instructions, attach the frame, secure the top, install drawers or shelves, and check stability before using the desk.
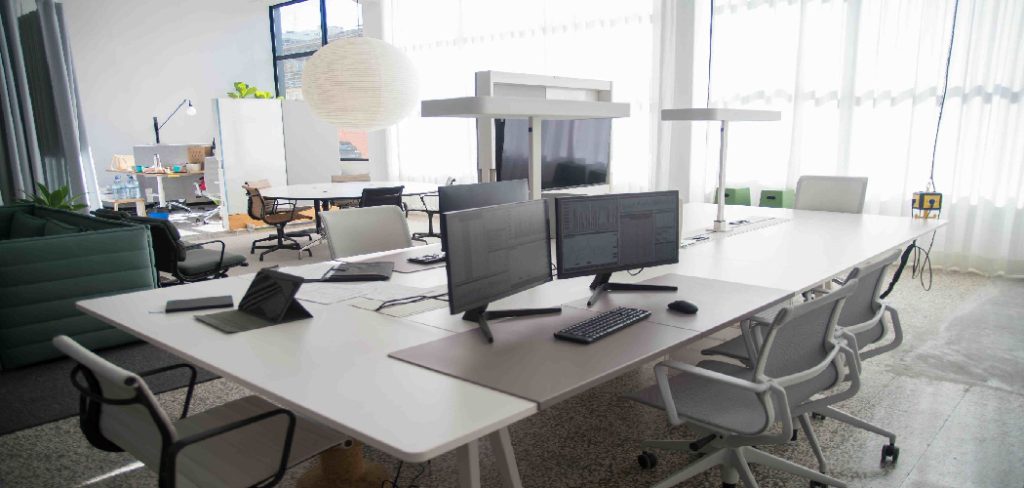
Why Putting A Desk Together Matters
Putting a desk together the right way affects comfort, safety, and long-term durability. A desk that is rushed or loosely assembled may wobble, lean, scratch your floor, or fail to support your computer and work supplies.
Careful assembly also protects the desk parts. Tightening the wrong screw too early can crack particleboard, strip holes, or pull panels out of alignment. Taking your time helps each piece fit as designed.
A properly built desk gives you a stable surface for work, study, gaming, or home office tasks. It also makes future adjustments easier if you need to move the desk, tighten hardware, or add accessories later.
Step-By-Step Guide To How To Put A Desk Together
Step 1: Prepare A Clean Work Area
Start by choosing a flat, open area with enough room to lay out the desk parts. A clean floor, large rug, or carpeted space can help protect panels from scratches. Avoid assembling the desk in a tight corner because you may need to rotate large pieces as you work.
Remove clutter, cords, pets, and anything that could get in the way. If the desk is heavy, assemble it close to the place where you plan to use it. This reduces the risk of damaging the desk or straining yourself while moving it later.

Step 2: Put A Desk With The Right Tools
Before you begin, gather the tools listed in the instruction manual. Many flat-pack desks include a small hex key, but using a comfortable screwdriver or low-power drill can make the job easier. Be careful with drills because too much force can strip screw holes or damage the surface.
Keep a small bowl or tray nearby for screws, washers, dowels, and brackets. Good lighting also matters, especially when matching small hardware to the diagrams. If a step calls for two people, do not ignore it. Large panels can shift quickly and cause damage.
Step 3: Check Every Part Before Assembly
Open the box carefully and lay out each panel, leg, rail, drawer piece, and hardware bag. Compare everything with the parts list in the manual. This may feel slow, but it helps you catch missing or damaged items before the desk is half built.
Look for labels on the pieces. Many desks use letters or numbers to show which panel is which. If a label falls off, use the manual and the pre-drilled holes to identify the part. Do not start fastening pieces until you know that all major parts are present.
Step 4: Read The Instructions From Start To Finish
Read the full manual once before attaching anything. Assembly diagrams often show the order of parts more clearly than the written notes, so study the pictures closely. Pay attention to which side faces up, which holes are used, and where unfinished edges should point.
Many mistakes happen when parts look similar. A left side panel may seem the same as a right side panel, but the holes may not line up later if it is reversed. Reading ahead helps you understand how each step connects to the next one.

Step 5: Attach The Frame And Support Pieces
Most desks start with the frame, legs, side panels, or support rails. Line up the holes carefully before adding screws. Insert each screw loosely at first, then tighten them only after all matching screws are started. This gives the frame a little movement and helps prevent misalignment.
If the desk uses wooden dowels, press them in straight and gently. Do not hammer too hard, especially with particleboard or MDF parts. The goal is a snug fit, not a forced one. Once the frame is square, tighten the hardware evenly.
Step 6: Before Securing The Top
Place the desktop on a soft surface or ask another person to help hold it in position. The top is often the largest and most visible piece, so handle it carefully to avoid chips and scratches. Make sure the finished side faces the correct direction before fastening it.
Line up the frame with the pre-drilled holes under the desktop. Start each screw by hand if possible. This helps you feel whether the screw is entering straight. Tighten gradually from one side to the other so the top sits flat and even.
Step 7: Install Drawers, Shelves, Or Keyboard Trays
If your desk includes drawers, assemble each drawer box before installing the slides. Make sure the drawer front faces the right direction and that the bottom panel sits inside the grooves correctly. A drawer that is slightly crooked can stick or leave uneven gaps.
For shelves, check whether the surface is fixed or adjustable. Shelf pins should be fully seated before weight is added. If the desk has a keyboard tray, install the rails at the same height on both sides. Test the movement before loading anything onto it.
Step 8: Tighten, Level, And Inspect The Desk

Once the desk is assembled, go back through each connection and tighten the screws by hand. Do not overtighten, because this can strip the material or crack the surface around the hardware. The desk should feel firm without squeaking, rocking, or shifting.
Set the desk upright with help if needed. Check that all legs touch the floor. If the desk has adjustable feet, turn them until the surface feels level. Open drawers, press gently on the corners, and inspect the full desk before adding your computer, monitor, or office supplies.
Frequently Asked Questions
How Long Does It Take To Assemble A Desk?
Most simple desks take 30 minutes to 2 hours to assemble, depending on size, design, and your experience level. A basic writing desk may be quick, while a desk with drawers, shelves, cable trays, or a hutch can take longer. Sorting parts first and reading the instructions before starting can reduce mistakes and save time overall.
Do I Need A Power Drill To Build A Desk?
You usually do not need a power drill, but it can help if the desk has many screws. Use it carefully on a low torque setting to avoid stripping holes or driving screws too deep. For final tightening, a hand screwdriver is often safer. Many desks are made from particleboard, which can be damaged by too much force.
What Should I Do If A Screw Hole Does Not Line Up?
Stop tightening and check whether the connected parts are facing the correct direction. Misaligned holes often mean a panel is reversed, a screw was tightened too early, or the wrong part was used. Loosen nearby screws slightly and realign the pieces. Do not force the screw, because it can damage the hole and weaken the desk.
Can One Person Assemble A Desk Alone?

One person can assemble many small desks alone, but larger desks are safer with two people. A helper is useful when lifting the desktop, holding side panels, or turning the desk upright. If the instructions recommend two people, follow that advice. It lowers the risk of injury and helps prevent scratches, dents, or broken connectors.
Why Is My Desk Wobbly After Assembly?
A desk may wobble because screws are loose, the frame is not square, the floor is uneven, or adjustable feet are set at different heights. Check all fasteners first, then place the desk on a level surface. If it still moves, adjust the feet or add floor protectors. Avoid loading the desk until it feels stable.
Conclusion
Assembling a desk is much easier when you work in the right order. Start with a clean space, check every part, read the manual, build the frame, secure the top, install accessories, and inspect the finished desk before using it.
The most important habits are patience and accuracy. Do not force parts, do not tighten everything too early, and do not skip safety steps when lifting heavy pieces.
Now that you know how to put a desk together, you can build your workspace with more confidence and enjoy a sturdy desk that is ready for daily use.

About
Alexis Kerr is a distinguished figure in the world of professional workspace optimization, with a decade of expertise creating innovative and ergonomic office environments. Her professional focus lies in merging organizational psychology with modern spatial design, fostering office setups that are both high-performing and employee-centric. As the lead author for Deskvity, Alexis Kerr delves into the art and science of corporate aesthetics and functionality, inspiring office managers and remote professionals alike.
Education Cornell University
(Ithaca, New York) Bachelor of Science in Design and Environmental Analysis Focus on human factors, workplace strategy, and sustainable interior environments. Gained extensive experience in how physical space influences productivity and mental clarity.
Savannah College of Art and Design (SCAD)
(Savannah, Georgia) Master of Fine Arts in Interior Design Specialized in commercial workspace solutions with a focus on blending digital integration with physical comfort. Participated in high-level industry projects to refine the balance between corporate branding and architectural utility.
Publications and Impact
In Deskvity, Alexis Kerr shares her insights on modern workspace trends, acoustic management, and strategies for efficient layout planning. Her writing bridges the gap between high-level architectural theory and practical day-to-day office needs, making it a must-read for both facility directors and individual professionals looking to elevate their work environment.