

Ever find yourself steadily sinking to the floor while trying to work, only to end up with your chin barely reaching your desk? Annoying, isn’t it? When an office chair can’t seem to hold its height, a worn-out gas lift piston is usually the villain. The good news is, you don’t need a degree in mechanical engineering to swap it out. A bit of elbow grease, a handful of tools, and some patience will usually get the job done—often for less money than you’d spend on lunch.
Before you start eyeing the trash bin for your old chair, walk through this guide on how to remove piston from office chair. You may surprise yourself; fixing it at home is more straightforward than you might think.
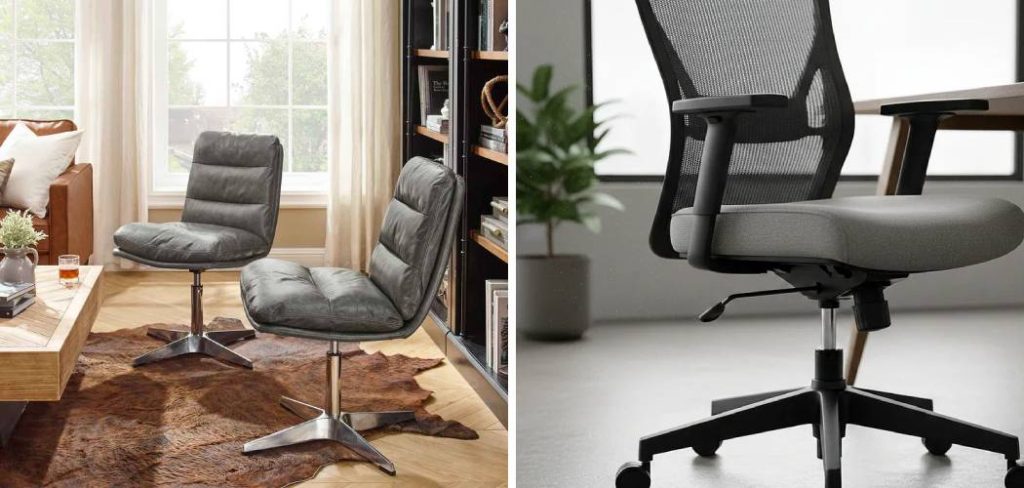
Signs the Piston Needs Replacement or Removal
A failing piston tends to be obvious, but the symptoms can sometimes disguise themselves as other issues. Typically, your chair slumps down over time, even if you haven’t adjusted anything.
Sometimes the height lever just stops responding entirely, as if it’s gone on strike. Other times, the whole chair may feel strangely wobbly—almost as if the screws at the base are loose, except they aren’t. And that little ring of greasy oil oozing out near the bottom? Usually means the piston’s internal seal has seen better days.
Tools and Materials You’ll Need
Before you begin fixing your office chair, it’s important to gather all the necessary tools and materials. This will help ensure that the process goes smoothly and efficiently.
- Replacement parts (if needed)
- Screwdriver
- Wrench
- Pliers
- Allen key
- WD40 or other lubricant
- Clean cloth or paper towels
- Gloves (optional)
It’s also a good idea to have some gloves on hand to protect your hands from any sharp edges or dirty components. Now, let’s dive into the steps for repairing your office chair!

Safety Precautions
Basic, but easily overlooked: safety goggles really are important. Chairs break, metal splinters, and you don’t want to find out how fast something sharp can get airborne. Heavy-duty gloves are a smart move as well.
Work in an area you can air out; anything with penetrating oil or lubricants should have some ventilation. And whatever you do, never puncture or try to open up the gas cylinder itself. The gas under pressure can be surprisingly dangerous, not to mention the mess.
7 Simple Step-By-Step Guidelines on How to Remove Piston from Office Chair
Step 1: Protect Your Workspace and Prepare the Chair
Lay out your drop cloth or newspaper first; cleaning up a splatter of black grease off the living room carpet is a chore best avoided. Flip your chair upside down with some care so those rolling casters now face the ceiling. This gives you the best access to the parts you need. If the wheels won’t stay put, maybe box them in with something heavy—reaching for a rolling chair mid-repair isn’t fun.
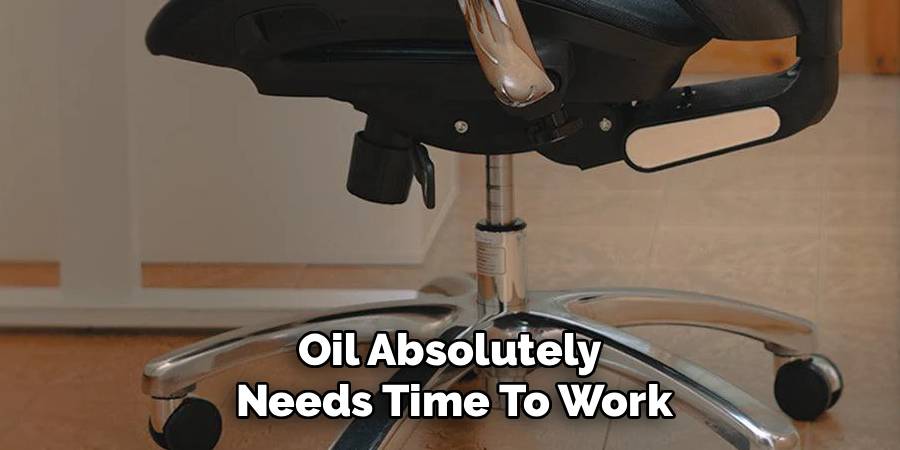
Douse both piston connections—where the cylinder goes into the seat and the wheelbase—liberally with penetrating oil. Let it sit. Ten, maybe even fifteen minutes. The temptation will be to get started right away, but the oil absolutely needs time to work its magic, loosening up those connections.
Step 2: Remove the Wheelbase from the Piston
Once things are nicely oiled, pick up your rubber mallet. Focus your taps on the metal of the wheelbase itself, as close to the piston as possible. Try to avoid the piston or plastic clips; hitting those is a shortcut to a broken chair. These joints are often locked up tight after years of use, so expect a little resistance. Work your way around, tapping gently all the way.
If the wheelbase won’t budge, don’t start smashing harder—another shot of oil and a little more time goes a long way. Eventually, with enough patience and gentle persuasion, the wheelbase should drop away from the bottom of the piston. Set it aside; you’ll need room to work on the rest of the chair.
Step 3: Remove the Retaining Clip (If There Is One)
Not every chair has this, but some feature a small retaining clip at the bottom of the piston. If you spot one, you’ll need to get it off before anything else moves. Use a flathead screwdriver, slide it underneath, and gently pry away—go slowly, these little clips love to bend or snap out of nowhere.
There may be washers or a small bearing assembly as well—worth snapping a picture, since remembering exactly how they sit can save some head-scratching later. Pop these off, stash them in a container or zip bag. Losing pieces down a workbench crack is a classic frustration.
Step 4: Grip the Piston with a Pipe Wrench
Now, with the base out of the way, you’ll see the top of the piston where it slotted into the seat bracket. Years spent carrying your weight will have wedged these parts together tightly. Fit your pipe wrench (or pliers) snugly as close to the top joint as you can. You want your grip to be steady—slipping means scratched metal and skinned knuckles.
If you’re particular about appearances and want to avoid scuffing, wrap a thin rag once or twice around the piston—but a good grip matters most. The goal here: torque, not brute force. The wrench is there to help break the friction between metal parts, not twist the piston off like a screw.
Step 5: Twist and Pull the Piston Loose
With your grip secure, begin twisting the piston cylinder—back and forth, not spinning endlessly in one direction. There aren’t threads here, just a friction fit. Do this slowly, combining the twist with an upward pull. Don’t force things. Sometimes, you’ll hear a loud pop or a squeak as the stubborn parts separate.
If nothing moves at all, add another small spray of oil and take a break. Giving it time is almost always more productive than cranking harder. Yanking or twisting too aggressively can bend the chair’s seat plate, making future repairs a headache.

Step 6: Use a Mallet for Stubborn Pistons
If twisting hasn’t yielded any progress, revert to your mallet. With everything still upside down, locate the flat metal plate underneath the seat, right where the piston enters. Gently—but firmly—strike that plate beside the hole, never the adjustment levers or piston shaft directly. Work your way around the circle, striking evenly in different spots.
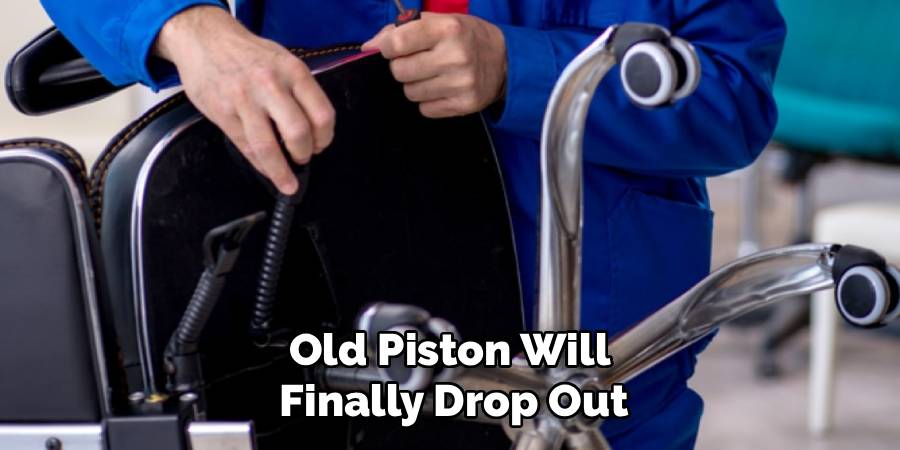
A rubber mallet really is best; metal hammers are much more likely to warp or fracture something you actually care about. If you’re lucky, after a round of strategic taps, the old piston will finally drop out.
Step 7: Clean the Seat Mechanism and Install the New Piston
Take a moment to wipe down the inside of the empty seat bracket—any leftover oil, bits of rust, and dirt can interfere with your new piston’s snug fit. Slide the fresh cylinder into position, and reattach the wheelbase to the bottom. Flip the chair upright with care, then give it a test sit; this presses the new piston into place. Try the adjustment lever several times to ensure things move smoothly. If all is well, you’re done.
Following these steps on how to remove piston from office chair, you can easily replace a worn-out or broken piston and have your office chair functioning like new again. It is important to regularly check and maintain your office chair to ensure it stays in good working condition. This will not only prolong the life of your chair but also prevent any potential injuries from a faulty piston.
Common Mistakes to Avoid
Plenty slip up here. Using a metal hammer (not recommended), forgetting to remove a protective plastic cap on the new piston’s top button before inserting it, or simply not giving the oil enough time can each complicate an otherwise simple job.
Heating metal parts in hopes of speeding up separation? Best left alone. As frustrating as it feels, taking your time does pay off—rushed repairs often mean bent metal or stripped parts.
Maintenance Tips
Your chair will last longer if you keep it clean—dust, pet hair, spilled coffee, it all adds up around the base. Now and then, hit the moving bits with a silicone spray, which helps prevent squeaks. Avoid plopping into the seat from a height, especially for taller folks.
Screws have a tendency to loosen up given enough time; a quick inspection of armrests and backrest bolts every few months can save you the hassle of a wobbly chair. If the adjustment lever starts sticking, wipe the exposed piston rod clean with a microfiber cloth—a simple fix that often solves the problem.
When to Replace the Entire Chair?
Replacing the piston makes sense most of the time, but some chairs just aren’t worth saving. If your seat cushion is as flat as a pancake and does nothing for your back, a new piston won’t magically make things comfortable.
Broken armrests, cracked frames, or torn upholstery are clear signs you’re fighting a losing battle. And if the seat bracket is bent or damaged, don’t risk it—sometimes a new chair is the only smart investment for your well-being.
Frequently Asked Questions
Q1: How Do I Know What Size Replacement Piston To Buy?
A1: Most office chairs use a universal gas lift cylinder—two inches wide at the base, one inch at the top. To be sure, measure the length and diameter of your old piston with a tape measure. Check the maximum extension length, too. Most replacement kits fit the majority of common chairs, but double-check before buying.
Q2: Can I Fix A Sinking Office Chair Without Replacing The Piston?
A2: You can try a few short-term fixes—wrapping a hose clamp tightly around the exposed metal rod, or sliding a piece of PVC pipe over the rod to keep the chair from settling. These are workarounds, not long-term repairs, and you’ll lose the ability to adjust the height. Keep them as a stopgap solution only.
Q3: Is It Dangerous To Remove A Pressurized Gas Lift Cylinder?
A3: It’s safe if you work carefully and don’t cut, drill, or puncture the cylinder. The nitrogen gas inside is under pressure, so rough handling or using the wrong tools isn’t advised. If you see dents or severe corrosion, take extra care—always wear safety glasses just in case.
Conclusion
Repairing a sinking office chair isn’t just about saving cash (though that’s nice). It’s at least a little satisfying to fix something with your own two hands. By moving patiently and using the right tools and techniques, most people can handle this at home. Stay safe, be patient with the tricky parts, and let the oil do its job.
Once your chair is back in action, enjoy the comfort. Maybe pass this guide along if you know someone else battling a misbehaving chair. If this was useful, check out more of our office maintenance guides—your workspace will thank you for it. Thanks for reading this guide on how to remove piston from office chair.

About
Alexis Kerr is a distinguished figure in the world of professional workspace optimization, with a decade of expertise creating innovative and ergonomic office environments. Her professional focus lies in merging organizational psychology with modern spatial design, fostering office setups that are both high-performing and employee-centric. As the lead author for Deskvity, Alexis Kerr delves into the art and science of corporate aesthetics and functionality, inspiring office managers and remote professionals alike.
Education Cornell University
(Ithaca, New York) Bachelor of Science in Design and Environmental Analysis Focus on human factors, workplace strategy, and sustainable interior environments. Gained extensive experience in how physical space influences productivity and mental clarity.
Savannah College of Art and Design (SCAD)
(Savannah, Georgia) Master of Fine Arts in Interior Design Specialized in commercial workspace solutions with a focus on blending digital integration with physical comfort. Participated in high-level industry projects to refine the balance between corporate branding and architectural utility.
Publications and Impact
In Deskvity, Alexis Kerr shares her insights on modern workspace trends, acoustic management, and strategies for efficient layout planning. Her writing bridges the gap between high-level architectural theory and practical day-to-day office needs, making it a must-read for both facility directors and individual professionals looking to elevate their work environment.