

A wobbly, uncooperative office chair has a knack for exposing the limits of your patience—not to mention your back. The urge to drag the offending seat straight to the curb can be hard to resist, but with a bit of hands-on effort, you may very well spare yourself the expense and the trip to the furniture store.
Surprisingly, most office chair issues—perhaps an endlessly sinking seat or wheels so sticky they groan at each turn—are usually caused by little more than aging parts and a lack of maintenance. With basic tools and a calm approach, you can tackle most repairs yourself. Not only might this save you a wad of cash, but there’s also something quietly satisfying about giving a daily workhorse another lease on life. In this guide on how to repair an office chair, we’ll cover the most common issues and how to fix them.

Why You Should Maintain Your Office Chair?
It’s easy to overlook the maintenance of an office chair, especially when we have many other tasks and responsibilities to attend to.
However, neglecting the proper care of your office chair can lead to various issues that can affect not only your productivity but also your physical health.
Tools and Materials You’ll Need
- Screwdrivers (both Phillips and flathead)
- Needle-nose pliers
- Adjustable wrenches
- Allen wrench set
- Hammer
- Scissors
- Lubricant (such as WD40 or silicone spray)
- Replacement parts (depending on the issue)
7 Simple Step-by-step Guidelines on How to Repair an Office Chair
Step 1: Diagnose the Problem
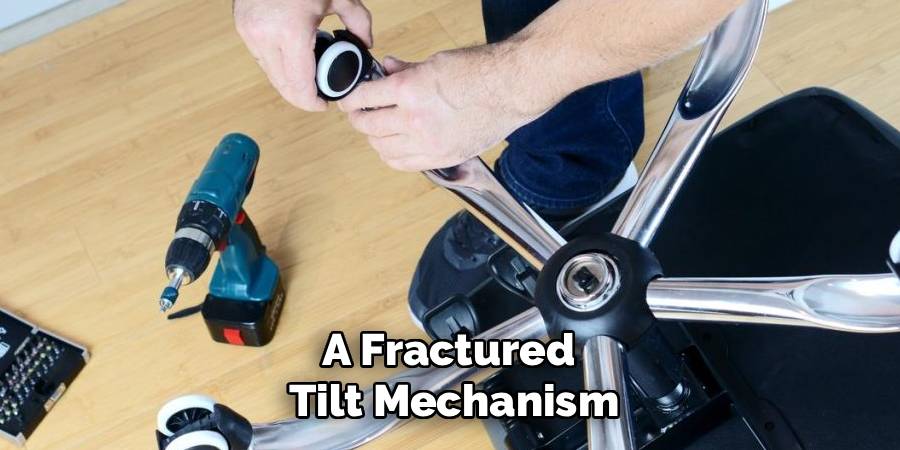
It seems obvious, but you’d be surprised how often this part is rushed or skipped. Before you touch a screw, figure out what’s actually wrong. A seat dropping lower every hour? Odds are, your gas cylinder lost its will to live. Leaning to one side, or swaying like a dodgy shopping cart, usually points to a fractured tilt mechanism or perhaps a lost screw.
Take a minute or two to scrutinize the undercarriage—flip the chair, scan for missing hardware, splits in the frame, oily smears near the cylinder, and that mysterious thump when you sit down. These small details tend to betray the culprit, and taking the time here saves you money and headaches later.
Step 2: Gather Your Tools and Replacement Parts
Once you’ve fingered the guilty component, get your supplies in order. It’d be nice if all chair bits were created equal, but manufacturers seem to delight in making every cylinder and wheel just a hair different. Measure, double-check the size, then order replacements only when you’re reasonably sure you’ve got a match.
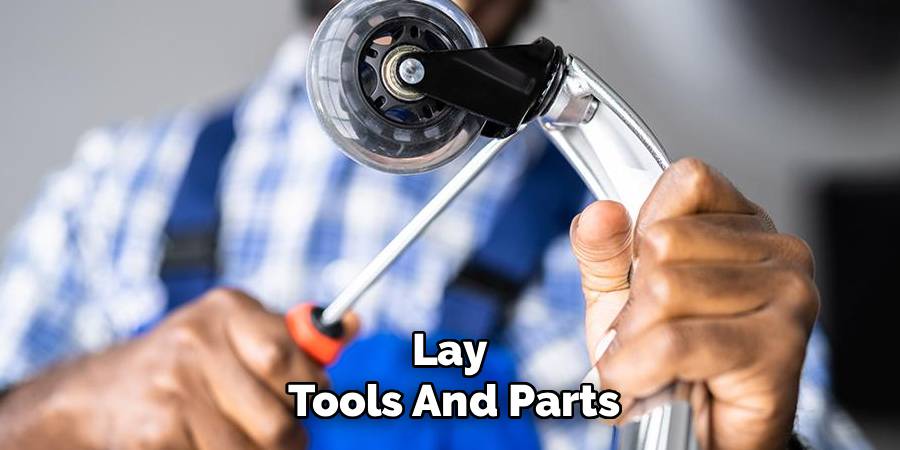
Drape an old sheet (or anything you don’t mind ruining) underfoot—repairs often invite grease or the occasional wayward screw onto your floor. Lay tools and parts where you won’t trip over them; an unfussy, well-lit area is best. This bit of organization pays off once you start pulling things apart and hands get messy.
Step 3: Remove the Base and Wheels
To get at the guts of the chair, the wheels and base must come off. Lay the chair upside down—on its arms and top—so it’s stable. Gently, but not timidly, use your rubber mallet to strike the base right at the spot where the cylinder pokes through. Sometimes this pops apart immediately. Other times, it takes patience—and possibly a few choice words.
Should the base decide to resist, spray some WD-40 at the joint and let it set for ten minutes. Try the mallet again. When it finally gives way, the base will come free and you can pull out the wheels for cleaning or replacement. These might lift out easily or need a firm tug.
Step 4: Detach the Gas Cylinder
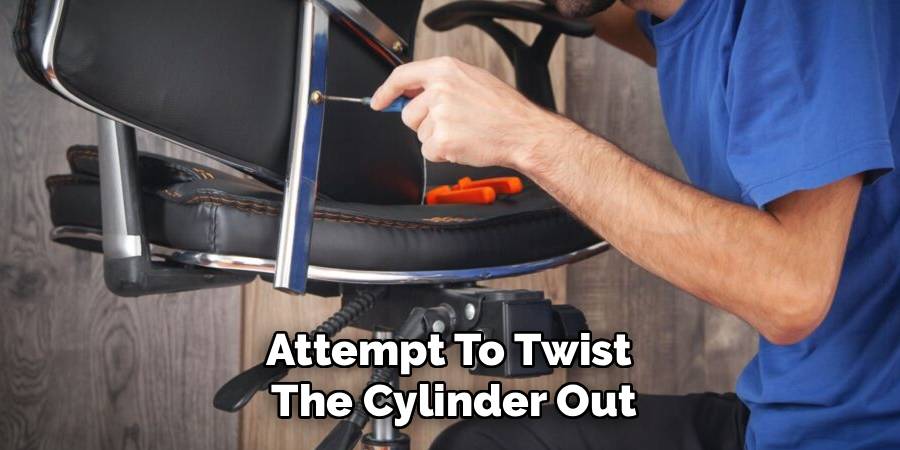
Here’s where some might run out of steam—the stubborn gas cylinder. With the base out of the way, secure your pipe wrench as close as possible to the seat mechanism. Attempt to twist the cylinder out. Some cylinders, especially on older chairs, might feel truly stuck. If this describes your luck, lubricate again and rest a moment before retrying.
Twist, pull, and twist again—there’s a good chance it will break loose eventually. Sometimes it feels almost fused, and when it comes free, you’ll know. Oily hands are common at this stage, so keep that old rag handy.
Step 5: Install the New Cylinder or Mechanism
Once the old part gives up its post, it’s time for the new recruit. If you’re just replacing the gas cylinder, slide the tapered end into the seat’s metal mechanism—no need for glue, screws, or other heroics. The weight of your body and the snug fit will do the job.
If the tilt mechanism itself is the offender, out with the screwdrivers: remove the mounting plate by taking out its bolts, then secure the fresh mechanism in place, lining up all screw holes before tightening things down. Take your time here—misaligned plates often mean a wobbly, creaky chair.
Step 6: Reattach the Seat and Base
Almost done, but don’t rush. Set the wheeled base onto the new cylinder, pressing it down as far as it’ll go. (Hands should suffice for this bit—leave the mallet in the toolbox now.) Swing the chair upright with a bit of care, ensuring everything looks straight.
If there’s a hint of looseness, don’t panic; the real test will come when you sit and the components wedge together as designed.
Step 7: Test the Chair for Stability and Functionality
Now for the moment of truth. Ease yourself into the seat, listening for proper engagement as the mechanisms slot together. Bounce lightly to see if the cylinder holds your weight and the base stays steady. Try raising and lowering the seat. Roll the chair to check if the wheels glide as they should. Recline a little to confirm tilt and resistance. If all features respond as expected—and there’s no alarming wobble—you’re in the clear.
Following these steps on how to repair an office chair, you can save yourself the time and hassle of having to replace it entirely. Taking care of your office chair and conducting regular maintenance can also extend its lifespan and keep you comfortable at work.
Common Mistakes to Avoid
It bears repeating: don’t let impatience guide your hand. Striking gas cylinders with metal hammers is, to put it mildly, a poor idea—internal pressure and brute force don’t mix well.
Take time lubricating joints before forcing them apart; broken bases usually mean a new chair, not just a repair. Buying replacement parts? Measure twice. Components that don’t fit can be unsafe at best and hazardous at worst.
Do You Need To Use Professionals?
Most fixes you’ll encounter—wonky wheels, faulty cylinders, loose arms—are well within the reach of someone handy with a screwdriver. But certain premium ergonomic chairs, with wires and sealed lumbar supports, are best left to the manufacturer or trained pros.
Forcing a high-end, proprietary system open risks the warranty and may introduce fresh problems—sometimes it pays to swallow your pride and call for help.
How Much Will It Cost?
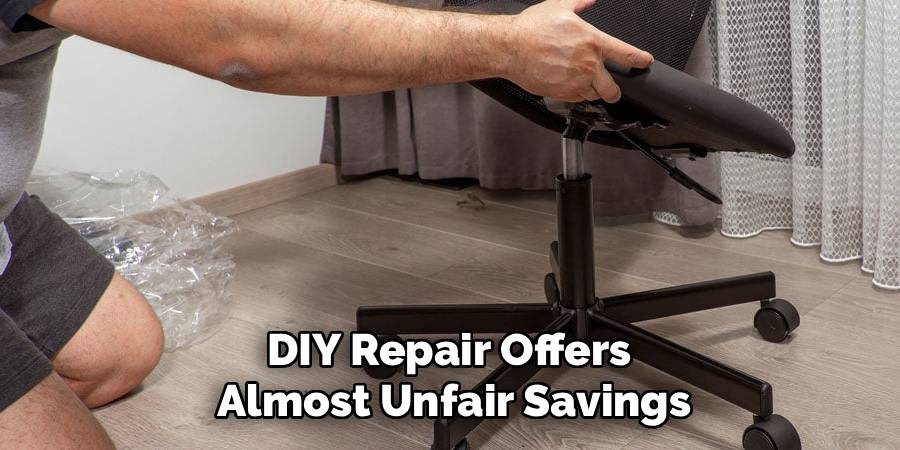
DIY repair offers almost unfair savings compared to outright replacement. A robust new cylinder might set you back $15 to $30, while a decent set of wheels could be under $40. Need a whole tilt assembly? Perhaps $25 to $40, depending on the make and fit.
Unless your chair is cursed, the full tab rarely goes over $50—and usually, it’s even less. It’s a small price to pay for extending the life of your favorite chair.
Frequently Asked Questions
Q1: How Do I Know If My Gas Cylinder Is Broken?
If your seat gradually drops while you’re sitting or if the lever simply refuses to respond, your gas cylinder is worn out. If you spot an oily ring around the cylinder or feel unsteady when sitting, chances are high that replacement is due.
Q2: Can I Fix A Sinking Chair Without Replacing Parts?
There’s a quick fix—temporarily. Use a metal hose clamp and some PVC pipe to clamp the height rod, stopping it from sinking at all. Just know, you lose any up-or-down adjustability and the solution only lasts until you fit a proper replacement.
Q3: Are Office Chair Wheels Universal?
Mostly, yes. About 95% of chairs use an 11mm (7/16-inch) grip ring stem. But a stubborn few brands favor slightly smaller sizes. It’s wise to pull a wheel and measure before buying a new set—they cost little, and the extra check avoids disappointment.
Q4: Can I Replace Just One Caster?
Yes, it is possible to replace just one caster. However, it is recommended to replace all casters at the same time to ensure even wear and proper functioning of the chair. If only one caster needs to be replaced, make sure the new caster matches the size and type of the existing ones.
Conclusion
Repairing your own office chair isn’t just a practical move—it becomes a gesture toward self-reliance. You rescue a battered object from premature landfill duty, pick up a skill or two, and, not to overstate things, get to enjoy a renewed sense of comfort—often in under an hour.
When squeaks start up again (and, given office life, they eventually will), you’ll be ready: tools in hand, a bit of patience, and an old towel to catch the fallout. That’s often all it takes to keep your trusted seat rolling for years to come. Thanks for reading this guide on how to repair an office chair.

About
Alexis Kerr is a distinguished figure in the world of professional workspace optimization, with a decade of expertise creating innovative and ergonomic office environments. Her professional focus lies in merging organizational psychology with modern spatial design, fostering office setups that are both high-performing and employee-centric. As the lead author for Deskvity, Alexis Kerr delves into the art and science of corporate aesthetics and functionality, inspiring office managers and remote professionals alike.
Education Cornell University
(Ithaca, New York) Bachelor of Science in Design and Environmental Analysis Focus on human factors, workplace strategy, and sustainable interior environments. Gained extensive experience in how physical space influences productivity and mental clarity.
Savannah College of Art and Design (SCAD)
(Savannah, Georgia) Master of Fine Arts in Interior Design Specialized in commercial workspace solutions with a focus on blending digital integration with physical comfort. Participated in high-level industry projects to refine the balance between corporate branding and architectural utility.
Publications and Impact
In Deskvity, Alexis Kerr shares her insights on modern workspace trends, acoustic management, and strategies for efficient layout planning. Her writing bridges the gap between high-level architectural theory and practical day-to-day office needs, making it a must-read for both facility directors and individual professionals looking to elevate their work environment.