

A messy desk can make even a good computer setup feel stressful, crowded, and hard to use. Loose charging cables, monitor cords, keyboard wires, and power strips often collect behind the screen or hang below the desk, creating visual clutter and safety issues. Learning how to hide computer wires on desk helps you build a cleaner workspace that looks better, feels calmer, and is easier to maintain.
This guide is for beginners who want a simple, practical way to organize desk cables without hiring anyone or buying expensive furniture. You will learn how to plan your setup, group cords, use cable trays, hide power strips, and keep everything easy to access. With the right steps, you can turn a tangled workspace into a neat, functional desk that supports focus and productivity.
Why A Clean Desk Cable Setup Matters
A clean cable setup is about more than appearance. When wires are organized, your desk is easier to clean, your devices are easier to move, and your workspace feels less distracting. Hidden or secured cords also reduce the risk of tripping, unplugging devices by mistake, or damaging cables from bending and pulling.
Good wire management can also help your equipment last longer. Cables that hang loosely or get crushed behind furniture can wear out faster. A tidy setup keeps cords supported and protected.
It also improves the look of your home office, gaming station, study desk, or shared workspace. Even small changes, like mounting a power strip or using cable clips, can make your desk feel more polished and professional.
Step-By-Step Guide To How To Hide Computer Wires On Desk
Step 1: Unplug And Clear Your Workspace
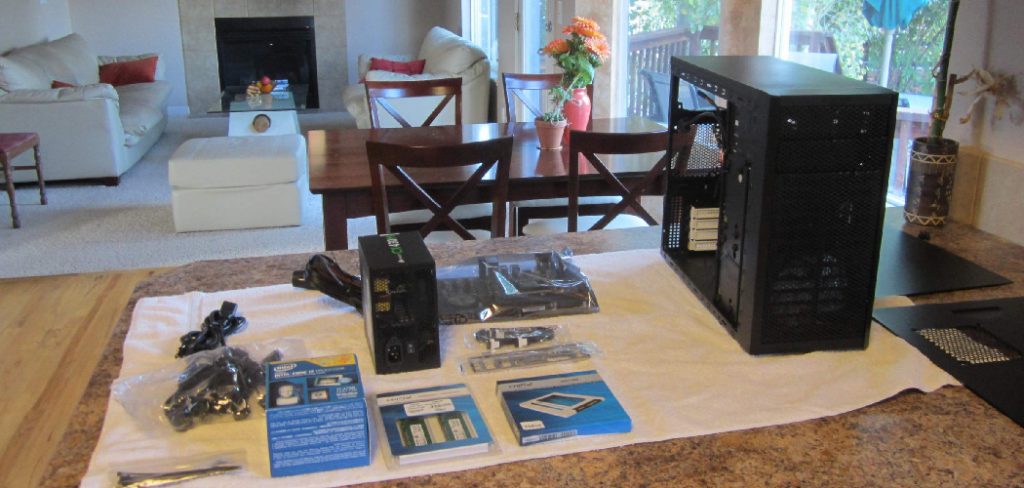
Start by turning off your computer, monitor, speakers, printer, and any other connected devices. Unplug everything from the power source before you begin. This keeps the process safe and gives you room to work without pulling on live cords.
Remove items from the desk surface so you can see where every wire starts and ends. Pull the desk slightly away from the wall if needed. A clear view helps you understand the problem before you try to fix it.
This first step may feel basic, but it prevents confusion later. When you can see every cable, you can create a cleaner layout from the start.
Step 2: Sort Cables By Device And Use
Once your desk is clear, separate each cable by device. Group monitor cables, computer power cords, keyboard wires, mouse cables, chargers, speaker cables, and lamp cords. If two wires look similar, follow each one from the device to the outlet so you know exactly what it powers.
This is also a good time to remove cables you no longer use. Old chargers, extra USB cords, and unused adapters often make desk clutter worse.
If you are learning how to hide computer wires on desk for the first time, sorting is one of the most important steps. You cannot hide cables well until you know which ones actually need to stay.
Step 3: Choose The Best Cable Route
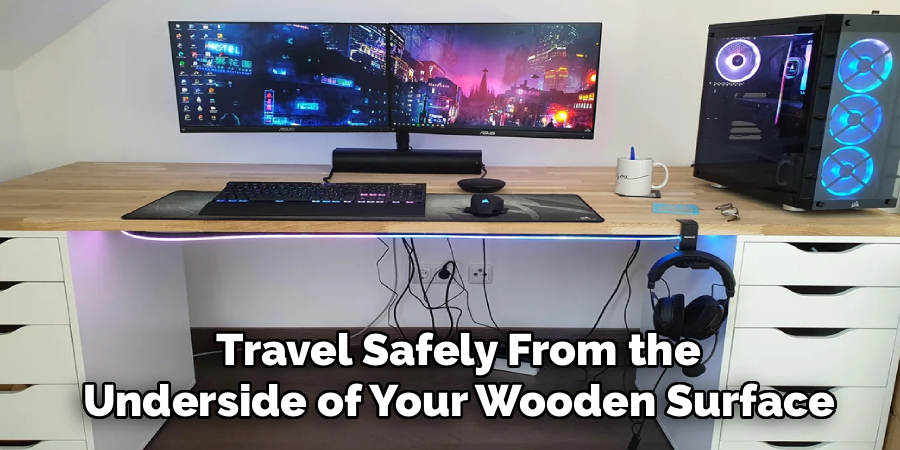
Look at your desk and decide where the wires should travel. Most setups work best when cables run toward the back edge of the desk, down one leg, or into a cable tray mounted underneath. The goal is to create one clean path instead of letting cords hang in several directions.
Think about where your outlets are located. If the outlet is on the left side, route most cords toward that side. If your power strip will sit under the desk, send cables toward the center or back.
Avoid sharp bends and tight pulls. Cables should have enough slack to move slightly without dragging or stretching.
Step 4: Mount A Cable Tray Under The Desk
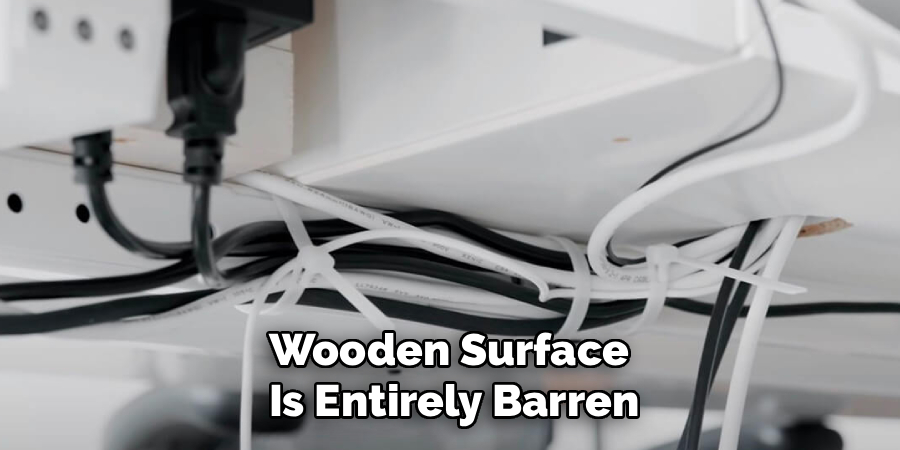
A cable tray is one of the easiest ways to hide multiple wires at once. It attaches under the back edge of your desk and holds power strips, adapters, and extra cord length. This keeps wires off the floor and out of sight.
Choose a tray that fits your desk size and weight needs. Metal trays are strong and good for heavier setups, while plastic trays are often lighter and easier to install. Use screws for a secure hold, or choose a clamp-on tray if you do not want to drill holes.
After installing the tray, place the power strip inside it and guide your main cords into the tray.
Step 5: Use Cable Sleeves For Visible Wires
Some wires may still need to travel from your monitor, laptop dock, or desktop tower to the back of the desk. A cable sleeve helps combine several cords into one clean bundle. This makes the setup look much neater, even when the wires are partly visible.
Fabric sleeves are flexible and easy to adjust. Split sleeves are useful because you can add or remove cables without taking everything apart. Spiral wraps are another simple option for smaller groups of cords.
When using a sleeve, keep the bundle loose enough for airflow and movement. A tight bundle may look neat, but it can make future changes harder.
Step 6: Attach Cables With Clips And Adhesive Ties
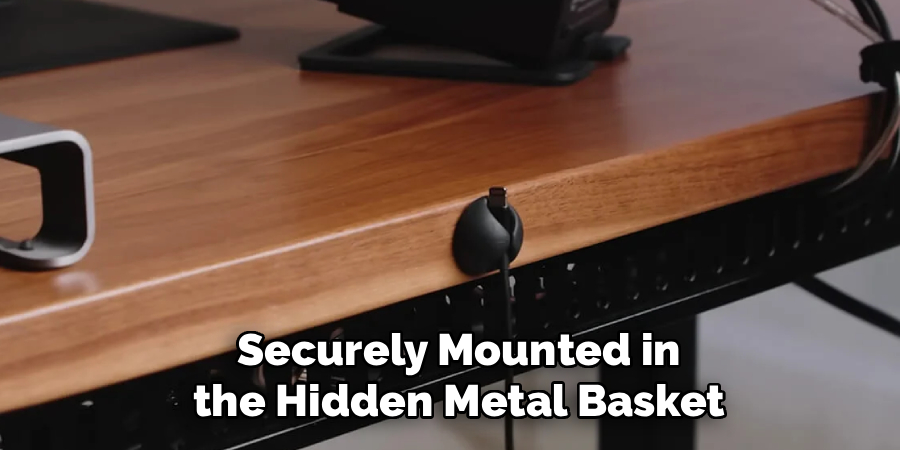
Cable clips help guide individual cords along the back, side, or underside of the desk. They work well for phone chargers, USB cables, lamp cords, and keyboard wires. Adhesive clips are easy to apply, while screw-in clips provide a stronger hold.
Before sticking clips in place, clean the desk surface so the adhesive bonds well. Press each clip firmly and wait before adding tension from the cord. This helps the clip stay secure.
If you want to know how to hide computer wires on desk without major tools, cable clips are a great choice. They are affordable, simple to use, and easy to reposition.
Step 7: Hide The Power Strip Safely
The power strip is often the main source of clutter because many cords meet in one place. Instead of leaving it on the floor, mount it under the desk, place it in a cable tray, or attach it to the back panel of the desk if the design allows.
Make sure the power strip has enough ventilation. Do not bury it under papers, fabric, or heavy objects. You should still be able to reach the switch and plugs when needed.
Keep power adapters spaced out if they get warm. A neat setup should also be safe, so avoid overloading outlets or forcing too many large plugs into one strip.
Step 8: Label And Test Your Setup
After the wires are routed, bundled, and hidden, plug everything back in and test each device. Make sure the monitor turns on, your computer charges, speakers work, and accessories respond. If something does not work, check the connection before closing up the setup.
Labeling cords can save time later. Use small tags or tape near the plug end so you know which cable belongs to each device. This is especially helpful if several cords go into one tray or power strip.
Once everything works, push the desk back into place carefully. Check that no cord is pinched between the desk and wall.
Frequently Asked Questions
Can I Hide Desk Wires Without Drilling Holes?
Yes, you can hide desk wires without drilling. Use adhesive cable clips, clamp-on cable trays, cable sleeves, and reusable hook-and-loop ties. These options work well for renters, temporary workspaces, or desks you do not want to damage. Just clean the surface before applying adhesive products, and avoid hanging heavy power strips from weak adhesive strips.
What Is The Best Way To Hide A Power Strip On A Desk?
The best method is usually to mount the power strip under the desk or place it inside an under-desk cable tray. This keeps it off the floor while still allowing access to the plugs. Make sure it has airflow and is not covered by paper, cloth, or clutter. Safety matters as much as appearance when managing power cables.
How Do I Keep Charger Cables From Falling Behind The Desk?
Use cable clips along the back or side edge of the desk to hold charger ends in place. You can also use magnetic cable holders if your cable tips are compatible. Place the clips where your hand naturally reaches, such as near the front corner of the desk. This keeps chargers easy to grab without leaving them tangled across the surface.
Are Cable Sleeves Better Than Cable Ties?
Cable sleeves are better for hiding several visible wires in one clean bundle, especially behind a monitor or along the back of a desk. Cable ties are better for securing cords under the desk or shortening extra length. Many setups use both. A sleeve improves appearance, while ties help control slack and keep wires from shifting.
How Often Should I Reorganize My Desk Cables?

You should check your cable setup whenever you add or remove equipment. For most people, a quick review every few months is enough. Look for loose clips, sagging cords, tangled chargers, or cables that are bent too tightly. Regular maintenance keeps your desk neat and prevents the cable mess from slowly coming back.
Conclusion
A clean desk cable setup does not require advanced skills or expensive equipment. The key is to unplug everything, sort your cords, choose a smart route, and use simple tools like cable trays, sleeves, clips, and ties. Small changes can make a big difference in how your workspace looks and feels.
The best approach is to keep wires hidden but still easy to reach. Avoid tight bends, overloaded power strips, and setups that make it hard to unplug devices later. If your desk feels cluttered or distracting, learning how to hide computer wires on desk is a practical first step toward a cleaner, safer, and more focused workspace. Start with one section of your desk today, and build from there.
