

Adding a second screen can really reshape the way you work. There’s something satisfying about tossing a cluttered window to another display, letting your primary workspace breathe again. Of course, the traditional fix—another full-sized monitor—isn’t always reasonable, particularly for those who commute, have a small desk, or just don’t see the point in buying extra hardware that may spend half its life collecting dust.
What if you could make do with what’s already in your bag? Plenty of us have an iPad or some similar tablet lying around. With the right approach (and a dash of patience), it’s surprisingly straightforward to press your iPad into service as a secondary monitor for your Windows machine. The process? Mostly painless, and once you’ve done it once, you wonder why you didn’t try it sooner. It all hinges on a couple of key apps and taking a moment to check your connections. In this guide on how to use ipad as second monitor for windows, we’ll walk you through the steps to get it up and running.
Requirements Before You Start
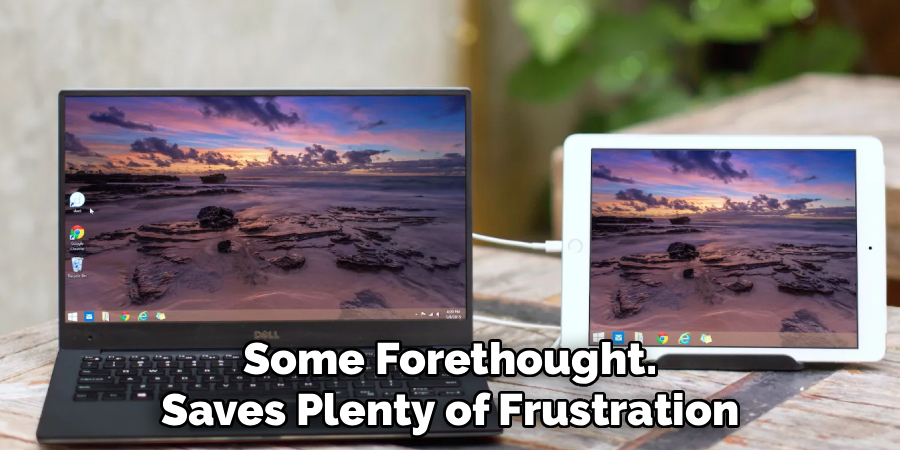
First, some forethought saves plenty of frustration. You’ll want a PC running Windows 10 or 11. Anything older tends to stumble over the newer display-bridging apps, often for reasons that are not immediately obvious. The iPad shouldn’t be ancient either—it helps if it’s running a fairly current iPadOS version for a shot at smooth operation.
You’ll also need to choose your camp: wired or wireless. A proper USB cable (Lightning or USB-C, depending on your iPad model) is usually less fiddly and more reliable. Personally, I’d recommend it if you have the option—less risk of glitchy video or mysterious disconnects. Wireless works fine too, provided both devices live on the same Wi-Fi network. If you’re unlucky enough to be stuck on a congested 2.4GHz band, expect occasional stuttering; 5GHz is decidedly better.
Best Apps to Use iPad as Second Monitor
Do a bit of searching and you’ll turn up plenty of app choices. Duet Display is often the go-to, partly because it was created by ex-Apple developers who know their way around smooth display mirroring. It does its best work via a USB cable.
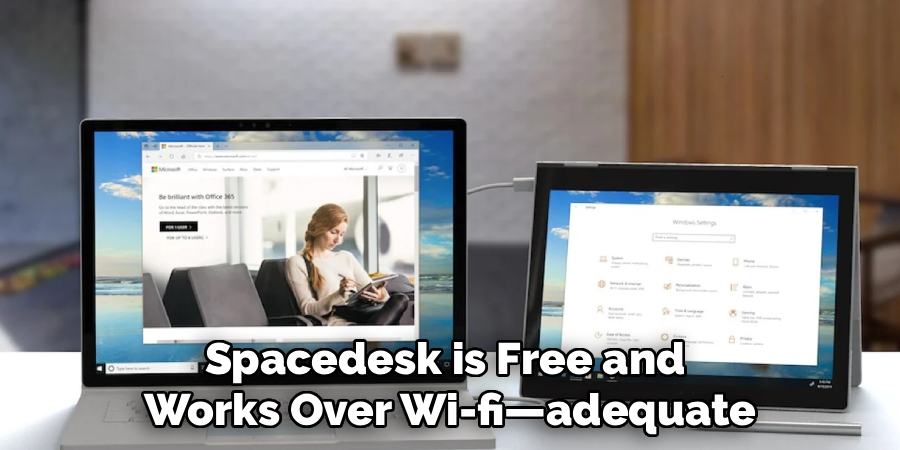
If you’re not feeling spendy, Spacedesk is free and works over Wi-Fi—adequate, though sometimes you’ll trade smoothness for that price. Splashtop Wired XDisplay is another cable-based contender, while iDisplay sits somewhere in the middle, supporting both connection types. People in creative fields sometimes prefer iDisplay because it gives more flexibility, but your mileage may vary.
7 Simple Steps on How to Use iPad as Second Monitor for Windows
Step 1: Pick Your App
First decision: which screen-sharing software suits your habits and wallet? Browse the App Store on your iPad, search for Duet Display, Spacedesk, or one of the others mentioned. Download and install as if you were grabbing any usual app.
Next, head to your Windows machine. Open the app developer’s official site (always the official one—third-party downloads can be risky) and fetch the Windows client. Matching app versions across devices is critical; mixing and matching rarely works.
Step 2: Install on Windows
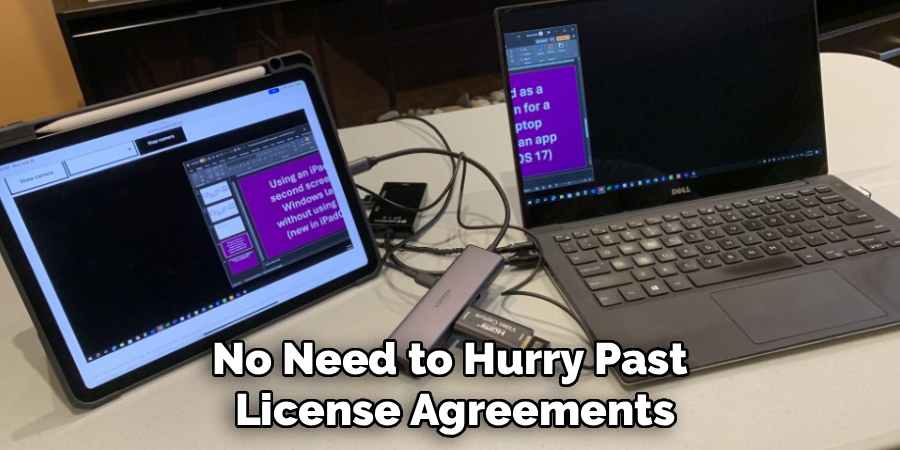
Once the installer lands in your downloads folder, double-click to launch. Follow the on-screen instructions at a relaxed pace—no need to hurry past license agreements or installation paths. Sometimes, the software will request permission to add specific display drivers. These may sound a little suspect, but they’re what let Windows treat your iPad as a genuine second display. If you’re prompted for a restart post-installation, grit your teeth and let it happen. It’s hardly thrilling, but most issues crop up when people try to skip this bit.
Step 3: Connect the iPad to Windows
Now comes the moment of truth. For a wired setup: plug in the USB cable, both devices powered and unlocked. If your iPad politely asks whether you trust this computer, say yes and pop in your code.
If you prefer to go wireless, double-check that both gadgets are indeed on the same Wi-Fi network. A surprising number of connection woes trace back to mismatched networks. Open the screen-sharing app on the tablet; it should detect your Windows PC automatically, or at least after a moment’s scanning. Tap your machine’s name, wait for the handshake, and you’re off.
Step 4: Tweak Display Settings in Windows
If everything goes right, you’ll see your Windows wallpaper blink onto the iPad. It won’t be perfect out of the box. Right-click on the desktop and choose ‘Display settings.’ Here, you’ll see rectangles, each representing an active screen. Scroll to the ‘Multiple displays’ dropdown—pick ‘Extend these displays.’ Drag the rectangles so their arrangement matches your real-life setup. (Is your iPad to the right of your main monitor? Drag it right. To the left? You get the idea.)
Step 5: Adjust Resolution and Scaling
Not all screens are created equal. The iPad’s pixel density is usually much higher than your PC’s, which can leave everything looking miniature or weirdly stretched. Stay in Display settings, click on the iPad’s rectangle, and head to ‘Scale and layout.’ Adjust the resolution to match the tablet’s native settings. Fiddle with the scaling percentage until text appears comfortably legible (and your eyes stop squinting).
Step 6: Fine-Tune Performance
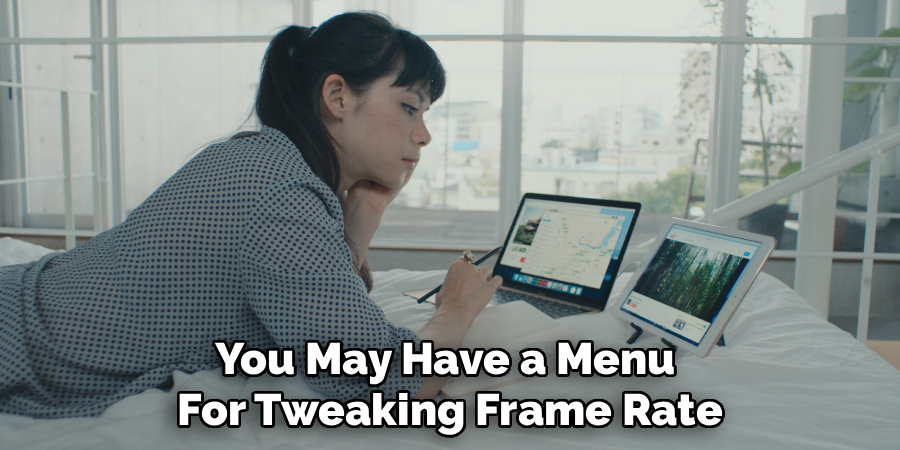
Depending on your chosen app, you may have a menu for tweaking frame rate and image quality. If you’re cabled in, tick these settings up to the highest values—the bandwidth will probably handle it. If you’re on Wi-Fi and start seeing lag, consider sacrificing a bit of visual crispness for responsiveness; a modest drop from 60 to 30 frames per second can steady things up almost instantly.
Step 7: Optimize Touch and Interactivity
An iPad brings touch to your Windows world, which is strangely refreshing—or occasionally frustrating, depending on the app. Most will turn your taps and swipes into mouse-like input. Some offer additional Apple Pencil support. If in doubt, glance through the documentation—some gestures are not as intuitive as you’d hope. Once you get the hang of it, using your finger to shuffle windows or annotate documents becomes second nature. With creativity apps, dragging over a spreadsheet or a PDF for review feels almost futuristic.
Following these steps on how to use ipad as second monitor for windows, you can also utilize your iPad as a second monitor for Mac. This is especially useful if you have a small laptop or desktop screen and need more space to work on projects or multitask.
Common Mistakes to Avoid
Resist the urge to grab the cheapest USB cable from your junk drawer; not all are capable of data transfer, and the wrong one will just leave you charging your tablet, not streaming to it. Keep both your device drivers and chosen app up to date—many glitches trace back to outdated software.
Last, watch your Wi-Fi networks. If the computer’s on 5GHz and your tablet connects to 2.4GHz, expect slow responses or a failure to pair.
Alternative Options
If, after all this, you find the whole process too cumbersome, don’t despair. Dedicated USB-C portable monitors are no longer unaffordable. Some are so plug-and-play that the iPad feels a little complicated in comparison.
For those eventually moving over to a Mac, Sidecar (Apple’s built-in solution) is even smoother—essentially, one click and you’re sorted, no extra apps required.
Frequently Asked Questions
Q1: Does Using an iPad as a Second Monitor Cause Lag?
It’s possible, especially if you’re on a patchy or overloaded Wi-Fi connection. Wired setups using apps like Duet Display tend to deliver smooth, near-instant performance. Wireless setups, especially over slow networks, might lag a bit—usually not a dealbreaker for static documents but frustrating for video or rapid switching.
Q2: Can I Connect My iPad to a Windows PC Wirelessly?
Yes, provided you use an app that supports wireless screen sharing (like Spacedesk or Splashtop). Just remember, both devices need to be on the same Wi-Fi network—preferably a fast one. If they aren’t, setup often breaks down quickly.
Q3: Will Using My iPad as a Monitor Drain Its Battery Quickly?
There is no sugar-coating it: running your iPad as a high-res monitor eats battery at a brisk pace. With wireless use, have a charger within reach. If wired, your PC will provide a modest trickle charge—this helps, but don’t expect miracles during extended sessions.
Q4: How Can I Extend the Battery Life of My iPad When Using It as a Monitor?
There are a few strategies you can use to extend your iPad’s battery life when using it as a monitor. First, try reducing the brightness of your iPad screen and turning off any unnecessary features such as Bluetooth or location services. Another option is to use low-power mode on your iPad, which will conserve battery life by limiting background activity. You can also connect your iPad to a power source while using it as a monitor, whether through USB or with an external charger.
Boost Your Productivity With a Dual-Screen Setup
You don’t need to invest in more equipment if you already own an iPad. By following these steps, you can reclaim valuable digital space—without inviting another chunky plastic rectangle onto your desk. It’s not always seamless, but once set up, it’s hard to go back to single-screen life.
Play around with different apps and settings until you land on what fits best for your habits. Writers, coders, spreadsheet fanatics—everyone finds their own rhythm. Sometimes, that extra piece of digital real estate is precisely what nudges a complex task from frustration to clarity. Thanks for reading this guide on how to use ipad as second monitor for windows.
