

A cut USB cable can be frustrating, especially when it belongs to a charger, keyboard, controller, printer, or other device you still need. The good news is that many damaged USB cables can be repaired if the cut is clean, the inner wires are intact enough to work with, and you use safe, careful methods. Learning how to fix cut usb cable can help you save money, reduce waste, and get a useful device working again.
USB cables may look simple from the outside, but inside they can contain power wires, data wires, shielding, and sometimes extra conductors depending on the cable type. A poor repair can cause charging problems, failed data transfer, short circuits, or even damage to a device.
This beginner-friendly guide walks you through the repair process step by step. You will learn how to inspect the damage, prepare the wires, reconnect them correctly, insulate the repair, and test the cable safely before using it again.
Why Fixing A Cut USB Cable Matters
Repairing a damaged USB cable can be practical, affordable, and environmentally responsible. Instead of throwing away a cable that may only have one damaged section, you can often restore it with basic tools and careful work.
A proper repair also helps protect your devices. Loose strands, crossed wires, or poor insulation can create shorts that may damage ports, chargers, or connected electronics. Taking time to repair the cable correctly improves safety and reliability.
It also builds useful hands-on skills. Once you understand wire matching, insulation, and basic testing, you can handle small cable repairs with more confidence. Even if you decide a cable is not worth repairing, you will know how to judge the damage safely.
Step-By-Step Guide To How to Fix Cut USB Cable
Step 1: Inspect The Damage
Start by looking closely at the cut section of the cable. Check whether the cable is fully severed, partly cut, crushed, frayed, or stretched. If the damage is close to the USB connector, repair may be harder because there is less room to strip, reconnect, and insulate the wires.
Look for burned spots, melted insulation, exposed copper, or damaged shielding. If the cable was cut while plugged in, stop and treat it with extra caution. Unplug it from all devices and power sources before doing anything else.
If you are learning how to fix cut usb cable for the first time, choose a low-value cable for practice rather than one connected to an expensive device.
Step 2: Gather Tools And Materials
Before opening the cable, gather everything you need so the repair goes smoothly. You will usually need wire cutters, a wire stripper, a sharp utility knife, heat-shrink tubing, electrical tape, and a soldering iron with solder. A lighter or heat gun may be needed to shrink tubing, but use heat carefully.
A multimeter is also very useful. It can help you check continuity, confirm wire paths, and make sure no wires are shorted together after the repair. If you do not have one, you can still make a repair, but testing will be less certain.
Work on a clean, well-lit surface. Keep the cable unplugged during the entire repair process.
Step 3: Identify Wire Types And Color Coding
Most basic USB cables have four main wires. Red is usually positive power, black is usually ground, white is usually data negative, and green is usually data positive. Some cables also include shielding, a bare drain wire, or extra wires for fast charging, USB-C features, or manufacturer-specific functions.
Do not rely only on color if the cable is unusual. Some low-cost cables use different colors, and some charging-only cables may not include data wires at all. If both cut ends are still present, match each wire by color first, then use a multimeter if possible to confirm continuity.
Keep the wire groups separated as you work. Mixing power and data wires can cause failure or damage.
Step 4: Strip The Outer Insulation
Use a wire stripper or a sharp blade to remove a small section of the outer jacket from both cut ends. Work slowly and avoid cutting too deep. The goal is to expose the inner wires without nicking or slicing their insulation.
Start with about one inch of exposed inner wiring on each side. If the cable is thick or has shielding, you may need a little more room. Peel back foil shielding or braided shielding carefully instead of tearing it away.
If you find a bare drain wire, keep it intact. This wire often connects to the cable shield and helps reduce electrical noise. It may need to be reconnected along with the other conductors.
Step 5: Strip And Prepare Inner Wires
After the inner wires are exposed, strip a small amount of insulation from each one. About one quarter inch is usually enough. If the wires are very thin, be gentle because they can break easily. Use a proper wire stripper if you have one, or carefully scrape the insulation with a blade.
Twist the copper strands of each wire so they stay neat. Frayed strands can touch nearby wires and cause a short circuit. If you plan to solder, lightly tin each exposed end by applying a small amount of solder. This helps the final connection form faster and cleaner.
Slide heat-shrink tubing onto the cable before joining wires. Many beginners forget this step until it is too late.
Step 6: Reconnect Matching Wires Carefully
Reconnect each wire to its matching wire from the other side of the cut. Red should connect to red, black to black, white to white, and green to green unless your cable uses a different confirmed layout. If there is a shield or drain wire, reconnect that as well.
For the strongest repair, solder the matching wires together. Twist the paired ends lightly, heat the joint, and let solder flow through the connection. Do not use large blobs of solder, and do not overheat the wire insulation.
When people search for how to fix cut usb cable, the biggest mistake is often rushing this step. Take your time and keep each joint separate from the others.
Step 7: Insulate And Reinforce The Repair
Once the wires are connected, insulate each individual joint. Small heat-shrink tubing works best because it gives a clean, tight cover. If you do not have it, use high-quality electrical tape, but wrap it neatly and avoid bulky layers that may loosen later.
After each wire is insulated, cover the whole repaired area with a larger piece of heat-shrink tubing. This outer layer protects the cable and helps reduce strain on the repaired section. If the cable needs extra strength, add another layer of shrink tubing or flexible tape.
Do not leave any copper exposed. Even a tiny exposed strand can cause a short.
Step 8: Test The Cable Safely
Before connecting the repaired cable to an important device, test it carefully. If you have a multimeter, check continuity from one end of the cable to the other. Then check that power and ground are not shorted together and that the data wires are not touching each other.
For the first live test, use a low-risk power source and a simple device if possible. Avoid using an expensive phone, laptop, or powered hub until you feel confident in the repair. Watch for heat, flickering connections, failed charging, or device warnings.
If you followed how to fix cut usb cable correctly but the cable still fails, the damage may extend beyond the visible cut.
Frequently Asked Questions
Can Any Cut USB Cable Be Repaired?
Not every cut USB cable is worth repairing. A clean cut in the middle of a basic cable is often repairable, but damage near the connector can be much harder. Cables with melted insulation, crushed sections, or unknown internal wiring may be unsafe. If the cable powers expensive equipment or handles high current, replacement is often the safer choice.
Is Soldering Required For A Reliable Repair?
Soldering is strongly recommended because USB wires are small and need secure, low-resistance connections. Twisting wires together may work for a short time, but it can loosen, corrode, or create unstable charging and data problems. If you cannot solder, use proper crimp connectors made for small wires, then insulate everything well. Avoid simple tape-only repairs for regular use.
What If The Wire Colors Do Not Match?
If the wire colors do not match, do not guess. Some manufacturers use nonstandard colors, and connecting the wrong wires can cause a short or damage a device. Use a multimeter to trace each conductor from one connector end to the cut wire. If you cannot identify the wires with confidence, it is better to replace the cable.
Can I Repair A USB-C Cable The Same Way?
Some USB-C cables are more complex than older USB cables. They may include extra wires, shielding, configuration lines, and components that support fast charging or high-speed data. A simple repair may work for basic charging, but it may not safely support full power or data performance. For high-wattage USB-C cables, replacement is usually the safer option.
How Do I Know If The Repair Is Safe?
A safe repair should have solid wire connections, no exposed copper, no crossed conductors, and strong insulation around every joint. The cable should not heat up during use, disconnect randomly, or cause device warnings. A multimeter test gives the best confidence. If the repaired section feels weak, bulky, or unstable, do not rely on it for important devices.
Conclusion
Repairing a damaged USB cable is possible when you slow down, inspect the damage, match the wires correctly, and insulate every connection with care. The most important parts are safety, clean preparation, secure joints, and proper testing before regular use.
Now that you know how to fix cut usb cable, decide whether your cable is a good repair candidate and gather the right tools before starting. If the cable is badly damaged, unusually wired, or used for high-power charging, replacing it may be the smarter choice. For simple cuts, a careful repair can save money and keep a useful cable out of the trash.
Welcome, fellow home gardeners! We rely heavily on modern electronics to keep our backyard ecosystems thriving. You might use smart sprinkler controllers, digital weather stations, or specialized indoor grow lights. Unfortunately, accidents happen while we work outside. A sharp pair of pruning shears or an aggressive digging shovel can easily slice right through a vital power cord. Instead of throwing that expensive equipment into the landfill, you can repair it yourself.
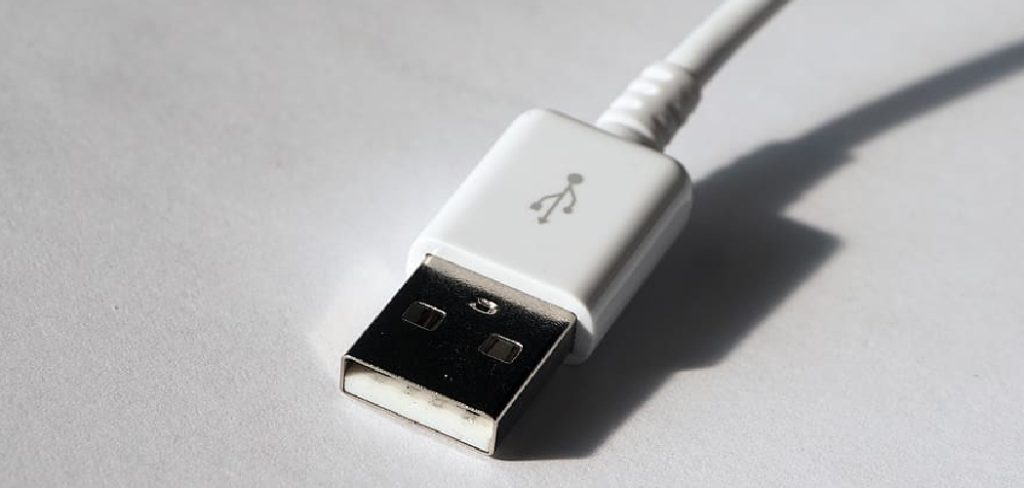
Understanding how to fix cut usb cable empowers you to restore your gardening tech quickly and safely. This simple guide requires minimal tools and absolutely no previous electrical experience. We will walk you through the entire process of stripping the protective jackets, matching the tiny colored strands, and securing the connection against outdoor moisture. Grab your wire strippers from the garden shed, clear off your workbench, and let us bring your favorite botanical devices back to life!
Step-by-Step Guide: How to Fix Cut USB Cable
Step 1: Unplug the Device and Assess the Physical Damage
Safety always comes first when dealing with any type of electrical equipment in your backyard. Before attempting any repairs, you must completely disconnect the damaged cord from the wall outlet and your gardening device. Never work on a wire that still carries an active electrical current. Once you unplug everything, examine the sliced area closely.
A clean cut from a sharp garden trowel is much easier to repair than a heavily frayed section chewed by neighborhood pests. If you notice extensive stretching or massive fraying along the rubber coating, you might need to trim the cord back further to find healthy, undamaged material. Treat this process exactly like pruning a diseased branch off a tomato plant. You want a perfectly clean, healthy starting point for your repair.
Step 2: Gather Your Basic DIY Workbench Tools
You must collect a few essential hand tools before beginning this simple project. Head into your gardening shed and grab a sharp pair of wire strippers, some heavy-duty scissors, and a roll of high-quality electrical tape. If you happen to own heat shrink tubing and a standard hair dryer, gather those items as well.
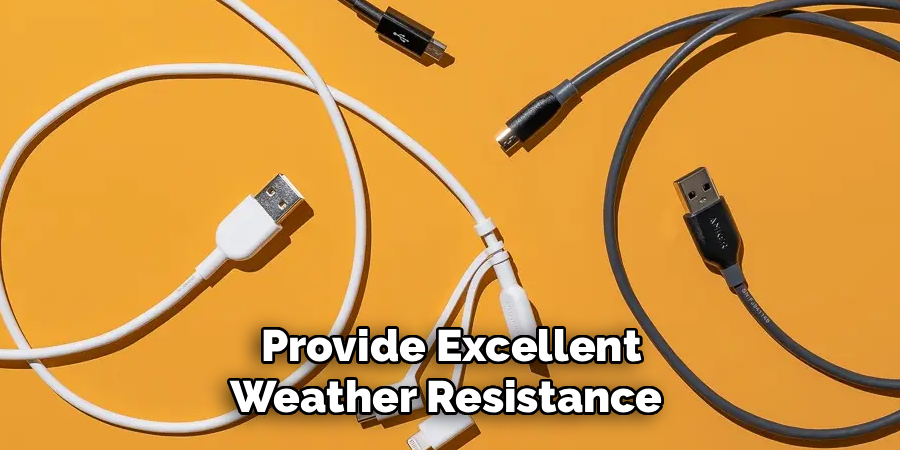
They provide excellent weather resistance for outdoor greenhouse equipment. While experienced technicians often use hot soldering irons to melt metal together, beginners can easily secure their connections using a simple physical twisting method instead. Organizing your workspace beforehand keeps your tools easily accessible and prevents you from losing tiny copper strands on your messy workbench. A well-prepared workstation guarantees a smooth, highly successful repair session.
Step 3: Slice Away the Thick Outer Rubber Jacket
The thick rubber exterior protects the fragile internal components from harsh outdoor elements and rough handling. You need to carefully remove about one inch of this thick outer jacket from both severed ends of your cord. Take your sharp scissors or wire strippers and gently score the tough rubber surface. Do not press down too hard, or you risk accidentally slicing through the delicate internal wires hidden underneath.
Bend the scored rubber back and forth until it snaps cleanly, then pull the casing straight off the end. You will now see four distinct, incredibly thin wires encased in their own colored plastic coatings. Handle these exposed internal lines very delicately, as they snap much easier than tough plant roots.
Step 4: Reveal the Fragile Internal Copper Strands
Now that you can clearly see the four colored internal lines, you must remove a tiny portion of their individual plastic coatings. These colors typically include red, black, white, and green. Use the smallest notch on your handheld wire strippers to gently pinch the colored plastic about half an inch away from the tip.
Pull the tool smoothly away from your body to strip the casing off. You will reveal the shiny, bare copper metal filaments underneath. Repeat this exact stripping process for all eight tiny wire ends across both halves of your severed cord. You must expose the raw metal because electricity cannot flow through the protective plastic layer. Work slowly and patiently to avoid tearing the fragile metallic filaments.
Step 5: Match the Internal Wires by Color
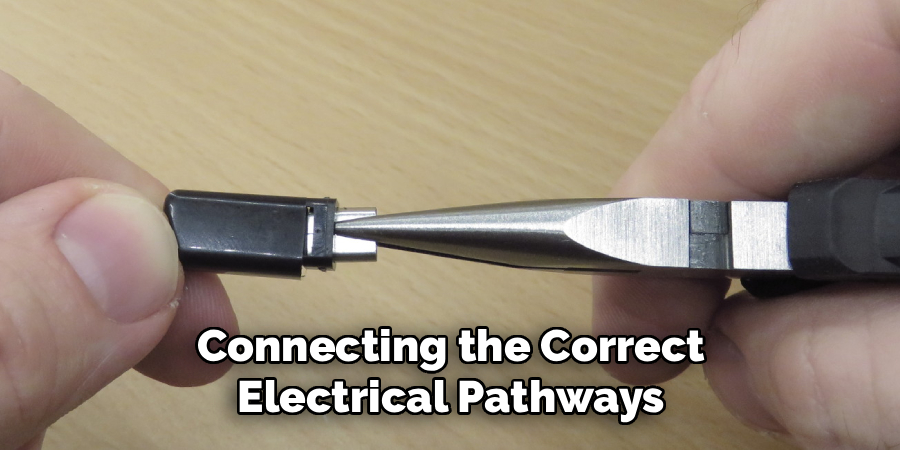
Connecting the correct electrical pathways remains the most critical phase of this entire backyard DIY project. You must pair the matching colors together perfectly to restore power to your smart gardening devices. The red strand only connects to the other red strand, while the black line only connects to the black line.
The exact same strict rule applies to the green and white data pathways. Crossing these distinct colors will create a massive short circuit, permanently destroying your expensive weather station or digital soil monitor. Learning exactly how to fix cut usb cable safely requires absolute precision when matching these specific colors. Take a moment to double-check your intended pairings before making any physical metallic connections.
Step 6: Twist the Copper Filaments Securely Together
With your matching colors properly identified, you can finally join the severed halves back together. Take the bare copper filaments of the two red lines and cross them over each other to form an X shape. Twist the tiny metal strands tightly together using your thumb and index finger.
You want the twisted copper to lay flat and feel incredibly secure, much like twisting a metal wire tie around a heavy tomato vine. Repeat this firm twisting action for the black, white, and green pairs. Give each freshly twisted connection a very gentle tug to ensure the fragile filaments hold together securely. A strong physical bond guarantees a steady, uninterrupted flow of electricity to your favorite garden gadgets.
Step 7: Insulate Each Connection With Electrical Tape
Leaving bare metal exposed creates a severe fire hazard and ruins your electronic equipment instantly. You must completely insulate each of the four newly twisted connections so the raw copper never touches another metal strand. Cut four tiny, narrow pieces of electrical tape from your main roll. Wrap one small piece tightly around the twisted red copper, ensuring no shiny metal remains visible.
Repeat this careful wrapping process for the black, white, and green connections individually. Isolating these conductive pathways mimics the original factory design and prevents dangerous electrical shorts. If you purchased heat shrink tubing earlier, you would slide those tiny plastic tubes over the connections now and shrink them using a warm hair dryer.
Step 8: Seal the Entire Assembly Against Garden Moisture
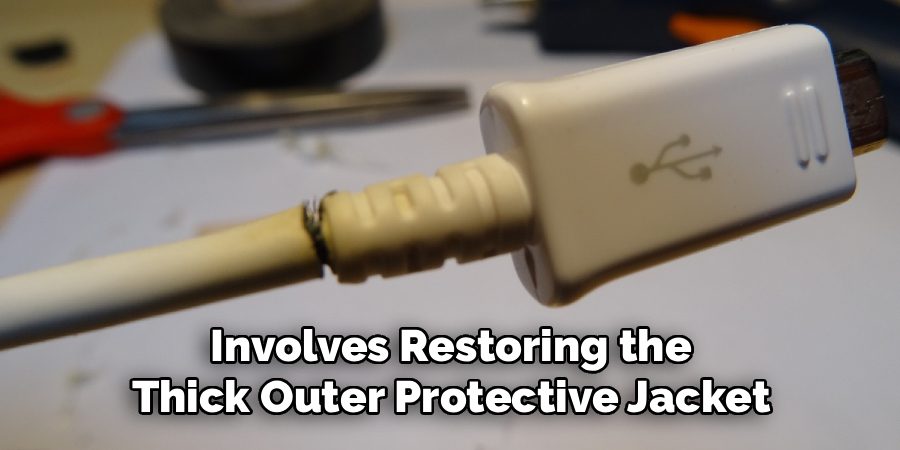
The final phase involves restoring the thick outer protective jacket to seal your delicate handiwork from the harsh outdoor environment. Gather your four individually taped connections and squeeze them gently together into a single, compact bundle. Take your heavy-duty electrical tape and wrap it tightly around the entire repaired section, overlapping the original thick rubber casing on both sides.
Apply multiple overlapping layers of tape to block out damp greenhouse moisture, blowing garden dust, and crawling insects. A tightly sealed exterior barrier ensures your freshly repaired cord easily withstands rough daily use out in the backyard. You can now plug your device back into the wall outlet and watch your smart gardening equipment power up perfectly.
Frequently Asked Question
Is Repairing Electronics Safe For Beginners?
- Repairing low-voltage electronics is incredibly safe for complete beginners, provided you follow basic safety rules.
- You must always unplug the device from the wall before starting any physical work.
- These specific cords carry very little voltage, meaning they cannot cause serious electrical shocks.
- Take your time, match the colors correctly, and you will easily complete the repair without any danger.
- If you feel unsure, testing the repaired cord on a cheap device first builds excellent confidence.
Do I Absolutely Need A Soldering Iron?
- You do not strictly need a hot soldering iron to fix these tiny household cables.
- Twisting the bare copper strands tightly together creates a completely valid physical connection for power delivery.
- Soldering provides a slightly stronger bond for cords that endure constant bending and pulling.
- However, a tightly twisted and properly taped joint works perfectly fine for stationary garden items like automated plant monitors.
- Beginners should stick to the simple twisting method to avoid accidental burns.
Will My Smart Garden Device Charge Slower?
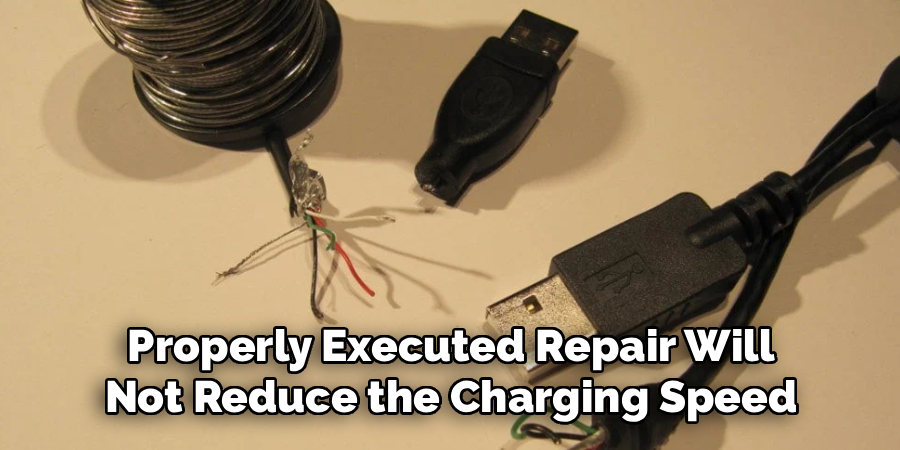
- A properly executed repair will not reduce the charging speed or data transfer rate of your equipment.
- As long as the matching copper strands touch securely, the electricity flows exactly as the manufacturer intended.
- If you notice your device charging very slowly, your twisted connections might be too loose.
- You might also have a tiny piece of plastic insulation blocking the bare metal strands from touching.
- Simply unwrap the tape, retwist the copper firmly, and test the power output again.
Can I Fix A Cord Chewed By Garden Pests?
- Yes, you can easily repair damage caused by mice, squirrels, or curious household pets.
- Animal teeth often create multiple jagged breaks along the protective rubber jacket.
- You must cut away all the chewed, frayed sections using heavy scissors until you find clean, undamaged wire.
- You will lose a few inches of overall cord length, but the internal repair process remains exactly the same.
- Consider wrapping the final repaired section in a bitter-tasting pet deterrent tape to prevent future chewing incidents.
What Happens If I Match The Wrong Colors?
- Matching the wrong colors sends electrical power down the wrong internal pathway.
- This simple mistake almost always creates a massive short circuit inside your connected device.
- A short circuit will instantly fry the delicate computer chips inside your expensive greenhouse equipment.
- Always work in a brightly lit area so you can easily distinguish the dark green wire from the black wire.
- Double-checking your pairings before applying the electrical tape prevents costly technical disasters.
Conclusion
Taking charge of your broken outdoor equipment saves you money and gets your backyard projects running smoothly again. By stripping the outer jacket carefully, matching the internal colors perfectly, and insulating the bare copper, you guarantee a wonderfully successful electrical repair. You no longer have to panic when an accidental shovel strike severs the power line to your favorite automated sprinkler system.
Mastering exactly how to fix cut usb cable transforms a frustrating garden accident into a highly rewarding DIY learning experience. The noticeable satisfaction of powering up your repaired tech serves as a fantastic reward for your patience and precision. Grab your wire strippers, secure those tiny copper filaments tightly, and get back to enjoying your beautiful, fully automated backyard oasis today!

About
Alexis Kerr is a distinguished figure in the world of professional workspace optimization, with a decade of expertise creating innovative and ergonomic office environments. Her professional focus lies in merging organizational psychology with modern spatial design, fostering office setups that are both high-performing and employee-centric. As the lead author for Deskvity, Alexis Kerr delves into the art and science of corporate aesthetics and functionality, inspiring office managers and remote professionals alike.
Education Cornell University
(Ithaca, New York) Bachelor of Science in Design and Environmental Analysis Focus on human factors, workplace strategy, and sustainable interior environments. Gained extensive experience in how physical space influences productivity and mental clarity.
Savannah College of Art and Design (SCAD)
(Savannah, Georgia) Master of Fine Arts in Interior Design Specialized in commercial workspace solutions with a focus on blending digital integration with physical comfort. Participated in high-level industry projects to refine the balance between corporate branding and architectural utility.
Publications and Impact
In Deskvity, Alexis Kerr shares her insights on modern workspace trends, acoustic management, and strategies for efficient layout planning. Her writing bridges the gap between high-level architectural theory and practical day-to-day office needs, making it a must-read for both facility directors and individual professionals looking to elevate their work environment.