

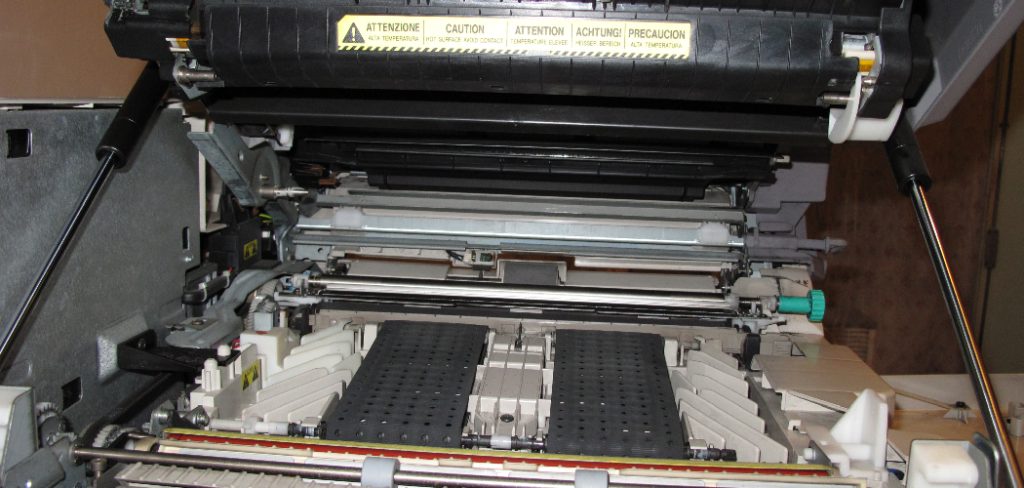
Dealing with streaky documents and faded photographs can quickly derail your productive workday. You rely heavily on your office equipment to produce crisp, professional results, and unexpected quality drops often cause immense frustration. Fortunately, resolving these common printing issues usually does not require a call to expensive technical support or a complete hardware replacement. Restoring your equipment to its optimal performance starts with a little basic maintenance. Learning how to clean canon printer effectively empowers you to tackle smudges, paper jams, and ink clogs right from your own desk.
Taking control of your equipment maintenance feels incredibly rewarding and saves you significant time. We know that diving into the internal components of electronic devices might seem intimidating at first glance. However, the process involves simple, straightforward actions that anyone can master regardless of prior technical experience. By following a clear, structured approach, you can safely remove built-up dust and dried ink without damaging delicate parts. Get ready to extend the lifespan of your device and enjoy flawless document production once again.
Why Routine Maintenance Matters
Ignoring the accumulation of dust and dried ink puts your valuable office equipment at unnecessary risk. Every time you print a document, microscopic ink particles and paper fibers settle inside the machine. Over time, this debris forms a stubborn layer of grime that clogs the printhead nozzles and prevents ink from flowing smoothly onto the page. When the nozzles become blocked, your device struggles to blend colors accurately, resulting in documents that look washed out or heavily banded with white lines.
Regular upkeep extends the operational lifespan of your device significantly. You invest good money into creating a functional workspace, and proactive care preserves that investment. Instead of purchasing a brand-new machine every couple of years due to poor performance, simple routine care keeps your current model running like new. This approach keeps money in your pocket while reducing electronic waste in our environment.
Step-By-Step Guide To How to Clean Canon Printer
Step 1: Gather Your Essential Cleaning Supplies
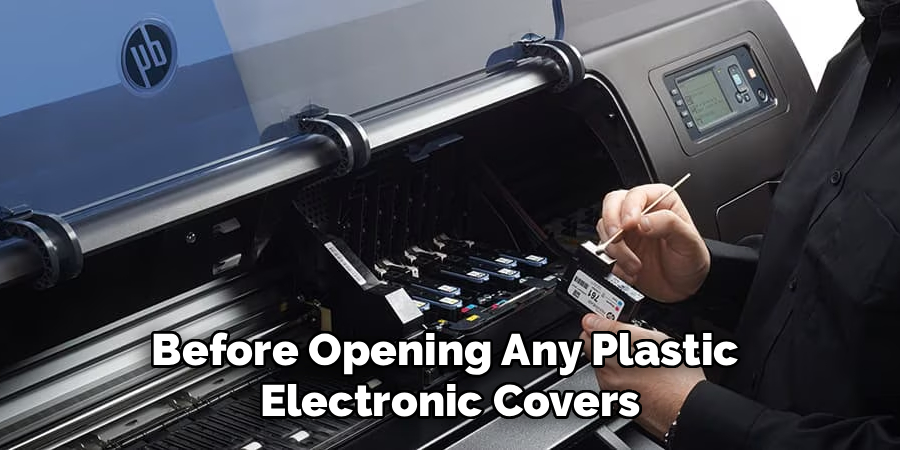
Before you begin the physical maintenance, you must collect the right tools for the job to ensure a smooth process. You will need a few lint-free microfiber cloths, distilled water, and a mild glass cleaner for the outer casing. Grab some foam-tipped swabs to reach the tiny crevices where dust naturally collects over time. Avoid using standard cotton swabs because they leave behind tiny fibers that can cause further clogs inside the delicate mechanisms. Having all your supplies organized on your desk prevents you from needing to walk away and leave the sensitive internal components exposed to open air.
Step 2: Power Down And Disconnect The Device
Safety must always remain your top priority when handling any electronic office equipment. Locate the power button on the control panel and turn the machine off completely before doing anything else. Wait for the internal carriage to stop moving, and then unplug the main power cord directly from the wall outlet. Disconnecting the power entirely protects you from accidental electrical shocks while you work. It also prevents the machine from suddenly shifting its internal parts while your hands are inside, which could cause mechanical damage or personal injury.
Step 3: Mastering Clean Canon Printer Exterior
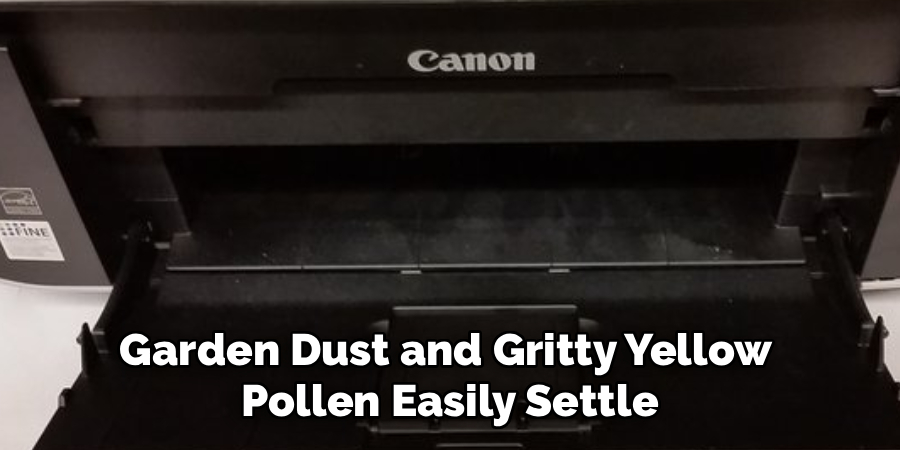
The outside casing of your machine gathers dust, fingerprint oils, and environmental dirt constantly. Lightly dampen a clean microfiber cloth with a small amount of mild glass cleaner or plain distilled water. Never spray any liquid directly onto the control panel or the plastic casing, as the moisture can easily seep into the button crevices and short out the circuitry. Wipe down the scanner glass, the paper feed trays, and the main body using gentle, circular motions. Keeping the outside pristine prevents external dust from eventually making its way into the sensitive internal printing mechanisms.
Step 4: Access The Internal Ink Cartridge Area
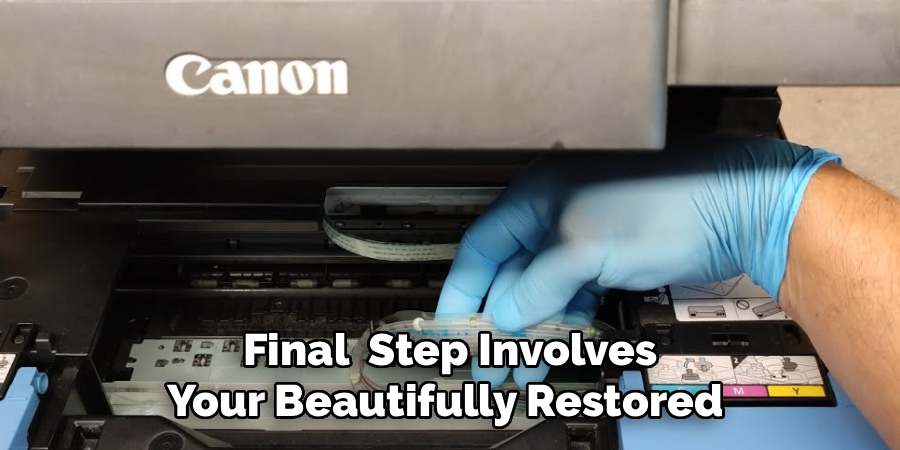
Once the outside looks spotless, you can safely move on to the internal components. Open the main access door gently, allowing the interior light to illuminate the carriage area. Since the machine is unplugged, you might need to manually slide the ink carriage toward the center of the track so you can reach it comfortably.
Take a close look inside with a small flashlight to identify any obvious paper scraps or large clumps of dust. Removing these larger obstructions first makes the rest of the detailed work much easier and more effective. you can use a very small amount of standard isopropyl alcohol to clean the flat glass scanning bed safely.
Step 5: Remove The Ink Cartridges Carefully
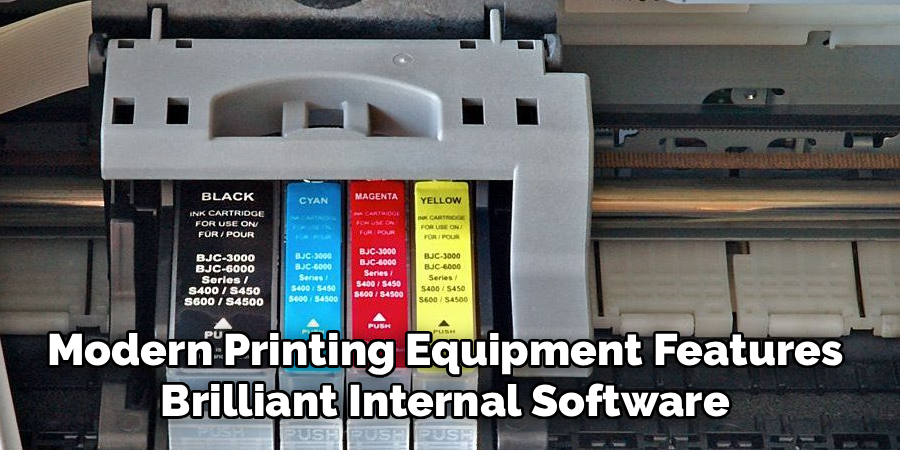
You must take the ink cartridges out to access the underlying components properly. Press down gently on the locking tab of each cartridge and lift them out of their respective slots one by one. Place them upright on a piece of scrap paper or a paper towel to prevent any accidental ink stains on your desk. Avoid touching the copper electronic contacts or the bottom ink nozzles with your bare fingers, as the natural oils from your skin can disrupt the electrical connection. Handling the cartridges delicately ensures they will function perfectly when you reinstall them later.
Step 6: Executing Canon Printheads
The printhead acts as the most critical component for delivering crisp, vibrant documents. Dampen a foam-tipped swab lightly with warm distilled water and gently wipe around the edges of the printhead housing. You want to remove any crusty, dried ink that has accumulated near the nozzle openings. Do not apply heavy pressure or scrub aggressively, as the microscopic nozzles are incredibly fragile. Take your time and use multiple fresh swabs until they come away entirely clean. This careful attention dissolves stubborn blockages and restores the smooth flow of ink to your paper.
Step 7: Wipe Down The Internal Paper Rollers
Paper jams frequently occur because the internal rubber rollers become slick with paper dust and environmental debris. Locate the primary feed rollers near the back tray and the main output area. Moisten a fresh microfiber cloth with a tiny bit of distilled water and press it gently against the rubber surface. Use your fingers to manually rotate the rollers, wiping away the gray dust until the rubber looks dark and feels slightly grippy again. Restoring the traction on these rollers ensures your paper feeds through the machine perfectly straight without slipping or jamming.
Frequently Asked Questions
How Often Should I Perform Deep Maintenance?
You should aim to perform a thorough wipe-down and internal inspection about once every three to four months under normal usage conditions. If you run a busy home office and print dozens of pages every single day, you might need to tackle this process every six weeks. Regularly inspecting your output quality helps you determine the right schedule. The moment you notice persistent banding or faded text, you should immediately set aside time for a maintenance session to prevent further clogs.
Can I Use Rubbing Alcohol On The Rubber Rollers?
You must absolutely avoid using harsh chemicals like rubbing alcohol, bleach, or ammonia on the internal rubber rollers. Alcohol severely dries out the rubber compounds, causing them to crack, shrink, and completely lose their ability to grip the paper. Once the rollers dry out and crack, you will experience constant paper jams that cannot be fixed without replacing the parts. Always stick to plain, warm distilled water for the safest and most effective results on these sensitive moving components.
What Causes Streaky Or Faded Documents?
Streaky documents usually happen because microscopic amounts of ink dry and harden over the tiny printhead nozzles. When these nozzles become blocked, the ink cannot spray evenly across the paper, leaving behind white gaps and washed-out colors. This issue frequently occurs when the machine sits unused for several weeks or months. Performing regular maintenance and printing at least one full-color test page every week keeps the fluid moving and prevents the nozzles from crusting over with dried material.
Do I Need Special Cleaning Fluid For The Interior?
You really only need warm distilled water to safely dissolve basic dried ink and remove internal dust. Tap water contains microscopic minerals and calcium deposits that can actually cause further clogs inside the tiny mechanical pathways. While commercial solutions exist on the market for severe clogs, plain distilled water works perfectly for routine, preventative care. It provides a gentle, effective way to break down grime without introducing harsh, damaging chemicals to the delicate circuitry.
Why Is My Paper Continually Jamming Inside?
Frequent paper jams almost always trace back to dirty or worn-out feed rollers. As paper passes through the machine, it sheds microscopic fibers that coat the rubber rollers in a slick, dusty film. This film prevents the rollers from gripping the smooth paper properly, causing it to feed crookedly and ultimately crunch up inside the gears. Wiping the rollers down carefully restores their natural traction and resolves the vast majority of feeding issues instantly.
Conclusion
Taking proactive steps to care for your office equipment ensures your daily workflows remain smooth, efficient, and entirely stress-free. You do not have to accept poor document quality or suffer through endless mechanical jams during your busy workday. By dedicating just a small amount of time to regular upkeep, you protect your investment and guarantee vibrant, professional results on every single page. Understanding how to clean canon printer transforms a daunting chore into a simple, manageable habit that pays off immensely. Gather your supplies today, follow the careful steps outlined above, and enjoy the peace of mind that comes with a perfectly maintained workspace.

About
Alexis Kerr is a distinguished figure in the world of professional workspace optimization, with a decade of expertise creating innovative and ergonomic office environments. Her professional focus lies in merging organizational psychology with modern spatial design, fostering office setups that are both high-performing and employee-centric. As the lead author for Deskvity, Alexis Kerr delves into the art and science of corporate aesthetics and functionality, inspiring office managers and remote professionals alike.
Education Cornell University
(Ithaca, New York) Bachelor of Science in Design and Environmental Analysis Focus on human factors, workplace strategy, and sustainable interior environments. Gained extensive experience in how physical space influences productivity and mental clarity.
Savannah College of Art and Design (SCAD)
(Savannah, Georgia) Master of Fine Arts in Interior Design Specialized in commercial workspace solutions with a focus on blending digital integration with physical comfort. Participated in high-level industry projects to refine the balance between corporate branding and architectural utility.
Publications and Impact
In Deskvity, Alexis Kerr shares her insights on modern workspace trends, acoustic management, and strategies for efficient layout planning. Her writing bridges the gap between high-level architectural theory and practical day-to-day office needs, making it a must-read for both facility directors and individual professionals looking to elevate their work environment.