

Headphone pads touch your skin, hair, and ears every time you listen, work, game, or travel. Over time, they collect sweat, oil, dust, makeup, dead skin, and bacteria. If you ignore them, they can start to smell, feel sticky, crack faster, and even cause skin irritation.
Learning how to clean headphone pads helps you keep your headphones more comfortable, hygienic, and long-lasting. The good news is that the process is simple when you use the right method for the pad material.
This guide is made for beginners, so you do not need special tools or advanced cleaning skills. You will learn how to remove loose dirt, wipe different pad materials safely, dry them the right way, and avoid common mistakes that can damage foam, leatherette, fabric, or velour pads.
Why Cleaning Headphone Pads Matters
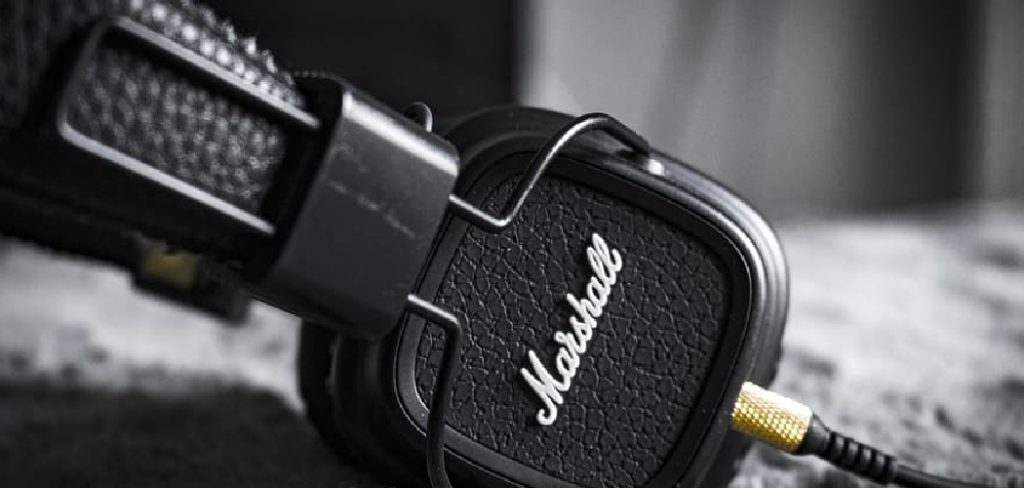
Cleaning headphone pads matters because they sit directly against your skin for long periods. Sweat, oil, and dust can build up quickly, especially if you use headphones during workouts, gaming sessions, office work, or commuting.
Regular cleaning keeps the pads fresh, reduces odors, and helps prevent irritation around your ears. It also protects the material from breaking down too soon. Leatherette can peel, fabric can trap smells, and foam can lose shape when dirt and moisture stay inside too long.
A simple cleaning routine can make your headphones feel better, look newer, and last longer. It also improves comfort, which matters if you wear them for hours each day.
Step-by-Step Guide To How To Clean Headphone Pads
Step 1: Check The Pad Material
Before cleaning, identify what your headphone pads are made from. Most pads are leatherette, real leather, fabric, velour, mesh, or foam covered with a soft outer layer. Each material reacts differently to moisture and cleaning products.
Leatherette and real leather need gentle wiping and should not be soaked. Fabric and velour can handle a little more moisture but still need care. Foam can absorb water quickly, so too much liquid can cause odor, slow drying, or shape problems.
If you are learning how to clean headphone pads for the first time, this step helps you avoid using the wrong method and damaging the surface.
Step 2: Remove The Pads If Possible
Many headphone pads twist, snap, or gently pull off the ear cups. Removing them makes cleaning easier because you can reach the edges, seams, and inner areas where dirt often hides. It also helps protect the headphone drivers from moisture.
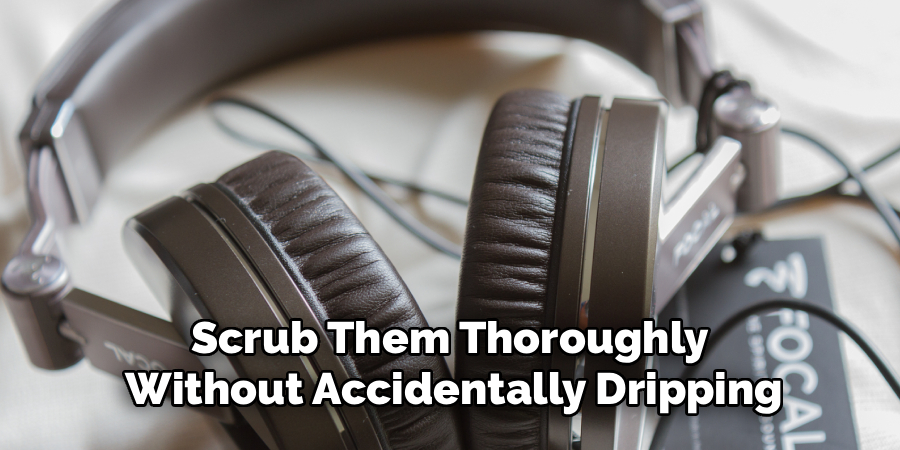
Check your headphone manual or look closely at the pad connection before pulling. Some pads are glued in place or attached with delicate clips. If they do not come off easily, do not force them.
If the pads stay attached, hold the headphones so any moisture moves away from the speaker area. Work slowly and keep your cloth damp, not wet.
Step 3: Brush Away Loose Dirt
Start with dry cleaning before using any liquid. Use a soft, dry microfiber cloth to wipe the surface of each pad. This removes dust, hair, skin flakes, and loose debris that may scratch or smear during wet cleaning.
For seams and textured areas, use a soft brush. A clean makeup brush, small paintbrush, or soft toothbrush can work well. Brush gently around the edges where the pad meets the plastic ear cup.
Do not press hard. Strong scrubbing can damage thin coverings or pull at stitching. Removing loose dirt first makes the next cleaning steps safer and more effective.
Step 4: Prepare A Gentle Cleaning Solution
For most headphone pads, a mild cleaning mix is enough. Add a few drops of gentle liquid soap to a small bowl of warm water. Stir it lightly so the water becomes slightly soapy, not thick or bubbly.
Avoid bleach, harsh disinfectants, strong alcohol, window cleaner, or abrasive household sprays. These can dry out leatherette, fade fabric, weaken glue, or leave a sticky film behind.
Dip a microfiber cloth into the solution, then wring it out well. The cloth should feel damp, not dripping. Too much water is one of the easiest ways to damage pads and the electronics nearby.
Step 5: Wipe The Pads Carefully
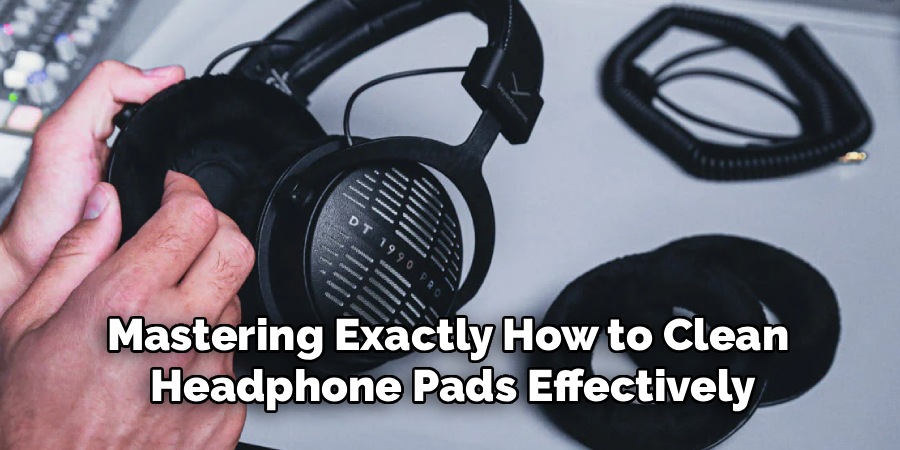
Use the damp cloth to wipe the outer surface of the pads in small sections. Move gently and follow the shape of the cushion. Pay attention to areas that touch your skin most, such as the lower edge and inner ring.
For leatherette or leather pads, use smooth wiping motions instead of scrubbing. For fabric or velour pads, dab and wipe lightly to lift dirt without pushing water deep into the foam.
This is where how to clean headphone pads becomes more about patience than force. A careful wipe usually works better than heavy pressure, especially on older pads that may already be fragile.
Step 6: Clean Seams And Creases
Seams and creases often hold the most buildup. Use a slightly damp cotton swab or the corner of a microfiber cloth to clean these tight areas. Move slowly around the stitching, folds, and edges.
If grime is stuck in a crease, let the damp cloth rest on that spot for a few seconds. This softens the buildup so you can wipe it away without scraping. Avoid digging into the seam with sharp tools, as this can tear the cover or loosen the stitching.
The safest way to think about how to clean headphone pads is to use less liquid, softer tools, and more time.
Step 7: Remove Soap Residue
After cleaning, soap residue can stay on the pads if you do not wipe it away. This residue may feel sticky, attract more dust, or irritate your skin during long listening sessions.
Take a fresh microfiber cloth and dampen it with plain water. Wring it out very well, then wipe the pads again. This step helps remove leftover soap without soaking the material.
For fabric and velour pads, use light dabbing motions. For leatherette and leather, use gentle strokes across the surface. If the cloth becomes dirty, rinse it, wring it out, and continue until the pads feel clean.
Step 8: Dry And Reassemble The Headphones
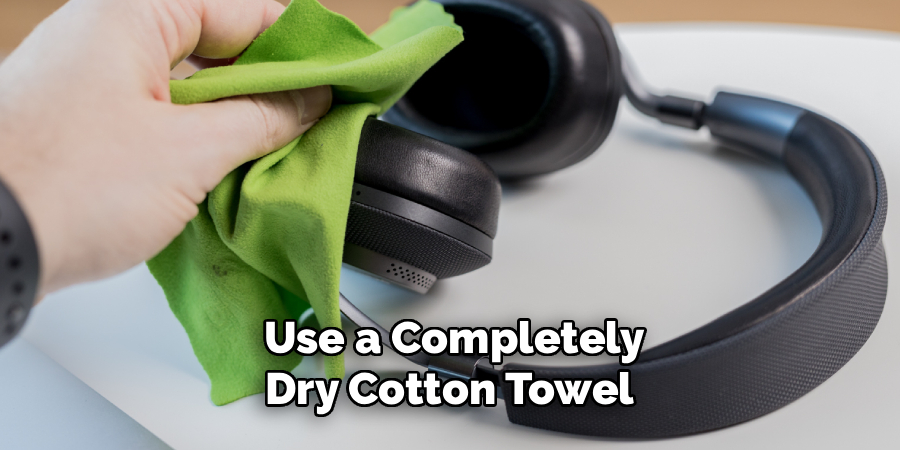
Drying is just as important as cleaning. Use a dry microfiber cloth to blot extra moisture from the pads. Then place them in a cool, open area with good airflow.
Do not use a hair dryer, heater, direct sunlight, or clothes dryer. High heat can shrink fabric, crack leatherette, weaken glue, or change the shape of foam. Let the pads air-dry fully before putting them back on the headphones or wearing them.
If you removed the pads, wait until they are completely dry before reattaching them. Once they are back in place, wipe the headband and ear cup edges for a fully refreshed feel.
Frequently Asked Questions
How Often Should You Clean Headphone Pads?
For regular use, clean headphone pads lightly once a week and do a deeper clean once a month. If you wear them during workouts, long gaming sessions, or hot weather, clean them more often. Sweat and oil build up faster with heavy use, so a quick wipe after each session can prevent odors and material damage.
Can You Use Alcohol Wipes On Headphone Pads?
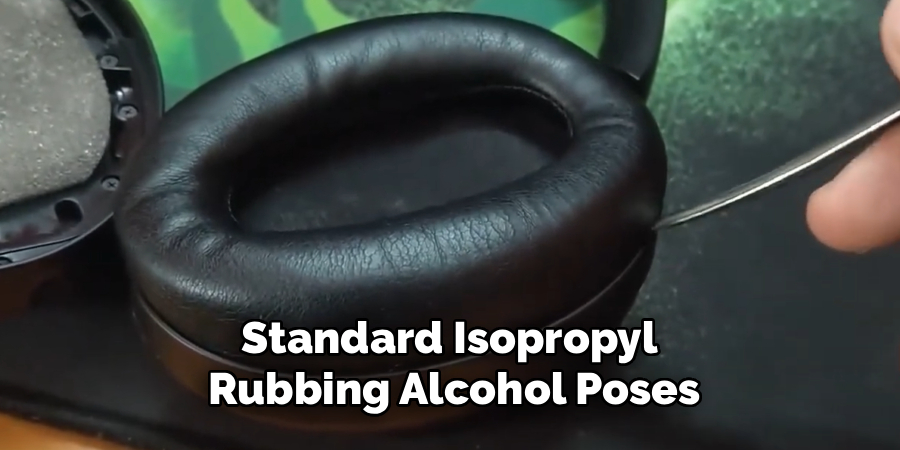
Alcohol wipes are not the best choice for many headphone pads. They can dry out leatherette, damage coatings, and make some materials crack or peel sooner. If you need to disinfect, use a cloth that is only slightly damp with a gentle cleaner. Always test a hidden area first and avoid soaking the pads.
What Should You Do If The Pads Smell Bad?
If the pads smell bad, start with a gentle cleaning and let them dry fully in a well-ventilated area. Odors often come from trapped sweat and moisture inside the cushion. If the smell remains after cleaning and drying, the foam may be too contaminated. In that case, replacing the pads may be the best option.
Can Fabric Or Velour Pads Be Washed In Water?
Fabric or velour pads can usually handle light moisture, but soaking them is risky. Water can get trapped inside the foam and take a long time to dry. This may lead to odor or damage. Use a damp cloth with mild soap, clean gently, and let the pads air-dry completely before using them again.
When Should You Replace Headphone Pads Instead Of Cleaning Them?
Replace headphone pads when they are peeling, cracked, flattened, torn, or still smelly after cleaning. Cleaning can remove dirt and freshen the surface, but it cannot restore broken material or worn-out foam. New pads can improve comfort, seal, sound quality, and hygiene, especially if your headphones are used every day.
Conclusion
Clean headphone pads make a big difference in comfort, hygiene, and the life of your headphones. The process is simple when you start by checking the material, removing loose dirt, using a gentle cleaning solution, wiping carefully, and drying everything fully.
The most important rule is to avoid soaking the pads or using harsh cleaners. Soft cloths, mild soap, light moisture, and patience are usually all you need.
Now that you know how to clean headphone pads, make it part of your regular care routine. A few minutes of cleaning can keep your headphones fresher, more comfortable, and ready for daily use.
