

Setting up a new piece of office equipment can sometimes feel overwhelming, especially when you need to integrate it with your existing hardware. Moving away from cumbersome cables offers incredible freedom for your workspace. You no longer need to keep your computer anchored to a desk just to print a simple document. Learning how to connect canon printer to wifi eliminates cord clutter and opens up flexible working arrangements throughout your home or office.
We will guide you through this process with clear, simple instructions that anyone can follow. You do not need an IT background to achieve a perfect wireless setup on your first try. By understanding the fundamentals of network integration, you empower yourself to manage your own home office technology with total confidence.
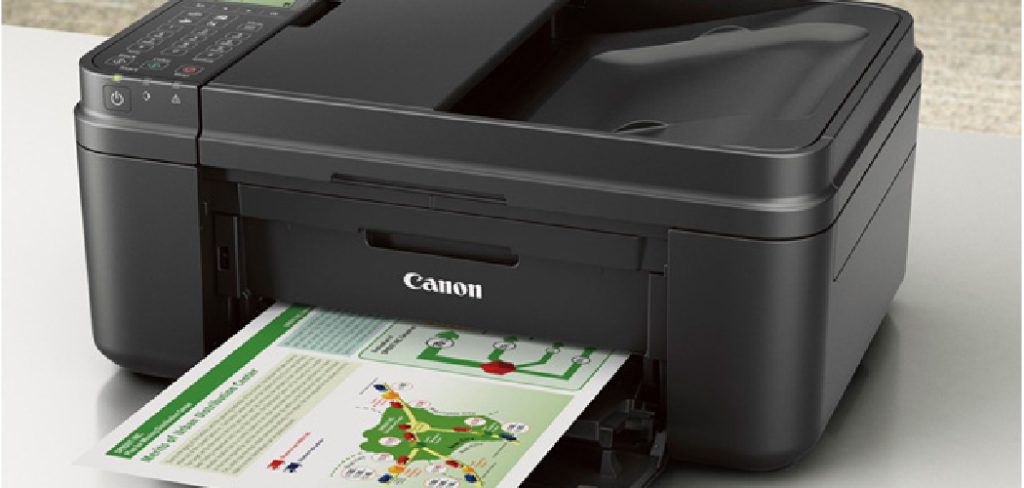
Why Going Wireless Transforms Your Workflow
Establishing a wireless link between your hardware and your network fundamentally changes how you interact with your documents. The primary benefit lies in absolute convenience. You can send documents to the paper tray directly from your laptop while sitting on your living room couch. This cable-free convenience means you can place the hardware wherever it visually fits best in your room, rather than wherever the cord reaches.
Mobile printing represents another massive advantage of moving away from hardwired setups. Modern smartphones and tablets integrate seamlessly with wireless hardware, allowing you to turn digital photos or email attachments into physical copies instantly. You bypass the tedious step of transferring files to a desktop computer first. This direct-to-print capability saves you valuable time during a busy workday.
Step-By-Step Guide To Wireless Setup
Step 1: Ensure Your Internet Router
Before you press any buttons on your new machine, you must gather some essential information about your home network. You need to know the exact name of your wireless network, commonly referred to as the SSID. You also need the current network password, which is often printed on a sticker on the back of your internet router.
Having these two pieces of information written down on a notepad prevents frustrating delays later in the process. Ensure your internet router is fully powered on and actively broadcasting a signal. Clear away any physical obstructions near the hardware so you have a comfortable workspace while interacting with the control panel.
Step 2: Power Up Your Printing Equipment
Position your machine on a sturdy, flat surface near a reliable wall outlet. Plug the main power cord directly into the wall rather than a power strip to ensure consistent electrical delivery during the initial configuration. Press the primary power button and wait for the internal mechanisms to cycle through their startup routine.

The initial startup sequence may take a minute or two as the print heads align and the system boots up. Wait until the green or white power indicator light remains solid and stops flashing entirely. A solid light confirms the internal computer is ready to receive your commands through the operational display panel.
Step 3: Access The Network Setup Menu
Look at the main control screen on the front face of your equipment. Tap the home icon or the settings gear icon to access the primary administrative menu. Navigate through the available options using the directional arrow keys until you locate the local area network configuration section.
Press the confirmation button to enter this specific menu tier. You want to look for an option labeled as wireless local area network setup. Selecting this option tells the internal computer that you intend to link the machine to a broadcasted internet signal rather than a physical computer cable.
Step 4: Initiate The Standard Connection Method
Once inside the network configuration menu, the system will offer you several different linking methods. Select the standard setup option, which allows you to manually search for and select your specific household broadcast. The machine will immediately begin scanning the surrounding airwaves for available internet signals.
This scanning process usually takes about thirty seconds to complete. The screen will then populate a list of every active broadcast signal within range of the internal antenna. Wait patiently for the list to load entirely before attempting to scroll through the available options.
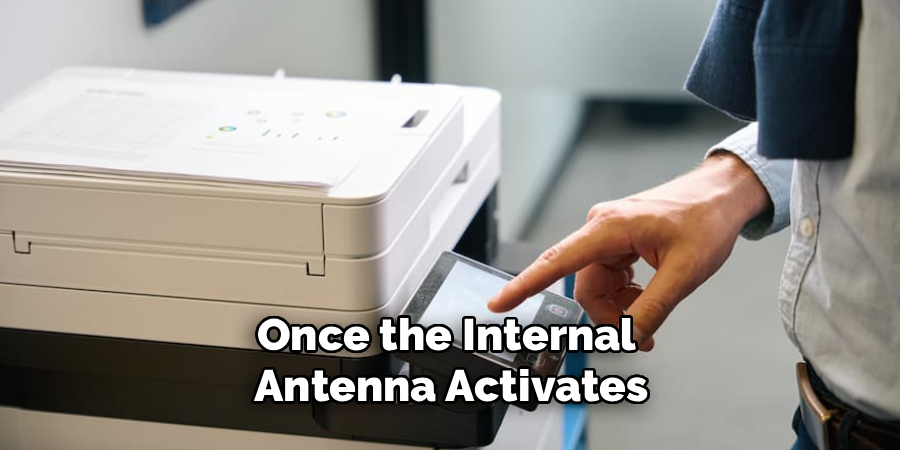
Step 5: Identify And Select Your Home Network
Use the directional arrows to scroll through the list of discovered signals on the small display screen. Look carefully for the specific network name you wrote down during your initial preparation phase. Home neighborhoods often have dozens of active signals, so you must verify the exact spelling of your network.
Once you highlight the correct name, press the ok button to lock in your selection. The machine will then prompt you to provide the security credentials required to access that specific router. Selecting the wrong network accidentally will result in an immediate error code on the next screen.
Step 6: Input Your Security Password
Entering a complex security password using a simple directional pad requires patience. Use the arrow keys to select individual letters and numbers on the digital keyboard displayed on the screen. Pay close attention to capital and lowercase letters, as network passwords are strictly case-sensitive.
If you make a mistake, look for a backspace or delete icon on the screen to erase the incorrect character. Take your time entering each symbol to avoid having to restart the entire sequence. Once the full password appears correctly on the display, press the final confirmation button to submit the credentials.
Step 7: Wait For The Confirmation Screen
After submitting your security credentials, the hardware will attempt to negotiate a digital handshake with your router. The screen will likely display a connecting or processing message while this background communication occurs. Do not press any buttons or turn off the power while this critical linking phase takes place.
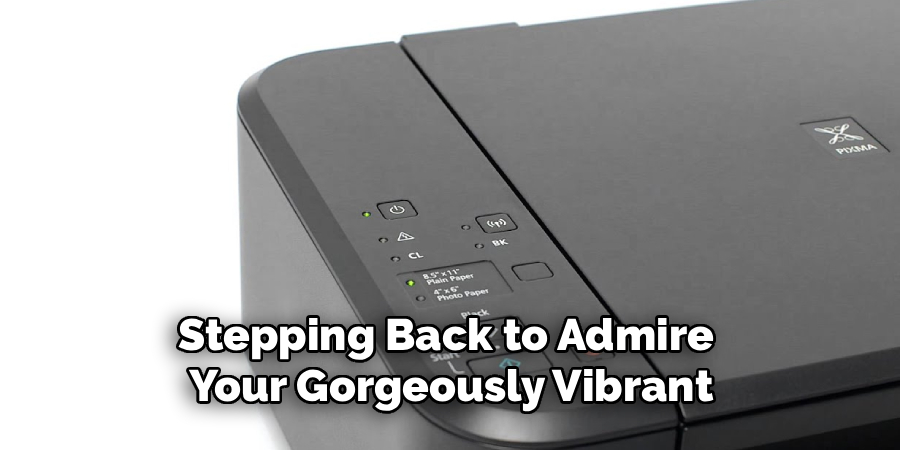
Within a minute or two, the display should show a triumphant connected status message. You will also notice a solid blue wireless indicator light illuminate on the front panel of the machine. This solid light serves as a permanent visual cue that the hardware is successfully communicating with your router.
Frequently Asked Questions
Why Is The Machine Not Finding My Network Signal?
If your hardware cannot locate your home network, distance and physical barriers are usually the main culprits. The internal antenna inside office equipment is rarely as powerful as the one inside your smartphone or laptop. Try moving the machine closer to your internet router just for the initial setup phase. Thick concrete walls, metal filing cabinets, and large appliances can easily block or weaken the broadcasted signal, rendering it invisible to the hardware.
Can I Use My Smartphone To Send Documents Now?
Yes, linking the hardware to your router automatically enables mobile functionality. You simply need to download the official mobile application provided by the manufacturer onto your smartphone or tablet. Ensure your phone is attached to the exact same wireless network as your office equipment. Open the mobile application, select the document or photo you want to reproduce, and tap the print icon to send it directly through the air.
What Should I Do If My Password Is Rejected?
A rejected password almost always stems from a simple typing error during the manual entry phase. You must remember that network security codes require exact matches for uppercase letters, lowercase letters, and special symbols. Double-check the sticker on the back of your router to verify you have the right string of characters. If you recently changed your router password through your internet provider, you must use that new custom code instead of the factory default.
Do I Need To Reconnect Everything After A Power Outage?
A standard power outage will not erase your saved network credentials. Modern hardware uses non-volatile memory chips to permanently store your network name and security password. When the electricity returns and your internet router fully reboots, the office equipment will automatically search for and rejoin the network. You might need to wait up to five minutes for the router to fully initialize before the machine recognizes the signal again.
Can I Still Use A USB Cable If My Internet Goes Down?
You can absolutely bypass the wireless integration and use a traditional cable during an internet outage. The physical USB port on the back of the machine remains fully functional even when the network settings are active. Simply plug the square end of the cable into the hardware and the flat end into your computer. Your operating system will instantly recognize the direct physical connection, allowing you to bypass the offline router completely.

Conclusion
Creating a modern, efficient workspace means removing unnecessary barriers and embracing flexible technology. By taking the time to master how to connect canon printer to wifi, you gain complete control over your document management workflow. You eliminate the frustration of tangled cords while unlocking the ability to produce documents directly from your mobile devices. Keep your network password securely stored for future reference, and enjoy the seamless convenience of your newly upgraded wireless environment.
