

A ceiling-mounted projector can make a room feel cleaner, safer, and more like a real theater. It keeps the device out of the way, improves viewing angles, and helps reduce the clutter of tables, cords, and stands. If you have been wondering how to mount projector to ceiling, the good news is that the process is manageable when you plan carefully and use the right hardware.
This guide walks you through the full process in a beginner-friendly way. You will learn how to choose the best location, find ceiling support, attach the mount, secure the projector, and fine-tune the image. You will also learn when to call a professional, especially if electrical work or hidden wiring is involved.
The goal is simple: help you create a stable, safe, and sharp projector setup without guessing your way through the job.
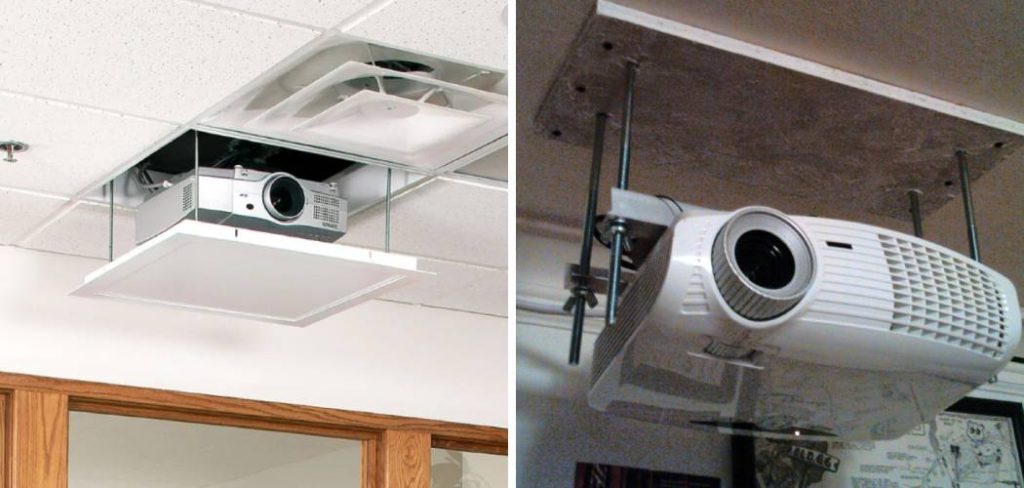
Why Mounting A Projector On The Ceiling Matters
Mounting a projector on the ceiling gives you a cleaner setup and a better viewing experience. It keeps the projector fixed in one place, so you do not have to adjust the image every time you watch a movie, play a game, or give a presentation.
It also protects the projector from bumps, spills, pets, and foot traffic. In smaller rooms, this can save valuable space and make the area feel less crowded.
A ceiling mount can also help with image alignment. When placed correctly, the projector has a clearer line to the screen or wall, which reduces distortion and improves focus. The main benefit is consistency: once everything is aligned, your setup stays ready to use.
Step-By-Step Guide To How To Mount Projector To Ceiling
Step 1: Choose The Best Projector Location
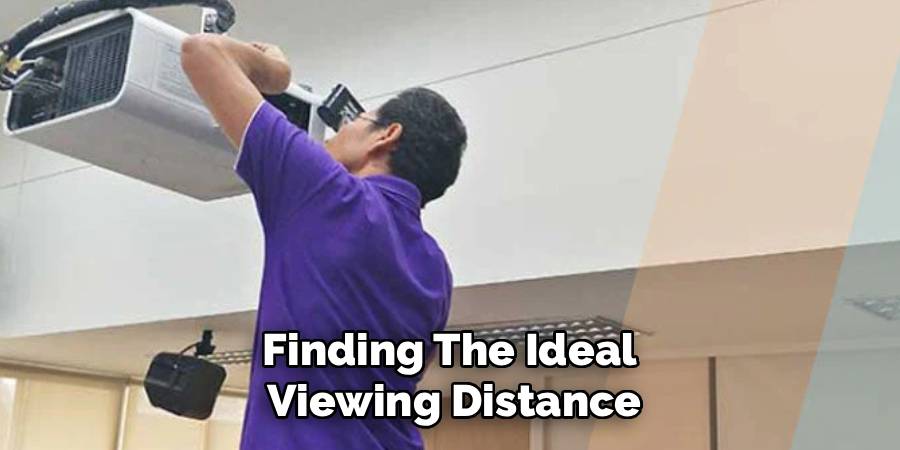
Start by deciding where the projector should sit in relation to your screen or viewing wall. Check your projector manual for the throw distance, which means how far the projector must be from the screen to create your preferred image size. This measurement matters because every projector lens works differently.
If you are learning how to mount projector to ceiling for the first time, do not guess the distance. Place the projector on a table or ladder first and test the image before drilling. Make sure the picture is centered, sharp, and large enough for your room.
Step 2: Check The Ceiling Structure
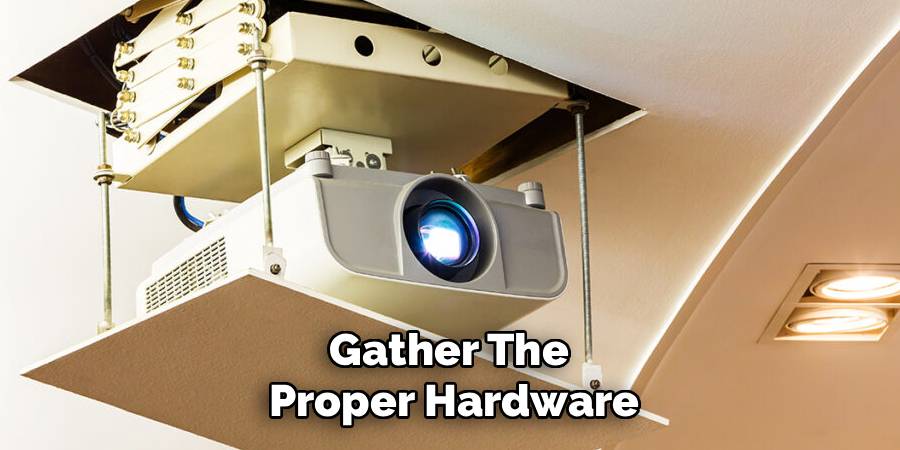
A projector must be attached to solid support, not just drywall. Most ceilings have wooden joists or metal framing hidden above the surface. Use a stud finder to locate a joist, then mark the spot lightly with a pencil.
If the best projector position does not line up with a joist, you may need a mounting plate, ceiling anchor system, or a small piece of plywood secured across two joists. This spreads the weight safely. Never rely on weak anchors alone unless the mount manufacturer clearly allows it for your ceiling type and projector weight.
Step 3: Confirm The Mount Compatibility
Before you drill, make sure your ceiling mount works with your projector. Many mounts are universal, but “universal” does not always mean perfect. Check the projector’s mounting holes on the bottom and compare them with the mount arms.
Also confirm the mount can hold more than your projector’s weight. A safe mount should support the device with extra capacity, not sit at the edge of its limit. Look for adjustment options too. Tilt, swivel, extension height, and rotation controls will make image alignment much easier once the projector is installed.
Step 4: Plan Power And Cable Routing
Think about power and signal cables before attaching anything to the ceiling. Your projector may need an HDMI cable, power cord, audio cable, streaming device, or network connection. A clean plan now prevents a messy setup later.
If the power outlet is far away, avoid running a loose extension cord across the ceiling. That can look poor and may create a safety risk. For a polished finish, use cable raceways or have an electrician install a ceiling outlet near the projector. If you want hidden cables inside the ceiling, check local electrical rules first.
Step 5: Mark The Mounting Holes
Hold the ceiling plate against the marked location and use a pencil to mark the screw holes. Take your time here because small errors can make the projector sit crooked. Use a tape measure to confirm the plate is centered with the screen.
If the mount has a front-facing direction, point it toward the screen before marking. Some mounts look symmetrical but have adjustment controls that work better in one direction. After marking, check the location one more time. This is the final moment to correct distance, alignment, and ceiling support before drilling begins.
Step 6: Drill Pilot Holes And Attach The Plate
Drill pilot holes into the joist or approved mounting surface. Pilot holes help the screws go in smoothly and reduce the chance of splitting wood. Use the drill bit size recommended by the mount instructions.
Now hold the ceiling plate in place and drive in the lag bolts or screws supplied with the mount. Tighten them firmly, but do not strip the holes by over-tightening. The plate should feel solid with no wobble. This is one of the most important safety steps in how to mount projector to ceiling because the entire setup depends on secure support.
Step 7: Attach The Projector To The Mount
Place the projector upside down on a soft towel to avoid scratches. Attach the mount arms to the projector using the correct screws. Do not use screws that are too long, as they can damage the projector body. If the mount includes spacers or washers, use them as directed.
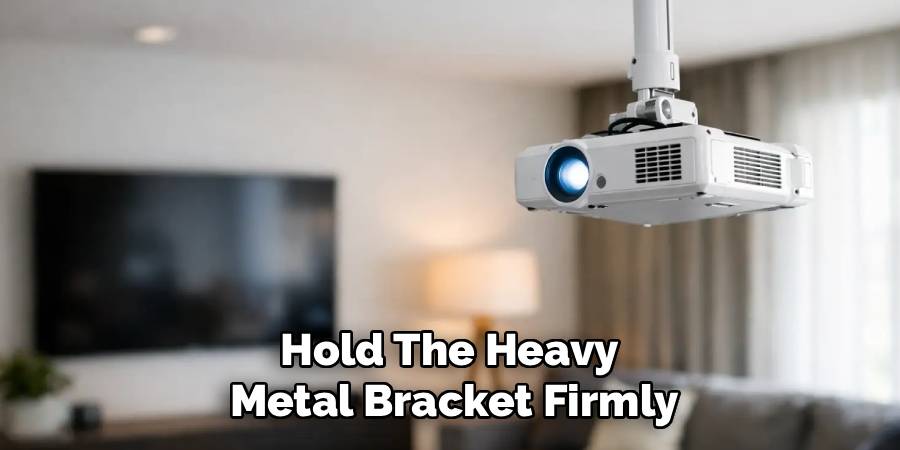
Once the arms are attached, connect the projector assembly to the ceiling plate. This part is easier with a second person, especially if the projector is heavy or the ceiling is high. Tighten all locking knobs and safety screws after the projector is seated.
Step 8: Align The Image And Test Everything
Turn on the projector and display a test image, menu screen, or grid pattern. Adjust the mount until the image is centered on the screen. Use physical mount adjustments first, then lens shift if your projector has it. Try to avoid heavy digital keystone correction because it can reduce image quality.
Focus the lens and check all corners of the image. Then test your HDMI source, audio, remote control, and streaming device. Let the projector run for a short time to confirm airflow is clear and cables are secure. Once everything works, tidy the wiring for a clean finish.
Frequently Asked Questions
Can I Mount A Projector To Drywall Only?
It is not recommended to mount a projector to drywall only. Drywall is not designed to hold steady overhead weight for long periods, especially with vibration and small movements from adjustments. The safest option is to secure the mount into a ceiling joist or a properly installed support plate. If you cannot find a joist in the right location, use a rated mounting solution or hire a professional.
How High Should A Ceiling-Mounted Projector Be?
The ideal height depends on your projector model, screen position, and mount style. Many projectors work best when the lens lines up with the top or bottom edge of the screen, depending on whether the unit is mounted upright or upside down. Check the manual for lens offset and throw distance. If your mount has an adjustable pole, you can fine-tune the height after installation.
Do I Need A Special Ceiling Mount For My Projector?
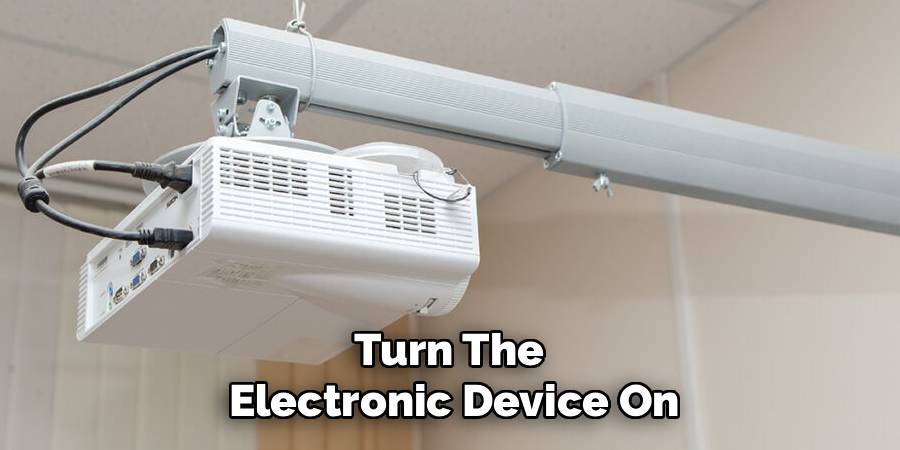
You need a mount that fits your projector’s screw pattern and supports its weight. Many universal mounts work well, but you should still check compatibility before buying. Look at the mounting hole layout, weight rating, adjustment range, and ceiling type. A good mount should let you tilt and rotate the projector so you can align the image without forcing the hardware.
Can I Hide Projector Cables In The Ceiling?
Yes, you can hide projector cables in the ceiling, but you need to do it safely. Low-voltage cables, such as HDMI, often need in-wall rated versions. Power cables have stricter rules and usually should not be hidden unless installed according to electrical code. If you want a fully hidden setup, it is best to ask an electrician to install a nearby outlet and safe cable path.
What Tools Do I Need For Installation?
Most installations need a stud finder, drill, screwdriver, tape measure, pencil, ladder, level, and the hardware included with the mount. You may also need a socket wrench for lag bolts. For cleaner cable management, you might use a cable raceway or fish tape. Before starting, read both the projector manual and mount instructions so you know which tools and screw sizes are required.
Conclusion
A ceiling-mounted projector can make your space cleaner, safer, and easier to enjoy. The key is planning before drilling. Choose the right location, confirm the throw distance, secure the mount into solid support, route cables safely, and take time to align the image.
Beginners can handle many parts of the process with patience and the right tools. Still, it is smart to get professional help if you need electrical work, hidden wiring, or extra ceiling support.
Now that you know how to mount projector to ceiling, start by checking your projector manual, measuring your room, and choosing a mount that fits both your device and your ceiling.

About
Alexis Kerr is a distinguished figure in the world of professional workspace optimization, with a decade of expertise creating innovative and ergonomic office environments. Her professional focus lies in merging organizational psychology with modern spatial design, fostering office setups that are both high-performing and employee-centric. As the lead author for Deskvity, Alexis Kerr delves into the art and science of corporate aesthetics and functionality, inspiring office managers and remote professionals alike.
Education Cornell University
(Ithaca, New York) Bachelor of Science in Design and Environmental Analysis Focus on human factors, workplace strategy, and sustainable interior environments. Gained extensive experience in how physical space influences productivity and mental clarity.
Savannah College of Art and Design (SCAD)
(Savannah, Georgia) Master of Fine Arts in Interior Design Specialized in commercial workspace solutions with a focus on blending digital integration with physical comfort. Participated in high-level industry projects to refine the balance between corporate branding and architectural utility.
Publications and Impact
In Deskvity, Alexis Kerr shares her insights on modern workspace trends, acoustic management, and strategies for efficient layout planning. Her writing bridges the gap between high-level architectural theory and practical day-to-day office needs, making it a must-read for both facility directors and individual professionals looking to elevate their work environment.