

Managing a home security system sometimes requires flexibility. You might want to leave a bedroom window open for fresh air at night while keeping the rest of the house secure.
Alternatively, you could be dealing with a faulty sensor on a back door that you plan to fix later in the week. Bypassing a zone on your ADT alarm system allows you to temporarily deactivate specific sensors without turning off the entire security network. This process tells the control panel to ignore the bypassed area, ensuring your main alarm can still arm properly.
Understanding this procedure on how to bypass alarm zone ADT gives you full control over your home security environment, preventing unnecessary headaches and allowing your system to adapt to your daily routines.
Benefits of Bypassing Alarm Zones on ADT Systems
Learning how to manage and bypass alarm zones offers several distinct advantages for home security management.
First, it prevents false alarms caused by damaged sensors or low batteries, saving you from loud disruptions and potential fines from local emergency responders.
Second, it provides environmental flexibility. You can arm the perimeter of your house while allowing pets to roam freely in a specific room with an active motion detector.
Third, bypassing zones gives you peace of mind while waiting for maintenance. If a technician cannot arrive immediately to replace a broken contact, you do not have to leave your entire home unprotected.
Finally, it streamlines temporary access for guests or workers who need to move through specific entryways without setting off the system.
What Will You Need?
Before you begin the bypass process, gather a few essential items and pieces of information. You will need:
- Physical access to your main ADT keypad.
- Your 4-digit Master User Code (standard user codes may not have bypass permissions).
- A reference list of your system’s zone numbers. This is often written on a sticker inside the keypad door or kept in your user manual.
- A clear understanding of which specific sensor you want to temporarily deactivate.
10 Easy Steps on How to Bypass Alarm Zone ADT
Step 1: Identify the Open Zone
Take a careful look at your ADT keypad display. When your system reads “Not Ready,” it’s signaling that one or more zones are still open or faulted—this could be due to a cracked window, open door, or a sensor malfunction. On most keypads, the zone number or name will appear or flash on the screen. If your system is more advanced, it may even show the actual description (e.g., “Zone 03: Kitchen Window”). Always make a note of the displayed zone number so you’re sure about which area you’re about to bypass. Cross-reference this zone number with your home’s zone list—usually found on a sticker inside the keypad panel or included in your installation paperwork.

Step 2: Ensure the System is Disarmed
For safety, your ADT alarm must be fully disarmed before you can bypass any zone. Look for the green or “Disarmed” indicator on your control panel. If you see any red lights or hear periodic beeping, your system may still be armed. To disarm, enter your 4-digit master user code; wait for a chime or a new message on the display to confirm the system is ready. Skipping this step could result in an error message or, worse, an accidental activation of your alarm while you’re working on bypassing a zone.
Step 3: Locate the Bypass Button
Your ADT panel will have a button specifically for bypassing zones. On most models (like ADT Safewatch Pro, Ademco, or Honeywell), this is the “Bypass” key or sometimes the number “6” key doubled as “Bypass.” Familiarize yourself with your keypad’s layout ahead of time. If your keypad is touch screen, look for an icon or menu section labeled “Bypass.” Some panels require navigating a quick menu or pressing “*” before reaching the bypass section.
Step 4: Enter Your Master User Code
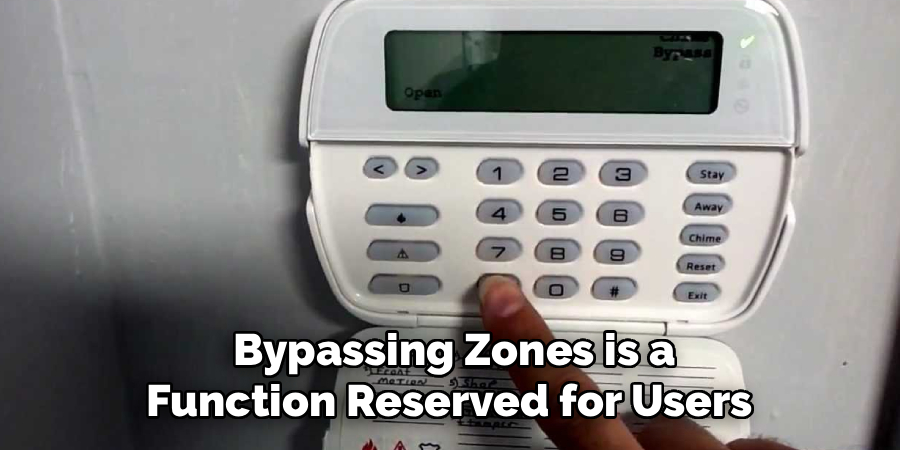
Bypassing zones is a function reserved for users with the highest security permissions. Carefully type your 4-digit master user code—do so slowly to make sure the keypad registers each press, especially for older, less sensitive keypads. If you enter the wrong code, the process will not proceed, and you’ll need to start again. Never use atemporary or guest code for this function unless the system’s administrator has granted special permissions.
Step 5: Press the Bypass Key
Immediately after entering your code, press the dedicated “Bypass” button. This action notifies your system that your code entry was intended to authorize changes—specifically, to deactivate individual zones. If a mistake is made and a wrong key is pressed, simply clear the entry (usually by hitting “#” or “Clear”) and retry from the beginning. For panels that use a menu, select “Bypass” or “Zone Bypass” within the settings.
Step 6: Input the Zone Number
Using the keypad, enter the two-digit zone number you recorded earlier (for example, “03” for zone three). Most systems require a leading zero for single-digit zones (“03” not just “3”). Confirm the zone number matches the area you wish to bypass—double-check your printed list so you don’t unintentionally leave a critical area unprotected. Wait for the keypad to accept the input; some advanced models require you to confirm your selection by pressing “#” or “Enter” after input.
Step 7: Listen for Confirmation
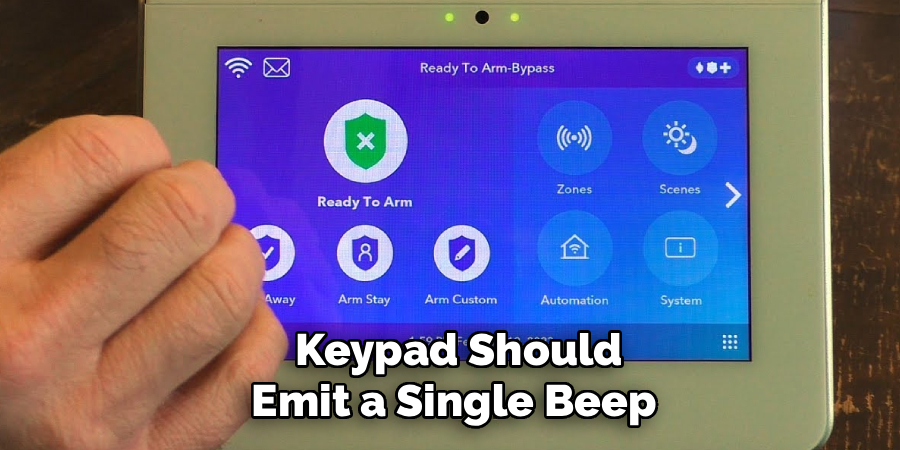
Your keypad should emit a single beep or chime to let you know your bypass command has been accepted. On digital panels, you may also see a new message such as “Zone 03 Bypassed” or a bypass indicator icon. If your panel does not confirm, repeat the entry sequence. Silence or continued error messages may mean there’s an input mistake, or the system is not in a state to accept a bypass (such as still being armed).
Step 8: Repeat for Additional Zones
If you need multiple zones bypassed (for instance, several windows open for ventilation), complete steps 4 to 7 for each zone separately. Each bypassed zone must be entered and confirmed one by one; entering a string of zone numbers at once will not work on most systems. Take your time and keep track of all zones that are now unmonitored to avoid creating security gaps in your home.
Step 9: Verify the Ready Light
After bypassing all intended zones, inspect your keypad. The system’s “Ready” indicator (commonly a green light or checkmark) should now be showing. This means all other non-bypassed sensors are secure, and the system is ready for arming. If the “Ready” light does not appear, review your bypassed zones and ensure no other open sensors have been missed or that no errors occurred during bypass.
Step 10: Arm the Security System
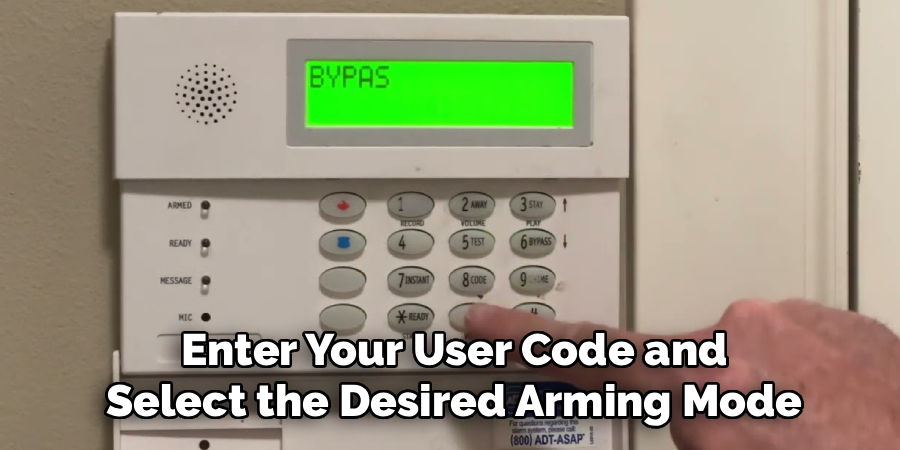
With the “Ready” status confirmed, you can now arm your system as usual. Choose either “Away” (if leaving the house) or “Stay” (if remaining inside, but securing the perimeter). Enter your user code and select the desired arming mode. The system should now activate, protecting all zones except those you specifically set to bypass. Remember: bypassed zones remain unprotected until the next time you disarm and re-arm the system, at which point any bypass will be reset.
By following these expanded steps and paying close attention to your system’s feedback, you ensure a smooth, effective, and secure bypass procedure tailored to your household’s needs.
5 Things You Should Avoid
- Do Not Bypass Primary Entry Points: Avoid bypassing front doors or main hallways. Leaving your primary access points unmonitored significantly compromises your overall security setup.
- Avoid Sharing Your Master Code: Never give out your master code to contractors or temporary visitors just so they can bypass zones. Create a temporary guest code instead.
- Do Not Ignore Broken Sensors: Bypassing a zone is a temporary fix, not a permanent solution. Do not leave a faulty door contact bypassed for months without scheduling a repair.
- Avoid Bypassing Without Checking: Never bypass a zone blindly. Always physically check the room or window associated with the zone number to ensure an intruder did not cause the fault.
- Do Not Tamper With Wiring: If a zone refuses to bypass, avoid opening the control panel to cut or alter the wiring. This can short-circuit the board and void your ADT warranty.
Frequently Asked Questions
- Will a Bypassed Zone Trigger an Alarm?
No, a bypassed zone is completely ignored by the main control panel.
You can open and close a bypassed door or window without setting off the siren.
The central monitoring station will not receive any alerts from that specific area.
However, all other active zones in your house will function normally.
The bypassed zone only remains inactive until you turn the system off again. - Does Bypassing a Zone Last Forever?
Bypassing a zone is only a temporary override for your current arming cycle.
The moment you disarm your system later, the bypass is automatically erased.
You must manually re-enter the bypass code sequence every time you arm the system.
This automatic reset prevents you from accidentally leaving your home unprotected.
To permanently remove a zone, an ADT technician must reprogram the control board. - Can I Bypass a Fire Alarm Zone?
Security panels strictly prohibit users from bypassing fire, heat, or carbon monoxide detectors.
These specific life-safety zones are programmed to be active twenty-four hours a day.
If you attempt the bypass sequence on a smoke detector, the keypad will reject the command.
If a fire sensor is malfunctioning and beeping, you must contact customer support.
Only authorized technicians have the capability to service or deactivate life-safety devices.
Conclusion
Knowing how to bypass alarm zone ADT system gives you complete command over your home security. It offers a practical way to deal with open windows, roaming pets, or equipment that needs servicing without sacrificing the protection of your entire property.
By following the precise numeric sequence and understanding your system’s layout, you can quickly adapt your security parameters to fit your daily life. Always remember that bypassing is a temporary tool.
Make sure to schedule prompt repairs for any damaged sensors so your system can return to providing comprehensive, whole-home protection as quickly as possible.

About
Alexis Kerr is a distinguished figure in the world of professional workspace optimization, with a decade of expertise creating innovative and ergonomic office environments. Her professional focus lies in merging organizational psychology with modern spatial design, fostering office setups that are both high-performing and employee-centric. As the lead author for Deskvity, Alexis Kerr delves into the art and science of corporate aesthetics and functionality, inspiring office managers and remote professionals alike.
Education Cornell University
(Ithaca, New York) Bachelor of Science in Design and Environmental Analysis Focus on human factors, workplace strategy, and sustainable interior environments. Gained extensive experience in how physical space influences productivity and mental clarity.
Savannah College of Art and Design (SCAD)
(Savannah, Georgia) Master of Fine Arts in Interior Design Specialized in commercial workspace solutions with a focus on blending digital integration with physical comfort. Participated in high-level industry projects to refine the balance between corporate branding and architectural utility.
Publications and Impact
In Deskvity, Alexis Kerr shares her insights on modern workspace trends, acoustic management, and strategies for efficient layout planning. Her writing bridges the gap between high-level architectural theory and practical day-to-day office needs, making it a must-read for both facility directors and individual professionals looking to elevate their work environment.