

Uninterrupted home surveillance offers a specific kind of psychological comfort. We rely heavily on these small plastic lenses to watch over our driveways, yet we often ignore their basic maintenance requirements until a screen goes black. This sudden loss of power usually happens at the exact moment you need the video feed the most.
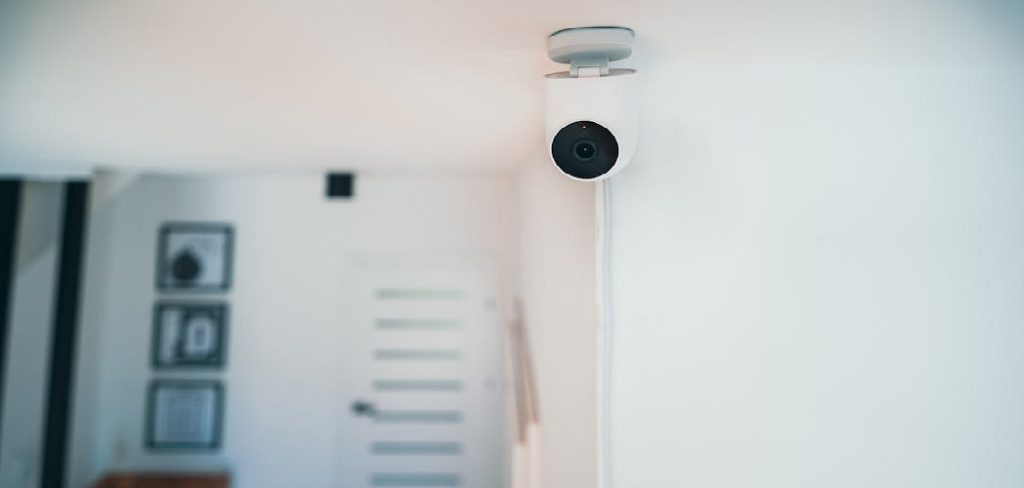
Understanding exactly how to charge eufy camera units properly ensures your property remains monitored around the clock. The process involves far more than simply jamming a random cable into a port. Approaching this maintenance task with a bit of technical care prevents accidental hardware damage and extends the lifespan of the internal lithium-ion cells.
This guide explores the mechanical realities of keeping your security system powered. We will examine how to identify different battery types, select the appropriate charging equipment, and interpret the occasionally confusing LED indicator lights. A methodical approach to this routine chore could dramatically improve the overall reliability of your home security network.
Understanding Your Eufy Camera Battery
Consumer electronics manufacturers design their hardware to run for extended periods without human intervention. Eufy explicitly markets its devices based on long-lasting performance metrics. However, regular electrical maintenance remains an unavoidable reality of owning battery-powered equipment.
Knowing your specific hardware model dictates exactly how often you must climb a ladder to retrieve it. Different product generations utilize entirely different internal architectures. This architectural variation might suggest why your neighbor’s system lasts a year while yours requires charging every three months.
Identifying the Battery Type
The hardware ecosystem generally splits into two distinct categories regarding power storage. Many standard models utilize an internal, sealed lithium-ion battery that cannot be removed by the user. This built-in design requires you to dismount the entire physical camera housing and bring it indoors for a recharge.
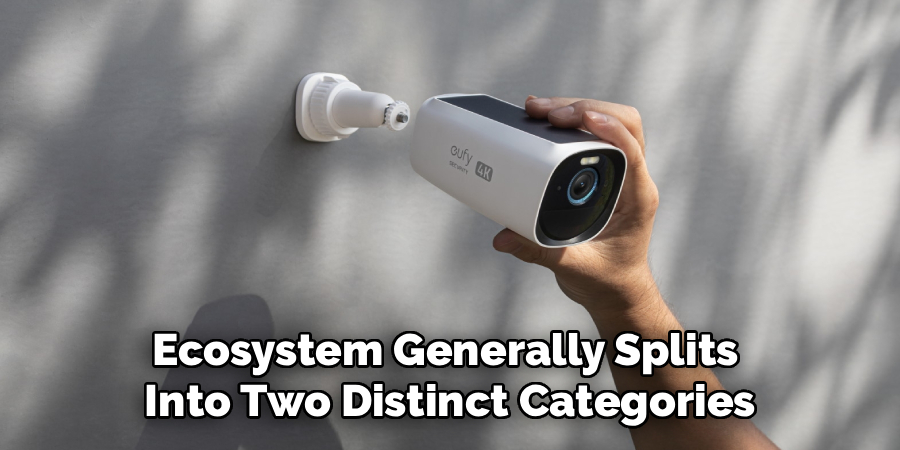
Conversely, some newer iterations feature removable, hot-swappable battery packs. This modular approach allows you to slide a depleted battery out while immediately replacing it with a fully charged spare. It appears to be a much more elegant solution for minimizing active surveillance downtime.
How Long Does the Battery Last?
Marketing materials frequently advertise expected battery life spans ranging from half a year to a full 365 days. You should treat these numbers with a healthy dose of skepticism. Real-world performance rarely aligns perfectly with controlled laboratory testing environments.
High traffic areas drastically reduce these optimistic estimates. A camera facing a busy suburban street will wake up constantly, draining its power reserves rapidly through endless motion alerts. Extreme cold weather also suppresses lithium-ion chemical reactions, which often causes the battery percentage to plummet during winter months.
Why Knowing How To Charge Eufy Camera Correctly Matters?
We tend to treat all USB-powered devices as universally compatible, but this assumption often leads to expensive mistakes. Improper charging techniques directly damage the internal battery chemistry over time. Knowing how to charge eufy camera devices correctly protects your financial investment.
Failing to follow factory guidelines can even void your warranty entirely. If a third-party adapter fries the motherboard, the manufacturer will likely refuse to replace the unit. Taking a few extra precautions essentially acts as an insurance policy for your hardware.
Preserving Battery Lifespan
Supplying the correct voltage is the most fundamental aspect of electronic maintenance. Using an excessively powerful charging brick generates excess heat within the camera casing. This thermal stress degrades the lithium-ion cells, permanently reducing their maximum holding capacity.
Keeping the battery charge hovering between twenty and eighty percent can sometimes improve long-term health. Deeply discharging the battery until the camera dies completely strains the chemical components. A proactive, scheduled charging routine appears to be the smartest way to extend the operational life of the device.
Ensuring Continuous Home Security
A camera with a dead battery is merely a plastic ornament. Allowing your system to power down creates massive blind spots in your physical surveillance perimeter. Thieves frequently target properties that appear to have neglected or non-functional security measures.
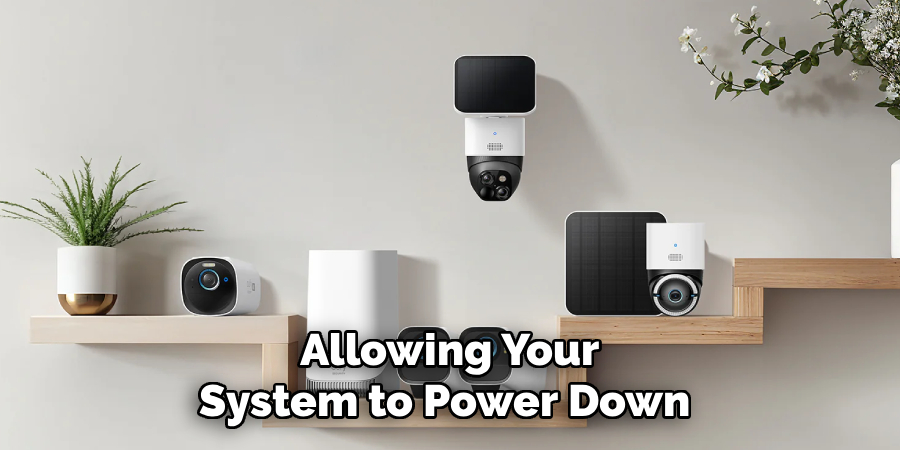
Establishing a routine charging schedule prevents these dangerous lapses in coverage. It ensures the home remains actively protected during extended family vacations or intensely busy work weeks. Consistency in maintenance directly translates to consistency in physical security.
Essential Equipment for Charging
Restoring power to a depleted device requires highly specific tools. You cannot just grab the nearest frayed phone cord off your kitchen counter and expect optimal results. The equipment you choose directly impacts the safety and efficiency of the electrical transfer.
Using factory-approved accessories remains the absolute best way to prevent localized electrical shorts. Engineers design these specific cables to deliver power at a highly regulated, consistent rate. Straying from these recommendations introduces unnecessary risk into a very simple process.
Using the Correct Cables and Adapters
You should prioritize the original micro-USB or USB-C cable provided inside the retail box. These cords are shielded properly and rated for the exact amperage the camera expects to receive. Utilizing third-party, rapid-charging phone adapters can easily overwhelm the camera’s internal power management chip.
High-voltage adapters generate a forced current that the security camera simply cannot process safely. This electrical bottleneck causes the internal components to heat up rapidly. Overheating not only degrades the battery but could potentially warp the surrounding plastic housing.
Alternative Power Options
Manually dismounting cameras every few months becomes incredibly tedious, especially if you have a large property. Alternative charging ecosystems offer a more passive approach to power management. Eufy solar panels provide an elegant solution to this recurring maintenance chore.
Installing a compatible solar panel near the camera provides a continuous, low-voltage trickle charge. This steady influx of solar energy often eliminates the need to manually plug the camera into a wall outlet. It might suggest the most sustainable and least frustrating method for managing outdoor electronics.
How To Charge Eufy Camera: Step-by-Step Guide
Executing the active charging phase requires a calm, methodical approach. Rushing the physical handling of the hardware usually results in dropped equipment or cracked lenses. Setting clear expectations for this process ensures you handle the delicate electronics safely.
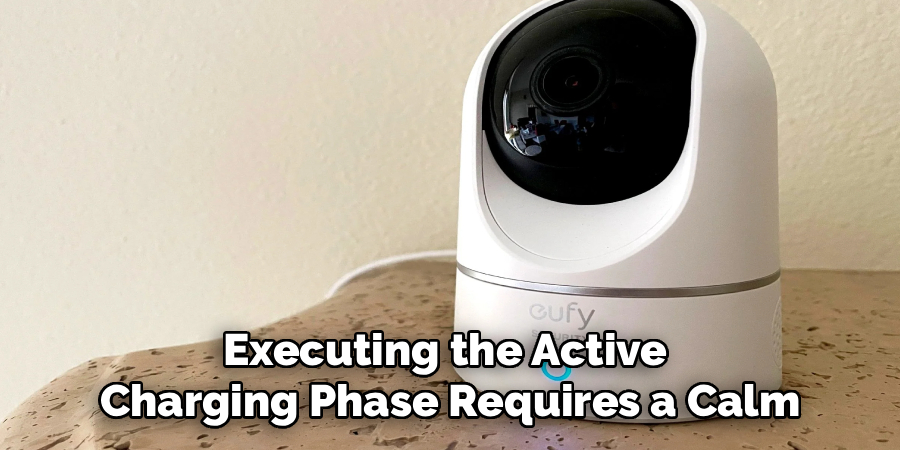
Following a specific chronological sequence prevents accidental damage to both the hardware and your exterior mounting brackets. You want to avoid applying uneven torque to the plastic joints when separating the components. Patience here remains your most valuable tool.
Step 1: Dismounting the Camera Safely
You must first carefully remove the camera from its magnetic base or screw-in outdoor mount. Secure the device firmly in the palm of your hand to prevent a catastrophic drop onto the concrete below. Gravity is terribly unforgiving to delicate glass lenses and internal circuit boards.
Before you touch the hardware, open your mobile application and temporarily disable the motion alerts. This simple software toggle stops the camera from recording useless footage of your hands during the dismount. It saves battery power and keeps your digital timeline free of annoying, irrelevant clips.
Step 2: Locating and Opening the Charging Port
Finding the power input occasionally requires a bit of physical inspection. Look closely at the rear panel or the absolute bottom of the camera unit. You are searching for a small, heavily protected silicone weather flap.
Gently peel this rubberized cover back to reveal the micro-USB or USB-C port hidden beneath it. You must pull the flap carefully to ensure you do not accidentally tear it off its plastic retaining hinge. If you rip this cover, the camera loses its environmental weatherproofing completely.
Step 3: Connecting the Power Supply
Bring the dismounted camera inside your home and place it on a clean, dry surface. Plug the factory-approved cable into a standard indoor wall outlet using a basic 5V/2A charging brick. Take the opposite end of the cord and insert it gently into the camera’s open port.
Do not force the connector if it feels stuck. Ensure the physical orientation of the plug matches the internal shape of the receptacle. A snug, secure connection guarantees a steady flow of electricity without intermittent dropouts.
Step 4: Monitoring the Battery Indicators
The hardware communicates its current status through a tiny LED light located on the front faceplate. A solid red light usually indicates that the device is actively receiving a steady electrical current. You simply need to leave the camera alone while this chemical transfer takes place.
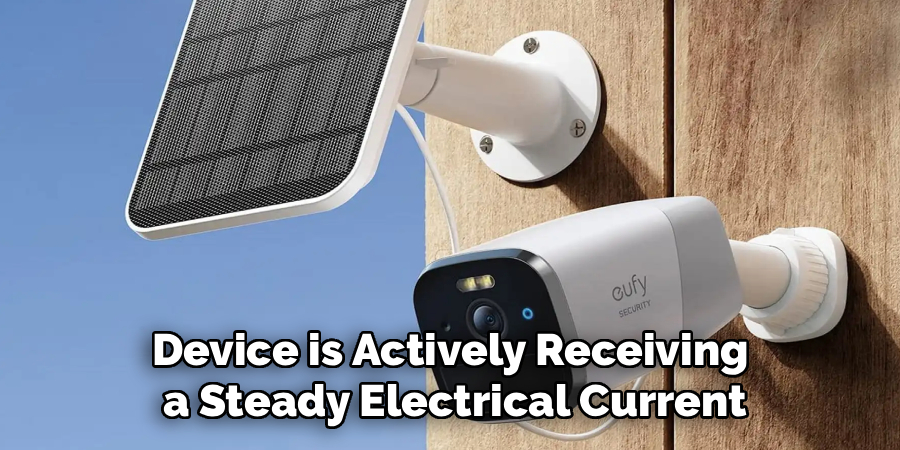
Once the internal cells reach their maximum capacity, that red light will transition to a solid blue color. This visual shift confirms the charging cycle has completed. You should also open the Eufy Security mobile app to verify that the digital battery icon reads one hundred percent.
Weatherproofing and Outdoor Charging Safety
Properly handling the hardware after the charging cycle completes is arguably the most critical phase of the operation. You are about to return a sensitive piece of electronic equipment to a harsh, unpredictable outdoor environment. Environmental safety must be your absolute primary concern.
You should never attempt to charge the camera outside using an extension cord while it is raining. Exposing internal electronic ports to standing moisture almost always results in a fatal short circuit. The device must only be charged indoors in a dry, climate-controlled room.
Sealing the Charging Port
The final step before remounting involves securing the physical integrity of the camera body. You must firmly press the silicone weatherproofing flap back into its original resting position. Ensure the edges of the rubber sit perfectly flush against the surrounding plastic casing.
An improper or lazy seal allows rainwater and morning dew to seep directly into the exposed metal charging port. Water ingress will slowly corrode the internal contacts, eventually destroying the motherboard entirely. Taking three seconds to double-check this rubber seal could save you from replacing the entire camera next spring.
Conclusion
Routine battery maintenance is a relatively minor chore that yields massive dividends in overall system reliability. Understanding exactly how to charge eufy camera devices ensures your home remains monitored without frustrating, unexpected interruptions. It strips away the uncertainty of hardware management and replaces it with a predictable, logical routine.
By utilizing the correct factory cables and respecting the physical weatherproofing seals, you actively protect your initial financial investment. The process demands very little time but requires a high degree of situational awareness. You avoid the catastrophic failures that plague less careful consumers.
Take a few moments today to open your mobile application and audit your current battery levels. If a device looks alarmingly low, retrieve it and initiate a proper, indoor charging cycle. Setting a recurring calendar reminder for this specific task ensures your property remains safe, secure, and constantly visible.

About
Alexis Kerr is a distinguished figure in the world of professional workspace optimization, with a decade of expertise creating innovative and ergonomic office environments. Her professional focus lies in merging organizational psychology with modern spatial design, fostering office setups that are both high-performing and employee-centric. As the lead author for Deskvity, Alexis Kerr delves into the art and science of corporate aesthetics and functionality, inspiring office managers and remote professionals alike.
Education Cornell University
(Ithaca, New York) Bachelor of Science in Design and Environmental Analysis Focus on human factors, workplace strategy, and sustainable interior environments. Gained extensive experience in how physical space influences productivity and mental clarity.
Savannah College of Art and Design (SCAD)
(Savannah, Georgia) Master of Fine Arts in Interior Design Specialized in commercial workspace solutions with a focus on blending digital integration with physical comfort. Participated in high-level industry projects to refine the balance between corporate branding and architectural utility.
Publications and Impact
In Deskvity, Alexis Kerr shares her insights on modern workspace trends, acoustic management, and strategies for efficient layout planning. Her writing bridges the gap between high-level architectural theory and practical day-to-day office needs, making it a must-read for both facility directors and individual professionals looking to elevate their work environment.