

Every PC gamer knows that a reliable, precise gaming mouse is absolutely essential for hitting those crucial shots and executing flawless combos. Over time, your favorite Razer mouse will inevitably accumulate sweat, dead skin cells, natural oils, and dust from daily use. This buildup not only looks unpleasant but can also severely impact the tracking accuracy of your sensor and the tactile feedback of your buttons.

Taking the time to maintain your peripheral ensures it continues performing at its peak while extending its overall lifespan. A quick maintenance routine requires very little effort, yet it provides massive returns in both hygiene and gameplay consistency. Grab a few basic household supplies, and you can restore that pristine, straight-out-of-the-box feel to your setup. In this guide on how to clean razer mouse, we will cover some basic maintenance tips and tricks to keep your mouse in top shape.
Tools and Materials You’ll Need
Before starting the cleaning process, gather all the necessary supplies. Having everything within reach will make the job much smoother. You will need:
- A clean microfiber cloth
- Isopropyl alcohol (70% concentration is ideal)
- Cotton swabs (Q-tips)
- A can of compressed air
- Wooden toothpicks
- Mild dish soap and water (optional, for heavily soiled non-electronic parts)
7 Simple Step-by-step Guidelines on How to Clean Razer Mouse
Step 1: Unplug Your Mouse And Prepare Your Workspace
The very first thing you must do before cleaning any electronic device is to completely disconnect it from its power source to prevent accidental damage. If you use a wired Razer mouse, unplug the USB cable directly from your computer or USB hub. For wireless models, toggle the power switch on the bottom to the “off” position, and carefully remove the battery if your specific model uses removable ones.
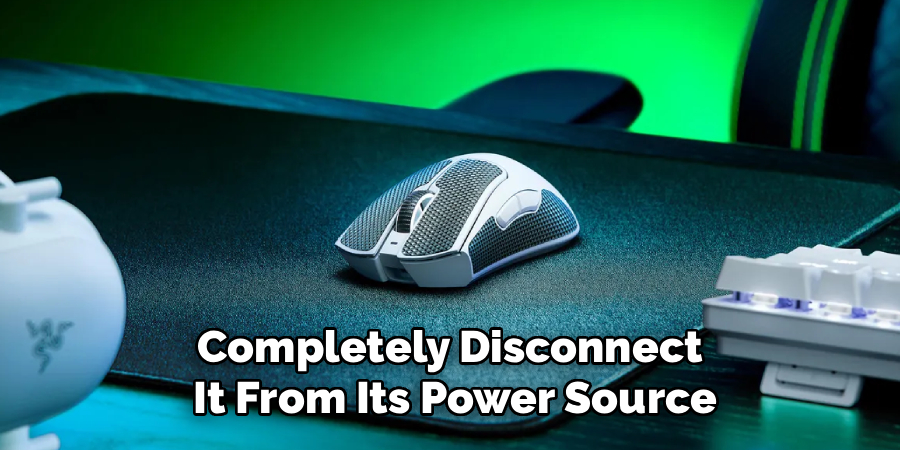
Setting up a proper workspace is equally important for a safe and effective cleaning session. Clear off a flat, well-lit section of your desk and lay down a clean towel or mat to catch any dislodged dirt or debris. This prevents grime from getting rubbed into your mousepad and ensures you have a clean surface to rest your mouse on while you work.
Step 2: Use Compressed Air To Remove Loose Debris
Once your mouse is disconnected and your workspace is ready, grab your can of compressed air to tackle the loose dust and crumbs hiding in the crevices. Hold the can completely upright to prevent any freezing liquid propellant from spraying onto the plastic casing or internal components. Keep the nozzle a few inches away from the mouse and use short, controlled bursts of air.
Direct the airflow into the gaps between the left and right click buttons, around the scroll wheel, and the side buttons. You might be surprised by how much dust and pet hair can get trapped inside these narrow spaces over just a few months of use. Clearing out this loose debris first ensures you will not simply push dirt further into the mouse when you begin wiping it down later.
Step 3: Wipe Down The Main Exterior Surfaces
Now that the loose dust is gone, it is time to tackle the natural oils and sweat that have built up on the palm rest and grips. Lightly dampen your clean microfiber cloth with a small amount of isopropyl alcohol. Do not soak the cloth; it should be just damp enough to cut through the grease without dripping any liquid into the sensitive internal electronics of the mouse.
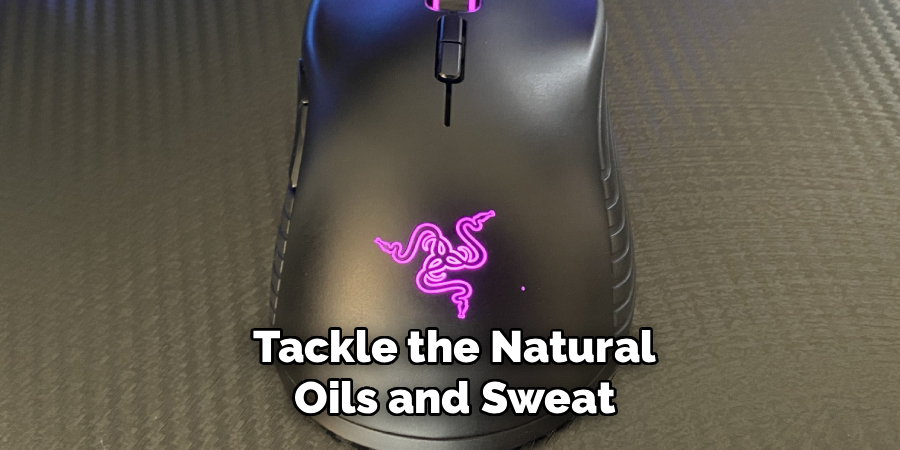
Gently wipe down the entire outer shell, paying special attention to the areas where your palm and fingers rest most frequently. The alcohol will quickly dissolve the oils and evaporate almost instantly, leaving the plastic clean and streak-free. If your Razer mouse features rubberized side grips, wipe them softly, as scrubbing too hard with alcohol can degrade the rubber texture over time.
Step 4: Carefully Clean The Optical Sensor
The optical sensor underneath your mouse is arguably its most critical component, and even a single speck of dust can cause erratic cursor movements or tracking issues in the middle of a game. Take a dry, clean cotton swab and very gently twirl it inside the sensor ring to lift away any trapped dust or hairs. Be extremely delicate here, as scratching the sensor lens will permanently ruin the mouse.
If there is stubborn grime stuck near the sensor lens that a dry swab cannot remove, you can slightly dampen the tip of the swab with just a drop of isopropyl alcohol. Gently dab the affected area without applying downward pressure. Afterward, use the dry end of the cotton swab to absorb any remaining moisture, ensuring the sensor lens is completely clear and dry before moving on to the next step.
Step 5: Detail The Crevices And Buttons
Even after using compressed air and a microfiber cloth, you will likely still see a dark rim of grime trapped in the tiny seams where the plastic panels meet. Take a wooden toothpick and carefully trace it along these grooves to lift out the compacted dirt. Wooden toothpicks are highly recommended over metal pins or needles because wood is soft enough that it will not accidentally scratch the plastic shell.

Once you have loosened the trapped dirt from the panel gaps and around the side buttons, use a lightly alcohol-dampened cotton swab to sweep away the remnants. Run the swab around the base of the scroll wheel and between the thumb buttons to ensure every surface you interact with is entirely sanitized. Taking the time to detail these hard-to-reach areas makes a massive difference in the final look and feel of the mouse.
Step 6: Clean The Mouse Feet And Skates
The Teflon feet (or skates) on the bottom of your Razer mouse are responsible for that smooth, frictionless glide across your mousepad. Unfortunately, they easily pick up sticky residue, dust, and lint, which can add unwanted friction to your aim. Turn the mouse over and inspect the skates for any sticky spots or dark rings of accumulated dirt around their edges.
Use a cotton swab or a corner of your microfiber cloth dipped in a small amount of isopropyl alcohol to wipe down the skates. Gently scrub the flat surfaces and carefully clean around the edges where the skates meet the plastic chassis. A clean set of mouse feet will make your mouse feel noticeably lighter and more responsive, drastically improving your control during fast-paced gaming sessions.
Step 7: Let Everything Dry Completely
After you have thoroughly cleaned the exterior, detailed the crevices, and polished the sensor and skates, you must exercise a little bit of patience. Set your Razer mouse aside in a well-ventilated area and let it air dry completely. Even though isopropyl alcohol evaporates very quickly, moisture can occasionally linger inside the panel gaps or underneath the buttons.
Wait at least ten to fifteen minutes before plugging the cable back into your computer or turning the wireless power switch back on. Reconnecting a device that still has moisture inside can cause a short circuit, permanently breaking the internal components. Once you are absolutely certain the mouse is dry, plug it back in, launch your favorite game, and enjoy the precise, tactile feel of your freshly cleaned hardware.

Following these steps on how to clean razer mouse will not only improve the overall performance and longevity of your mouse, but also ensure a more hygienic gaming experience. It’s important to regularly clean your mouse, especially if you use it daily for extended periods of time.
Common Mistakes to Avoid
A major mistake many people make is spraying cleaning solutions directly onto the mouse, which forces liquid into the internal switches and causes permanent electrical damage. Another frequent error is using harsh household chemicals like bleach or ammonia, which will strip the protective matte coating right off the plastic.
Finally, avoid using rough paper towels or abrasive sponges, as these will leave thousands of micro-scratches on your peripheral. Always apply your cleaning solutions to a cloth first and use gentle, non-abrasive materials.
Frequently Asked Questions
Q1: Can I Use Water To Clean My Razer Mouse?
Using water is generally discouraged when cleaning the main body of a gaming mouse due to the high risk of damaging the internal electronic components. If you must use water to clean a particularly sticky spot on the plastic casing, apply a tiny amount to a microfiber cloth rather than the mouse itself. Isopropyl alcohol is always the preferred cleaning agent because it evaporates incredibly fast and cuts through hand oils much better than plain water does.
Q2: How Often Should I Clean My Gaming Mouse?
The frequency of your cleaning routine largely depends on how often you use your computer and whether you tend to eat snacks at your desk. For a casual user, giving the mouse a thorough wipe down once a month is usually sufficient to keep it in good condition. However, if you are a heavy gamer or someone who works from home every day, you should aim to clean your peripherals every two weeks to prevent severe buildup.
Q3: Will Disassembling My Mouse Void The Warranty?
Yes, opening up the casing and disassembling the internal components of your Razer mouse will void the manufacturer’s warranty. Fortunately, routine exterior cleaning does not require you to take the device apart, and you can effectively sanitize the shell, buttons, and sensor from the outside. If you are experiencing serious hardware issues that basic cleaning cannot fix, it is always best to contact Razer customer support rather than trying to take the device apart yourself.
Conclusion
Maintaining your peripherals is a simple habit that heavily impacts your daily computing and gaming experience. A clean mouse tracks better, clicks more reliably, and feels vastly superior in your hand. By integrating this short cleaning routine into your monthly schedule, you protect your investment and ensure your hardware never holds you back.
If your mouse is still tracking poorly after a thorough cleaning, it might be time to check your mousepad for dirt or look into updating your device drivers. Grab your microfiber cloth today, give your setup the care it deserves, and get back to enjoying flawless, accurate gameplay. Thanks for reading this guide on how to clean razer mouse.
