

Running out of printer ink during a busy workday causes unnecessary stress and halts your productivity. Traditional cartridges often run dry at the worst possible moments and cost a significant amount of money to replace over time. Upgrading to a modern, cartridge-free printing system provides a massive relief for both your budget and your daily workflow. These innovative machines use high-capacity reservoirs that hold enough liquid to print thousands of pages before needing attention. Understanding how to fill epson ecotank ensures you maintain optimal print quality while protecting your equipment from accidental damage.
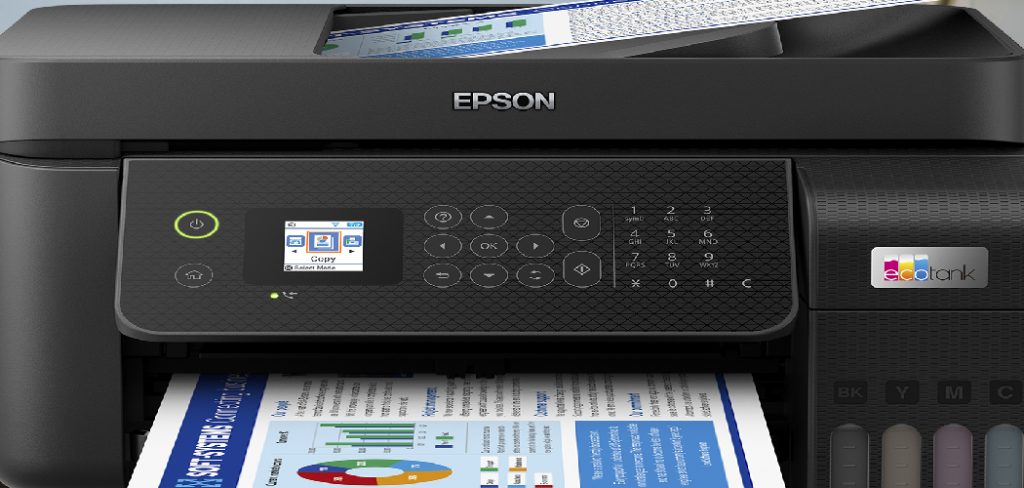
Many people feel intimidated by the idea of pouring liquid ink into a sensitive electronic device. We know that the process sounds complicated if you are used to simply snapping a plastic square into a tray. However, the manufacturer designed this system specifically for ease of use and maximum safety. You do not need technical expertise or special tools to complete this maintenance task correctly. This guide provides a straightforward path to keeping your workspace running smoothly and your documents looking professional.
Why Replenishing Your Cartridge-Free Printer Matters
Ignoring your printer maintenance leads to frustrating delays and poor document quality. Your machine relies on a steady flow of liquid to produce crisp text and vibrant images on every page. When the fluid levels drop too low, air bubbles can enter the printhead mechanism. This causes streaky lines across your important documents and faded colors on your professional presentations. Taking proactive steps to maintain adequate fluid levels keeps your equipment in perfect working order and prevents these easily avoidable mechanical issues.
Embracing this refillable system provides immense financial benefits for your household or business. Traditional replacement cartridges require you to pay for expensive plastic housing and electronic chips over and over again. By purchasing bulk liquid bottles instead, you pay strictly for the product you actually use. This simple switch cuts your ongoing printing costs by a massive margin over the lifespan of the machine. You can print heavy volumes of reports, photos, and school assignments without constantly worrying about the next expensive trip to the office supply store.
Step-By-Step Guide To How to Fill Epson Ecotank
Step 1: Gather Your Authentic Ink Bottles
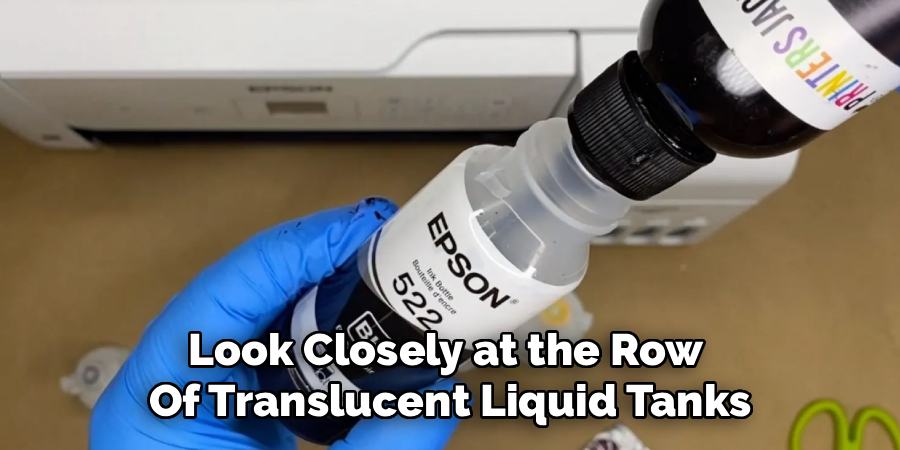
Before opening your machine, you must ensure you have the correct supplies ready to go. You should always purchase authentic manufacturer bottles designed specifically for your exact machine model. Using cheap, generic liquids often leads to clogged printheads and dull colors that ruin your documents. Check the specific numbers on the front of your device and match them exactly to the packaging on the new boxes. Setting all four color bottles on your desk before starting prevents you from having to search for supplies while the machine sits open.
Step 2: Prepare Your Workspace For The Process
While the modern bottle designs prevent massive leaks, you should still prepare your immediate area to prevent accidental messes. Clear away any important documents, photographs, or expensive electronics from the desk where your printer sits. Lay down a few paper towels or an old newspaper directly underneath the front of the machine. This creates a safe barrier that catches any stray drops before they can permanently stain your wooden desk or light-colored carpet. Taking two minutes to protect your space gives you total peace of mind during the maintenance process.
Step 3: Accessing The Main Fluid Compartment
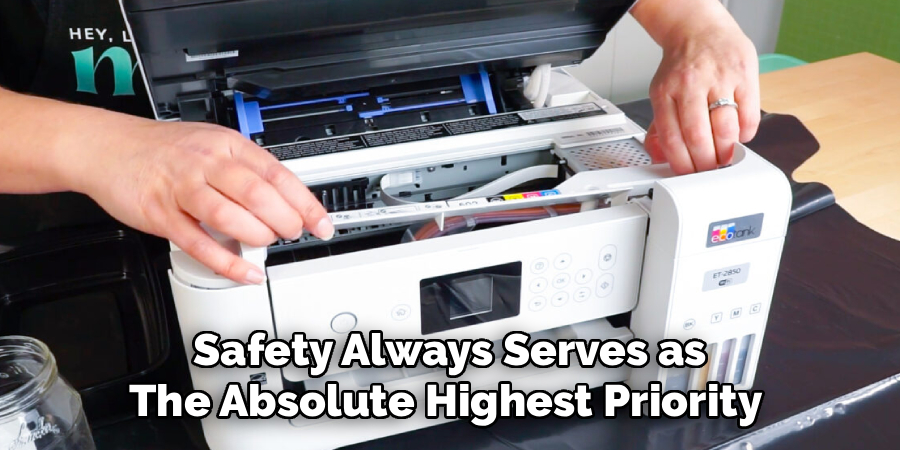
With your workspace protected, you can now open the machine to locate the specific reservoirs. Lift the main scanner unit or the dedicated front cover, depending on your specific model design. You will see a row of individual plastic tanks located on the right side of the device. Each tank features a secure cap that keeps dust and debris out of the sensitive fluid system. Leave the power on during this process so the machine recognizes the new fluid levels once you finish the procedure completely.
Step 4: Proper Preparation Prevents Cross-contamination
Proper preparation prevents cross-contamination between the different colors. Flip open the protective cover resting over the entire reservoir section. You will notice that each individual tank has its own separate cap that snaps firmly into place. You must only open one cap at a time to prevent accidental mixing of the distinct colors. If you leave all the caps open simultaneously, you risk splashing a darker color into a lighter reservoir. Unsnap the cap for the black reservoir first and set it carefully to the side.
Step 5: Matching Colors To The Correct Tanks
Precision is incredibly important during this phase of the maintenance process. Every tank features a clear label matching it to a specific color, usually Cyan, Magenta, Yellow, or Black. The bottles also feature unique, keyed nozzles that physically prevent you from inserting the wrong color into the wrong slot. Despite this helpful safety feature, you should always double-check the label on the bottle against the label on the tank. Verify you hold the correct box before you unwrap the plastic seal and prepare the bottle for insertion.
Step 6: Executing Epson EcoTank Properly
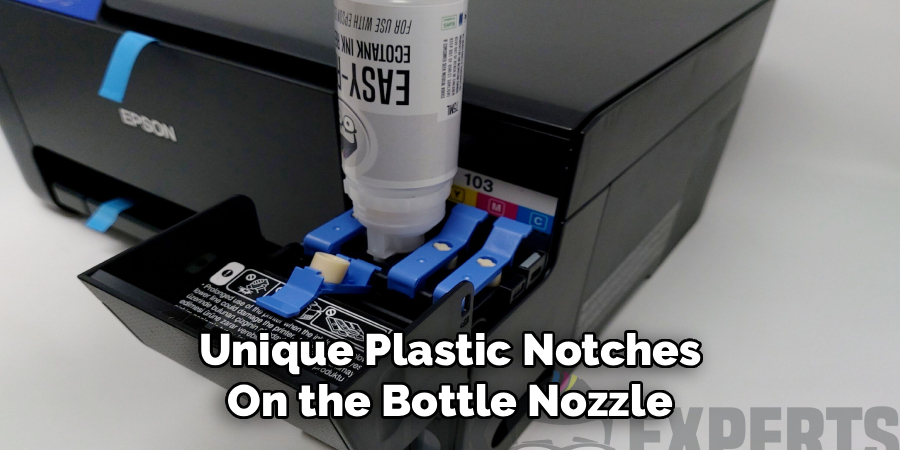
Now you can safely transfer the fluid into the waiting reservoir. Hold the uncapped bottle completely upright and position it directly over the open tank slot. Gently push the nozzle straight down onto the receptacle until it clicks securely into place. The liquid will automatically begin flowing down into the transparent tank without any squeezing required. Watch the clear window on the front of the machine as the fluid level steadily rises toward the top. The unique valve system stops the flow automatically once the reservoir reaches maximum capacity.
Step 7: Removing The Bottle And Securing The Cap
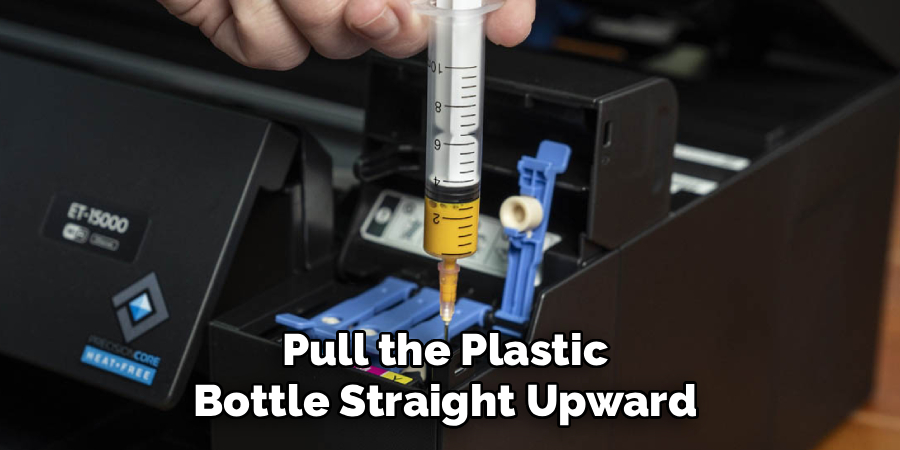
Once the fluid stops flowing completely, you must remove the bottle carefully to prevent stray drops. Pull the plastic bottle straight up and away from the receptacle in one smooth motion. Do not tilt the bottle sideways as you remove it, as this might bypass the safety valve and cause a small drip. Snap the original tank cap firmly back into place over the opening until you hear a distinct click. If the bottle still contains leftover liquid, secure the original screw cap tightly and store it upright in a cool drawer for future use.
Step 8: Closing The Device And Resetting The System
After securing all the individual caps, you must finalize the process so your machine functions correctly. Close the main protective reservoir cover and lower the scanner unit back into its standard resting position. The digital screen on the front panel will prompt you to confirm that you replenished the internal tanks. Follow the simple on-screen instructions to select which specific colors you updated. Resetting this digital counter ensures your computer accurately displays your current fluid levels during your daily work routine.
Frequently Asked Questions
Can I Use Third-Party Ink In My Printer?
You should completely avoid using unauthorized third-party fluids in your premium machine. Cheap alternatives often feature a different chemical composition that clogs the microscopic nozzles inside the delicate printhead. These clogs lead to permanent hardware damage that completely voids your manufacturer warranty. Investing in authentic, name-brand supplies guarantees optimal performance, vibrant colors, and complete protection for your expensive office equipment over the long term.
What Happens If I Put The Wrong Color In A Tank?
Mixing incorrect colors inside the same reservoir creates a very difficult mechanical problem. The unique keyed nozzles make this mistake nearly impossible, but forcing a bottle can bypass the safety mechanism. If you accidentally mix colors, your printouts will look muddy and entirely incorrect. You cannot simply scoop the fluid back out of the chamber. You must contact professional technical support to drain the entire system and flush the lines completely.
Do I Need To Squeeze The Ink Bottle?
You never need to squeeze the plastic bottle during the replenishment process. The manufacturer engineered a brilliant gravity-fed system that controls the flow rate automatically. Squeezing the plastic creates excessive pressure that can break the internal valve and cause liquid to spray everywhere. Simply rest the bottle upside down on the receptacle and let gravity do all the heavy lifting until the flow stops naturally.
How Long Does The Ink Last Before Expiring?
Unopened bottles generally remain stable and usable for about two years from their original manufacturing date. Once you break the vacuum seal and expose the liquid to air, you should try to use the product within six months. Storing your leftover supplies in a cool, dark drawer prevents heat and sunlight from degrading the chemical quality. Always check the expiration dates printed clearly on the cardboard packaging before making a purchase.
How Do I Clean Up Spilled Printer Ink?
Acting quickly prevents permanent stains on your desk or flooring. If a stray drop hits a hard surface, immediately wipe it away with a damp paper towel. For stubborn spots on plastic or wood, apply a tiny amount of rubbing alcohol to a clean cloth and scrub gently until the color lifts. You should always wear protective disposable gloves while cleaning to prevent the deep pigments from staining your skin for several days.
Conclusion
Maintaining a functional, efficient workspace requires simple but consistent attention to your essential equipment. Transitioning away from wasteful, expensive traditional cartridges saves your business significant money and completely eliminates daily printing frustrations. By taking a few careful minutes to prepare your desk and match your supplies correctly, you guarantee a flawless maintenance experience every single time.
Mastering how to fill epson ecotank empowers you to keep your projects moving without unnecessary technical delays. You no longer have to panic when you see a low fluid warning on your computer screen. Secure your authentic supplies today, set aside ten minutes in your schedule, and give your machine the simple care it requires. You will instantly enjoy beautiful, professional documents and total confidence in your daily office workflow.

About
Alexis Kerr is a distinguished figure in the world of professional workspace optimization, with a decade of expertise creating innovative and ergonomic office environments. Her professional focus lies in merging organizational psychology with modern spatial design, fostering office setups that are both high-performing and employee-centric. As the lead author for Deskvity, Alexis Kerr delves into the art and science of corporate aesthetics and functionality, inspiring office managers and remote professionals alike.
Education Cornell University
(Ithaca, New York) Bachelor of Science in Design and Environmental Analysis Focus on human factors, workplace strategy, and sustainable interior environments. Gained extensive experience in how physical space influences productivity and mental clarity.
Savannah College of Art and Design (SCAD)
(Savannah, Georgia) Master of Fine Arts in Interior Design Specialized in commercial workspace solutions with a focus on blending digital integration with physical comfort. Participated in high-level industry projects to refine the balance between corporate branding and architectural utility.
Publications and Impact
In Deskvity, Alexis Kerr shares her insights on modern workspace trends, acoustic management, and strategies for efficient layout planning. Her writing bridges the gap between high-level architectural theory and practical day-to-day office needs, making it a must-read for both facility directors and individual professionals looking to elevate their work environment.