

A worn file cabinet can make a clean office feel tired, but a fresh coat of paint can change that quickly. Learning how to paint file cabinets is a simple way to update old storage, match your room style, and save money on new furniture. Whether your cabinet is metal, wood, or laminate, the right prep work makes all the difference.
This project is beginner-friendly, but it does require patience. You need to clean the surface, sand it lightly, use the right primer, and apply paint in thin coats. When done well, the result looks smooth, durable, and custom. You can choose a bold color for a creative workspace or a neutral shade for a calm home office.
Why How To Paint File Cabinets
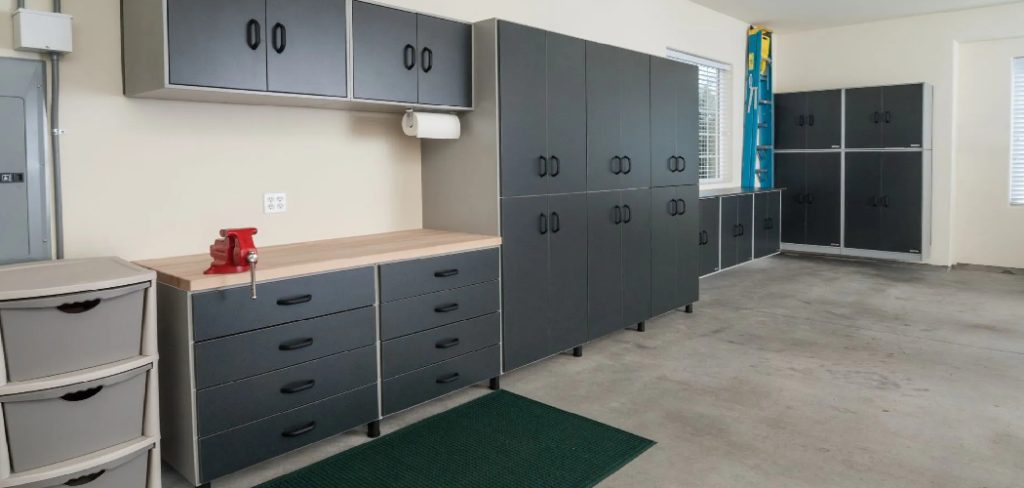
Painting file cabinets is worth it because it gives useful furniture a second life. Instead of replacing a scratched, faded, or outdated cabinet, you can refresh it for a much lower cost.
A painted cabinet can improve the look of your office, craft room, bedroom, or study area. It also lets you match your storage to your decor instead of settling for plain gray, beige, or black metal. With the right finish, your cabinet becomes easier to clean and more pleasant to use every day.
This project also supports better organization. When your workspace looks cared for, you may feel more motivated to keep papers, tools, and supplies in order.
Step-By-Step Guide To How To Paint File Cabinets
Step 1: Choose The Right Paint And Finish
Before you start, choose paint that fits the cabinet material and how often you use it. Metal cabinets need paint that can bond well to slick surfaces, while wood cabinets may work with furniture paint, enamel, or acrylic latex paint. For a busy office, satin or semi-gloss finishes are smart choices because they resist marks and wipe clean more easily.
Color also matters. Light colors can make a small room feel brighter, while dark shades add contrast and a polished look. If this is your first project, keep the design simple so the final result feels clean and balanced.
Step 2: Empty The Cabinet Completely
Remove every file, folder, paper clip, label, and loose item from the drawers. This protects your documents from dust, paint, and accidental spills. It also makes the cabinet lighter and easier to move, which is helpful if you need to take it outside or into a garage.
If the drawers come out, remove them and place them on a protected surface. This gives you better access to the drawer fronts, sides, and edges. Take a moment to check for dents, sticky spots, rust, or old tape marks. Small problems are easier to fix before painting begins.
Step 3: Clean The Surface Thoroughly
A clean surface helps primer and paint stick better. Wipe the entire cabinet with warm water and mild dish soap, paying close attention to handles, drawer fronts, corners, and the base. These areas often collect dust, oil from hands, and grime from daily use.
After cleaning, wipe the cabinet again with a damp cloth to remove soap residue. Then dry it fully with a clean towel. Do not paint over moisture, grease, or dust. Even high-quality paint can peel or bubble if the surface underneath is not clean. Good cleaning is one of the easiest ways to get a smoother result.
Step 4: Remove Hardware And Label Holders
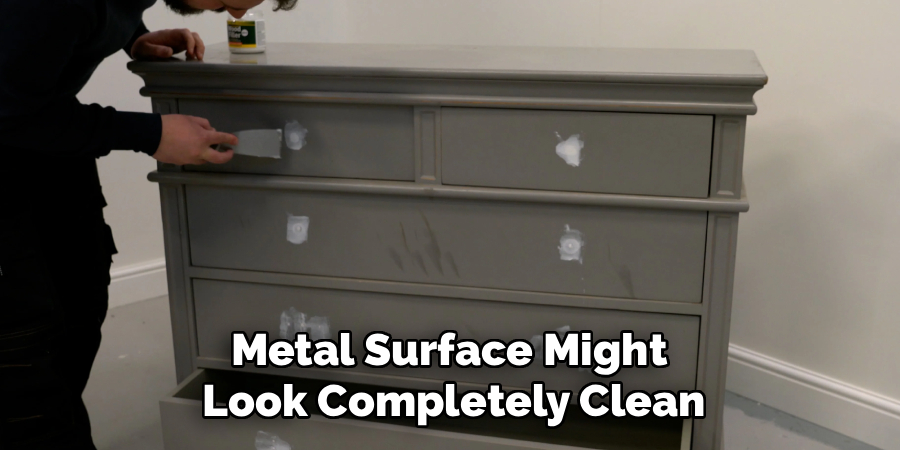
Take off handles, knobs, pulls, and label holders if they are removable. Use a screwdriver that fits the screws well so you do not strip them. Place the screws and small parts in a cup, bag, or container so nothing gets lost during the project.
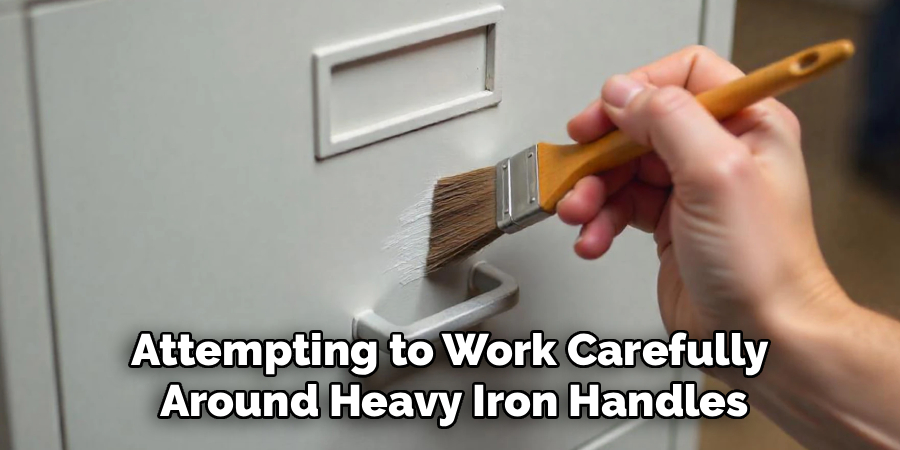
Removing hardware helps you paint cleanly around drawer fronts and edges. It also gives you the option to upgrade the cabinet with new pulls later. If some parts cannot be removed, cover them with painter’s tape. Press the tape down firmly along the edges to reduce paint bleed and keep the details neat.
Step 5: Sand And Repair The Cabinet
Light sanding creates a slightly rough surface, which helps primer grip better. Use fine-grit sandpaper and sand the cabinet gently. You do not need to remove all the old finish. The goal is to dull the shine and smooth out rough patches.
If you see rust on a metal cabinet, sand it until the loose rust is gone. For dents or deeper scratches, use a suitable filler and let it dry before sanding smooth. Wipe away all dust with a clean cloth before moving on. This step may feel small, but it has a big effect on durability.
Step 6: Apply A Quality Primer
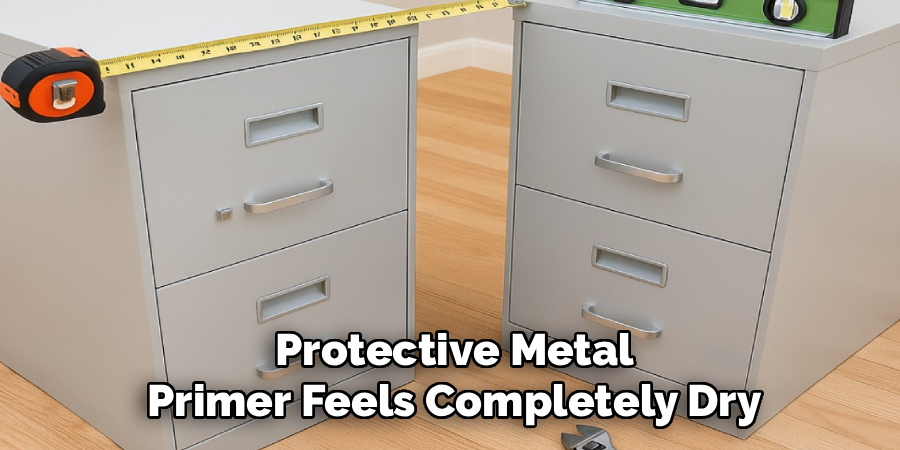
Primer is important because it creates a strong base for the paint. For metal cabinets, use a primer made for metal surfaces. For laminate or glossy finishes, use a bonding primer. If the cabinet is wood, choose a primer that seals the surface and prevents stains from showing through.
Apply primer in a thin, even coat. A foam roller works well for flat areas, while a small brush can reach corners and edges. Let the primer dry fully according to the label. If the original color is dark or uneven, a second light coat can help. This is where how to paint file cabinets starts to feel like a true makeover.
Step 7: Paint In Thin, Even Coats
Once the primer is dry, begin painting with smooth, steady strokes. Use a foam roller for large flat surfaces and a small brush for tight spots. Thin coats are better than thick coats because they dry more evenly and are less likely to drip.
Let the first coat dry before adding the second. Rushing this step can cause tacky spots, fingerprints, or uneven texture. Most cabinets need at least two coats for full coverage. If you use spray paint, move the can slowly and keep it the same distance from the surface. Good technique is key to how to paint file cabinets with a professional-looking finish.
Step 8: Reassemble And Let The Paint Cure
After the final coat feels dry, give the cabinet extra time before heavy use. Paint can feel dry to the touch but still need days to cure fully. During this time, avoid scraping the surface, stacking items on top, or sliding drawers roughly.
Reattach the handles, label holders, and any other hardware once the finish is firm. If you bought new pulls, install them carefully so they sit straight. Add clean labels if you want a more organized look. Move the cabinet back into place and enjoy the refreshed piece. A little patience at the end helps protect all your hard work.
Frequently Asked Questions
Can I Paint A Metal File Cabinet Without Primer?
You can, but it is not the best choice. Metal is often slick, so paint may scratch, chip, or peel without a primer underneath. A metal primer helps the paint bond and creates a more even base. If you want the finish to last, primer is worth the extra step. It is especially important for cabinets that get daily use.
What Kind Of Paint Works Best On File Cabinets?
Satin, semi-gloss, enamel, and spray paint made for metal or furniture can all work well. The best choice depends on the cabinet material and your workspace. Spray paint can give a smooth finish, but it needs good ventilation and careful control. Brush-on or roll-on paint is easier for indoor projects and gives you more control around edges.
Do I Need To Sand Before Painting?
Yes, light sanding is strongly recommended. Sanding helps remove shine and gives the primer something to grip. You do not need to sand aggressively or strip the whole cabinet. A quick pass with fine-grit sandpaper is usually enough. After sanding, always wipe away dust before applying primer. Dust left on the surface can create bumps and weaken the finish.
How Long Should A Painted File Cabinet Dry?
Drying time depends on the paint, humidity, temperature, and number of coats. Many paints feel dry within a few hours, but curing takes longer. It is best to wait at least a day before gentle handling and several days before heavy use. Always follow the paint label for the safest timing. Giving the finish enough time helps prevent scratches and dents.
Can I Paint Over Rust On A File Cabinet?

You should remove loose rust before painting. If you paint directly over rust, the finish may bubble or fail later. Sand the rusty area until it feels smooth, then wipe away the dust. For serious rust, use a rust-inhibiting primer before painting. This helps slow future rust and gives the painted surface a stronger, cleaner foundation.
Conclusion
Painting an old file cabinet is a practical project that can make your workspace look cleaner, brighter, and more personal. The most important steps are simple: empty the cabinet, clean it well, remove hardware, sand lightly, prime properly, and apply thin coats of paint.
You do not need advanced skills to get a good result. You only need the right supplies, a little time, and patience between coats. If your cabinet still works but looks worn or outdated, how to paint file cabinets is a budget-friendly way to give it new life. Choose your color, prepare the surface, and start your refresh with confidence.
