

Security systems occupy a strange psychological space in our daily lives. We install them to alleviate anxiety, yet their technical failures often generate an entirely new category of stress. A dependable surveillance network plays an undeniable role in keeping private property safe from unauthorized intrusion. When that system unexpectedly goes dark, the resulting vulnerability feels deeply unsettling.
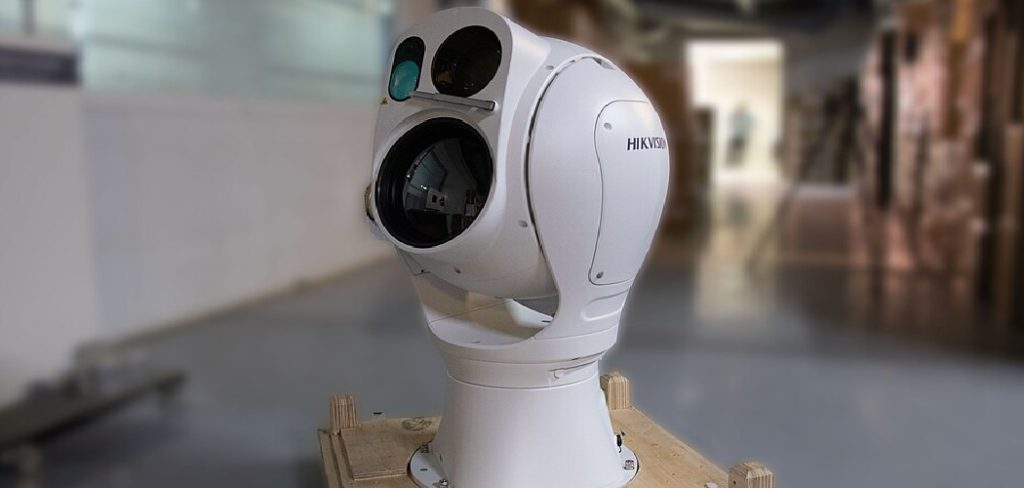
Understanding how to reset hikvision camera devices provides a reliable pathway out of these digital emergencies. It ensures you can quickly recover from technical glitches, forgotten administrative passwords, or sudden network isolation. Many users face highly specific challenges, such as stubborn IP conflicts that prevent local communication.
Others find themselves entirely locked out of the administration panel after a few careless keystrokes. This guide explores several viable solutions to these exact scenarios. We will examine physical button resets, the specialized SADP tool, and web interface methods. Taking a measured, analytical approach to these repairs gets the security system back online without unnecessary frustration.
Understanding When to Reset Your Camera
Restoring a piece of hardware to its original factory state is a highly destructive action. It wipes away hours of meticulous configuration, leaving you with a completely blank slate. You should arguably treat a full system restoration as a diagnostic last resort rather than a first impulse.
Regular troubleshooting usually involves simple power cycles that preserve your custom settings. A power cycle might suggest a temporary memory overload, which resolves the moment electricity stops flowing. A factory wipe, however, completely erases all customized motion parameters and network credentials.
You should only employ this extreme measure when standard rebooting repeatedly fails to solve the underlying issue. Resorting to a wipe prematurely creates hours of administrative busywork for yourself. Careful observation of the camera’s behavior could indicate whether a lighter touch might suffice.
Network Changes and IP Conflicts
The modern smart home is a constantly shifting environment of radio frequencies and assigned addresses. Changing your internet service provider usually leaves your exterior cameras stranded on an obsolete subnet. Upgrading your local router often produces a similar, highly frustrating communication breakdown.
The camera expects to find its old network architecture, which no longer physically exists. A hard reset forces the hardware to forget its past and blindly request a fresh IP address from the new router. This aggressive memory wipe resolves stubborn network conflicts quite efficiently.
It appears that forcing a new handshake is the only reliable way to integrate older hardware into a newly upgraded home network. The system essentially wakes up believing it is brand new. It accepts the new router’s authority without any digital resistance.
Forgotten Passwords and Lockouts
Human memory is notoriously fallible, especially regarding alphanumeric passwords we rarely use. Misplacing the login credentials for your security dashboard is a remarkably common occurrence. The system eventually registers multiple failed login attempts as a hostile brute-force attack.
Hikvision software actively locks down the administration panel for security purposes after these failures. This defensive mechanism protects your privacy but completely barricades you from your own video feeds. A factory reset often represents the only legitimate path forward.
Wiping the device deletes the old administrator account entirely. You regain total access to the hardware by establishing a new password from scratch. It might feel like a severe penalty for a simple memory lapse, but it proves that the security protocols actually work.
Why Knowing How To Reset Hikvision Camera Is Essential?
Wiping the device deletes the old administrator account entirely, enabling you to regain complete access by creating a new password from scratch. While this process may feel like a harsh consequence for forgetting a password, it serves as clear evidence that Hikvision’s security protocols are designed to protect your privacy and prevent unauthorized access.
Save Time and Money
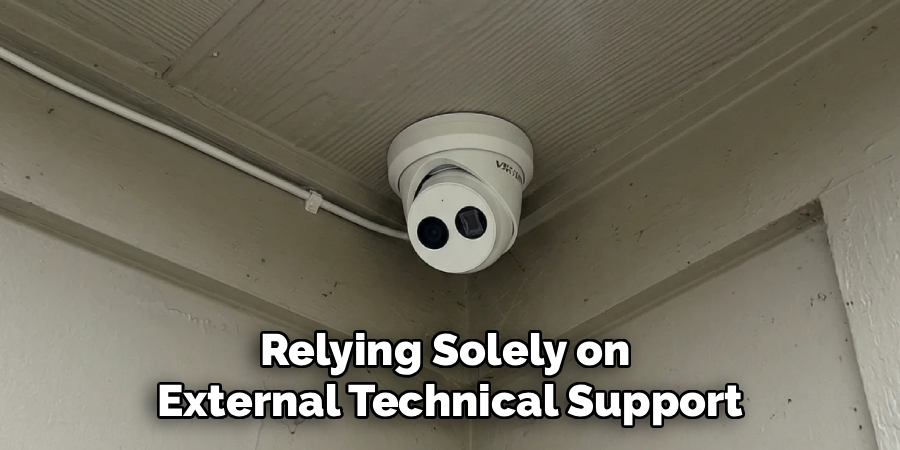
Relying solely on external technical support for minor technical issues can quickly become a costly habit. Service calls not only consume your valuable time but also come with high hourly billing rates. Learning how to reset Hikvision camera models is a practical skill that helps you avoid these unnecessary expenses. By mastering this simple maintenance process, you’ll prevent the need to prematurely replace functional hardware, saving both time and money in the long run.
Extend the Lifespan of Your Devices
Far too often, consumers discard high-quality surveillance equipment simply because they’ve lost the password and assumed the device was broken beyond repair. By understanding how to reset your Hikvision camera, you can reclaim these devices and extend their usable lifespan significantly. This knowledge not only ensures the continued functionality of your equipment but also eliminates the stress of dealing with a breached or misconfigured security system. Ultimately, this ability empowers you to confidently manage your surveillance setup and reinforces your role as the administrator of your secure digital property.
How To Reset Hikvision Camera: Step-by-Step Guide
Approaching the physical hardware requires a calm demeanor and a bit of mechanical patience. Rushing the reboot cycle frequently corrupts the firmware, essentially transforming the camera into an expensive paperweight. This section delivers a structured, chronological path for performing a hard reset directly on the device.
You must follow these steps precisely to ensure the internal memory chip clears correctly. The logic board requires specific timing to accept the destructive command. A careless execution might suggest you need to start the entire process over from the beginning.
Step 1: Locating the Reset Button
Finding the physical button often feels like a mildly irritating scavenger hunt. Manufacturers intentionally hide these switches to prevent accidental wipes during routine physical cleaning. The button’s location depends heavily on the specific architectural design of your camera model.
Dome cameras usually conceal the button deep inside the housing, near the memory card slot. This placement requires you to carefully remove the protective glass cover using a specialized security wrench. Keep your hands clean, as touching the inner glass might leave permanent, blurry fingerprints on the lens.
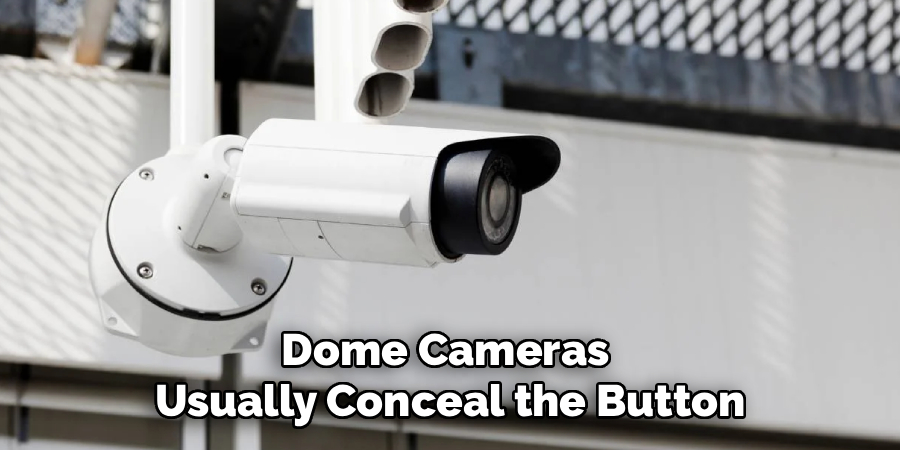
For exterior bullet cameras, the button typically resides outside the main chassis. You should check the external pigtail cable bundle for a small, capped switch. Alternatively, you might need to open a small weatherproof hatch located on the underbelly of the metal unit.
Step 2: Disconnecting the Power Supply
Managing the electrical flow is the most critical phase of the physical reset process. You must locate the power source and separate it from the camera body. If you use a traditional setup, simply unplug the 12V DC power adapter from the wall.
Many modern installations utilize a Power over Ethernet protocol to reduce cable clutter. In this scenario, you must disconnect the primary Ethernet cable from the camera’s network port. The camera must remain completely unpowered before you attempt the next physical action.
Removing the voltage entirely ensures the internal capacitors drain to absolute zero. This dead state guarantees the memory chip will clear correctly when forced into its reset loop. Attempting to press the button while power still flows generally produces no result whatsoever.
Step 3: Pressing and Holding the Button
With the camera sitting cold and unpowered, you can initiate the destructive trigger. Press the physical reset button down firmly using your finger or a specialized tool. You must maintain steady, continuous pressure on this tiny switch.
Do not let your finger slip, as releasing the button prematurely ruins the entire sequence. You are preparing to reintroduce electricity while holding this button down, which requires a bit of manual dexterity. It might suggest asking a friend to plug the cord in while you focus entirely on the switch.
Step 4: Reconnecting Power and Completing the Reset
While keeping the reset button firmly depressed, carefully reconnect the power supply. Plug the DC adapter back in, or seat the Ethernet cable until it clicks into the port. You must continue holding the reset button for an additional fifteen to twenty seconds after the power returns.
The camera will eventually provide visual cues signaling a successful factory wipe. You might see the infrared lights flash brightly, or hear the internal motor adjusting the mechanical lens. These mechanical sounds tell you the operating system is actively deleting its files.
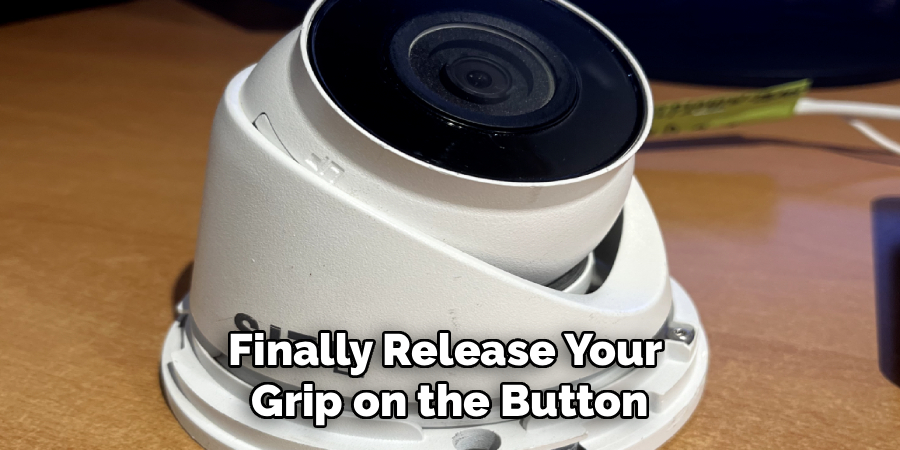
Once you observe these indicators, you can finally release your grip on the button. The camera will require a full minute to rebuild its default firmware architecture. Let it sit entirely undisturbed until the boot cycle finishes.
Resetting via the Hikvision SADP Tool
Sometimes you only need to recover a lost password without destroying your carefully mapped motion detection zones. A physical button wipe deletes everything, which feels overly aggressive for a simple password error. The Search Active Devices Protocol software offers a highly refined official alternative.
This digital approach scans your local network to find any connected Hikvision hardware. It allows you to interface with the locked camera directly from your desktop computer. This method might indicate a much more sophisticated approach to administrative recovery.
Exporting the XML File
Open the SADP software interface and scan the local subnet for your specific camera. Select the locked device from the populated grid and click the prompt indicating you forgot your password. This action opens a secondary menu designed specifically for secure credential recovery.
The software will generate a highly encrypted security XML file. You must export this specific file and save it securely to your computer’s desktop. This file contains the digital signature required to prove you actually own the hardware attached to your network.
Generating the New Password
You must now transmit this exported file to the manufacturer’s technical support team or utilize an automated recovery key portal. The automated system reads the XML file and generates a unique, temporary unlocking key. You will receive this new file via email shortly after your submission.
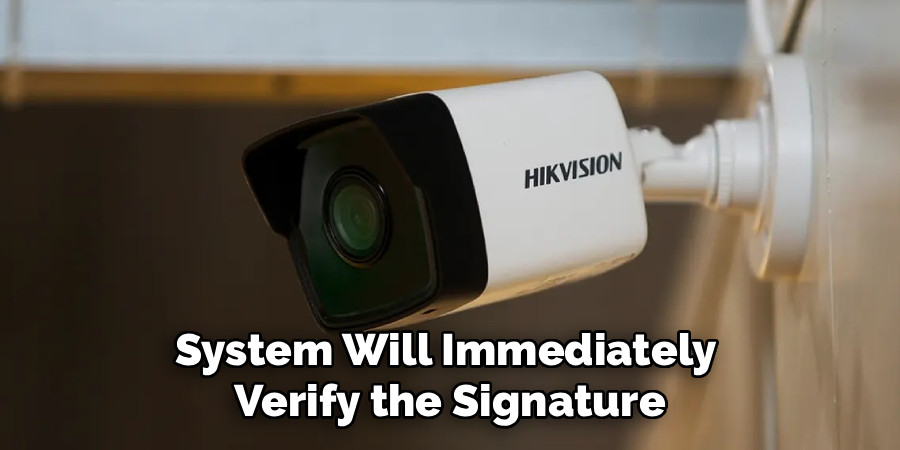
Return to the SADP tool and import this resulting key back into the software interface. The system will immediately verify the signature and unlock the administrative fields. You can then type in a brand-new administrator password seamlessly, preserving all your previous motion settings.
Restoring Factory Defaults Through the Web Interface
If you still possess your login credentials but simply want a fresh start, a remote software wipe is ideal. Logging directly into the camera’s local IP address through a standard web browser offers a remarkably clean solution. It provides a digital method to wipe the entire system without ever climbing a ladder.
This approach is highly favored by IT professionals managing large commercial installations. It allows you to wipe a camera mounted thirty feet in the air from the comfort of an office chair. It could suggest the most efficient method for preparing an old camera for a new physical location.
Accessing the Maintenance Menu
Type the camera’s numerical IP address into your browser and log into the administrative dashboard. Navigate carefully through the top configuration tabs to locate the specific system settings. You are looking for the advanced maintenance menu, which houses the most destructive software commands.
The interface will present two distinct options: a simple reboot and a complete default restore. The simple reboot merely turns the digital switch off and on. You must explicitly click the complete restore button to force a full factory wipe.
The web browser will ask you to confirm this catastrophic decision. Once confirmed, the camera will drop off the network immediately and begin its internal scrubbing process. You will need to use the SADP tool later to find its new, dynamically assigned IP address.
Conclusion
Taking ownership of your digital security perimeter requires a willingness to engage with complex hardware maintenance. Knowing exactly how to reset hikvision camera devices transforms a catastrophic lockout into a minor, temporary inconvenience. You no longer have to fear an offline status or a forgotten alphanumeric string.
Whether you utilize the physical button, the SADP recovery tool, or the web interface, the pathways to restoration are clearly defined. Each method offers a distinct approach to reclaiming your surveillance infrastructure. This technical fluency yields massive dividends in long-term security and genuine peace of mind.
Store your newly generated password in a highly secure, offline location to prevent future lockouts. Take an afternoon to carefully reconfigure your custom motion zones and sensitivity settings. Your surveillance network is now fully restored, deeply secure, and operating exactly as the manufacturer intended.

About
Alexis Kerr is a distinguished figure in the world of professional workspace optimization, with a decade of expertise creating innovative and ergonomic office environments. Her professional focus lies in merging organizational psychology with modern spatial design, fostering office setups that are both high-performing and employee-centric. As the lead author for Deskvity, Alexis Kerr delves into the art and science of corporate aesthetics and functionality, inspiring office managers and remote professionals alike.
Education Cornell University
(Ithaca, New York) Bachelor of Science in Design and Environmental Analysis Focus on human factors, workplace strategy, and sustainable interior environments. Gained extensive experience in how physical space influences productivity and mental clarity.
Savannah College of Art and Design (SCAD)
(Savannah, Georgia) Master of Fine Arts in Interior Design Specialized in commercial workspace solutions with a focus on blending digital integration with physical comfort. Participated in high-level industry projects to refine the balance between corporate branding and architectural utility.
Publications and Impact
In Deskvity, Alexis Kerr shares her insights on modern workspace trends, acoustic management, and strategies for efficient layout planning. Her writing bridges the gap between high-level architectural theory and practical day-to-day office needs, making it a must-read for both facility directors and individual professionals looking to elevate their work environment.