

Audio glitches disrupt your focus and ruin your favorite playlists. You rely on your wireless audio gear to block out distractions, power through workouts, and manage important phone calls. When the Bluetooth connection drops repeatedly or the sound quality suddenly deteriorates, the experience becomes incredibly frustrating. Fixing these common technical issues does not require a trip to an electronics repair shop or a costly replacement. A simple system reboot often resolves the underlying software bugs instantly. Understanding how to reset jbl headphones provides you with a reliable, expert-level troubleshooting technique to restore your audio experience.
We know that navigating device settings might feel intimidating if you lack technical expertise. Fortunately, restoring your device to its factory state requires nothing more than pressing a few buttons. This straightforward process clears out corrupted memory and eliminates stubborn pairing conflicts without damaging your hardware. This comprehensive guide details the exact steps you need to follow to get your audio gear functioning perfectly again. Taking a few minutes to perform this task saves you money and ensures you never have to tolerate subpar sound quality.
Why Resetting Your Device Matters
Wireless audio devices function like miniature computers, processing complex data and maintaining continuous wireless connections. Over time, the internal memory cache accumulates small errors from pairing with multiple smartphones, tablets, and laptops. These digital fragments eventually cause the system firmware to misbehave. You might notice the audio lagging behind a video you are watching, or the battery indicator might display inaccurate charge levels. Performing a hard reset clears out this digital clutter entirely.
When you restore the factory defaults, you wipe the internal memory clean. This action forces the firmware to reboot fresh, eliminating the hidden software conflicts causing your connectivity problems. Your device forgets all previously paired devices, which prevents it from automatically attempting to connect to an old laptop or a friend’s phone nearby. By removing these overlapping signals, the device can dedicate its full processing power to maintaining a strong, stable connection with your primary audio source.
Step-By-Step Guide How to Reset Jbl Headphones
Step 1: Identify Your Specific Hardware Model
Before you press any buttons, you must correctly identify the exact model you own. Different designs utilize slightly different button configurations for the reboot process. Inspect the headband, the inside of the ear cups, or the original packaging to locate the specific model name and number. Knowing whether you have an over-ear noise-canceling model or a standard wireless pair determines the correct button combination. Taking a moment to confirm your model prevents you from pressing the wrong buttons and accidentally changing the language settings instead of clearing the memory.
Step 2: Unpair Devices Before Initiating
You must sever the existing digital connection between your audio gear and your smartphone or computer before starting the procedure. Open the Bluetooth settings menu on your primary device and locate the name of your audio equipment in the list of paired items. Select the option to forget or unpair the device completely. This action stops your phone from constantly pinging the hardware while you attempt to clear its internal memory. Properly unpairing the equipment ensures the reboot process goes smoothly without any wireless interference.
Step 3: Power On The Audio Device Completely
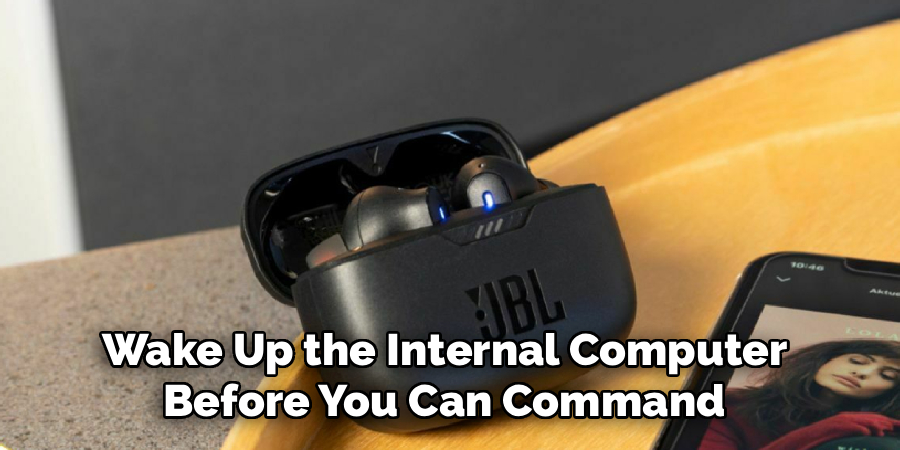
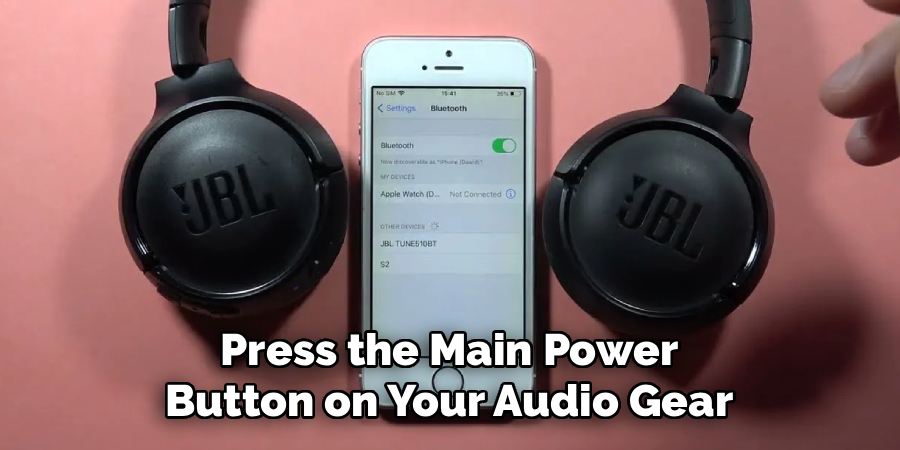
The factory reboot sequence requires the internal processor to be fully active and awake. Press the main power button and wait for the familiar startup chime to play through the speakers. Look for the small LED indicator light to illuminate, confirming the system has enough battery charge to operate. The hardware cannot receive the complex command to wipe its memory if it remains powered off. Ensuring the unit is fully powered on guarantees the internal computer registers your command correctly and begins the internal wipe.
Step 4: Locate The Volume And Playback Controls
Take a moment to familiarize yourself with the control layout on the right ear cup. You need to identify the volume up button and the main play or pause button. Run your fingers over the controls to feel the tactile differences between them, as you will need to press them simultaneously. On most standard designs, these buttons sit directly next to each other along the bottom edge of the plastic casing. Locating these controls precisely prevents you from fumbling and missing the timing window required for the command.
Step 5: Press And Hold The Required Combination
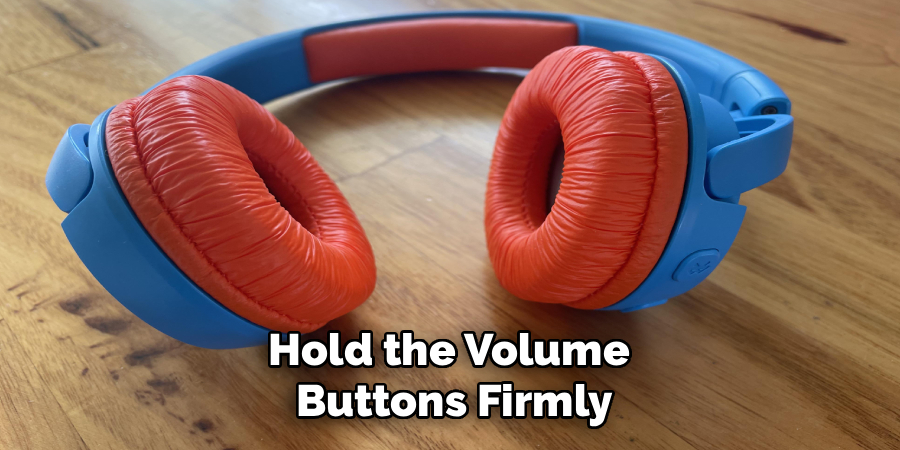
Now you must execute the actual command to clear the internal firmware cache. Press the volume up button and the play button at the exact same time. You must hold both buttons down firmly without letting go. Keep applying steady pressure to both controls for approximately ten to twenty seconds. Releasing the buttons too early will cancel the command, and the device will simply change the volume or pause your music instead. Patience is essential here, as the processor needs time to verify the hard reboot request.
Step 6: Monitor The Lights
While holding the buttons down, keep your eyes focused on the small LED status light on the ear cup. This light acts as the primary communication tool between you and the internal software. After holding the buttons for the required duration, the light will suddenly turn off and the device will power down completely. On some models, the light might flash a specific color before shutting off entirely. This visual confirmation indicates that the memory wipe was successful and the factory defaults have been restored.
Step 7: Restart The Device To Verify Success
Once the equipment powers down automatically, you need to turn it back on to finalize the procedure. Press the main power button just as you normally would when starting your day. Because the memory cache is now completely empty, the device will immediately enter pairing mode. The LED indicator light will begin flashing rapidly, usually in blue, signaling that it is actively searching for a fresh connection. This rapid flashing proves that the old Bluetooth profiles are gone and the reboot worked perfectly.
Frequently Asked Questions
Will A Factory Reset Delete My Saved Equalizer Settings?
Clearing the internal memory completely removes any custom sound profiles or equalizer adjustments you previously saved. The hardware reverts entirely to its original factory sound signature. If you use a dedicated mobile application to manage your audio preferences, you will need to open the app and manually recreate your custom bass and treble settings. Writing down your preferred equalizer levels before starting the wipe saves you time when reconfiguring the audio profile later.
Do I Need To Charge My Device Before Starting The Process?
You should ensure your battery holds at least a twenty percent charge before attempting a system wipe. If the battery dies in the middle of the reboot sequence, the firmware could become corrupted and render the equipment unusable. Plug the unit into a wall charger for about fifteen minutes before you begin if you suspect the battery is running low. A stable power supply guarantees the internal processor can execute the complete deletion command safely.
What Should I Do If The Buttons Do Not Respond?
Occasionally, severe software crashes cause the physical buttons to become entirely unresponsive. If pressing the volume and play buttons yields no results, plug the unit directly into a power outlet using the original charging cable. The sudden influx of electricity often forces the processor to wake up from a frozen state. Once the charging light turns on, leave it plugged in for five minutes before unplugging it and attempting the button combination once again.
Does This Process Fix Static And Poor Audio Quality?
A system wipe effectively resolves static and poor audio quality caused by software glitches and corrupted digital connections. When the Bluetooth signal drops packets of data, it creates a crackling sound in the speakers. Clearing the memory and establishing a fresh connection usually eliminates this digital static completely. However, if the static persists after the wipe, the issue likely stems from physical hardware damage to the internal speaker cones.
How Often Should I Perform This Maintenance Step?
You only need to clear the internal memory when you experience noticeable performance issues or connectivity drops. There is no benefit to wiping the system on a regular weekly or monthly schedule. The internal software manages itself efficiently under normal conditions. Save this troubleshooting technique for moments when your equipment refuses to pair with a new phone or when the audio cuts out unexpectedly during your daily routine.
Conclusion
Resolving frustrating audio glitches and pairing drops does not require an advanced degree in electronics. By taking a few minutes to clear the internal memory, you eliminate the hidden software conflicts that disrupt your daily listening experience. This simple maintenance task restores your equipment to its original, flawless factory condition. Mastering how to reset jbl headphones gives you the power to troubleshoot technical issues instantly, saving you from unnecessary stress and expensive repair bills. Take action today by unpairing your device, holding the correct button combination, and establishing a fresh, stable connection. You will immediately notice the return of crystal-clear sound and reliable wireless performance.

About
Alexis Kerr is a distinguished figure in the world of professional workspace optimization, with a decade of expertise creating innovative and ergonomic office environments. Her professional focus lies in merging organizational psychology with modern spatial design, fostering office setups that are both high-performing and employee-centric. As the lead author for Deskvity, Alexis Kerr delves into the art and science of corporate aesthetics and functionality, inspiring office managers and remote professionals alike.
Education Cornell University
(Ithaca, New York) Bachelor of Science in Design and Environmental Analysis Focus on human factors, workplace strategy, and sustainable interior environments. Gained extensive experience in how physical space influences productivity and mental clarity.
Savannah College of Art and Design (SCAD)
(Savannah, Georgia) Master of Fine Arts in Interior Design Specialized in commercial workspace solutions with a focus on blending digital integration with physical comfort. Participated in high-level industry projects to refine the balance between corporate branding and architectural utility.
Publications and Impact
In Deskvity, Alexis Kerr shares her insights on modern workspace trends, acoustic management, and strategies for efficient layout planning. Her writing bridges the gap between high-level architectural theory and practical day-to-day office needs, making it a must-read for both facility directors and individual professionals looking to elevate their work environment.