

Cubicle walls are designed to be sturdy, modular, and reusable, but removing them can feel confusing if you have never handled office panels before. Many systems use hidden brackets, connector posts, leveling feet, electrical raceways, and trim pieces that are not obvious at first glance. If you pull too hard or skip a step, you can damage panels, bend hardware, or create a safety risk.
This guide explains how to take apart cubicle walls in a simple, beginner-friendly way. Whether you are moving offices, opening up floor space, replacing worn panels, or storing a workstation system for later use, the right process makes the job cleaner and safer.
The key is to slow down, study the layout, remove small parts first, and keep all hardware organized. With basic tools, careful planning, and a little patience, most cubicle systems can be disassembled without stress or unnecessary damage.
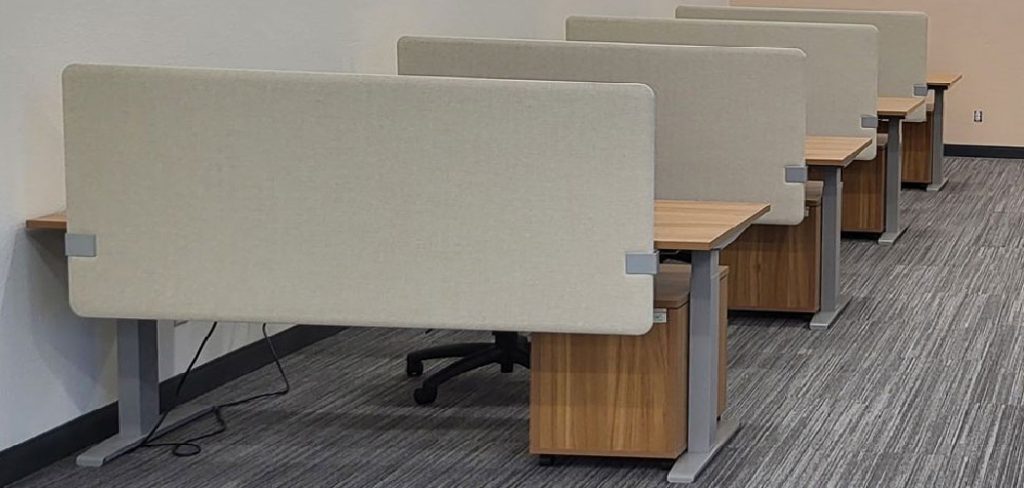
Why Taking Apart Cubicle Walls Matters
Proper cubicle disassembly protects your furniture, your office space, and the people doing the work. Cubicle panels can be heavy, awkward, and connected in ways that are not visible from the outside. Taking them apart in the right order helps prevent falling panels, scratched floors, broken connectors, and lost hardware.
It also saves money. When panels, brackets, shelves, and trim pieces stay in good condition, you can reuse them in a new layout instead of buying replacements. A careful process also makes reassembly faster because every part is labeled, grouped, and ready to go.
Good planning reduces downtime, keeps the workspace safer, and helps your office transition go smoothly.
Step-By-Step Guide To How to Take Apart Cubicle Walls
Step 1: Assess The Cubicle Type And Layout
Start by looking closely at the cubicle system before touching any tools. Some cubicles use tall panels connected by posts, while others use lower partitions with metal brackets. Newer systems may include built-in power, data ports, glass sections, overhead bins, or adjustable desks attached to the panels.
Walk around the entire workstation and note how each panel connects to the next one. Look for seams, end caps, base covers, trim strips, and fasteners. If you are learning how to take apart cubicle walls for the first time, this inspection helps you avoid forcing parts that are meant to slide, lift, or unlock in a specific way.
Step 2: Gather Tools And Safety Gear
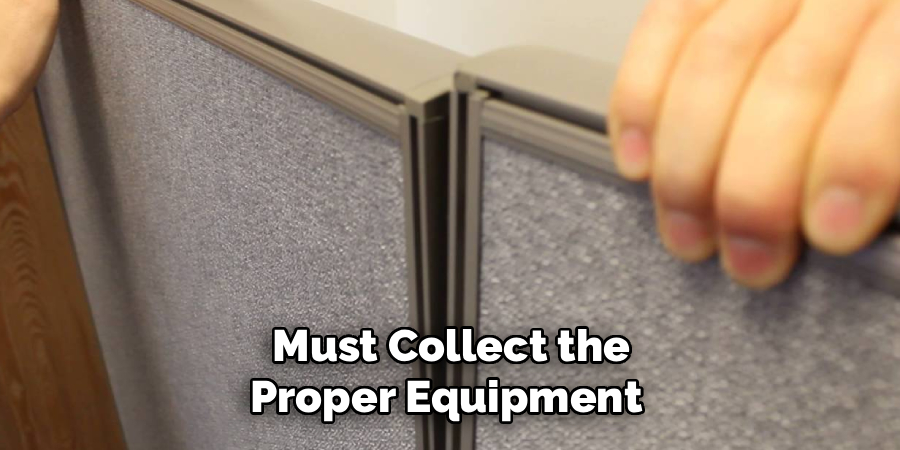
Before you begin, gather the tools you are likely to need. Most cubicle systems can be handled with a screwdriver, hex key set, adjustable wrench, rubber mallet, pry tool, and pliers. Some systems may need a special panel key or manufacturer-specific connector tool.
Safety gear matters too. Wear work gloves to protect your hands from sharp brackets and metal edges. Safety glasses are useful when removing trim or working near overhead storage. Closed-toe shoes are important because panels and hardware can fall unexpectedly.
If the panels are large or heavy, do not work alone. Having at least two people makes the job safer and helps prevent damage.
Step 3: Document The Panel Arrangement
Take clear photos before removing anything. Capture the full layout from several angles, then take closer photos of corners, connector posts, shelves, electrical covers, and panel joints. These photos can save a lot of time if you need to rebuild the cubicles later.
Label each panel with painter’s tape or removable labels. Use simple names like left return, back panel, right panel, corner post, or workstation one. Mark the top and bottom if the panels look similar.
You can also sketch a quick floor plan. It does not need to be perfect. The goal is to create a simple reference that shows where each panel, bracket, and accessory belongs.
Step 4: Remove Accessories And Mounted Parts
Remove everything attached to the cubicle walls before separating the panels. Start with loose items, then move to shelves, whiteboards, tack boards, monitor arms, nameplates, bins, task lights, and overhead cabinets. Taking off these parts reduces weight and makes the panels easier to control.
Work from top to bottom when possible. Overhead storage can be heavy, so have someone support it while another person removes the fasteners. Do not assume a shelf is loose just because the screws are out. Some pieces hook into slots and must be lifted upward before they release.
Place small screws, clips, and brackets in labeled bags so they do not get mixed together.
Step 5: Disconnect Power And Data Components
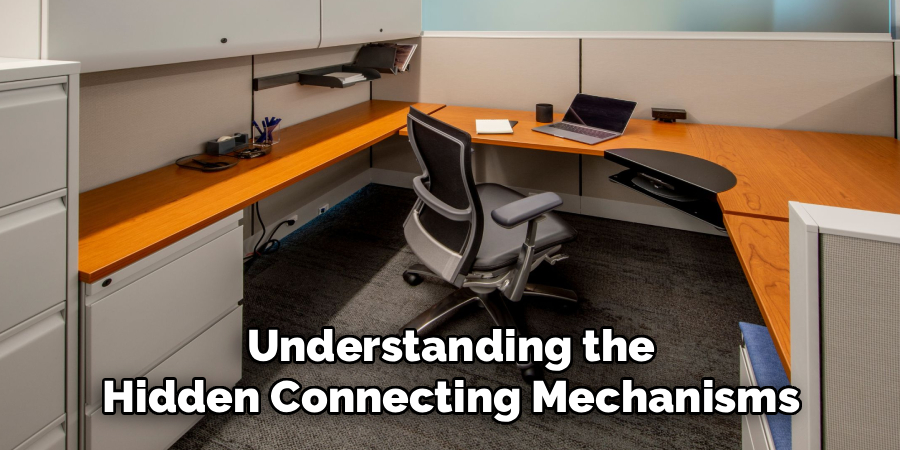
Many office cubicles include electrical outlets, network ports, phone lines, or power raceways along the base of the panels. Do not remove these parts until you know whether they are live. If the system has power, turn it off at the source and have a qualified person confirm it is safe.
Never cut, pull, or guess with electrical wiring. Some cubicle power systems use modular connectors, but they still require care. If you are not trained to handle office electrical systems, contact a licensed electrician or facility professional.
Once the power and data components are safe, remove covers gently and document how the cables are routed. This makes future setup much easier.
Step 6: Unlock Connectors And Brackets
Now look for the hardware that holds the panels together. Depending on the system, you may find locking cams, metal clips, screws, bolts, brackets, hinge connectors, or vertical connector rods. Some connectors are hidden under plastic trim or at the top and bottom of the panel seams.
Remove trim carefully and set it aside. Then loosen the connectors without letting the panels shift suddenly. A common mistake when learning how to take apart cubicle walls is removing the wrong connector first, which can cause a panel to lean or drop.
Have one person support the panel while another loosens the hardware. Move slowly and check each joint before separating anything.
Step 7: Separate The Panels Carefully
Once the connectors are loose, separate the panels one at a time. Some panels lift off posts, some slide apart, and others pull straight away after brackets are removed. Avoid twisting the panels because that can bend the frame or damage the fabric surface.
Keep the panel upright while moving it. Large panels can act like sails and become hard to control, especially in open areas. If a panel resists, stop and check for hidden fasteners, leveling feet, or attached cable channels.
Place removed panels against a wall or flat on a protected surface. Do not stack them carelessly, since sharp brackets can tear fabric or scratch finishes.
Step 8: Organize Hardware And Prepare For Storage
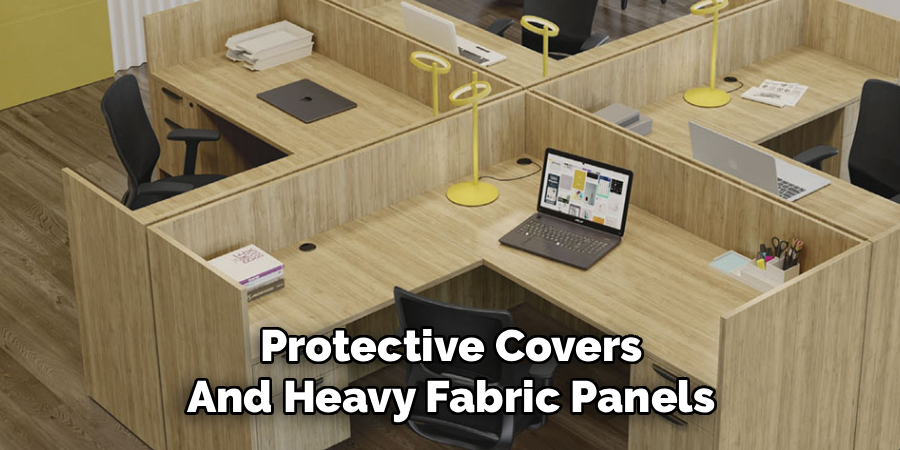
After the panels are apart, sort all hardware, trim, brackets, posts, feet, and covers. Keep parts from the same workstation together whenever possible. Use labeled bags, small boxes, or tape-secured bundles to prevent pieces from getting lost.
Clean the panels before storing them. Dust, remove loose debris, and check for damage. If panels have fabric surfaces, avoid dragging them across the floor. Use moving blankets, cardboard, or plastic wrap to protect corners and edges.
Store panels upright if you have proper support, or lay them flat in a stable stack with padding between surfaces. Good organization now will make your next installation faster and less frustrating.
Frequently Asked Questions
Can One Person Remove Cubicle Panels Safely?
One person may be able to remove small, lightweight panels, but it is usually safer to have two people. Cubicle panels can be awkward, and they may shift once connectors are loosened. A second person can support the panel, prevent tipping, and help carry it without damaging walls, floors, or furniture. For tall panels or overhead storage, extra help is strongly recommended.
What Tools Are Needed To Disassemble Cubicles?
Most cubicle systems require basic hand tools such as a screwdriver, hex keys, pliers, an adjustable wrench, and sometimes a rubber mallet. You may also need a pry tool for trim pieces and labeled bags for hardware. Some office furniture brands use special connectors, so check the system before starting. Safety gloves, eye protection, and closed-toe shoes are also helpful.
Should I Hire A Professional For Cubicle Removal?
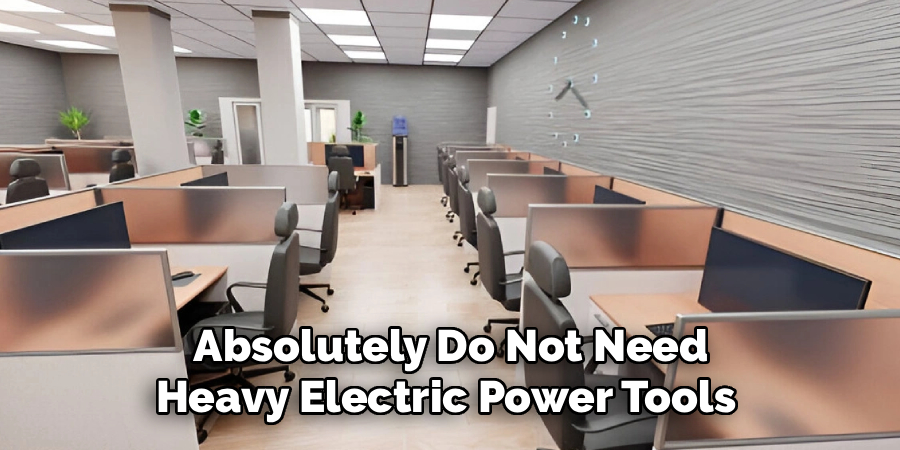
Hiring a professional is smart if the cubicles include electrical wiring, heavy overhead bins, glass panels, or a large number of workstations. Professionals know how to take systems apart quickly while reducing damage and safety risks. For a small, simple setup with no power components, a careful team may handle the work themselves if they follow the right process.
How Do I Avoid Damaging Cubicle Walls During Removal?
Start by removing accessories, shelves, and trim before separating panels. Take photos, label parts, and avoid forcing anything that does not move easily. Support each panel while loosening connectors, and check for hidden screws or brackets. Use blankets or cardboard to protect surfaces during moving and storage. Careful handling keeps panels, fabric, frames, and hardware in better condition.
Can Cubicle Walls Be Reused After Disassembly?
Yes, many cubicle walls are made to be reused. Their modular design allows panels, posts, brackets, and accessories to be reconfigured in a new space. Reuse is much easier when you label each part, keep hardware grouped, and document the original layout. Before reassembly, inspect the panels for bent connectors, missing feet, damaged fabric, or broken trim pieces.
Conclusion
Taking apart cubicle walls is much easier when you follow a clear plan. Start by studying the layout, gathering the right tools, and documenting the arrangement. Then remove accessories, handle any power or data components safely, unlock the connectors, separate panels with care, and organize every piece for storage or reuse.
Now that you know how to take apart cubicle walls, take your time and work in the right order. A careful approach will protect your panels, reduce safety risks, and make your next office setup much smoother.

About
Alexis Kerr is a distinguished figure in the world of professional workspace optimization, with a decade of expertise creating innovative and ergonomic office environments. Her professional focus lies in merging organizational psychology with modern spatial design, fostering office setups that are both high-performing and employee-centric. As the lead author for Deskvity, Alexis Kerr delves into the art and science of corporate aesthetics and functionality, inspiring office managers and remote professionals alike.
Education Cornell University
(Ithaca, New York) Bachelor of Science in Design and Environmental Analysis Focus on human factors, workplace strategy, and sustainable interior environments. Gained extensive experience in how physical space influences productivity and mental clarity.
Savannah College of Art and Design (SCAD)
(Savannah, Georgia) Master of Fine Arts in Interior Design Specialized in commercial workspace solutions with a focus on blending digital integration with physical comfort. Participated in high-level industry projects to refine the balance between corporate branding and architectural utility.
Publications and Impact
In Deskvity, Alexis Kerr shares her insights on modern workspace trends, acoustic management, and strategies for efficient layout planning. Her writing bridges the gap between high-level architectural theory and practical day-to-day office needs, making it a must-read for both facility directors and individual professionals looking to elevate their work environment.