

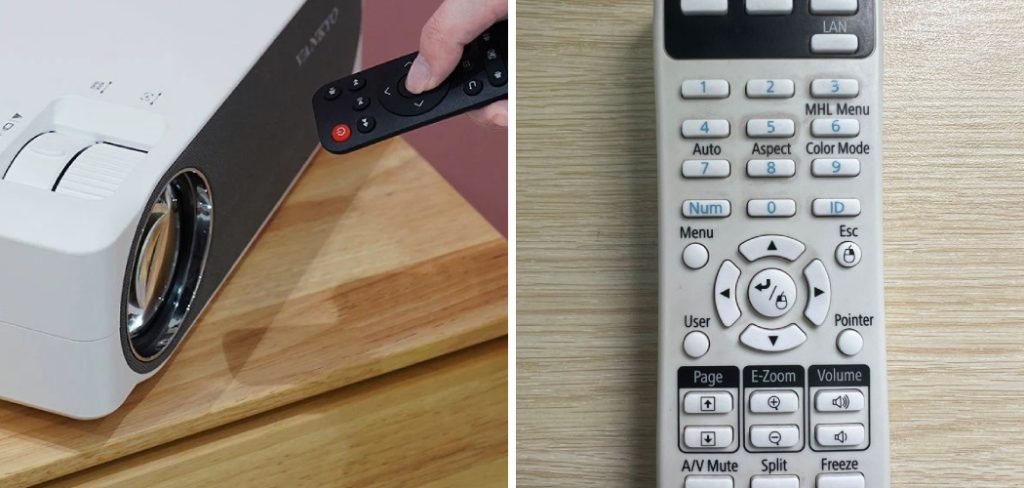
A projector remote may look simple, but it controls many important features that affect picture quality, sound, input selection, and daily convenience. If you are setting up a home theater, classroom display, office presentation, or portable projector, knowing how to use projector remote controls can save time and prevent setup frustration.
Most projector remotes include buttons for power, source selection, menu navigation, volume, focus, keystone correction, and picture settings. Some models also include smart TV controls, streaming shortcuts, mouse mode, or Bluetooth pairing options. While the exact layout can vary by brand, the basic functions are usually easy to understand once you know what each button does.
This guide explains the process in a beginner-friendly way. You will learn how to prepare the remote, turn on the projector, choose the right input, adjust the image, control sound, use menu settings, fix common remote issues, and keep everything working smoothly.
Why Using A Projector Remote Matters
Using a projector remote correctly helps you control your display without walking up to the projector every time you need to change a setting. This is especially useful when the projector is mounted on a ceiling, placed across the room, or used during a presentation.
A remote also makes setup easier. You can switch inputs, adjust volume, open menus, correct image shape, and fine-tune brightness from one place. This helps you get a clear picture faster and reduces interruptions.
Good remote use can also protect your projector. Instead of pressing buttons randomly or unplugging the unit, you can power it down properly, manage settings safely, and avoid unnecessary wear.
Step-By-Step Guide To How To Use Projector Remote
Step 1: Check The Batteries And Remote Condition
Start by checking the remote before you try to control the projector. Open the battery cover and make sure the batteries are installed in the correct direction. Look for the plus and minus symbols inside the battery compartment and match them carefully.
If the remote has been stored for a long time, replace the batteries with fresh ones. Weak batteries can make the remote respond slowly or stop working from a normal distance.
Also inspect the remote for stuck buttons, cracks, or corrosion around the battery contacts. If you see white or green buildup, the old batteries may have leaked. Clean the contacts carefully before using the remote again.

Step 2: Point The Remote At The Projector Sensor
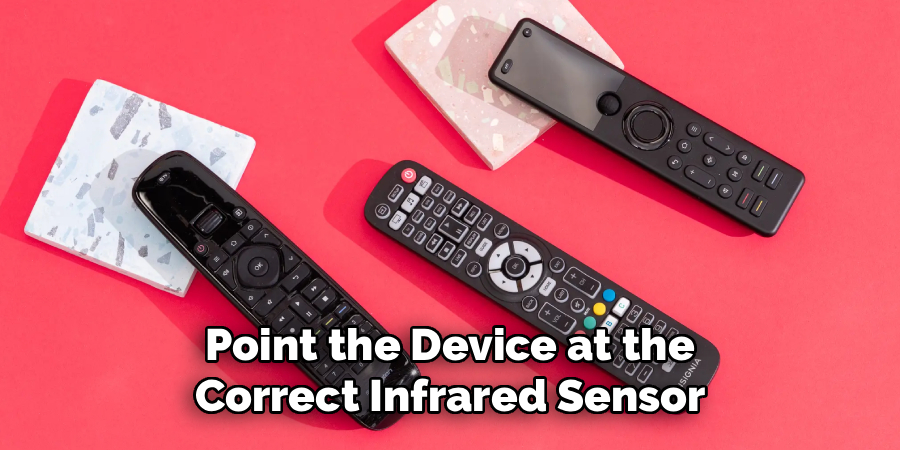
Most projector remotes use infrared signals, so the remote needs a clear path to the projector’s sensor. The sensor is often on the front, back, or top of the projector. If you are not sure where it is, check the projector body for a small dark window.
When learning how to use projector remote controls, distance and direction matter. Stand within the normal range and point the remote toward the sensor. Avoid blocking the signal with furniture, people, screens, or equipment.
Some newer remotes use Bluetooth or radio signals, which do not need perfect line of sight. Even then, staying close during setup helps avoid connection problems.
Step 3: Turn The Projector On And Off Properly
Press the power button once to turn on the projector. Many projectors take several seconds to warm up, so wait for the lamp or light source to fully start. During this time, the screen may stay blank, show a logo, or display a loading message.
To turn the projector off, press the power button and follow any on-screen prompt. Some models ask you to press power again to confirm shutdown. This protects the lamp, fan, and internal parts.
Do not unplug the projector right after turning it off unless the manual says it is safe. Many projectors need time for the fan to cool the unit before power is removed.
Step 4: Select The Correct Input Source
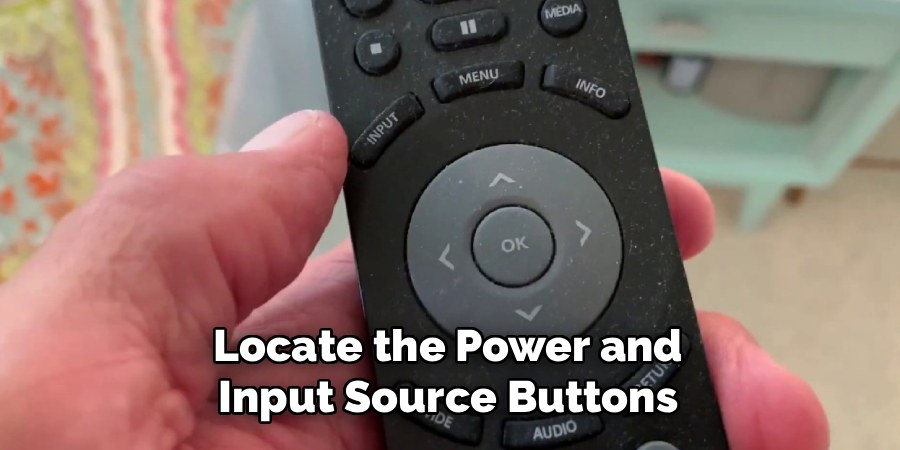
If the projector is on but you do not see your device, the input source may be wrong. Press the source, input, or signal button on the remote. A menu should appear with options such as HDMI, USB, VGA, AV, screen mirroring, or media player.
Choose the port or connection type your device is using. For example, if your laptop is plugged into HDMI 1, select HDMI 1. If you are using a streaming stick, choose the HDMI port where it is connected.
Wait a few seconds after selecting the source. Some projectors need a moment to detect the signal and display the image.
Step 5: Adjust The Image Size And Position
Once the image appears, check whether it fits the screen or wall correctly. Use the remote’s menu, zoom, focus, or keystone buttons if your projector supports digital adjustments. Some models use manual rings on the projector for focus and zoom, while the remote controls only digital settings.
This is an important part of how to use projector remote features because small image changes can make a big difference. Keystone correction helps fix a picture that looks wider at the top or bottom. Zoom can resize the image without moving the projector on some models.
Avoid overusing digital correction if possible. A properly placed projector usually gives the sharpest picture.
Step 6: Control Volume And Audio Settings
Many projector remotes include volume up, volume down, and mute buttons. These work well if you are using the projector’s built-in speaker. Press volume up or down slowly and listen for changes, since some speakers take a moment to respond.
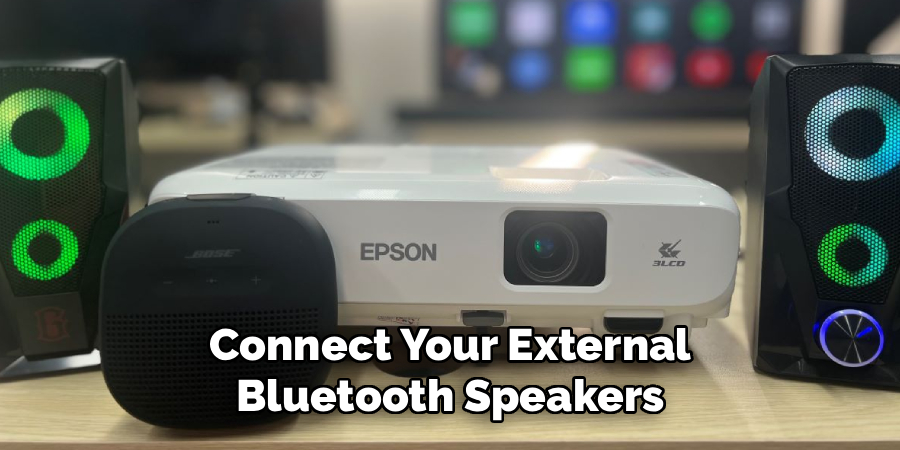
If you are using external speakers, a soundbar, or a receiver, the projector remote may not control the main volume unless the system supports it. In that case, use the speaker or receiver remote for sound.
You can also open the projector’s audio menu to check sound output settings. Make sure the correct audio source is selected, especially when using HDMI, Bluetooth, or an external audio cable.
Step 7: Navigate The Menu Settings
The menu button opens the projector’s settings. Use the arrow buttons to move through the options and press enter or ok to select one. Common settings include picture mode, brightness, contrast, color, aspect ratio, language, network, timer, and system updates.
If you are new to the remote, move slowly through the menu and read each on-screen label. Do not change advanced settings unless you understand what they do.
Picture mode is a safe place to start. You may see options like standard, cinema, game, dynamic, or presentation. Choose the mode that fits your room lighting and content type.
Step 8: Fix Common Remote Problems
If the remote does not work, start with the simple checks. Replace the batteries, point the remote at the sensor, move closer, and remove anything blocking the signal. Also make sure the projector is plugged in and not in a deep standby mode.
If only some buttons work, one button may be stuck or the remote may be dirty. Gently press each button and check whether it feels normal. Avoid using water or harsh cleaners.
For Bluetooth remotes, you may need to pair the remote again through the projector’s settings. If the remote still fails, try using the projector’s physical buttons or a compatible app if available.
Frequently Asked Questions
Why Is My Projector Remote Not Working?
Your projector remote may not work because the batteries are weak, installed incorrectly, or dead. The remote may also be too far from the projector or blocked by an object. If it uses infrared, point it directly at the sensor. If it uses Bluetooth, check whether it needs pairing. Restarting the projector can also help clear temporary control issues.
How Do I Know Where To Point The Remote?
Look for the projector’s remote sensor, which often appears as a small dark plastic window on the front, rear, or top of the unit. Point the remote toward that area and stay within range. If the projector is ceiling-mounted, try aiming at the front or rear sensor. Some models have more than one sensor for easier control.
Can I Use A Phone Instead Of A Projector Remote?
Yes, some projectors support mobile apps that work as remote controls. This depends on the projector brand, model, and network features. You may need to connect the projector and phone to the same Wi-Fi network or use Bluetooth. A phone app can be useful if the original remote is lost, but it may not support every function.
What Does The Source Button Do?
The source button lets you choose where the projector gets its video signal. Common sources include HDMI, USB, VGA, AV, wireless display, or built-in apps. If your screen is blank but the projector is on, the wrong source is often the problem. Select the input that matches the device or cable you are using.
Why Does The Projector Remote Have A Keystone Button?
The keystone button helps correct an image that looks tilted or trapezoid-shaped. This usually happens when the projector is angled upward, downward, or sideways instead of facing the screen directly. Keystone correction can improve the shape, but too much correction may reduce sharpness. For the best picture, position the projector as straight as possible first.
Conclusion
A projector remote gives you quick control over power, input source, picture settings, volume, menu options, and image adjustments. Start with fresh batteries, point the remote correctly, choose the right source, and use settings like focus, keystone, and picture mode carefully. If something does not work, check the signal path, batteries, pairing, and projector status.
Now that you understand how to use projector remote controls, you can set up your projector with more confidence. Take a few minutes to learn the main buttons, and your movies, meetings, lessons, and presentations will run much more smoothly.

About
Alexis Kerr is a distinguished figure in the world of professional workspace optimization, with a decade of expertise creating innovative and ergonomic office environments. Her professional focus lies in merging organizational psychology with modern spatial design, fostering office setups that are both high-performing and employee-centric. As the lead author for Deskvity, Alexis Kerr delves into the art and science of corporate aesthetics and functionality, inspiring office managers and remote professionals alike.
Education Cornell University
(Ithaca, New York) Bachelor of Science in Design and Environmental Analysis Focus on human factors, workplace strategy, and sustainable interior environments. Gained extensive experience in how physical space influences productivity and mental clarity.
Savannah College of Art and Design (SCAD)
(Savannah, Georgia) Master of Fine Arts in Interior Design Specialized in commercial workspace solutions with a focus on blending digital integration with physical comfort. Participated in high-level industry projects to refine the balance between corporate branding and architectural utility.
Publications and Impact
In Deskvity, Alexis Kerr shares her insights on modern workspace trends, acoustic management, and strategies for efficient layout planning. Her writing bridges the gap between high-level architectural theory and practical day-to-day office needs, making it a must-read for both facility directors and individual professionals looking to elevate their work environment.