

Spilling a cup of coffee on your favorite desk can ruin your morning. Water damage causes wood to warp, fabric to stain, and metal parts to rust. Protecting your workspace ensures your investment lasts for years. We want to help you guard your setup against accidental spills and daily wear.
Many people think protecting desks and chairs requires hiring a professional. However, taking matters into your own hands is surprisingly simple and highly rewarding. The process requires only a few basic supplies and a free afternoon. When you learn exactly how to waterproof office furniture, you gain the power to extend the life of your workspace.
We designed this guide to be completely beginner-friendly. You do not need any prior woodworking or upholstery experience to get great results. We will walk you through the entire process from start to finish. You will learn the best techniques to prepare your surfaces and apply the right protective coatings. Let us help you transform your vulnerable workspace into a durable, spill-resistant environment.
Why Waterproofing Office Furniture Matters
Protecting your workspace goes far beyond just preventing unsightly coffee stains. Desks, chairs, and filing cabinets represent a significant financial investment. When you leave these items unprotected, you expose them to rapid deterioration. Moisture from humid environments, condensation from cold drinks, and accidental spills break down materials quickly. Wood expands and cracks, while metal hinges and tracks succumb to rust. Applying a protective barrier halts this structural damage before it can even begin.
You also save a substantial amount of money by protecting your items. Replacing a high-quality desk or an ergonomic chair costs hundreds or even thousands of dollars. A simple protective coating costs only a fraction of that replacement price. By taking preventative action now, you keep your hard-earned money in your wallet. You will not have to shop for replacement pieces every few years.
Step-by-Step Guide To Waterproofing Office Furniture
Step 1: Gather Supplies
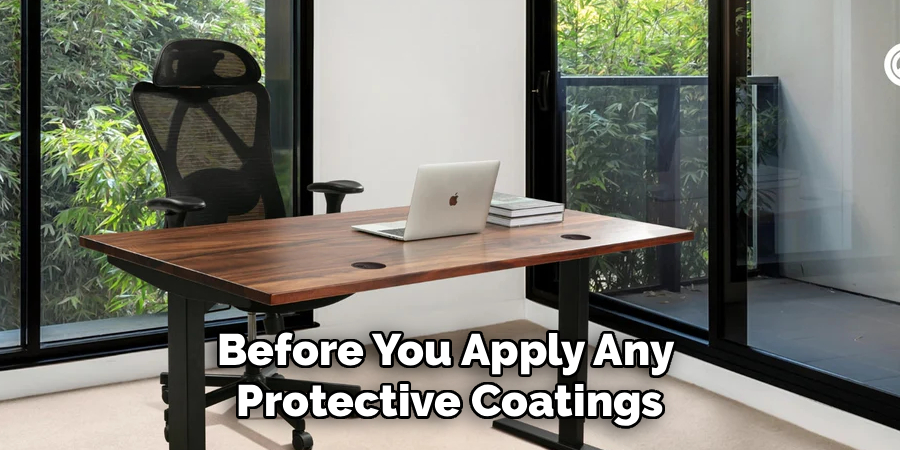
Before you start, you must assemble all the office furniture and necessary materials. Having everything within reach makes the process smooth and stress-free. You will need a high-quality sealant for hard surfaces and a fabric protector spray for chairs.
Make sure you grab some microfiber cloths for cleaning and applying products. You should also purchase mild dish soap and a soft-bristled brush. Sandpaper in various grits will help you prepare wooden desks. Use a flat metal putty knife to firmly press the thick paste directly into any visible cracks or gouges.
Safety gear is incredibly important for this project. Always pick up a pair of protective gloves and a comfortable face mask. You also need drop cloths or old newspapers to protect your floors from stray drips.
Step 2: Clean The Surfaces Thoroughly
A protective coating will only stick to a perfectly clean surface. Dust, oils, and old coffee stains will prevent the sealant from bonding properly. You must remove all debris before applying any new products.
Start by vacuuming fabric chairs to remove loose dirt and crumbs. For wooden and metal desks, mix a few drops of mild dish soap into warm water. Dip a microfiber cloth into the soapy water and wring it out well.
Wipe down every inch of the desk, paying close attention to corners and edges. Follow up with a dry microfiber cloth to remove any lingering moisture. Wait until every surface is completely dry before moving forward.
Step 3: Repair Existing Surface Damage

Applying a clear coat over deep scratches or peeling veneer will trap those flaws forever. You need to fix these issues so your workspace looks pristine. Inspect your desk carefully under bright lighting to spot any problems.
Use a matching wood filler to patch up deep gouges and scratches. Press the filler into the gap and smooth it out with a putty knife. Let the filler dry completely according to the package instructions.
For fabric chairs, check for loose threads or small tears. Trim any loose strings carefully with sharp scissors. If you find peeling laminate on your desk, use a strong wood glue to secure it back into place.
Step 4: Lightly Sand Wooden Desks
Wood needs a slightly textured surface so the new sealant can grab hold. If your desk has a glossy finish, the protective spray will simply slide off. Sanding creates tiny grooves that anchor the new coating perfectly.
Take a piece of fine-grit sandpaper, usually around 220-grit, and gently rub the entire surface. Always move the sandpaper in the same direction as the wood grain. Press lightly to avoid removing the stain or color beneath the clear coat.
Once you finish sanding, a layer of fine dust will cover the desk. Wipe this dust away using a slightly damp cloth. Give the wood plenty of time to dry completely before applying any liquids.
Step 5: Choose The Right Protective Formula
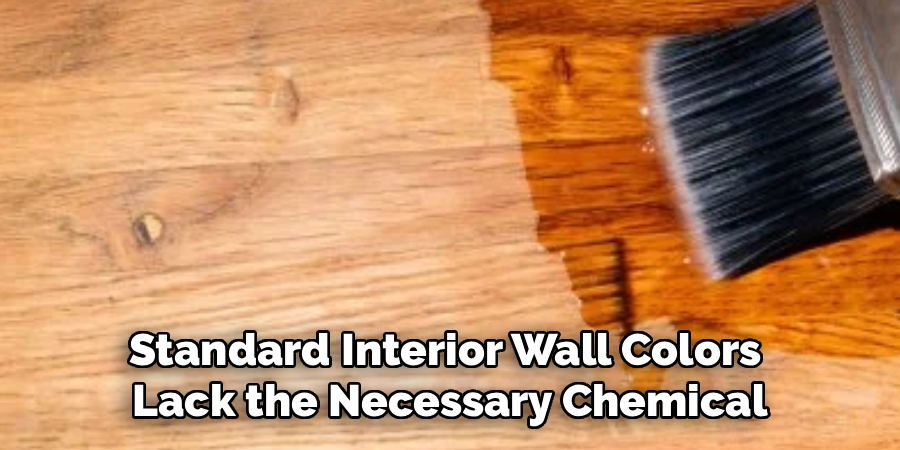
Different materials require completely different protective formulas. Using the wrong product can permanently damage your favorite chair or desk. You must read labels carefully to find the perfect match.
For wooden desks, polyurethane offers an incredibly durable and long-lasting barrier. Polyurethane comes in both water-based and oil-based varieties. Water-based options dry faster and emit fewer fumes, making them great for indoor use.
For fabric chairs, look for a specialized upholstery protector spray. These sprays use unique polymers that coat individual fabric fibers without changing their texture. Never use wood sealants on fabric, and never use fabric sprays on hard wood.
Step 6: Apply The First Base Coat
Applying the protective barrier requires patience and a steady hand. Rushing through this step often leads to messy drips and uneven protection. You want to create a smooth, invisible shield across the entire surface.
For wooden desks, dip a high-quality synthetic brush into your polyurethane. Apply the liquid in long, smooth strokes following the wood grain. Keep the layer very thin to prevent the liquid from pooling in the corners.
For fabric chairs, hold the spray can about six inches away from the material. Sweep the can across the fabric in a slow, overlapping motion. Make sure the fabric feels slightly damp but not completely soaked.
Step 7: Add Additional Layers For Maximum Protection
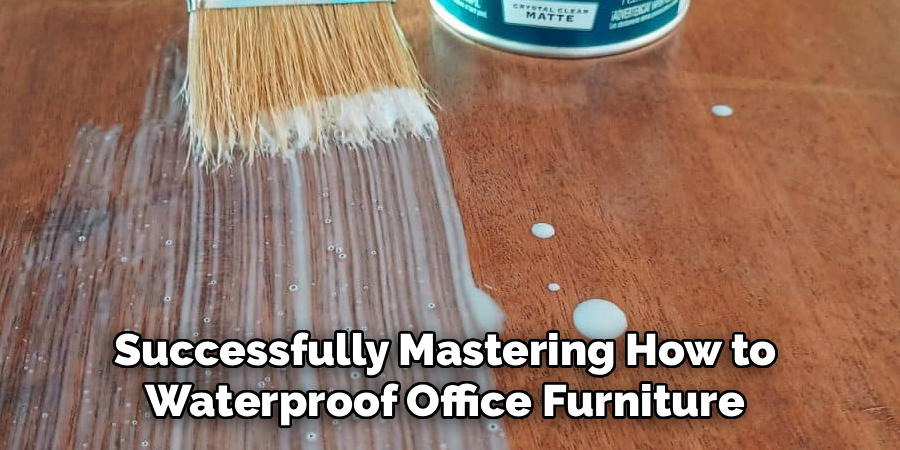
One layer of protection rarely offers enough defense against heavy daily use. Adding multiple thin layers creates a much stronger barrier than one thick, messy layer. You must build the protection up gradually.
Wait for the first coat on your wooden desk to dry completely. Lightly sand the surface with 320-grit sandpaper to smooth out any tiny bubbles. Wipe away the dust and apply a second thin coat of polyurethane.
Fabric chairs usually require two full coats of protective spray. Wait until the first application feels dry to the touch before adding the second. Spray the second coat in the opposite direction to ensure total coverage.
Frequently Asked Questions
Can I Protect Particle Board Desks?
Yes, you can absolutely protect particle board desks from moisture damage. However, you must be extremely careful during the cleaning phase. Particle board acts like a sponge and will expand quickly if exposed to too much water. Use only barely damp cloths when cleaning the surface. Apply a high-quality polyurethane sealant to the top and all exposed edges. Sealing the edges is critical because that is where particle board absorbs moisture the fastest.
How Long Does Protective Spray Last On Fabric Chairs?
The lifespan of a fabric protector depends heavily on how often you use the chair. For a chair used eight hours every day, the coating usually lasts about six months. Friction from sitting and moving around slowly rubs the protective polymers away. You can test the coating by dropping a small amount of water on the seat. If the water soaks in instead of beading up, you need to apply a fresh coat of spray.
Do Protective Sealants Change The Color Of Wood?
The type of sealant you choose determines whether the wood color changes. Water-based polyurethane dries completely crystal clear. It keeps the wood looking natural and does not alter the original stain. Oil-based polyurethane, on the other hand, adds a warm, amber tint to the wood. This amber hue deepens over time as the desk ages. You should always test your chosen product on a hidden spot to ensure you like the final look.
Is It Safe To Use These Chemical Sprays Indoors?
Safety heavily depends on the specific products you choose and your ventilation setup. Many traditional oil-based sealants and fabric sprays emit strong, harmful fumes. You should always apply these specific products outdoors or in an open garage. If you must work indoors, choose water-based sealants and eco-friendly fabric sprays with low chemical emissions. Open all nearby windows and run a fan to pull the fumes out of your workspace.
Can I Remove The Protective Coating Later If Needed?
You can remove protective coatings from hard surfaces, but it requires significant effort. To strip polyurethane off a wooden desk, you must use strong chemical strippers and heavy sandpaper. This process takes hours and creates quite a mess. Removing protective spray from fabric chairs is much easier. You simply need to wash the chair thoroughly with an upholstery cleaner. The soap and water break down the protective polymers and return the fabric to its original state.
Conclusion
Guarding your workspace against accidental spills and daily wear is a smart, proactive choice. By taking the time to clean, prep, and seal your surfaces, you protect your valuable investment. You prevent wood from warping, metal from rusting, and fabric from developing permanent stains. This simple maintenance routine keeps your workspace looking highly professional and clean for years to come.
We encourage you to set aside a few hours this weekend to tackle this rewarding project. Grab the right supplies and transform your vulnerable desk into a highly durable workstation. Now that you understand how to waterproof office furniture you can enjoy your morning coffee without fear. Embrace the peace of mind that comes with a fully protected, resilient workspace.

About
Alexis Kerr is a distinguished figure in the world of professional workspace optimization, with a decade of expertise creating innovative and ergonomic office environments. Her professional focus lies in merging organizational psychology with modern spatial design, fostering office setups that are both high-performing and employee-centric. As the lead author for Deskvity, Alexis Kerr delves into the art and science of corporate aesthetics and functionality, inspiring office managers and remote professionals alike.
Education Cornell University
(Ithaca, New York) Bachelor of Science in Design and Environmental Analysis Focus on human factors, workplace strategy, and sustainable interior environments. Gained extensive experience in how physical space influences productivity and mental clarity.
Savannah College of Art and Design (SCAD)
(Savannah, Georgia) Master of Fine Arts in Interior Design Specialized in commercial workspace solutions with a focus on blending digital integration with physical comfort. Participated in high-level industry projects to refine the balance between corporate branding and architectural utility.
Publications and Impact
In Deskvity, Alexis Kerr shares her insights on modern workspace trends, acoustic management, and strategies for efficient layout planning. Her writing bridges the gap between high-level architectural theory and practical day-to-day office needs, making it a must-read for both facility directors and individual professionals looking to elevate their work environment.